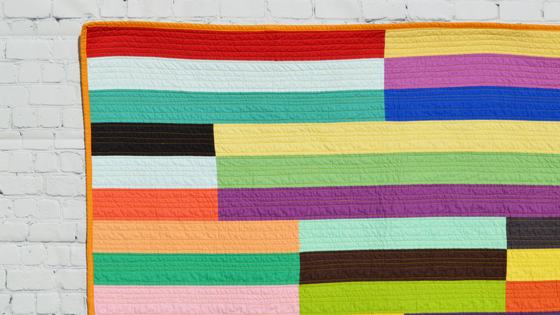
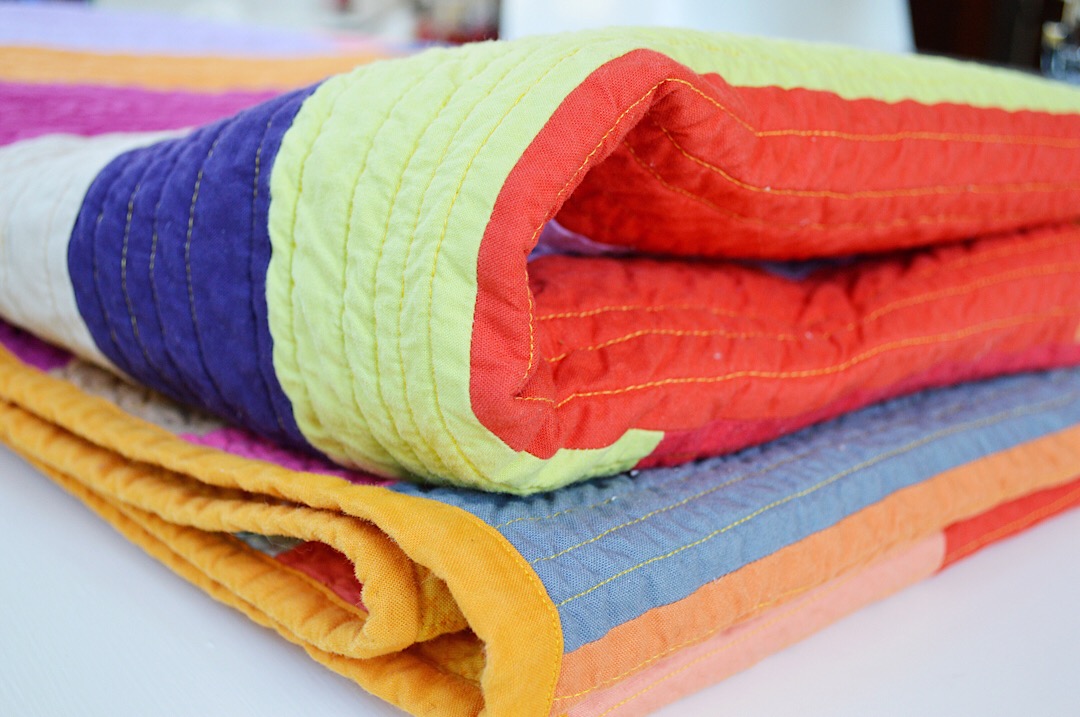
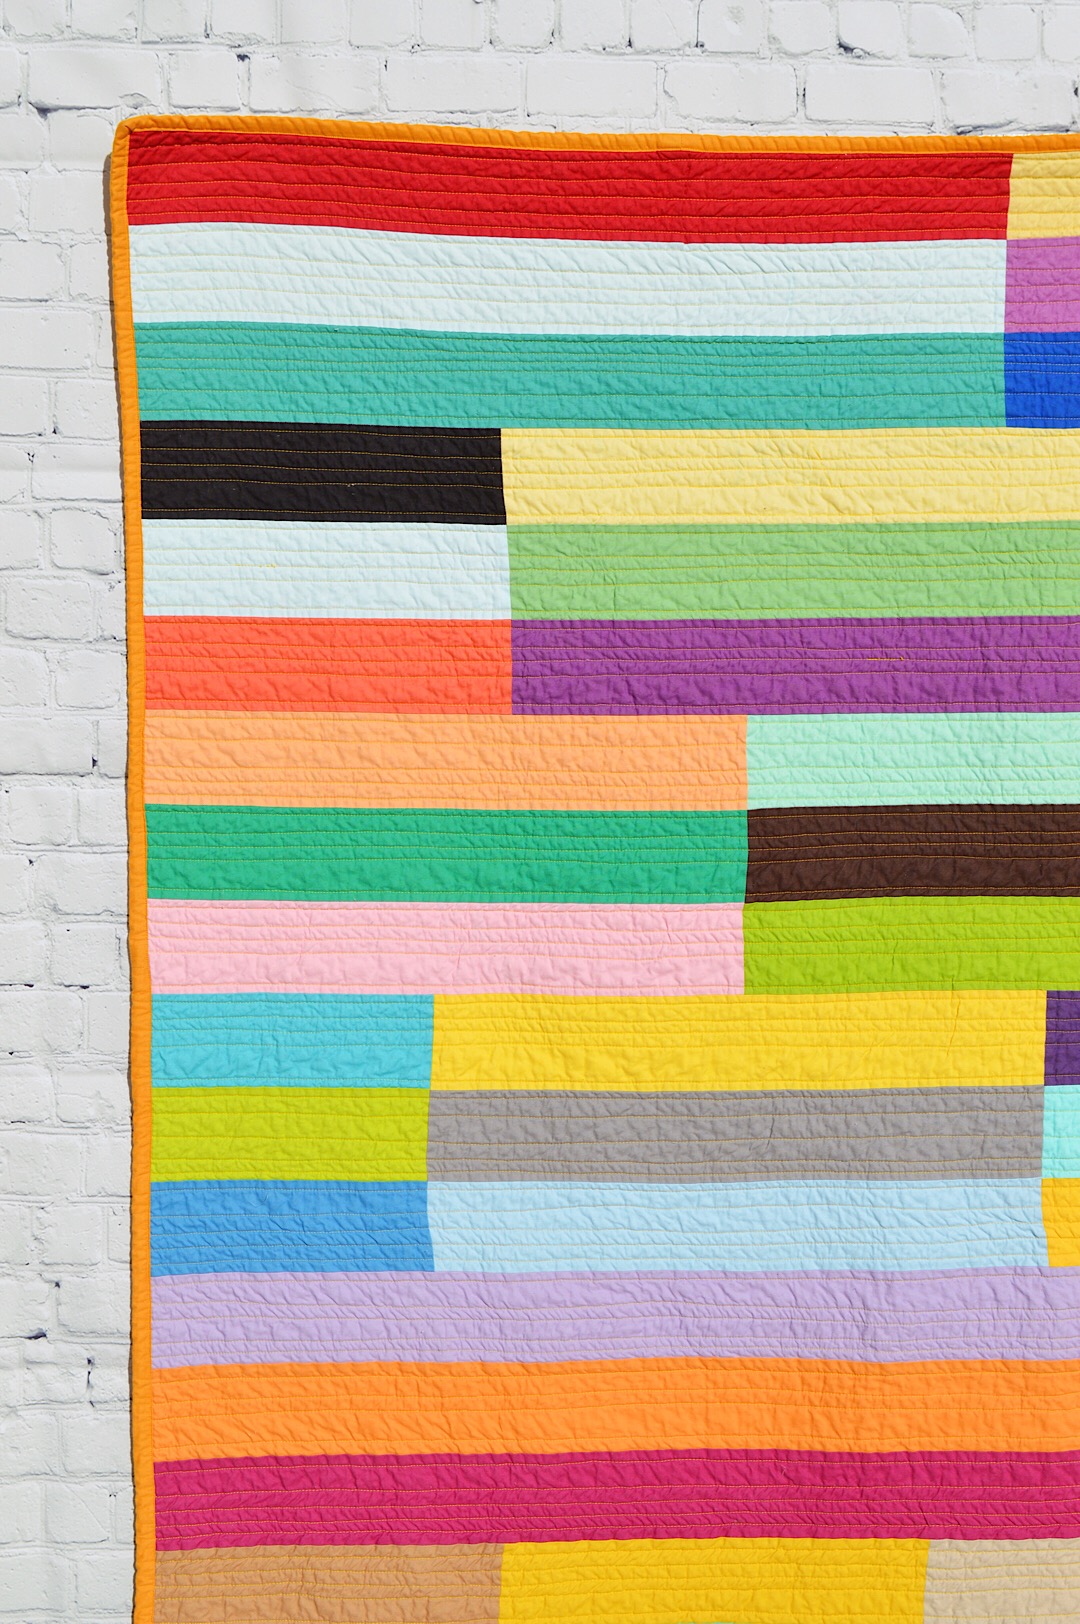
There is something energizing about working strictly with solid color fabrics. Solid fabrics in any quilt give the eye a place to rest. A quilt made entirely of solids instantly becomes bold, fresh, and modern. Riley Blake Designs has a gorgeous array of solid color fabrics in their Confetti Cottons collection. I decided to make a simple, yet bold strip quilt showcasing these fabulous colors.
I am calling this the Off-Line Modern Strip Quilt because of it’s linear design and staggered seams. While the name “Off-Line” is inspired by the actual design of the quilt, it is also a subtle reference to the modern, digital age we live in.

The quilt can easily be made any size you want. The finished measurements of this particular quilt are approximately 60” x 65”, perfect for a throw. To make it larger or smaller, simply add or subtract rows. I can’t say enough how much I love the colorful, modern aesthetic of this quilt.
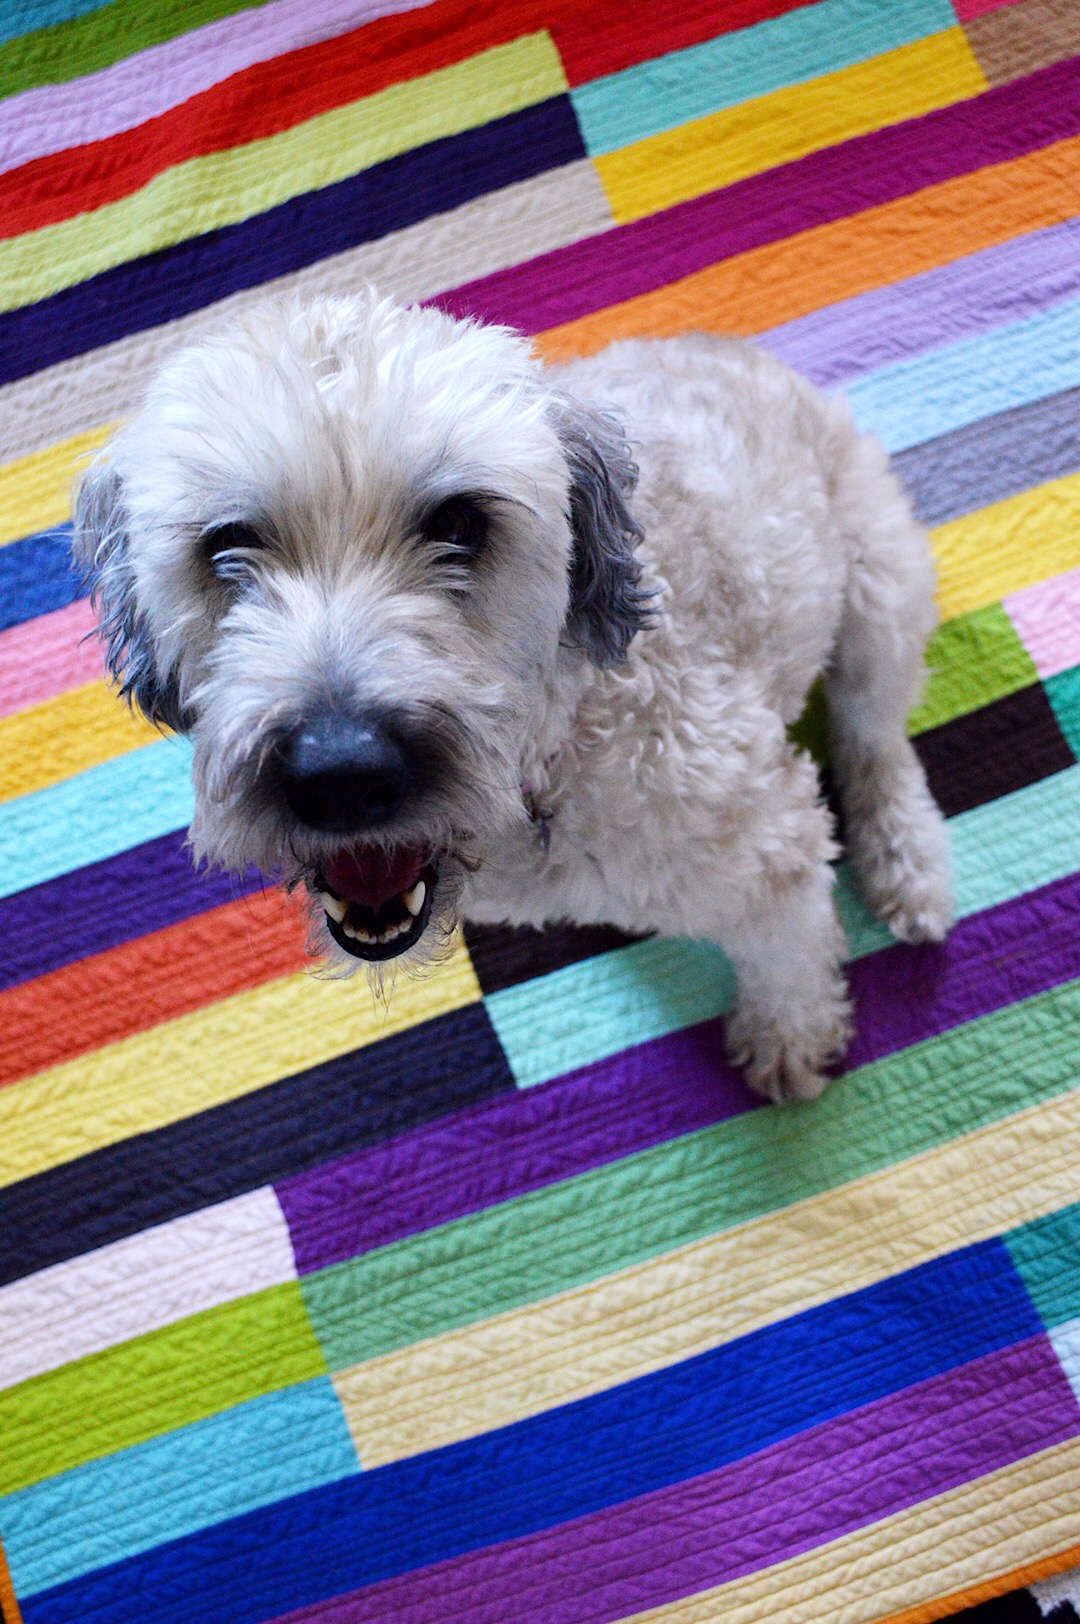
It seems Sunny the dog likes it, too! I was only able to take one photo before she planted herself in the middle and made herself comfortable.
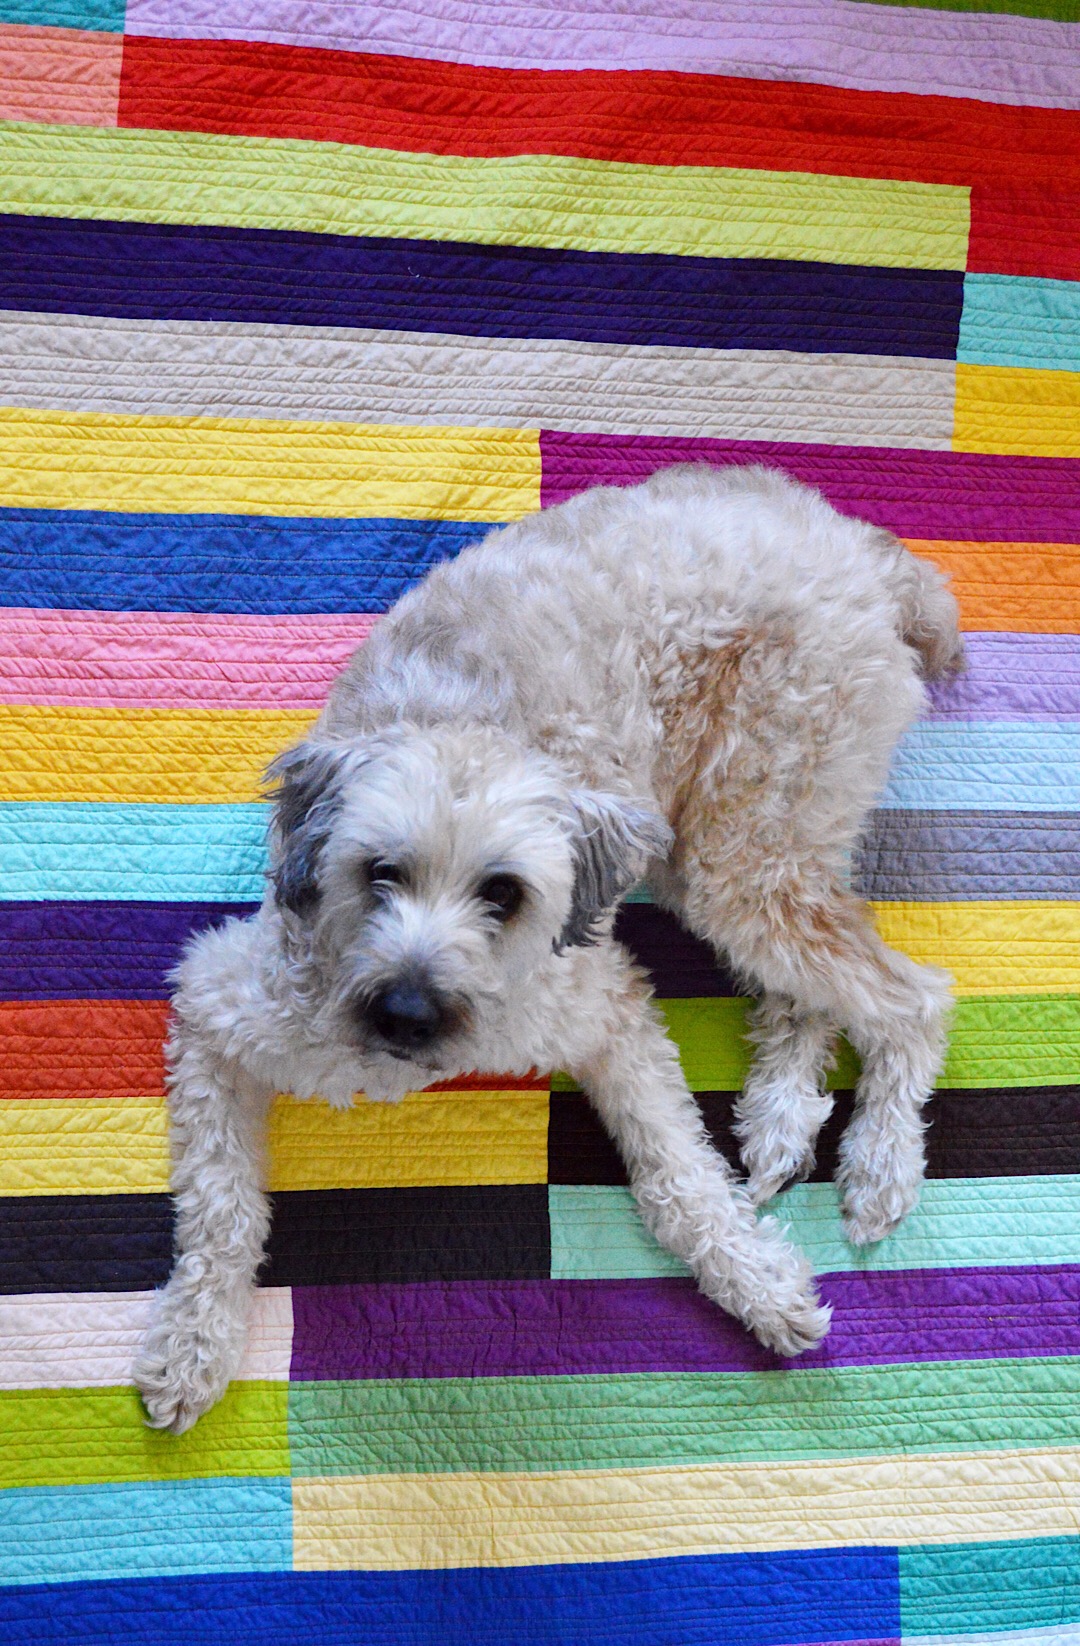
Who can blame her?

Did I mention how much I heart this quilt? The modern lines and bright colors and crinkled texture after going through the washer and dryer all add up to total quilty love!
Let’s get started making this quilt. It’s hard for me to tell you exactly how much fabric you will need, because it really depends on how many colors you decide to use.
All of the strips measure 3.5” wide. The length can vary, depending on whether you are cutting from yardage or using scraps.
The fabrics I cut from yardage measured 3.5” x WOF (width of fabric). I cut 1-2 strips of every color I had available to me. I was perfectly okay with having extra strips because I have a 2nd quilt tutorial coming soon that is made entirely from the scraps and extra strips leftover from this quilt. If you don’t want extra, scroll down to view the measurements of each row in the quilt. This will help you determine exactly how much to cut.
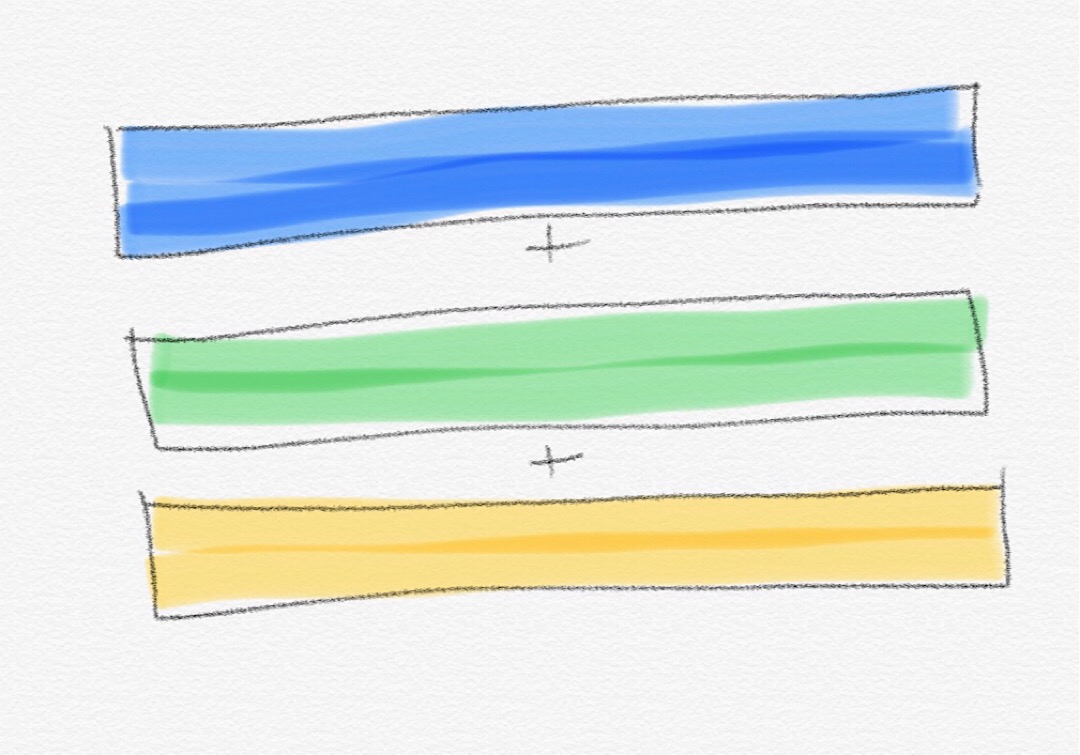
Begin by sewing together 3 fabric strips. Press seams in the same direction, typically toward the darker fabric. Trim the short ends of your completed rectangle.
Repeat this process to make all of your rectangles. The measurements for the unfinished rectangles on my quilt were as follows:
Row 1: 26” + 29.5”
Row 2: 11” + 33.5” + 11”
Row 3: 18.5” + 18.5” + 18.5”
Row 4: 9” + 19” + 27.5”
Row 5: 37” + 18.5”
Row 6: 11” + 13.5” + 31”
Row 7: 16.5” + 33” + 6”
Row 8: 36.5” + 19”
You can adjust the length of your rectangles to be whatever you want. I assembled mine in a very free form style, so these measurements are my finished product, but were not planned out ahead of time at all. Either method — pre-planning and cutting, or assembling this in an organic, freestyle manner — are perfectly acceptable.

To assemble, start with Row #1 and sew your rectangles along the short ends, aligning the seams. Press seams open. Assemble rows 2-8 the same way.
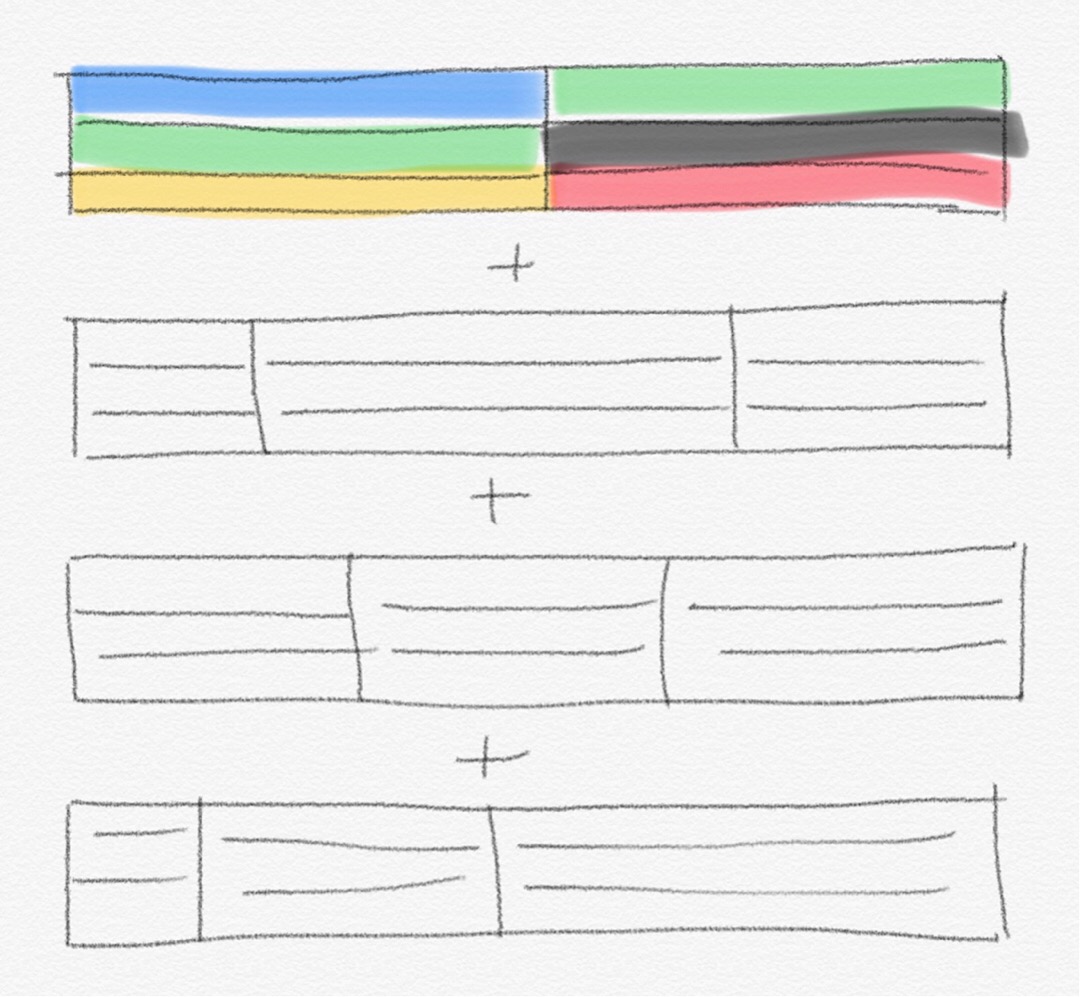
Now that your rows are assembled, you can put them together, beginning with Row #1 (the top row). Sew Rows 1 & 2 together. Press seams.
Add Row 3. Press.
Continue until the entire quilt top is complete.
Now it’s time to make your quilt sandwich. Lay out your quilt back, right side down. Smooth it out (some people even tape the edges down so the fabric is nice and tight).
Next lay out the batting. Make sure it is also nice and smooth. Your quilt back and batting should both be several inches larger than your quilt top. Finally, lay out your quilt top, wrong side down. Baste the layers together using pins or spray basting. A third basting technique is wall basting. You can find a fabulous wall basting tutorial HERE.

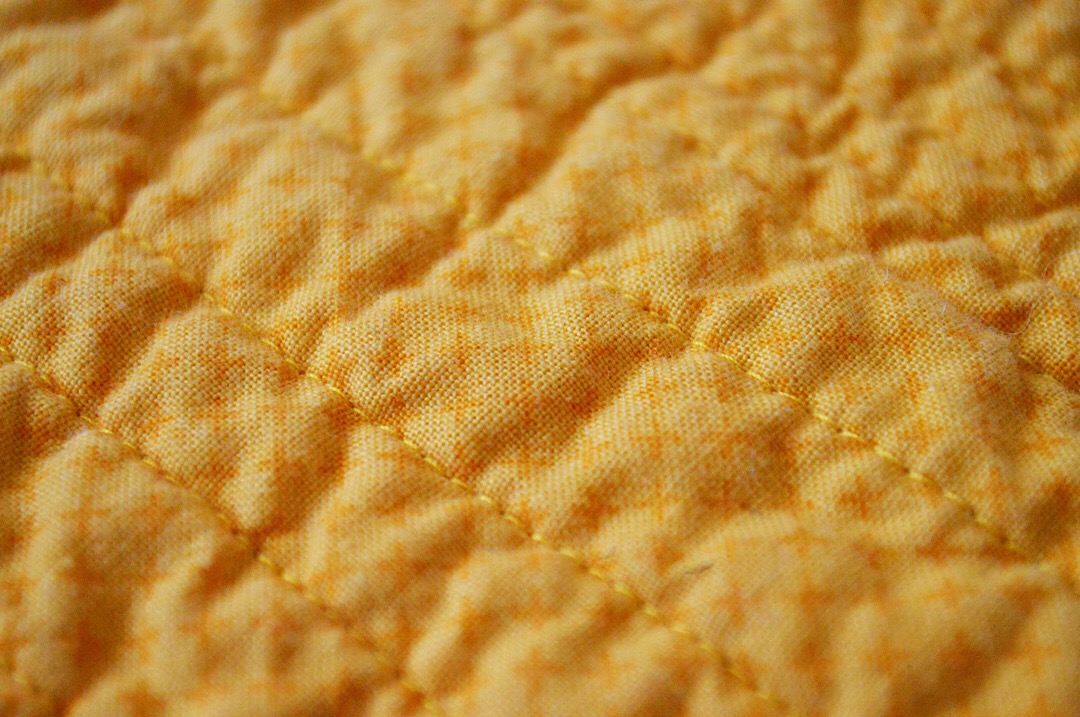
Once you have your quilt basted, it’s time to quilt it. I used this fabulous dandelion yellow thread from Aurifil. I love the way the yellow stitching looks against all of the bright colors. I also chose it to coordinate with the fabric on my quilt back. While it doesn’t match perfectly, it is in the same color family, which worked out just right.
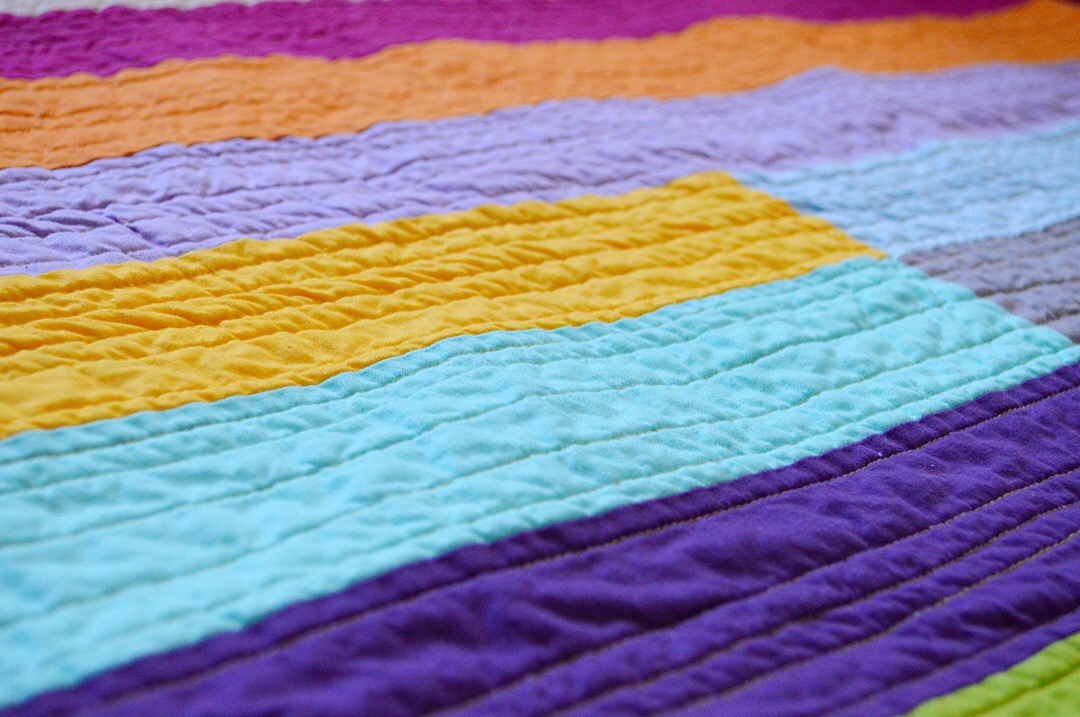
For the quilting, I decided to go with (almost) straight lines, unevenly spaced. I was consistent in quilting 1/4” on either side of the lengthwise seams, but the lines within the rectangle strips were randomly spaced.
I machine-stitched the quilt binding using my favorite BINDING TUTORIAL by Amy Smart.
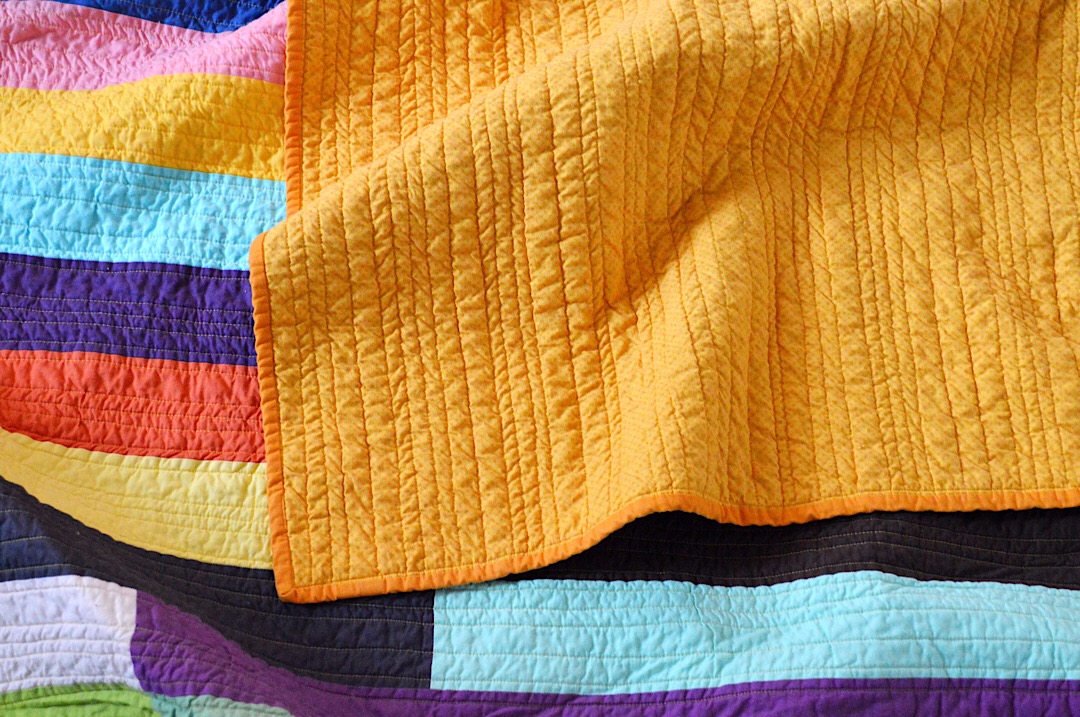
For the quilt back, I used fabric from Riley Blake Designs brand new Kisses collection. I LOVE the bright golden color of this subtle tone-on-tone pattern. This particular color is called “Honey.”
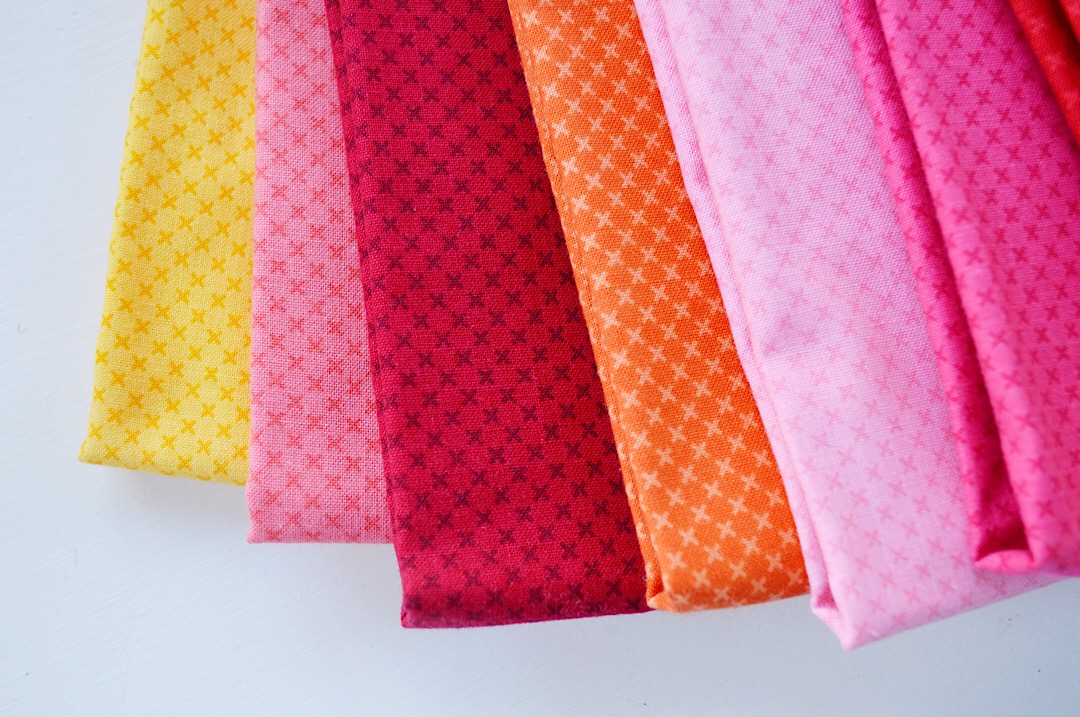
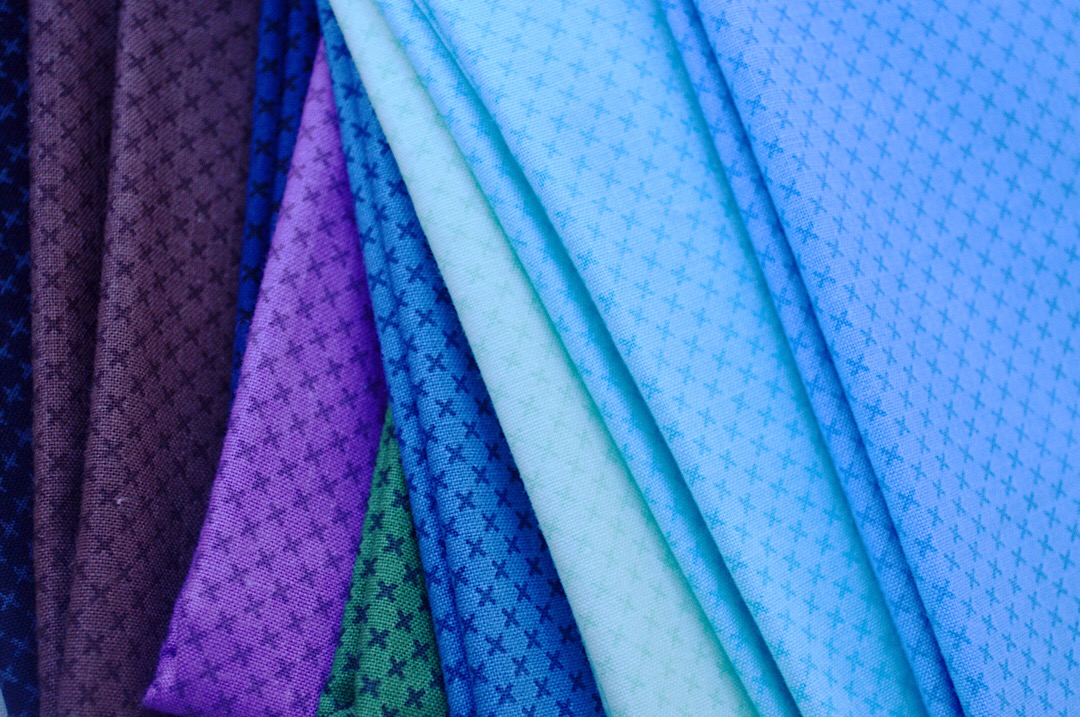
Here are more of the seriously awesome Kisses fabrics – available in just about every color of the rainbow. HERE you can view all of the available colors, including gold and silver sparkle!

I will say that while I was quilting this, I started to become frustrated, as there were quite a few kinks in the fabric. I really didn’t have time to unpick, re-baste, and re-stitch, so I pressed forward with the thought that a project completed imperfectly is better than not completed at all. I was pleasantly surprised to find that after I washed and dried the quilt, it wrinkled up enough that the kinks are hardly noticeable. In fact, I think in this house, they are only noticeable to me. In an effort to “keep it real,” here is a photo of the gorgeous colors, some not-so-straight lines….and the kinks. And guess what? I love it! Sometimes I think quilting is a study in overcoming perfectionism. What do you think?
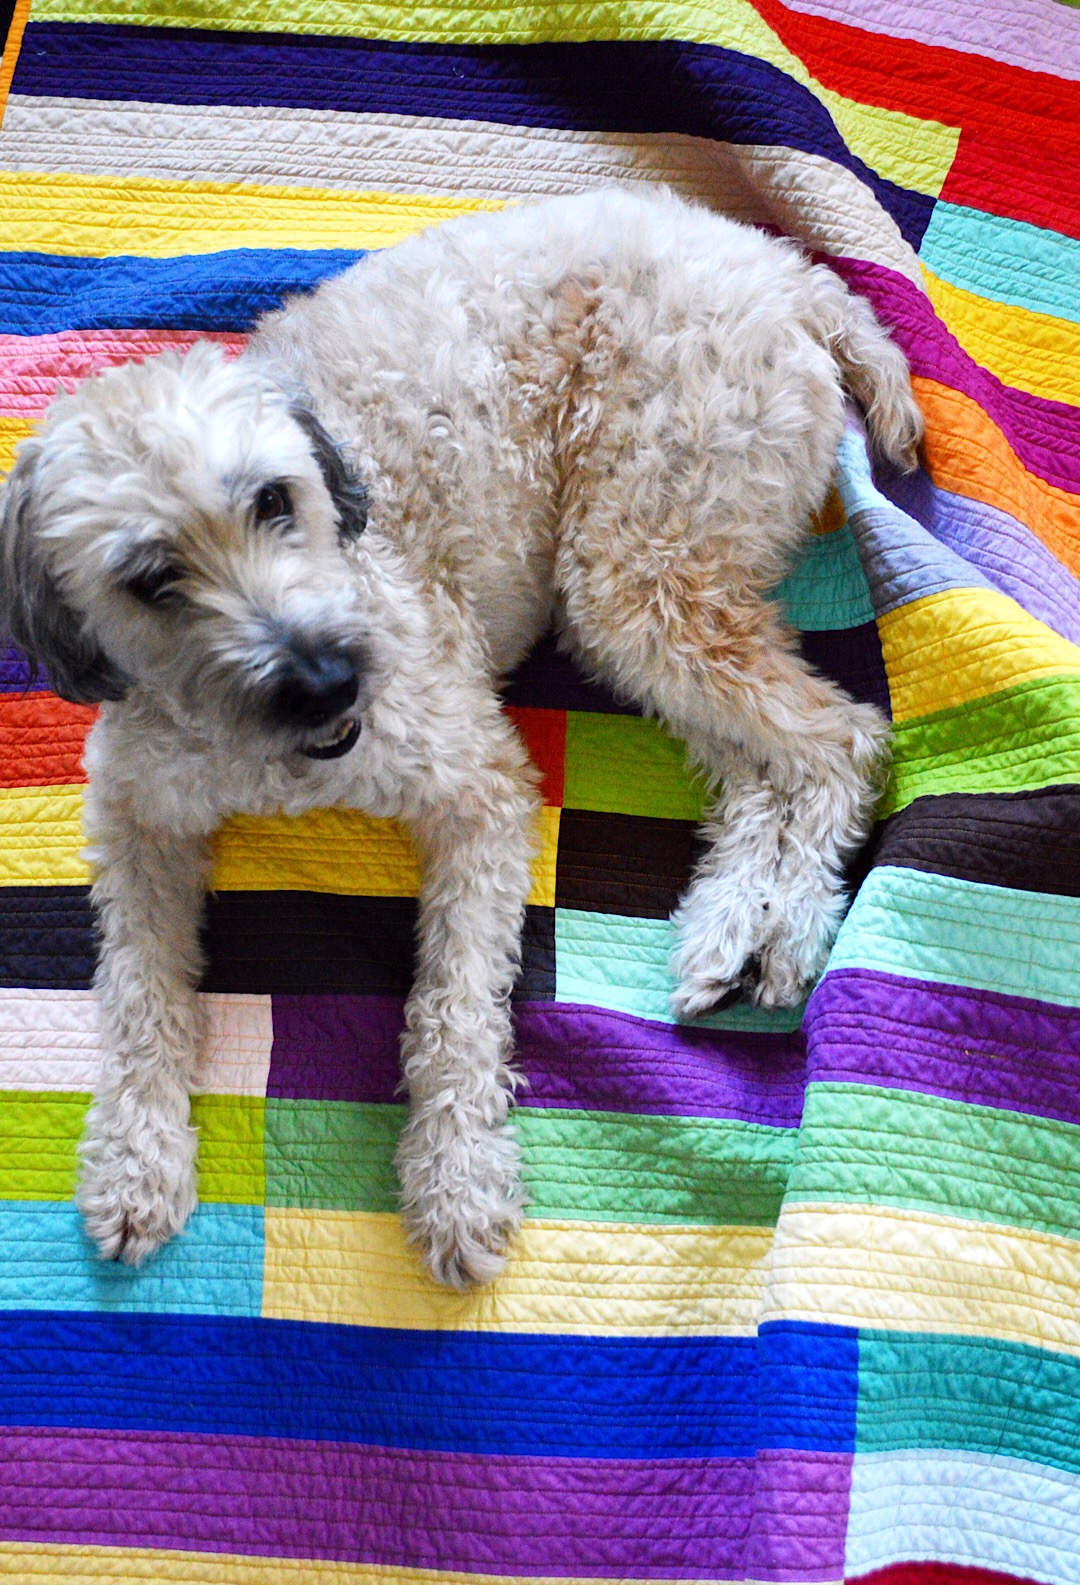
My teenage son said this is his favorite quilt I have made to date. I think Sunny the dog agrees! You can view the fabulous selection of Riley Blake Designs Confetti Cottons and Crayola Solids HERE.
I hope you enjoyed this simple tutorial! Be sure to follow us on Instagram @rileyblakedesigns and share your Confetti Cottons quilts with us using #confetticottons.
Happy Sewing!