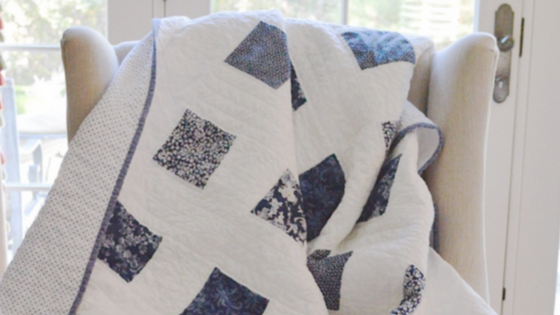
I am calling this simple blue and white quilt “Out of the Blue,” because this project was totally unplanned and really did come completely out of the blue as I was thinking of what I should do with some unused fabric pieces from an earlier quilt I made HERE using Gerri Robinson’s latest fabric line, “Charming.” Of course, when asking myself what to do with fabric, the obvious answer is, “make another quilt!”
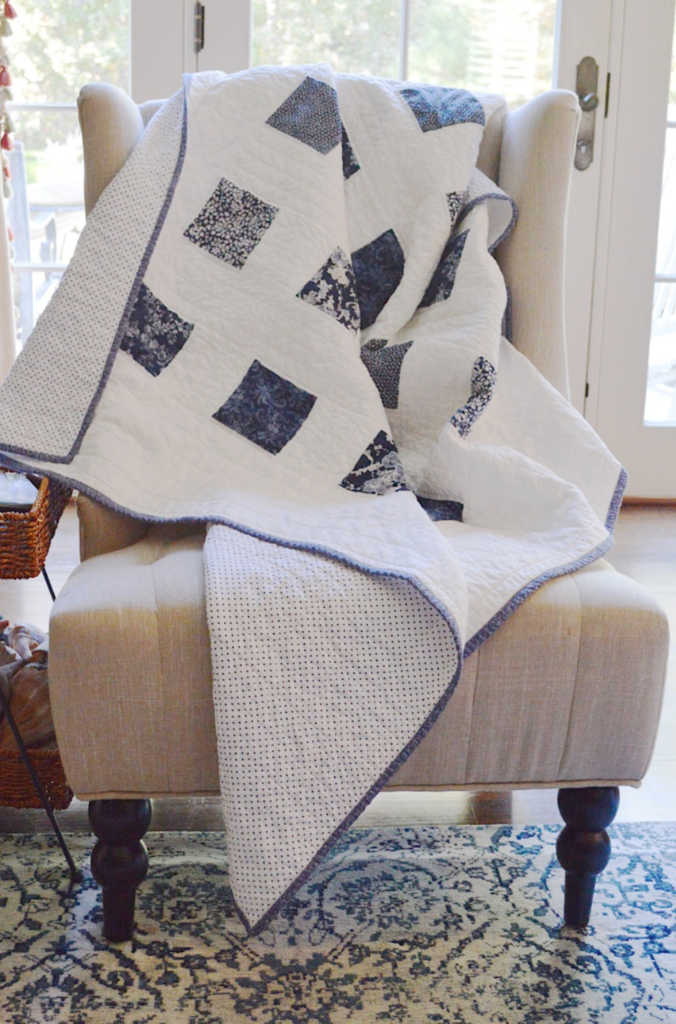
In my previous post featuring the Charming collection, I opted to use the more neutral beige toned pieces. This time, I focused entirely on the gorgeous blues, which had me thinking of my favorite denim jeans, or the deep blue of the ocean.
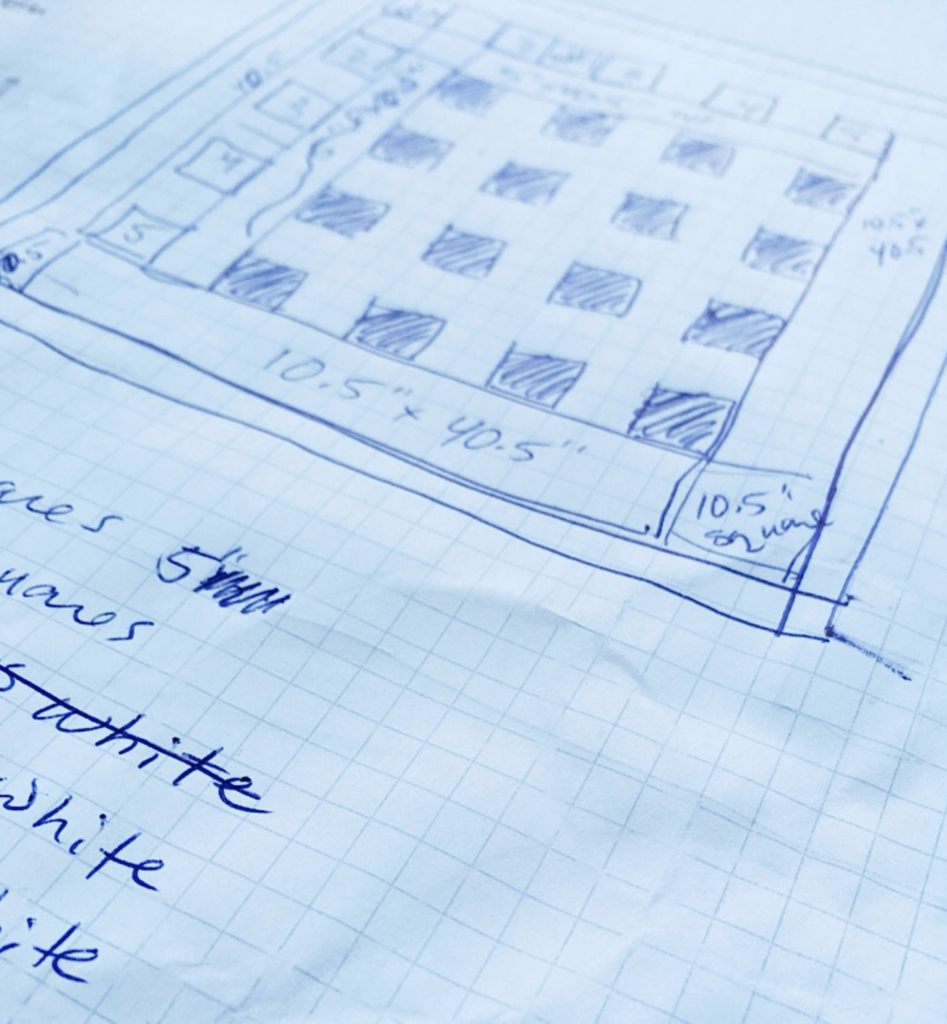
Including messy sketch photo here to show how all projects seem to begin — on a scratch paper with lots of scribbles and markings as I attempt to put to paper this still percolating idea in my head. I had very limited amounts of the blue fabric to play with — just a few 1/4 yard pieces. As I sketched out ideas, this simple Out of the Blue quilt was born!
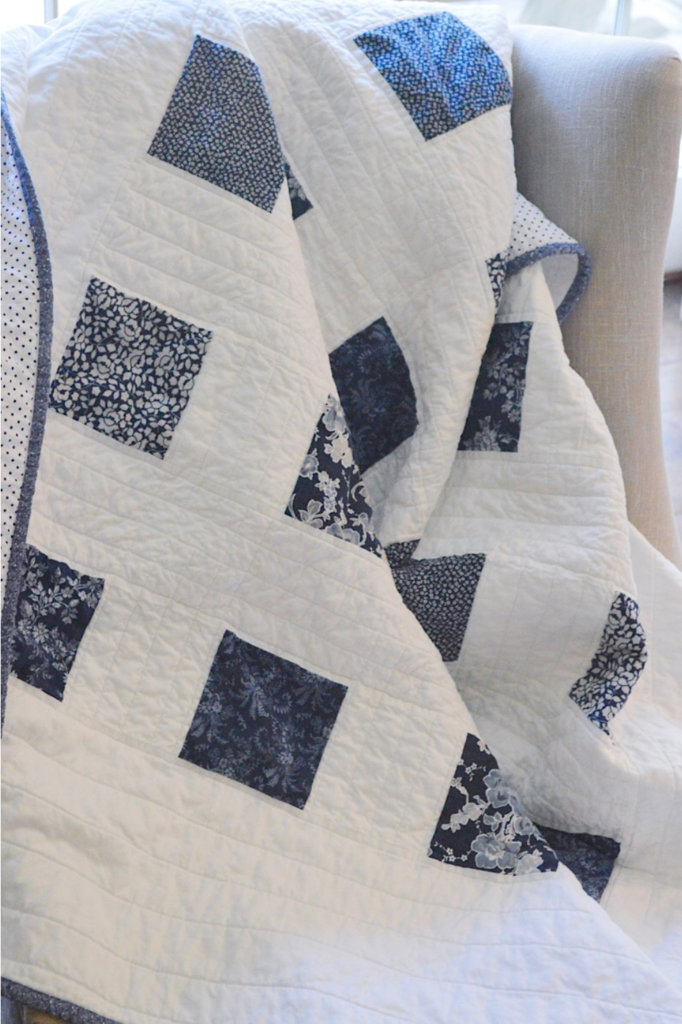
I can’t say enough how much I enjoyed playing with these fabrics.
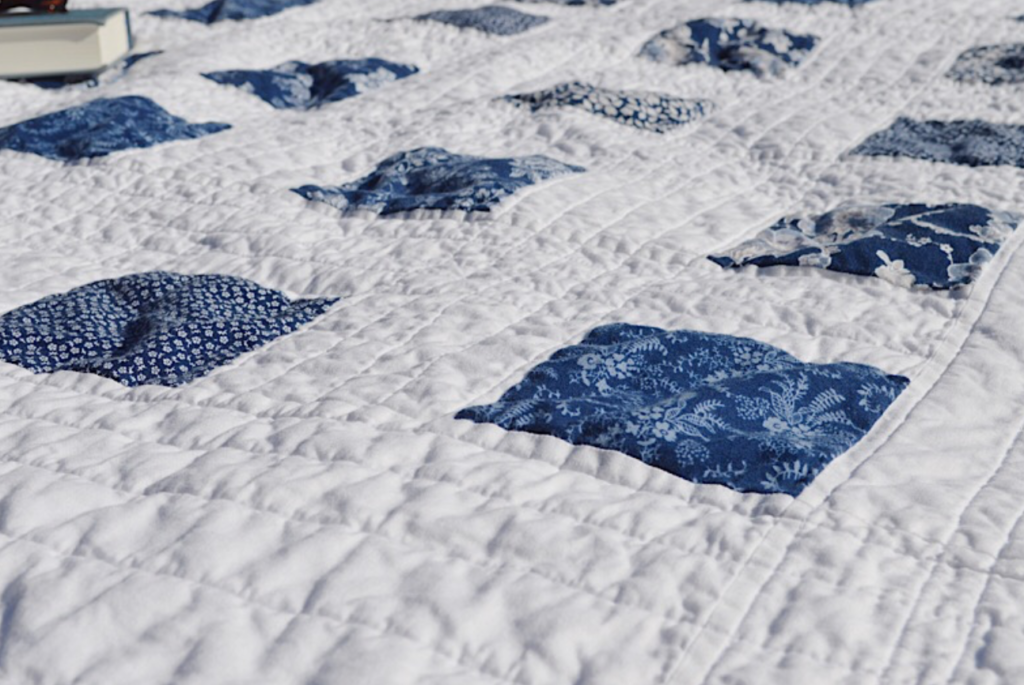
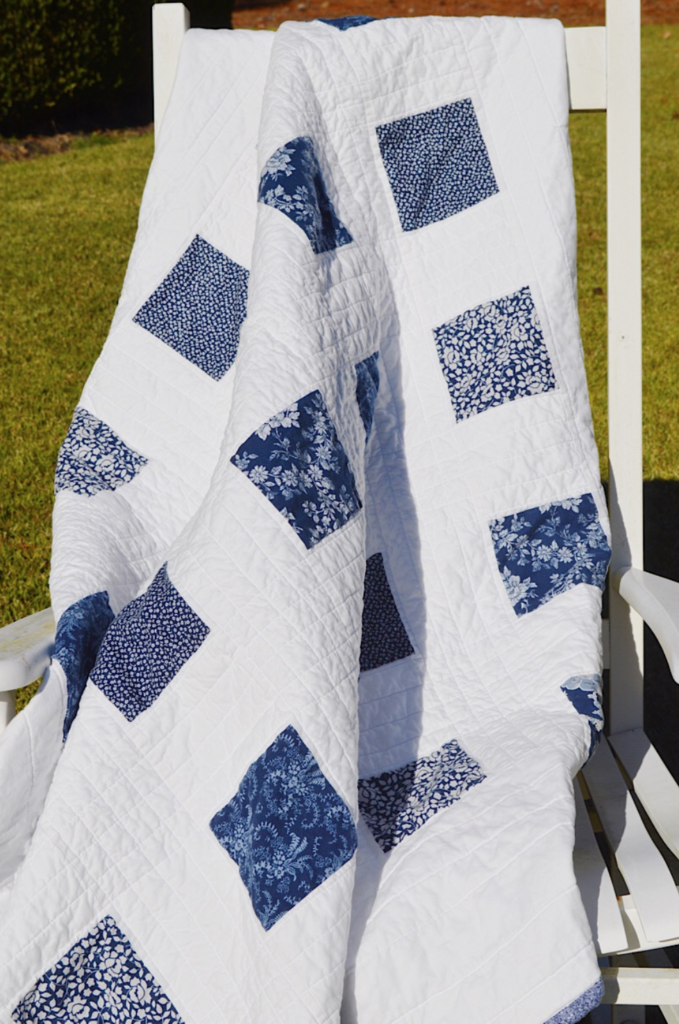
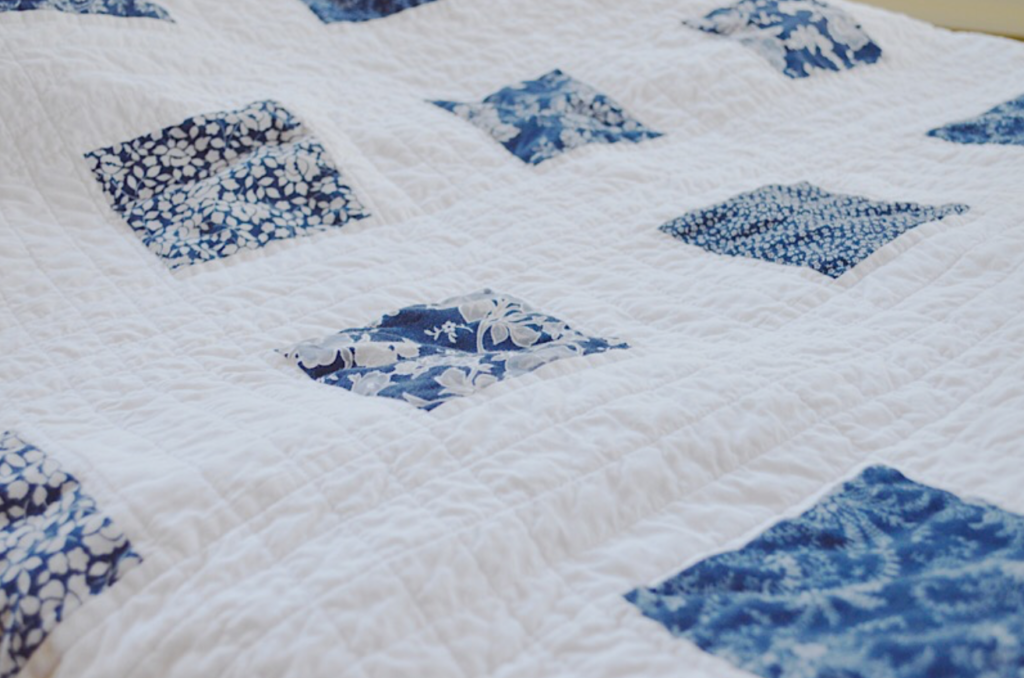
Take a look at these elegant deep blue florals. The solid white fabric backdrop really make them pop!
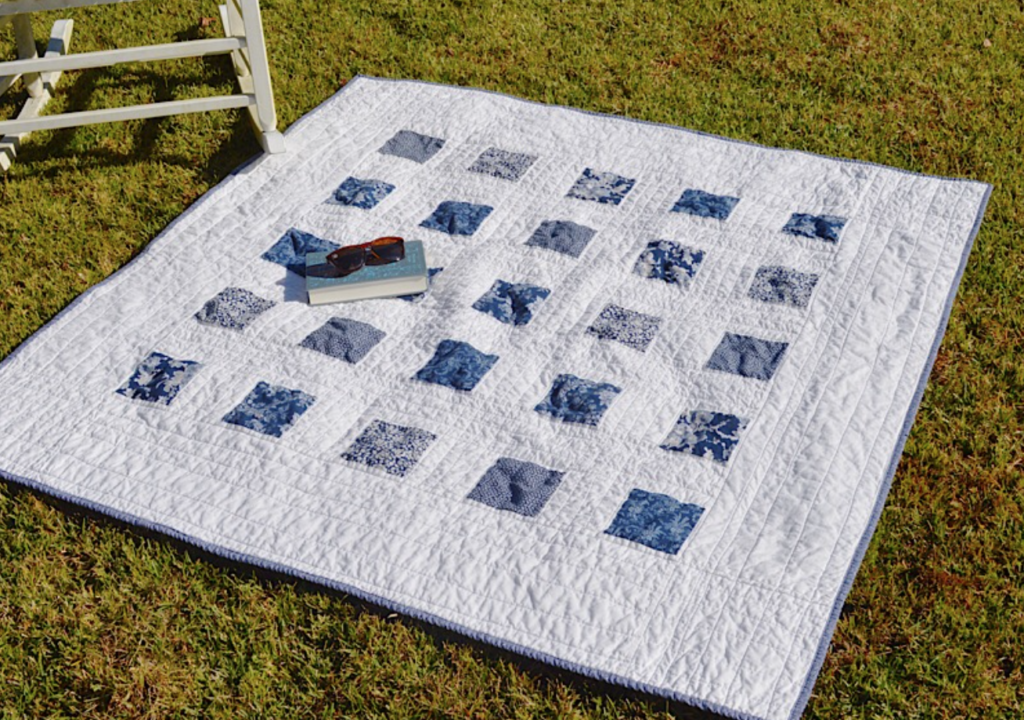
This tutorial is for a roughly 60” x 60” throw, however, you could easily add or take away from the rows to make this any size you want.
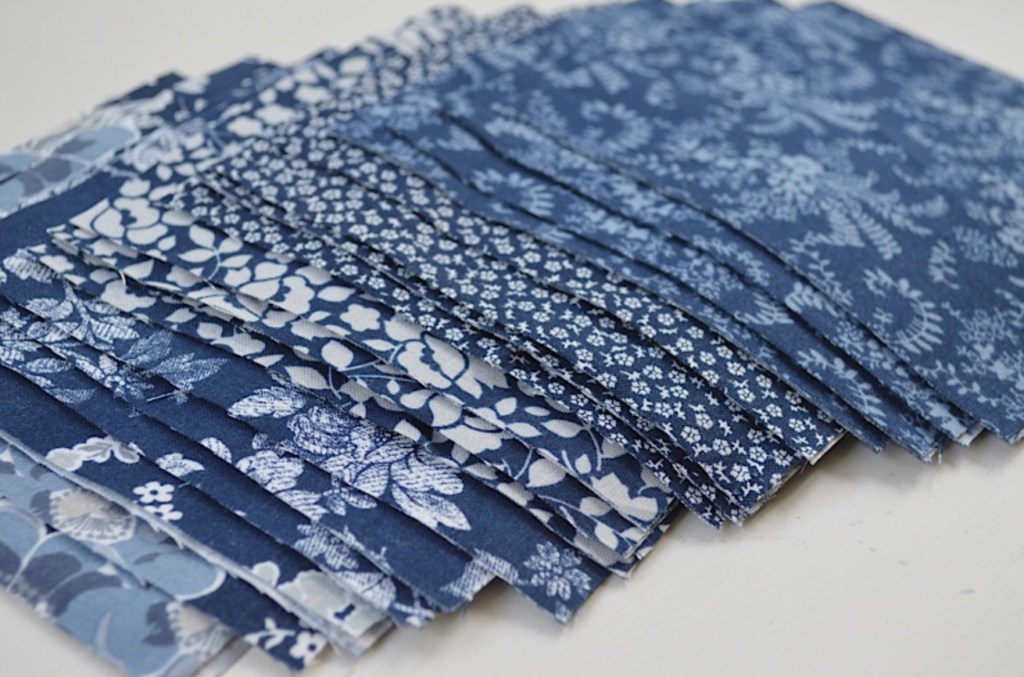
To make this quilt, you will need:
* 25 – 5” x 5” Blue Squares of Gerri Robinson’s Charming fabric collection.
* 20 – 5” x 5” Squares of “Cloud” from Riley Blake Designs Confetti Cottons solid fabric line.
*4 – 5” x 40 1/2” strips of Confetti Cottons “Cloud”
*4 – 10 1/2” x 10 1/2” squares of Confetti Cottons “Cloud”
*4 – 10 1/2” x 40 1/2” strips of Confetti Cottons “Cloud”
* 6 x 2 1/2” strips Riley Blake Trento in “Cosmos” blue
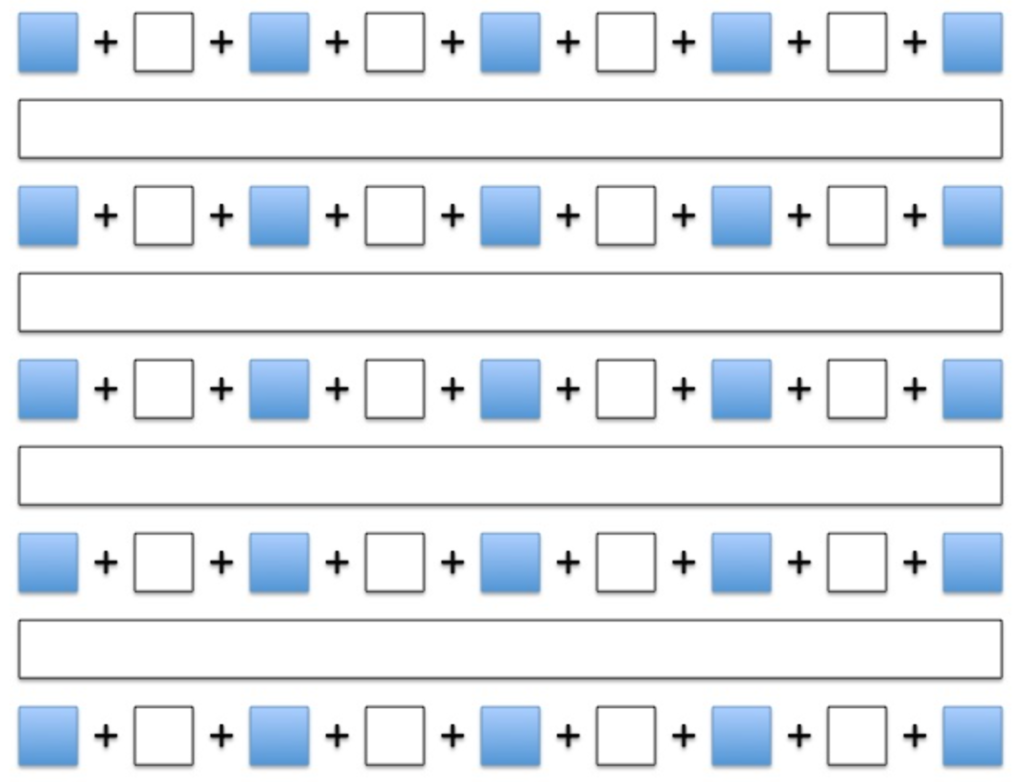
Step 1: Begin by sewing your rows together. I like to sew all of the rows of blue and white squares first. Alternate the blue and white squares as shown. Press seams toward the blue fabric. Next sew your rows of squares to your 5” x 40 1/2” Cloud white strips in alternating order shown.
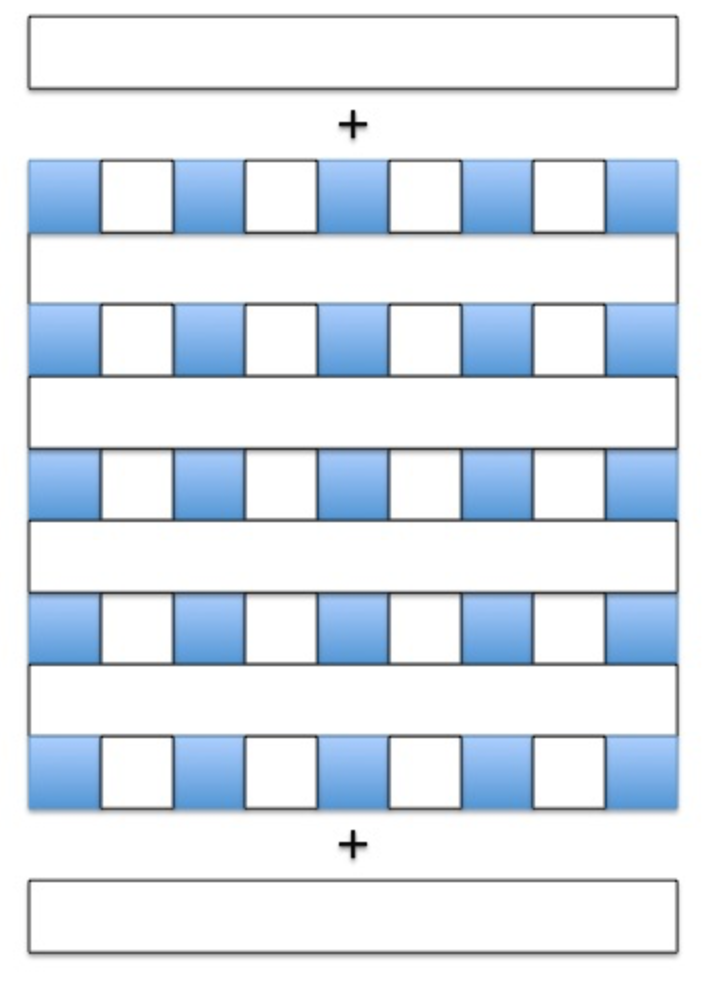
Step 2: To create our nice wide white border, begin by attaching 10 1/2” x 40 1/2” strips of Cloud white to opposite ends of your quilt as shown above. Press seams.
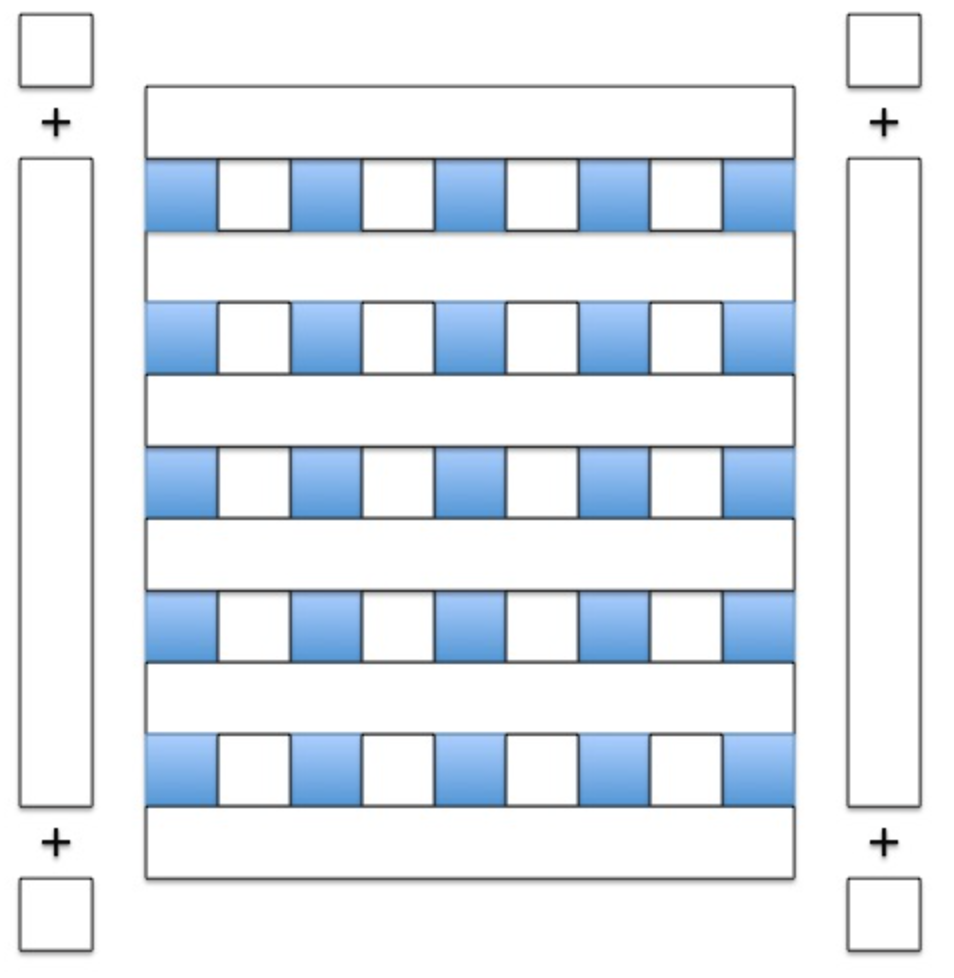
Step 3: Now attach a 10 1/2” square to opposite ends of the remaining 10 1/2” x 40 1/2” strips as shown. Press seams.
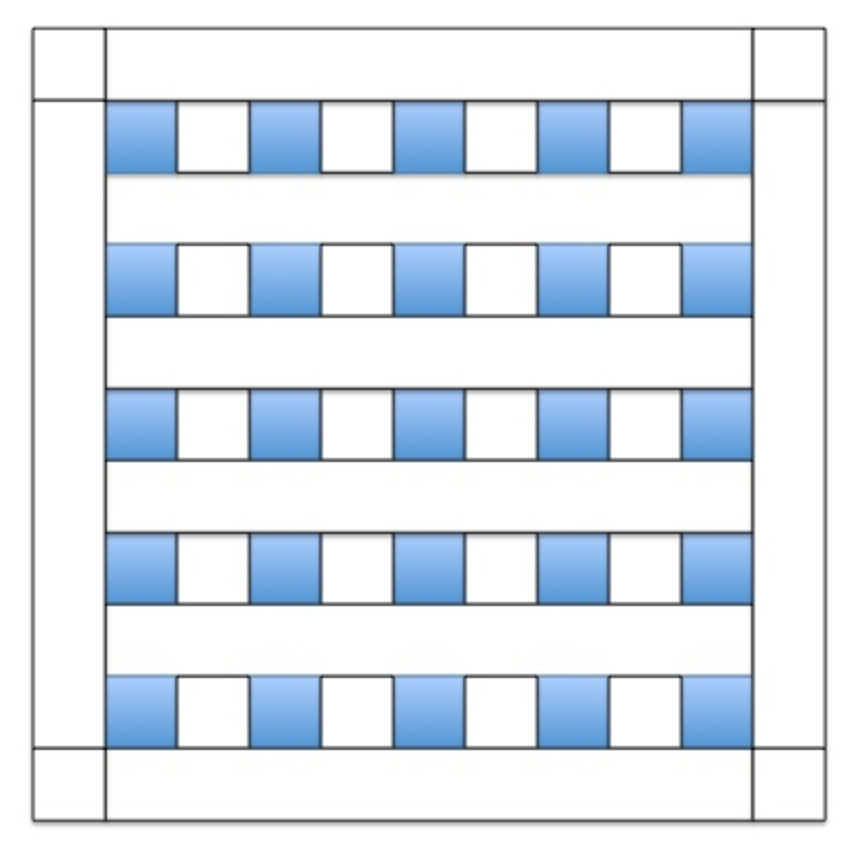
Step 4: Attach the side pieces from Step 3, matching seams. Your quilt will look like this. This is your entire quilt top!
Make your quilt sandwich with batting and backing, baste, and either have it professionally quilted, or quilt it at home on your machine or even by hand. For a very casual look, I opted for basic, somewhat unevenly spaced strips in the white sashing and borders. I didn’t use any quilting in the blue squares, but some hand quilting there might be a nice option.
Attach your binding using your preferred method. I used Amy Smart’s quick and easy binding method found HERE.
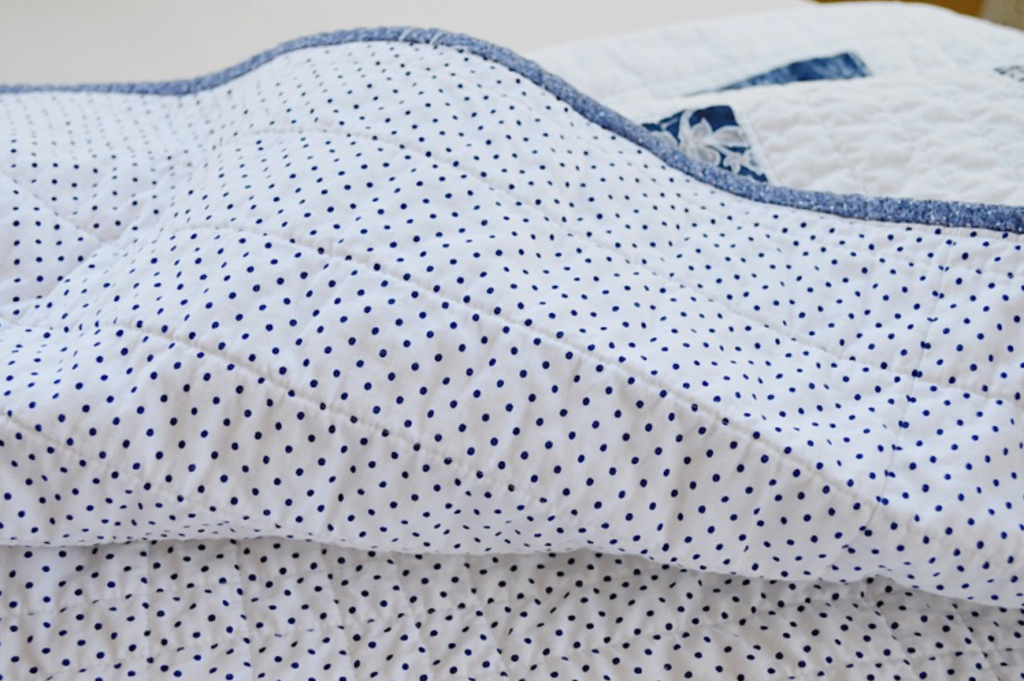
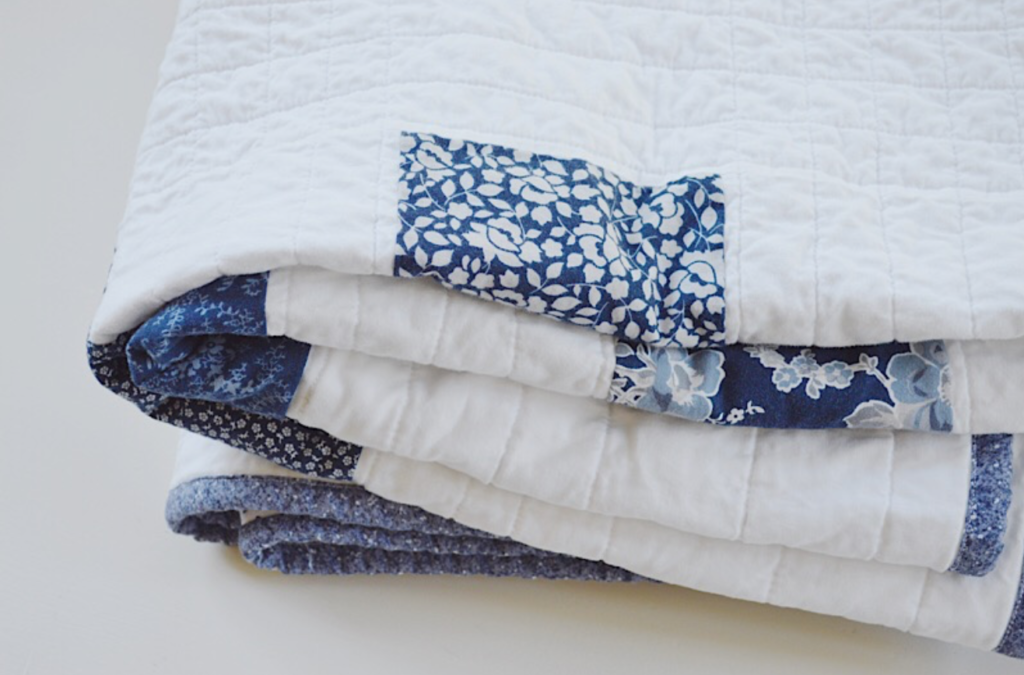
For the quilt back, I used my very favorite go-to fabric, Riley Blake Swiss Dot. This time I used the Navy Swiss Dot. The Swiss Dot seriously ends up in just about every project I work on. It is simple, timeless, and pairs well with any style.
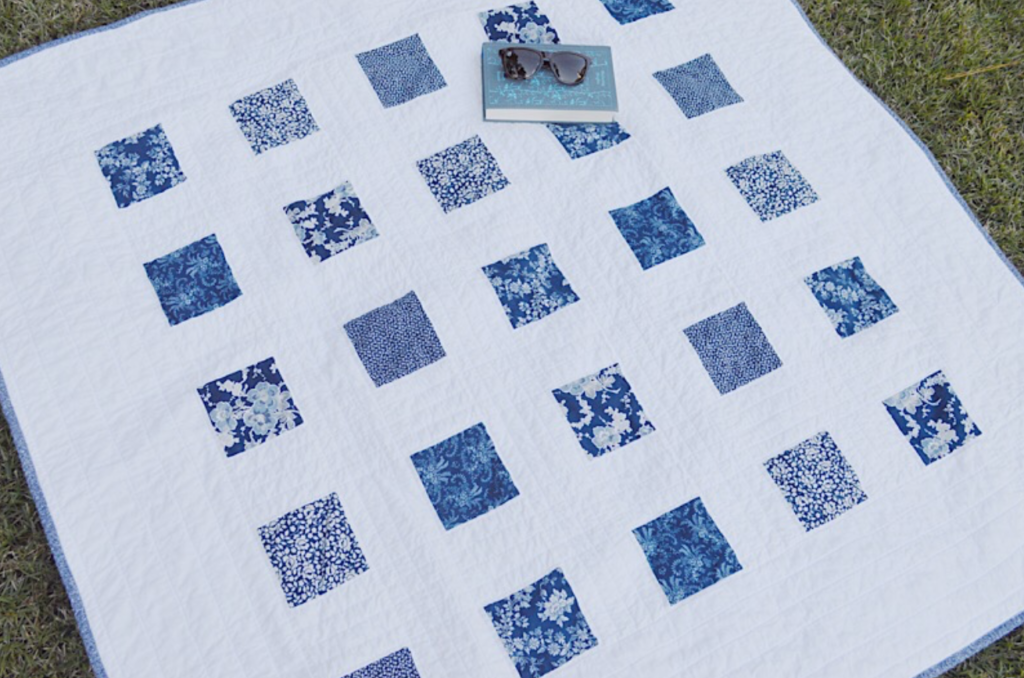
I used one of my favorite blenders for the binding — Riley Blake Trento in “Cosmos” blue. As you can see, the tiny speckled print ranges from light to dark hues of blue, and even some white, which makes it compatible with a nice range of blues and fabric designs. I love how it frames the quilt without stealing the show away from the focal point, which, in this quilt, is the lovely blue squares.
You can follow Charming designer Gerri Robinson on Instagram @plantedseeddesigns for loads of photos and quilty inspiration featuring her beautiful, timeless fabric collections!
Happy Sewing!

2 Comments
Pingback:
April 18, 2021 at 8:01 amPingback:
June 1, 2023 at 6:25 pm