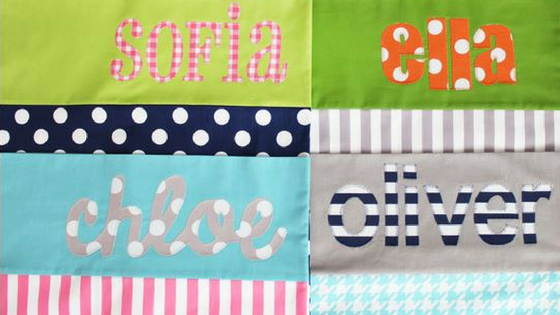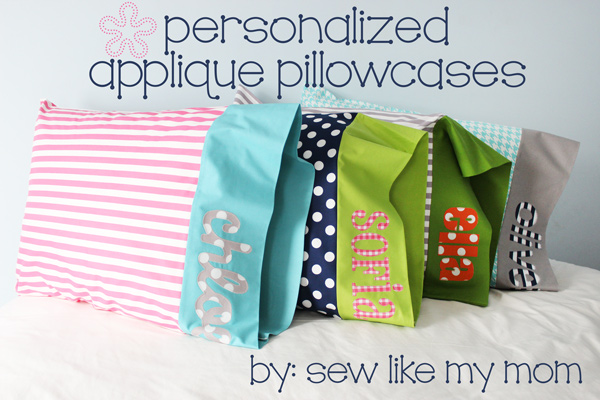
Hi Riley Blake readers! I’m Melissa, back from Sew Like My Mom with another tutorial for you!
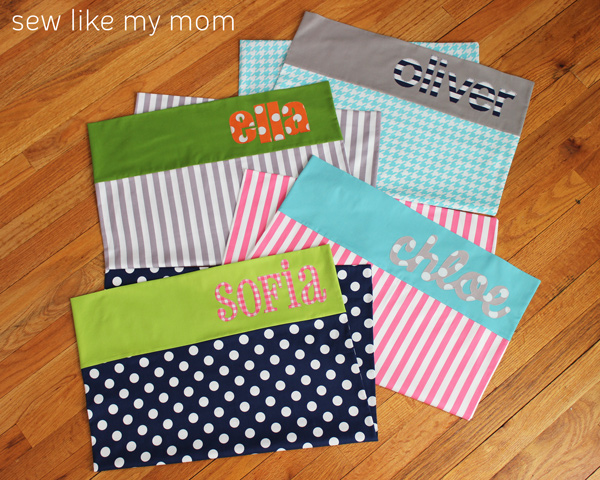
If you’re following me on Instagram you see me frequently post applique pillowcases. Last year I started making them for kids for birthday gifts then using them as gift wrap. The kids love them! But every time I post them people ask questions, so I decided I needed to just sit down and write it all out.
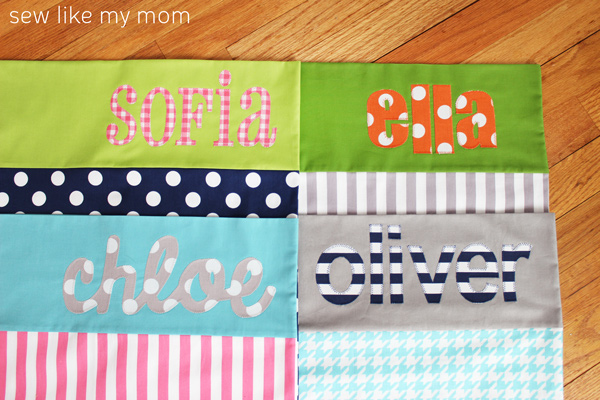
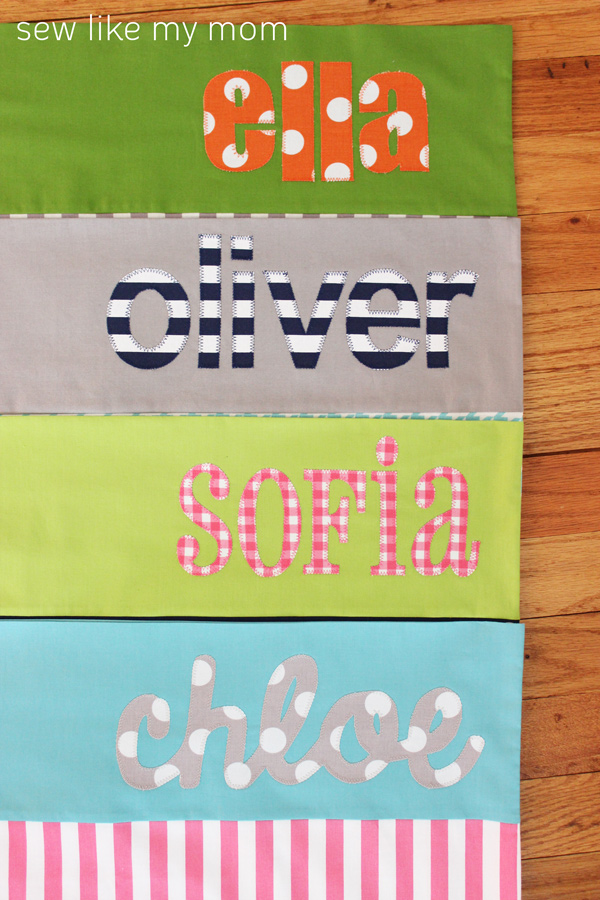
Sadly, I’ve never made ANY of these pillowcases for my kids! They’ve got plenty of the different seasons and holidays, but none with their names on them.
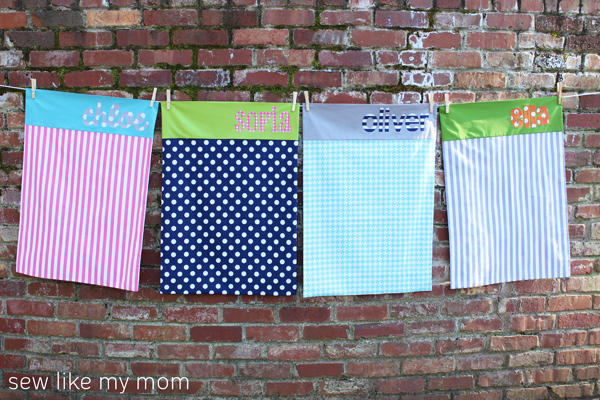
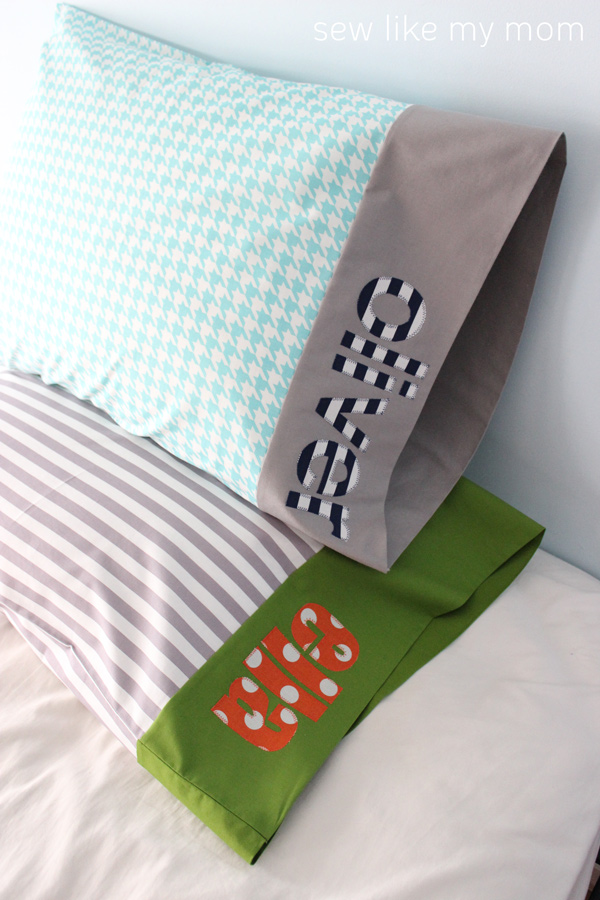
They LOVE these! And I have to admit, I’m a little jealous! 😉
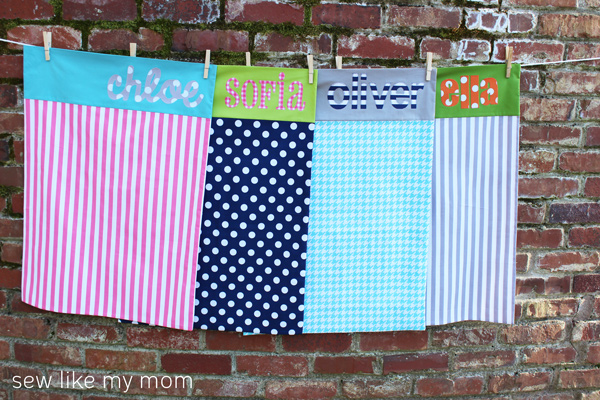
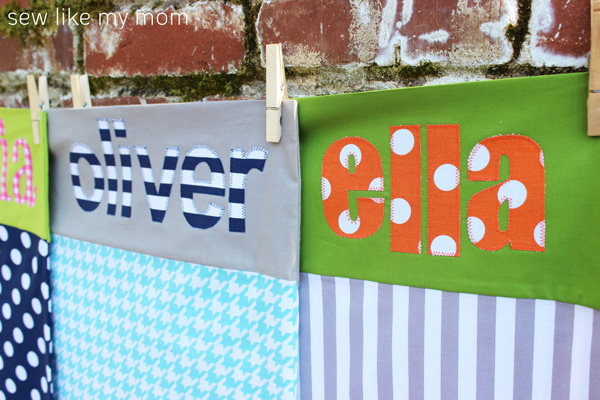
I love the basic graphic prints and I couldn’t wait to pair them up! Making these was so much fun!! I’m a little obsessed with their names.
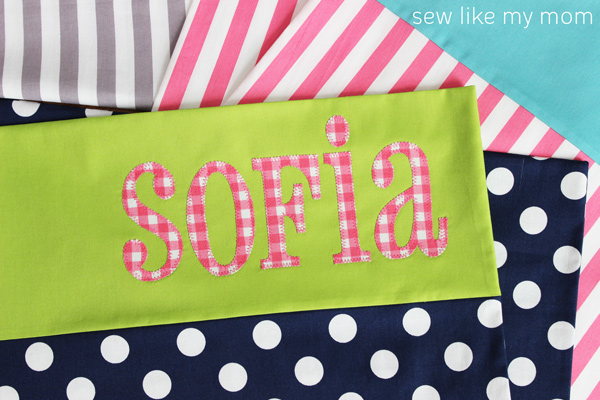
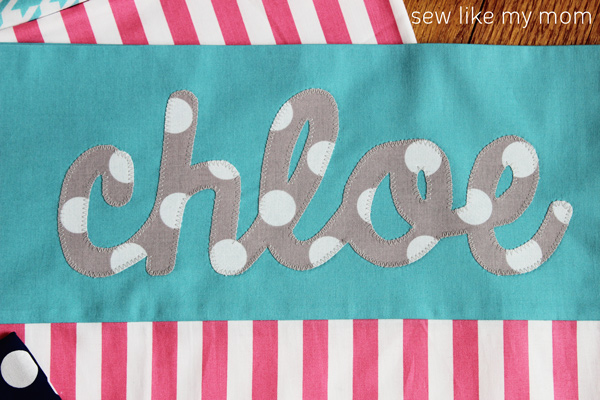
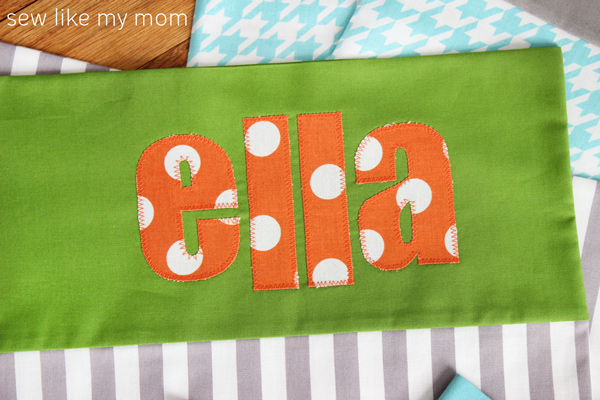
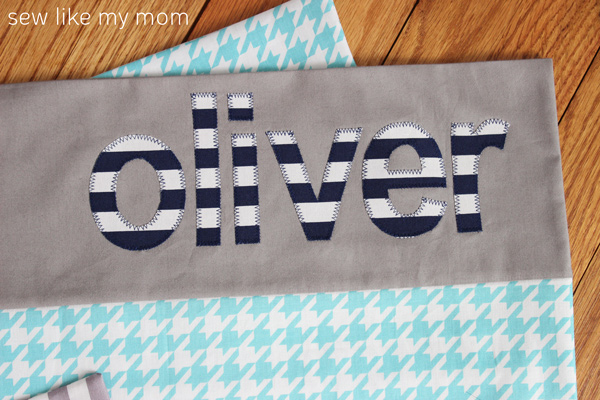
But really I love any reason to applique. I could stare at the perfect little stitches all day.
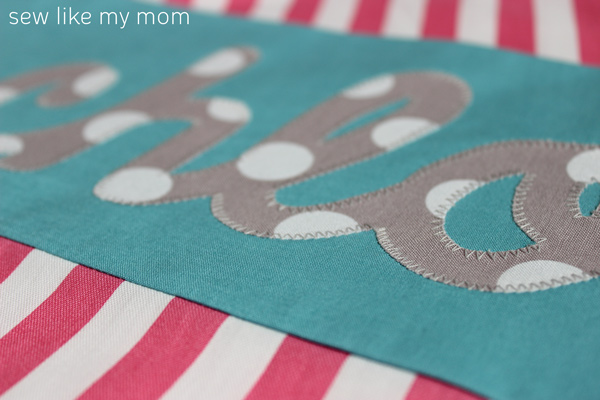
Have I enticed you enough? Ready to sew? Yay! Let’s go!
You’ll need:
3/4 yard for your pillowcase body 1/3 yard for your pillowcase band scraps for your name Heat n Bond Lite thread iron ruler
To start you’ll need your name! You can either trace the letters from your computer screen, or print them and trace them on a light source. Either way, YOU NEED TO TRACE THEM BACKWARDS! If you don’t, they’ll be backwards when you go to applique them on. Trust me!
You may also want to look at my blog post on Choosing Fonts for Applique
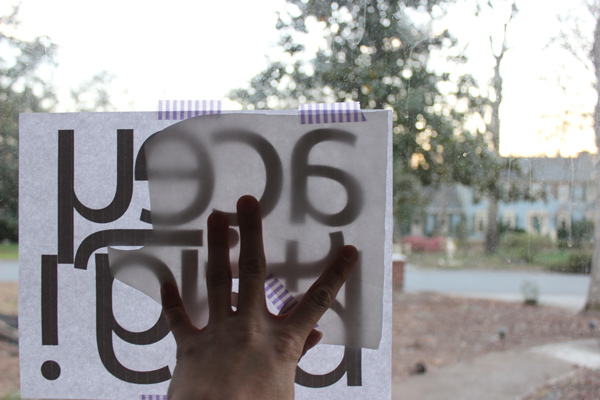
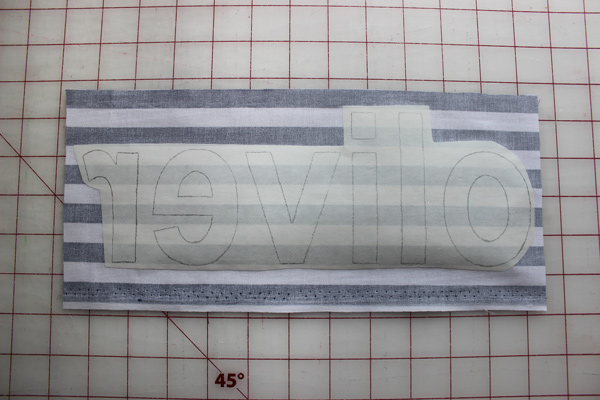
To get your name the best size, you want your letters approximately 3″ tall. Iron your HnB Lite to the back side of the fabric and cut your letters out using scissors.
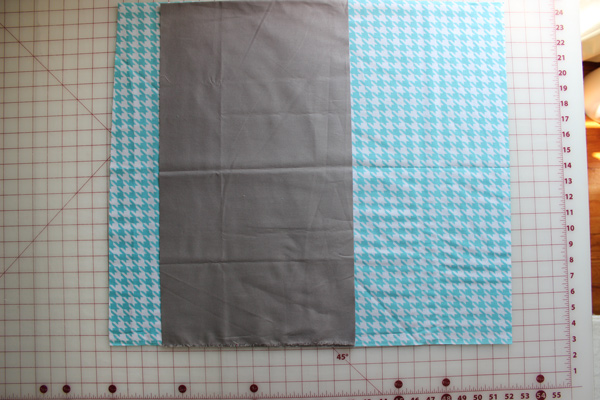
Grab your fabrics and let’s get started on construction!
Take your pillowcase band fabric and iron it in half lengthwise with wrong sides together.
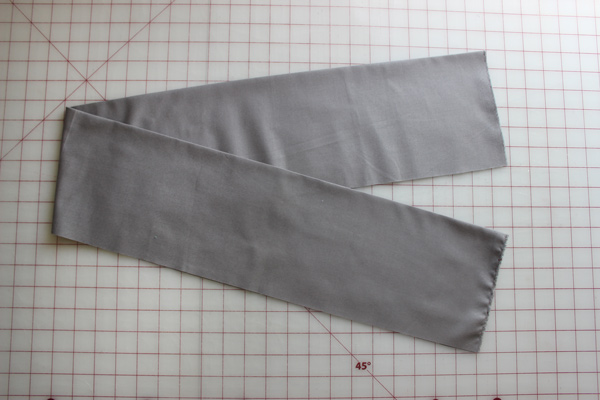
With the raw edges along the bottom, use a water-soluble marking pen and draw your seam allowance. I generally do 1/4″ to 3/8″.
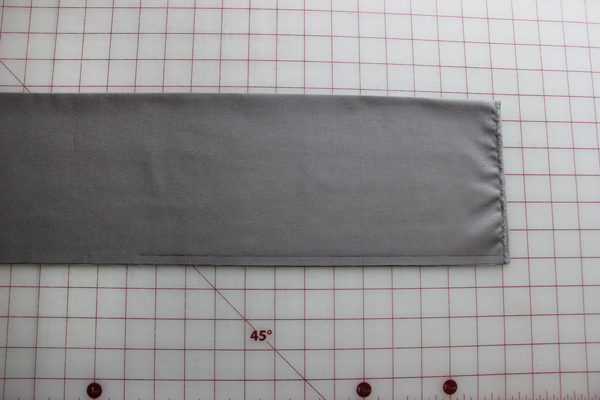
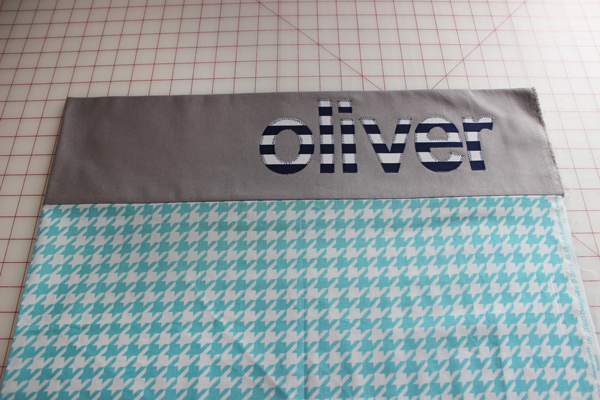
Grab your letters and center them between the seam allowance mark line and the fold at the top of the band. Use your ruler to get them lined up next to each other and straight across.
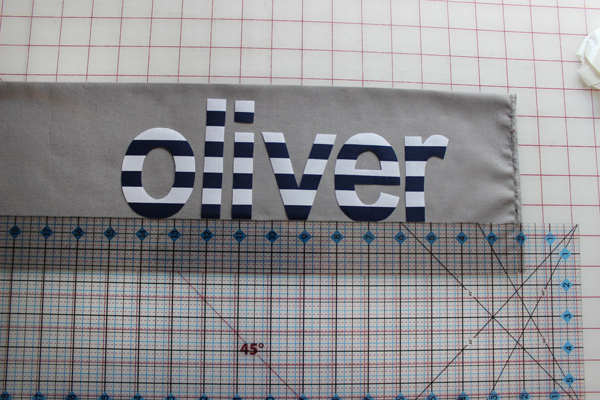
**Side note: I do my names down to one side, near the edge. Centering them can be hard because if your main fabric and band fabrics are different sizes it can be tricky! I also like them asymmetrical.
Peel the paper off the back of your letters and iron them on. MAKE SURE when you iron, you pick it up and place it back down, don’t run it across the fabric. Sew the letters to the band.
For extra help, see my Ultimate Applique post. It’s packed full of information!
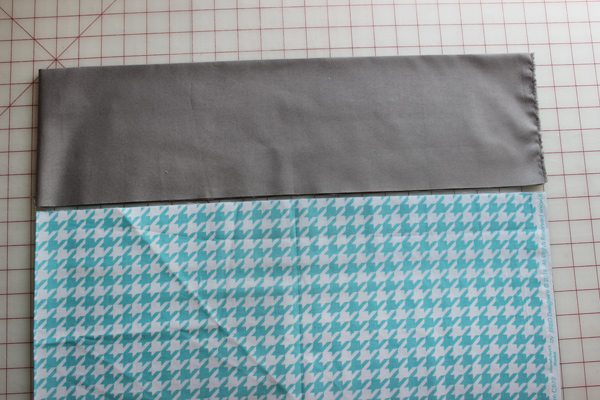
Open the band up with the name looking at you.
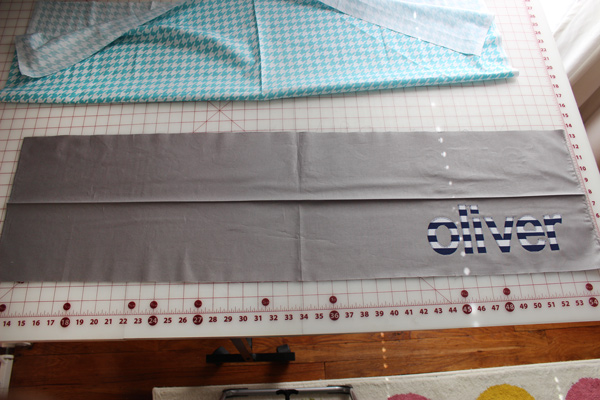
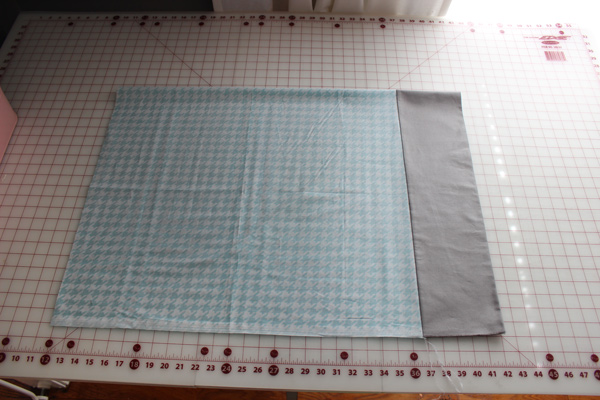
Lay your fabric down with right sides together and match your bottom raw edges. **If your fabric is directional, the print needs to be upside down at this step when you’re looking down at your project.
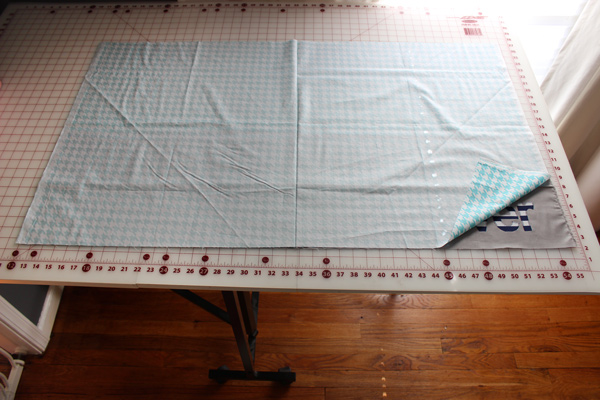
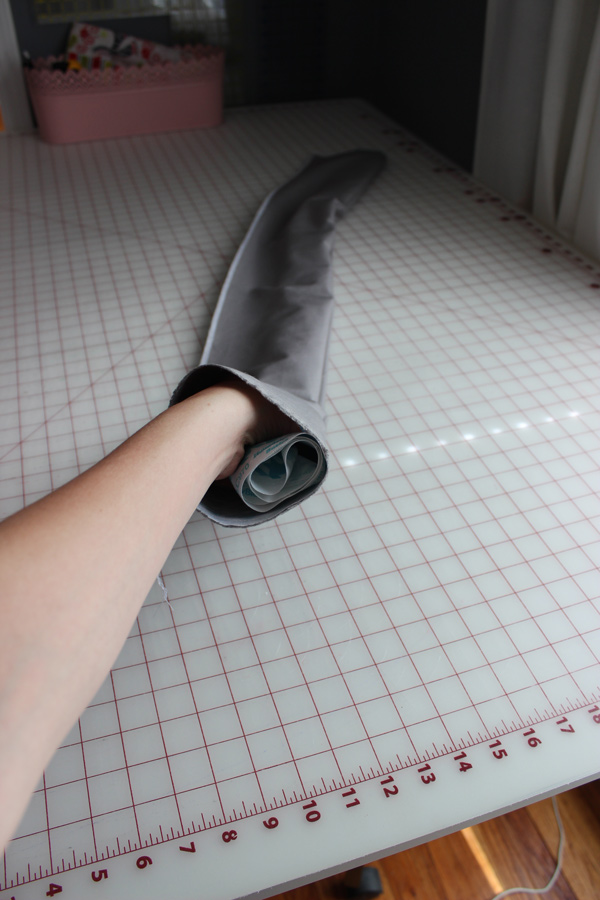
Roll the fabric body to the middle of the band piece, making sure there’s plenty of room on each side.
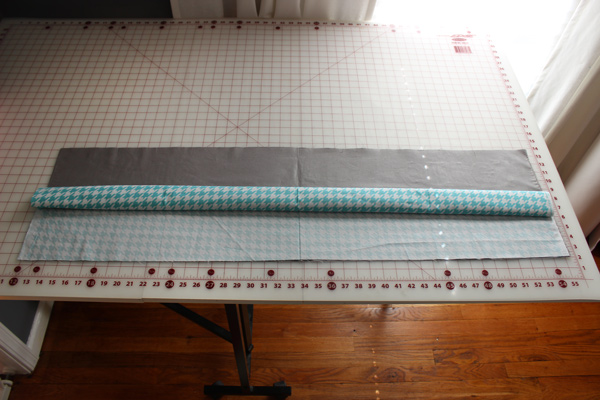
Grab the raw edge of the band and pull it over the roll and match to the other raw edges. Pin in place.
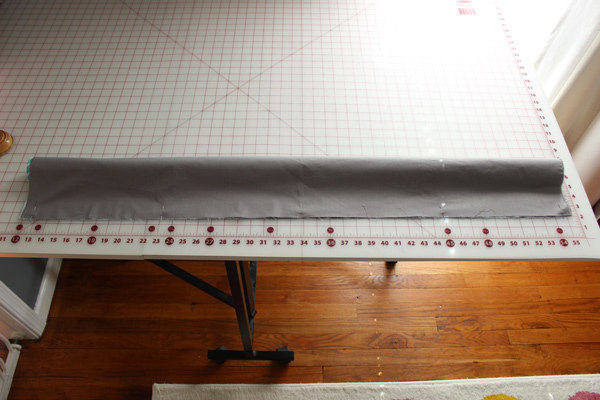
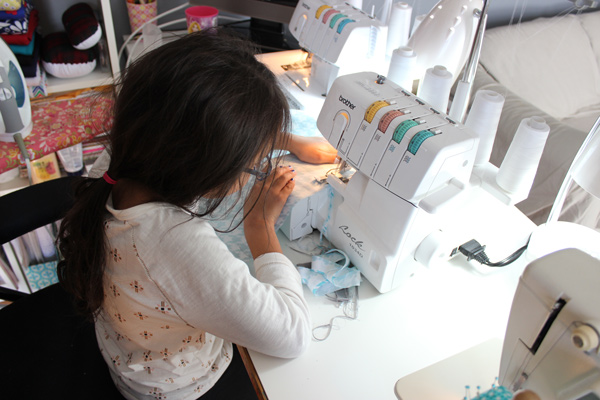
Sew down the length of the pillowcase. I use my serger for this step because it sews lots faster than my machine!
Put your hand inside the tube and pull out the pillowcase body.
Press the seam you just sewed.
Fold the pillowcase in half with right sides together. Sew down the side seam and along the bottom. Again, I use my serger to prevent raw edges.
It helps to have a cute helper for this step!
That’s it! Turn right side out, press the whole pillowcase, and enjoy!
Thanks so much for having me! I can’t wait to see all the awesome pillowcases you create!
If you’re on instagram, use #birthdaypillowcases or tag me @sewlikemymom so I can see them, too!

