Hi, it’s Sedef from Down Grapevine Lane, and today I will be sharing with you my latest Project Design Team tutorial!
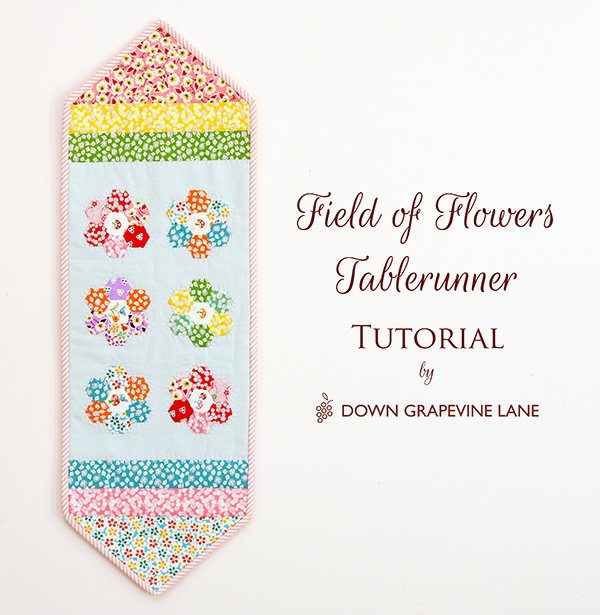
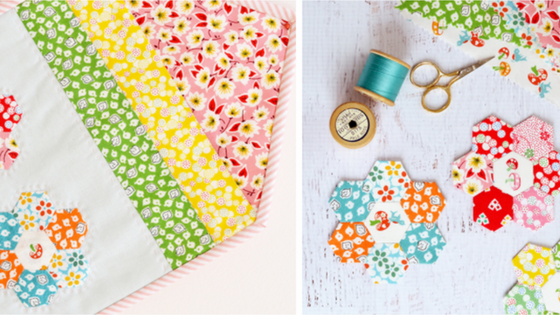
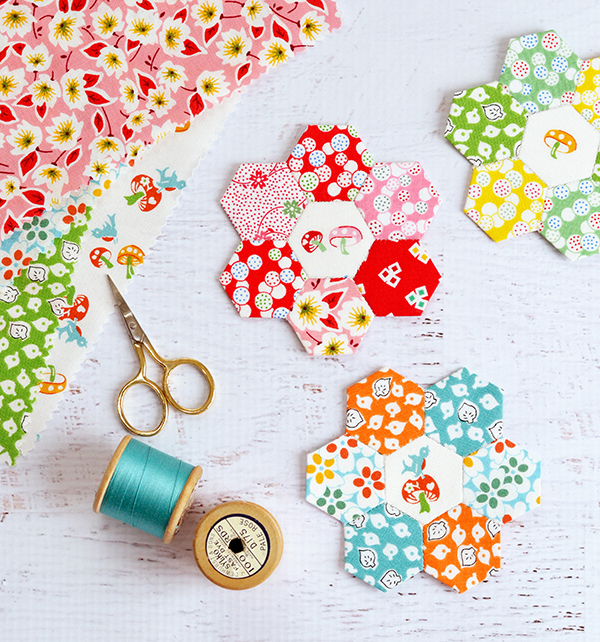
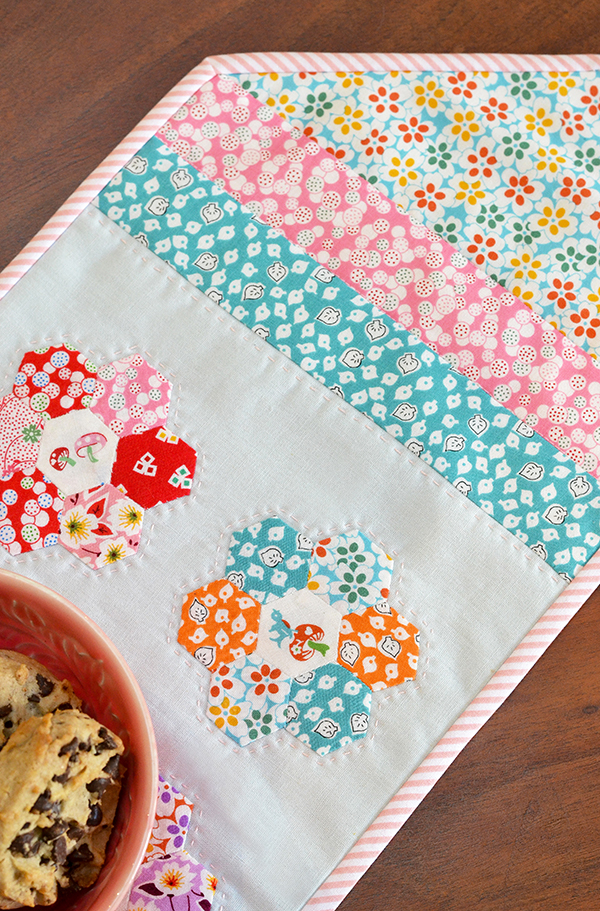
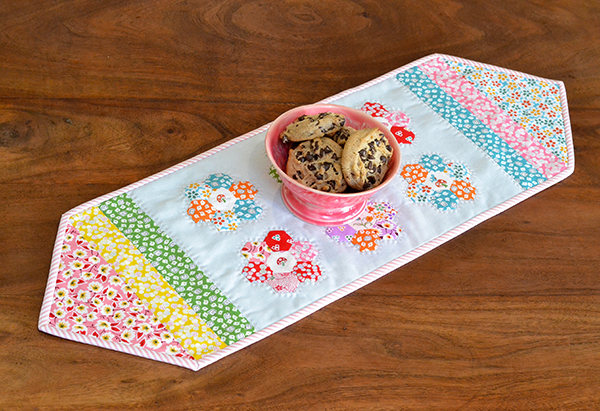
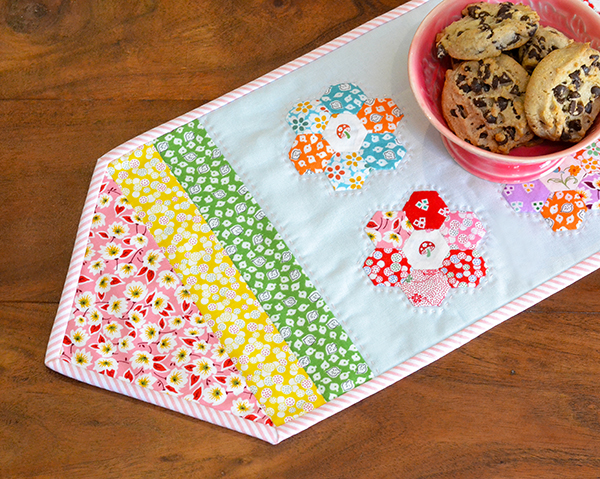
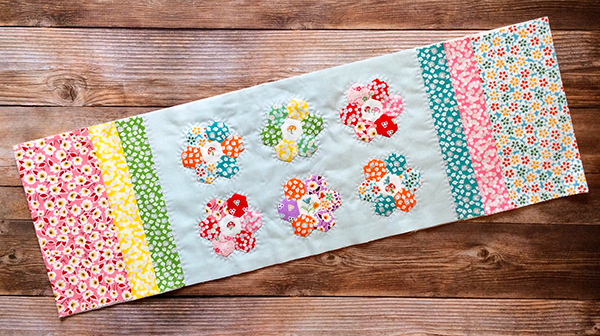
I made this sweet English Paper Pieced (EPP) applique table runner with Hope Chest 2 – I love the bright colours and pretty prints of this fabric range by Penny Rose Designs. For the fussy cutters amongst us – the toadstool print that I used for my flowers’ centres is an absolute must-have! The pink bias stripes that I used for the binding is from my own debut collection, Sweet Orchard for Riley Blake Designs.

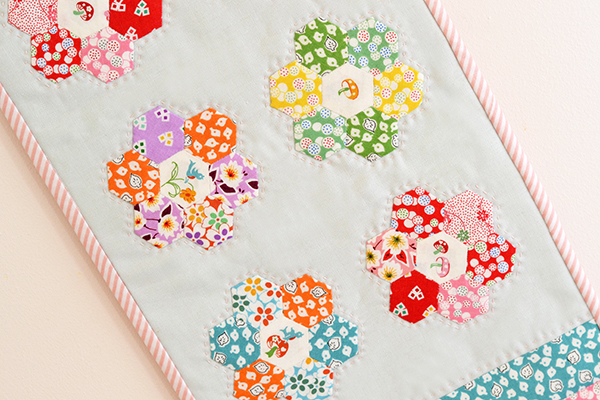
When I started this project, I was intending to make something completely different (a journal cover), but I changed my mind after making the EPP flowers as I thought they would look great laid out together like this, as if in a field.

TUTORIAL
Materials : 10″ stacker of Hope Chest 2, linen or solid cotton for background (10″ x 16 1/2″), batting (12″ x 32″), backing (12″ x 32″), binding (2 1/4″ x 80″), No 8 perle cotton or embroidery floss for hand quilting (optional), 3/4″ hexie papers (if using store bought templates) or cardstock / heavy weight paper (if printing own hexie templates), fabric glue pen, general sewing supplies.
Making the EPP Flowers
1. For your hexie templates you can either use store-bought 3/4″ templates or print your own from here – just set the hexagon size to 0.75″.
2. I use glue basting method for my hexies, which I find a lot quicker than thread basting. If you are using the same method as me, punch a hole through the centre of your hexie templates with a hole punch or thick needle before you start.
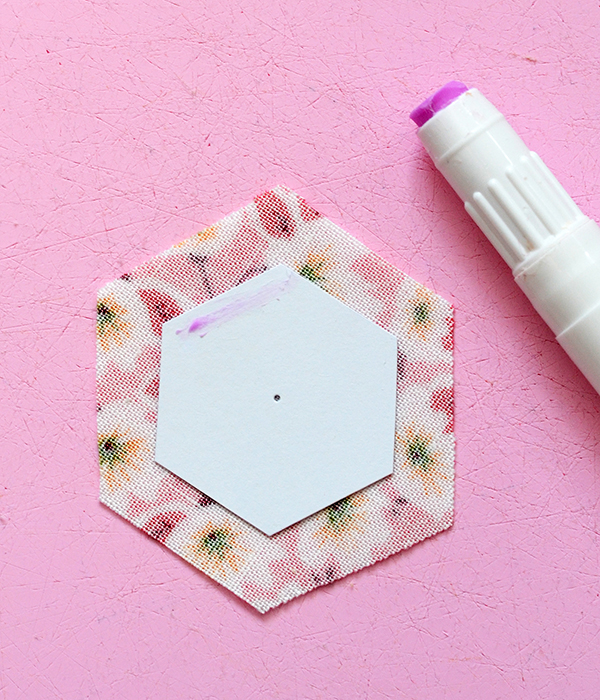
3. Using a hexie template cut 6 hexie shapes from Hope Chest 2 for each ‘petal’ of the flower and one for the centre. I don’t use a template for this though you can make one if you prefer. I just place a hexie template on the fabric and cut all the way around the template leaving a generous 1/4″ allowance.

4. Place a fabric hexie wrong side facing up and put the hexie template at the centre. Put fabric glue along one edge as shown, then quickly fold over the edge of the fabric so it sticks to the glue. Try not to get glue on the edge of the paper if you can, as this makes it a little more difficult to remove the papers later.
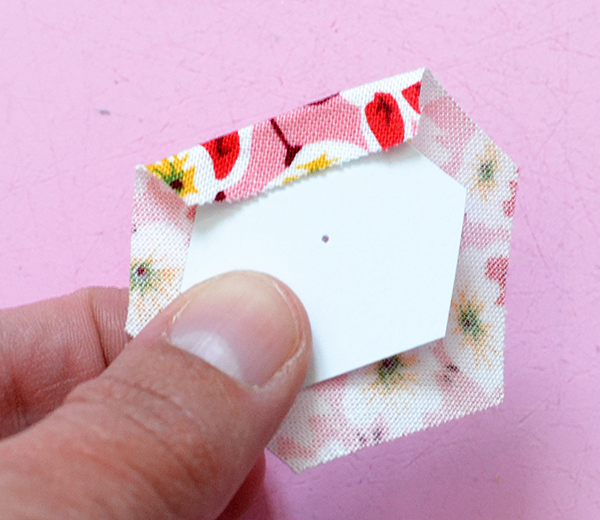
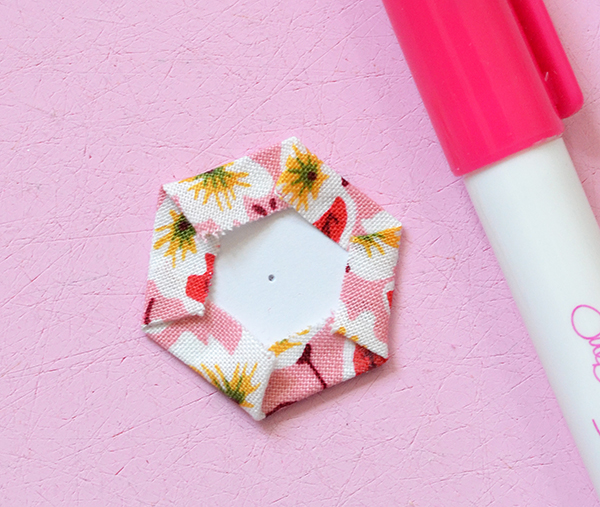
5. Repeat for the other 5 sides of the hexagon and you will have one completed hexie. Note that I am using a rotary cutting mat which is a very helpful tool for EPP, as instead of turning the hexie around each time, you can just rotate the mat. Make 6 hexies for the petals and one for the centre.
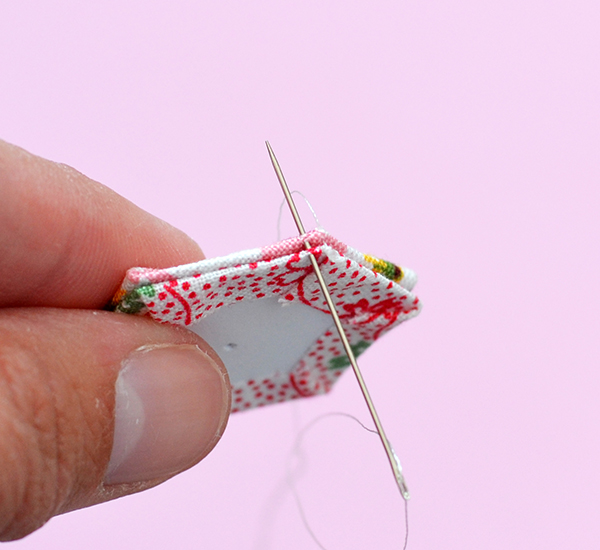
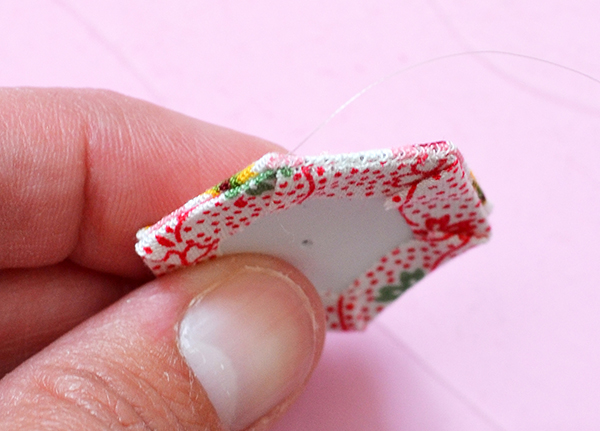
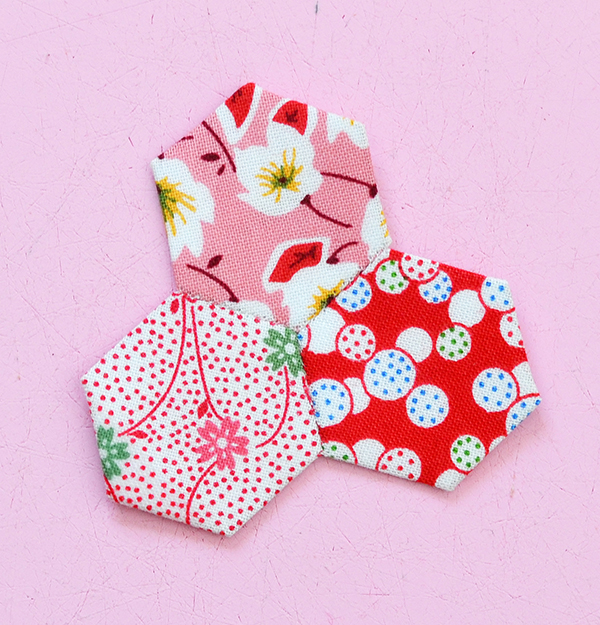
6. Now to sew the hexies together. Place two hexies right sides together. Put a knot at the end of a matching coloured thread, and start whip-stitching the two hexies together along one edge, starting on the corner. Take care that your needle only catches the edges of the fabric (literally a few threads) and not the paper underneath. Place a stitch every 2-3mm.
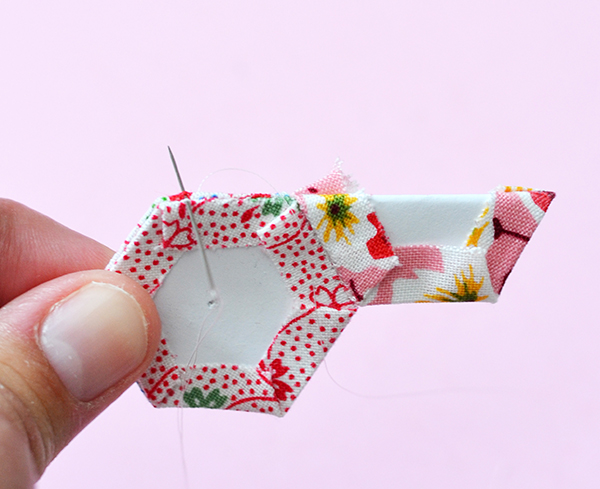
7. Without breaking your thread, place another hexie right sides together with one of the hexies, and repeat the process in the previous step. Note that the second and third hexies are not sewn together yet. Place them right sides together and whipstitch – to be able to do this you will need to fold the first hexie in half as shown in the photo. You will now have three hexies sewn together.
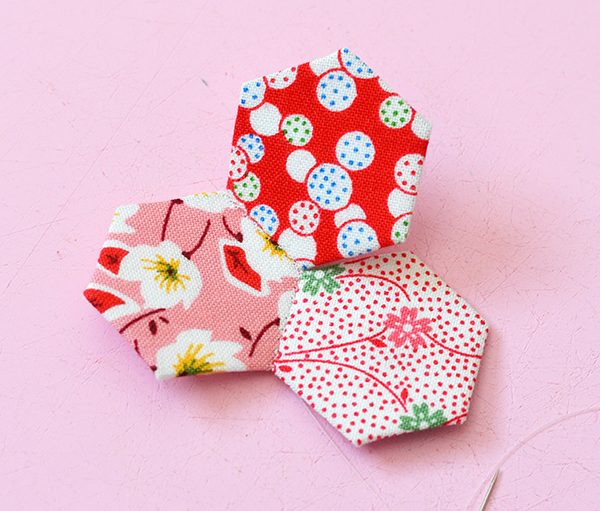
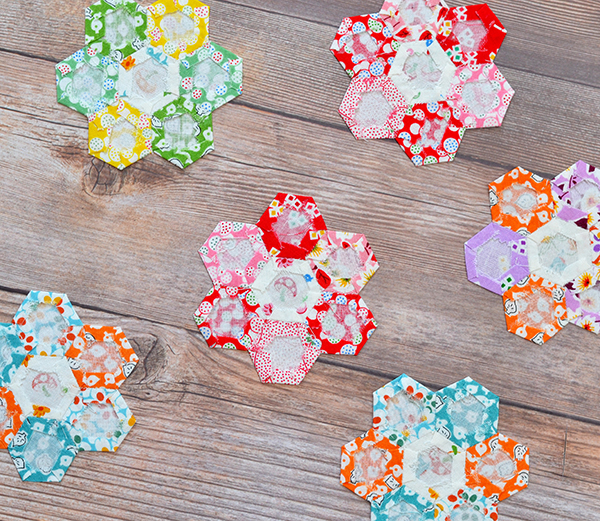
8. Repeat the process to complete the flower. Make 6 flowers. Give these a quick press with a hot iron to set the seams.
9. Carefully remove the papers in each hexie (this is where the hole at the centre comes in handy). Place each flower on your ironing board, right side facing down, carefully fold each folded edge back to its correct position and press. Once you are happy with all the folds you may want to give the flower a light spray with spray starch, and press with a dry iron (no sideways movement). Hold the iron in place for a few seconds. This last step is optional but I find the starch really helps to set the flower shape, and makes the edges very crisp.
Constructing the Table Runner Top
1. Cut 4 strips 2″ x 10″ from Hope Chest 2. Also cut 2 strips 4 1/2″ x 10″. Sew a 2″ strip to either side of your central linen, then another 2″ strip, and finally, a 4 1/2″ strip.
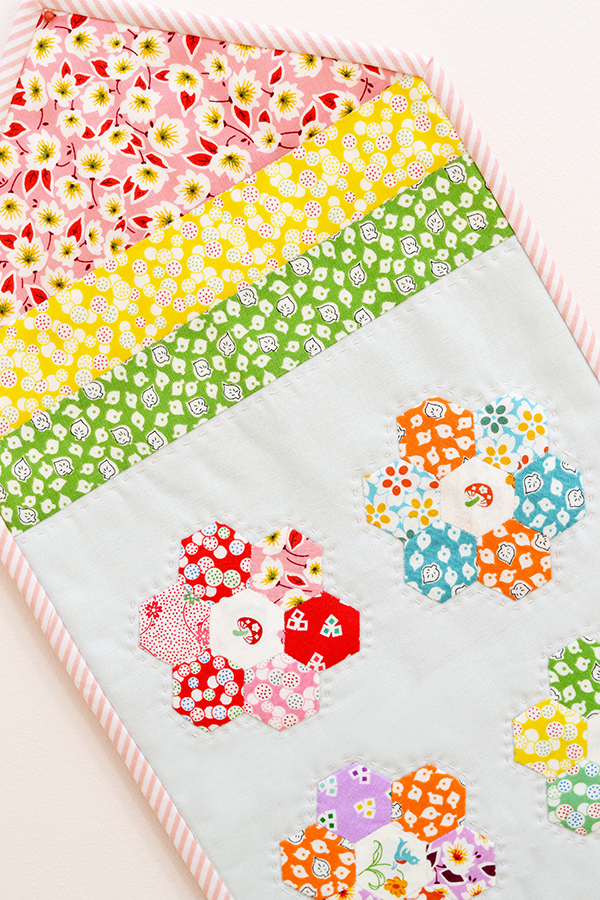
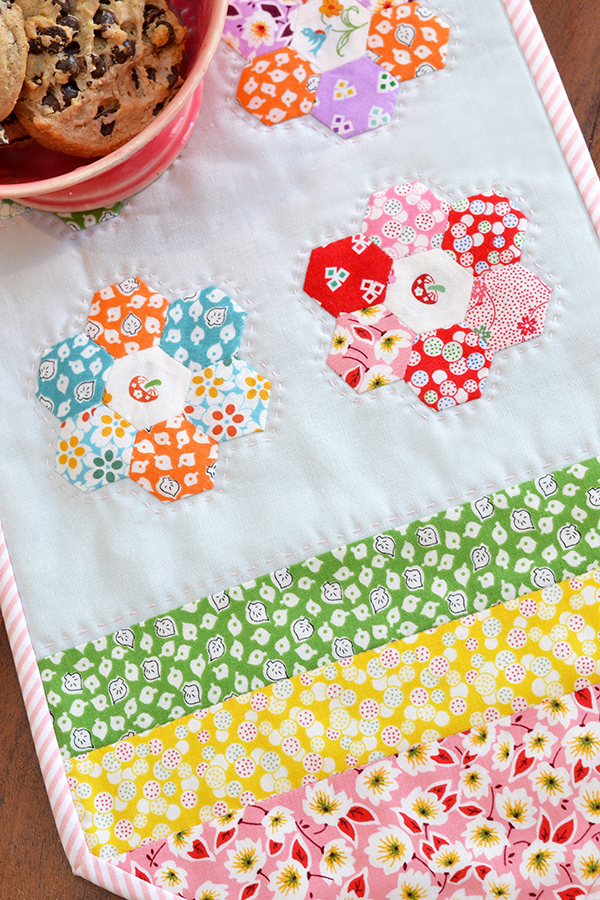
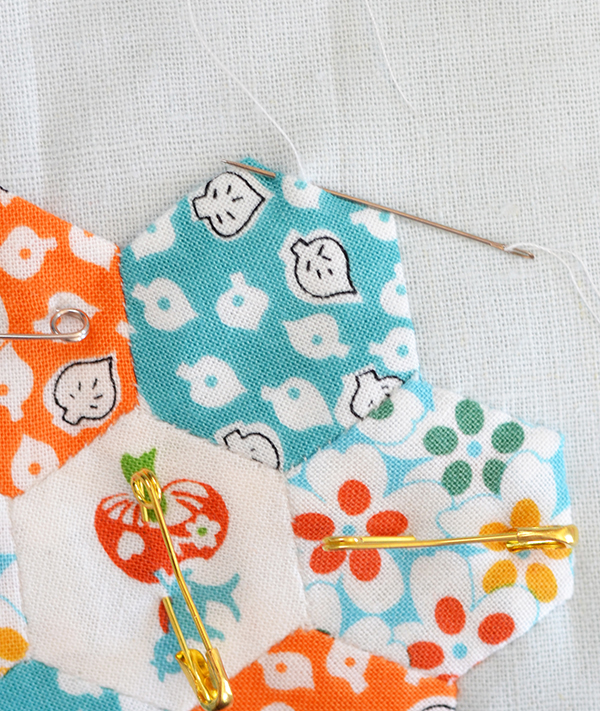
2. Position all 6 flowers on the central linen (either eye ball it or measure it) and pin them well (at least 3 places in each flower). Applique these onto the background by hand, as shown. You can machine applique also – but I prefer hand stitching as it doesn’t take that long and the hand stitches are less visible than machine applique.
Quilting
1. Make your quilt sandwich – backing at the bottom (right side facing down), then batting, then your quilt top, right side facing up. Trim excess backing and batting all around the perimeter. Pin the three layers together in multiple places.
2. For the quilting, I hand-quilted the centre around each flower and also two vertical lines at either ends of the linen. I also machine quilted in the ditch between the strips. Use whichever quilting method you prefer.
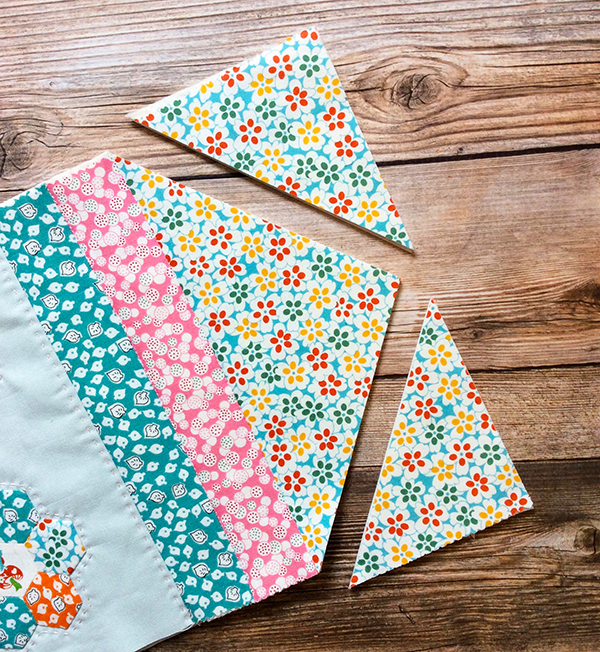
3. Mark the centre point of the right and left edges. Trim the corners as shown. Repeat for the other end of the table runner.
Binding
1. Cut 2 1/4″ wide strips of binding and join together until you have 80″ of binding. Fold in half wrong sides together and press.
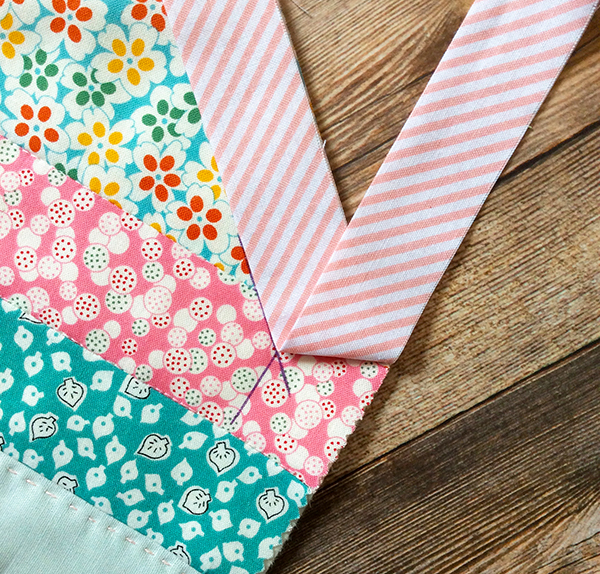
2. Start sewing the binding with a 1/4″ seam along one long edge of the quilt, leaving a 5″ tail at the beginning. You will soon get to an angled corner. If you’ve never done mitred angled corners before you may want to mark two intersecting lines 1 1/8″ from the edge as shown (use a disappearing fabric pen!), to act as guides. You won’t need to draw lines every time once you are comfortable with the process.

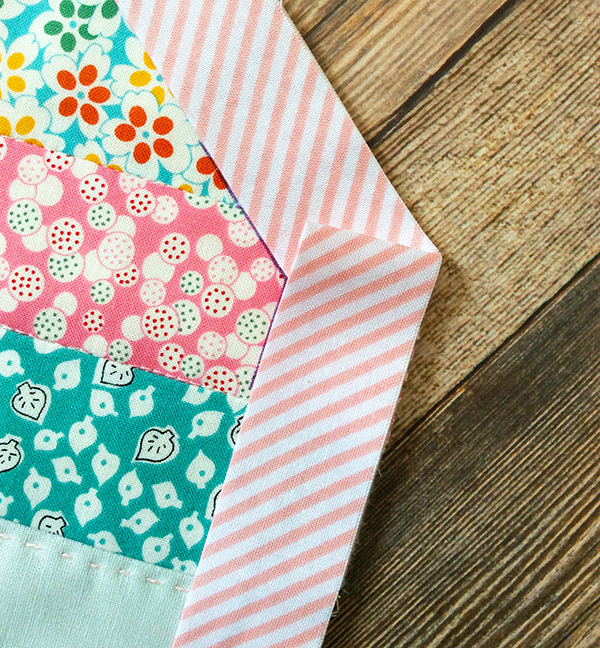
3. Sew the binding onto the quilt to the point of the corner where the two lines intersect. Fold the fabric back along the line of stitching to align the raw edge with the next edge of the quilt. Then fold the binding down so that the fold is in line with the outer point of the quilt. Stitch, beginning at the top edge of the quilt and catching the fold in the binding.
4. Continue binding all the way around. Note that the two pointy ends of your tablerunner should be mitred the same way as the corners of a rectangular quilt, they are 90 degree corners (or very near). Finish the binding with a diagonal seam.
Thank you for visiting and I hope you enjoyed the tutorial! Please don’t hesitate to contact me at sedef@downgrapevinelane.com if you have any questions or if you would like to share your finished projects!
