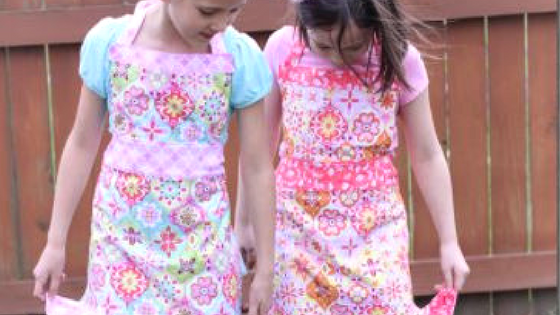


Let’s jump right in to the tutorial. My girls are 7 and 9 years old, and this apron fit both of them.
You’ll need:
–1/2 yard main fabric
–1/2 yard trim fabric
–basic sewing supplies (scissors, sewing machine, thread, etc)
You’ll first need to cut the following pieces:
MAIN FABRIC
bottom skirt panel, 18x12in
top bib panel, 10x6in
TRIM FABRIC
waistband, 18x3in (cut 2)
top trim, 10x2in (cut 2)
bottom ruffle, 30x4in
ties, 20×2.5in (cut 4)

Cutting everything out is half the battle! Now let’s prep the pieces – – for the waistband and top trim, iron under 3 sides, leaving one long side flat (see picture below for clarification). Set aside.

Sew each tie into a tub, with one seam on the long side, sewing it right sides together. Then turn the tubes right-side out. I love using a turning tool. Finish one end buy turning it under and sewing into place. Set aside.

Ruffle: use a narrow hem and hem the bottom edge and sides of the ruffle. Then ruffle the top edge, using a long stitch and creating the ruffle by pulling one of the threads. Match the length of the ruffle to the skirt panel piece. Set aside.

Using a narrow hem, hem the side seams of the skirt panel and bib panel pieces. Set aside.

ASSEMBLY
Now that everything’s been prepared, let’s jump in to assembly!
First – attach the ruffle. Lining up raw seams, sew the ruffle to the bottom of the skirt panel:
Iron it down and top stitch to finish the trim and hold the ruffle flat in place:

Waistband – make a sandwich with the two waistband pieces and the top of the skirt panel, with raw edges matched up, as shown:

Sew along that raw edge then press the two waistband pieces up.

Top stitch along that seam:

Now slide the bottom of the bib panel into the top of the waistband sandwich – that edge on the waistband should already be turned under. Top stitch along that entire edge:

This will ensure that the seams are encased on both the right-side and the back-side of the apron:

Repeat that method with the top trim. When it’s time to sew the top stitch along the top edge, insert a tie on each end at a slight slant. Sew up the ends of the top trim as well.

The ends of the waistband should still be open. Insert a tie near the top:

Then fold it down to create a pleat at the end of the waistband. Top stitch into place. Repeat on other side.

Finished waistband:

That’s it!! Stand back and enjoy your project! Since the waist and neck are ties, it can adjust to fit a variety of sizes.


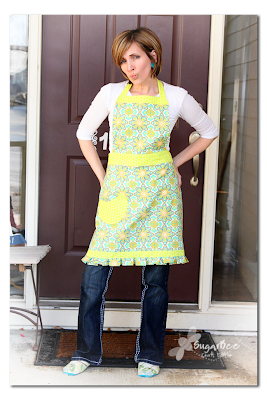
If you love aprons and want an adult version, I have a tutorial for that on my blog: