Hi Riley Blake readers! I’m Melissa and I blog at Sew Like My Mom and I’m so excited to be sharing with you today! I’m giving away an awesome Riley Blake prize on my blog, so be sure to jump over and check it out!
I love Valentine’s Day. It’s not that I love all the lovey dovey hearts per se–I do–but I love pink. I’m a pink girl at heart (see what I did there?). I’ve got pink dishes, pink utensils, a pink mixer. You name it, I’ve got it in pink. So for Valentine’s Day I drip the house in pink for weeks and call it decorated for that one special day. I’ve been itching for some new additions to our dining room decor since we moved and this was the perfect chance!

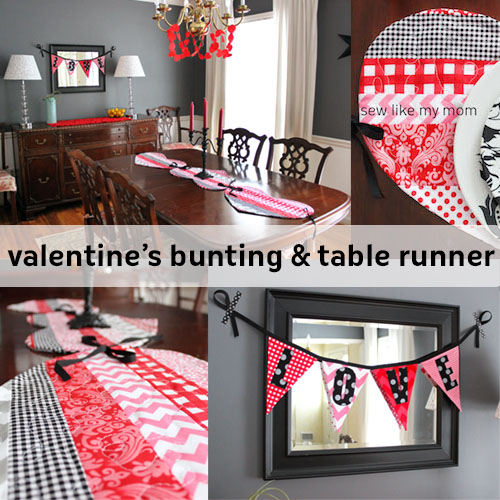
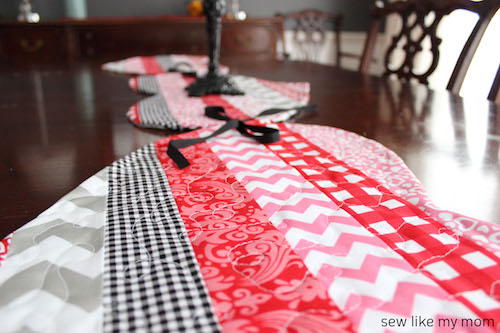
These banner panels are fantastic! The colors are bright and modern and it was so easy to put together. I couldn’t believe it when I found washi tape in my stash that matched my polka dot letters! And this table runner, oh how I love it! Because it’s not just a table runner…
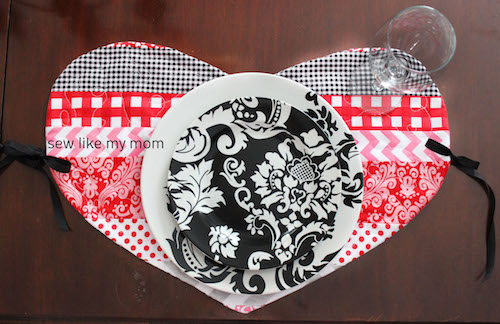
…it’s also place mats!!
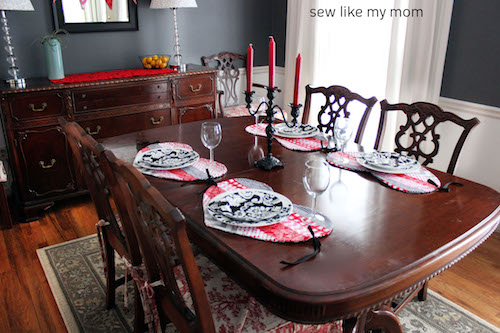
I just love how they look with my dishes, too.
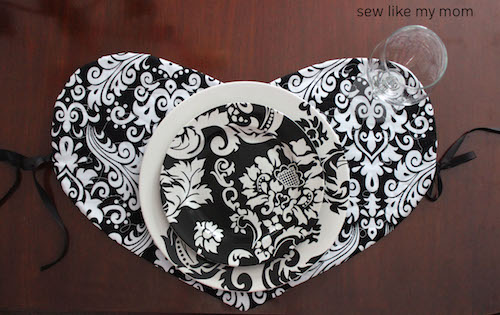
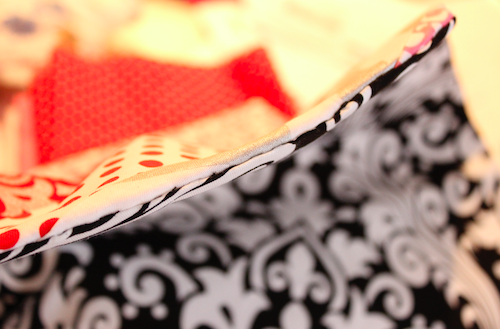
And because I love the idea of them so much, I backed them with this great black and white print that looks like it was made to go with my dishes!
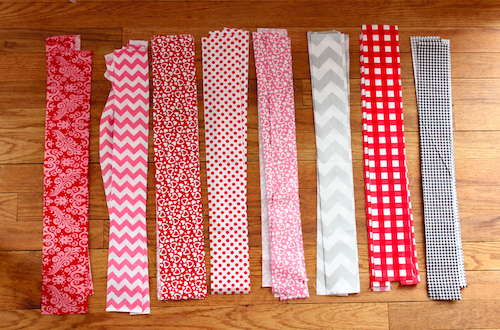
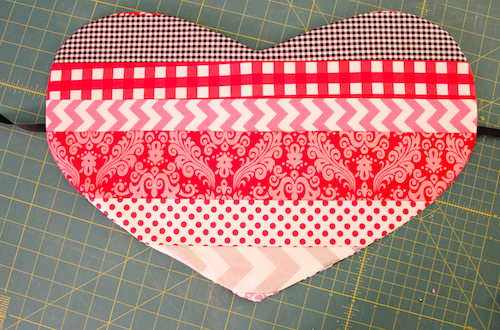
Are you ready to get started?! This project is a great little stash buster. You’ll need (PER PLACEMAT): 1/2 yard of fabric for back (you’ll use half of this, the other half can be used for a second mat) 1/2 yard total of scrap pieces for front 1/2 yard of Insul-Bright or other batting 32″ of grosgrain ribbon First I cut a bunch of strips of fabric. There was no standard measurement, I just did anything between 1.5″ and 3″. I didn’t want them uniform so I just made sure they were straight and cut. They’re about 22″ tall.
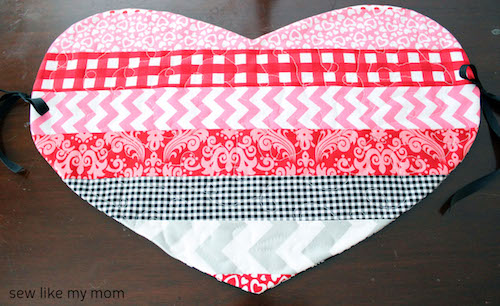
Then I took one strip from each print and sewed them together using my serger. This isn’t required, it was just faster. My piece was about 17″ wide at this point. Once you’ve sewn all the strips together, iron all the seams to one side. 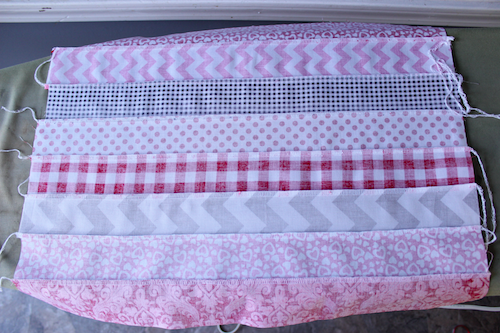
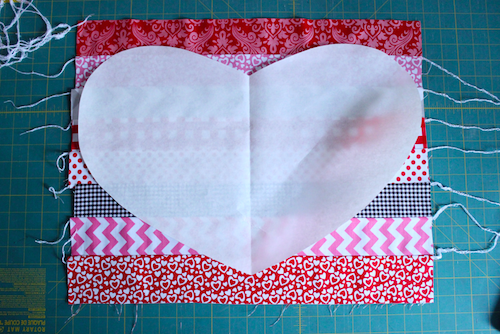
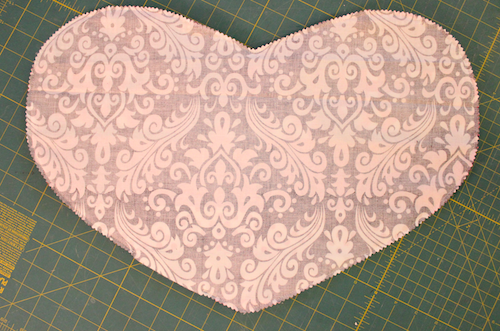
Now you’ll need to make a heart template. Get a large piece of butcher paper, or several sheets of computer paper taped together, and create the heart shape that you like best. I free-handed this one based on the size of my strips when sewn together. Place your heart template on top and cut one each of the pieced top, the back, and the batting layer.
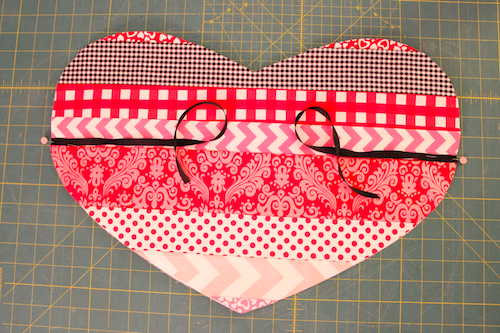
Lay the batting down and place the pieced top right side up on top. Pin the ribbons on the sides.
Place the back on with right sides together and pin like crazy.
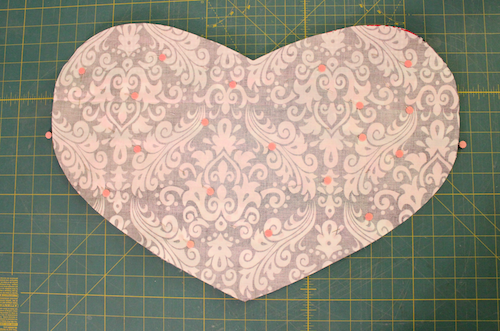
Sew around the perimeter with 1/4″ seam allowance, leaving a hole about 4″ to turn the placemat through. You need to clip the curves so the heart will lay smooth. I prefer to just clip around mine with pinking shears.
Turn right sides out and press well. Turn in your seam allowance and whipstitch the hole closed.
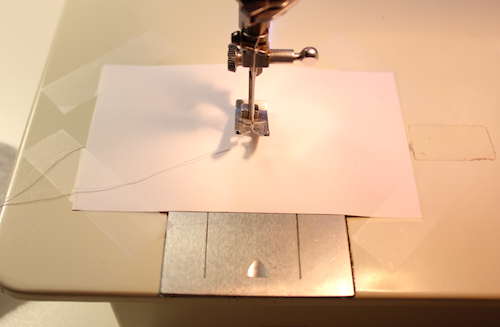
There’s several ways to finish these. You can stitch in the ditch and sew right in the seams, hiding the quilting. Or, you can quilt them! This was my first time quilting, so forgive the messiness of my stitches. I learned this great little trick from my Mom! If you can’t lower the feed dogs on your machine, tape a heavy piece of paper over the throat plate of your machine and leave the presser foot up.
I chose to “meander” my quilting so I just did loops and swirls all over the placemat randomly.
Ta-da! Placemats! Tie them together and place them down the middle of the table for the runner, then untie them and use them as individual placemats. Just so sweetly festive!

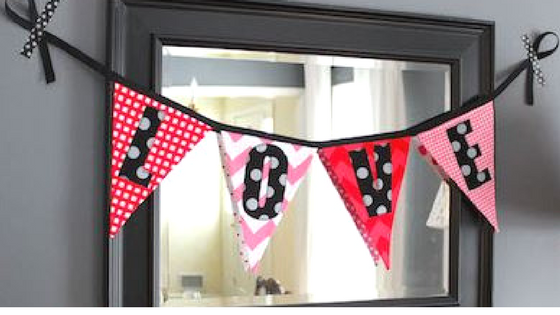
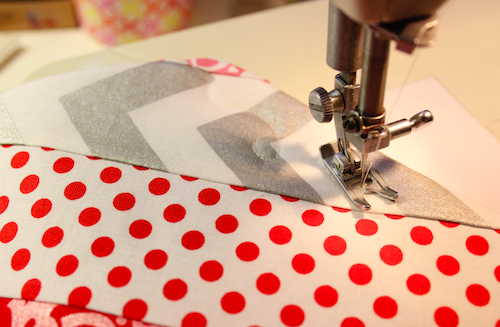
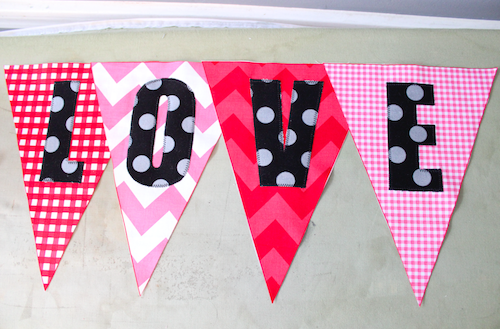
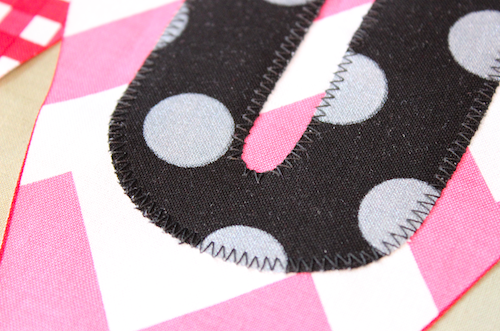
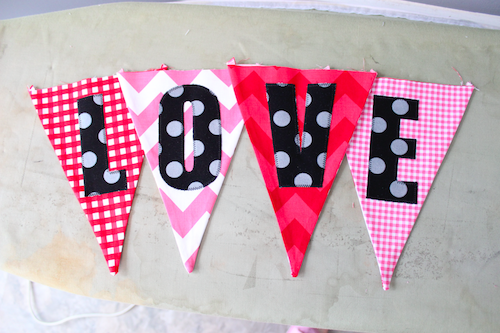
Now on to the bunting! To make these you’ll need: 1 bunting panel from Riley Blake fabrics coordinating scraps for applique (optional) 1 package of double wide bias tape to make the incredibly precious bunting, start with a panel of Riley Blake holiday banners. I cut a few prints I liked and I appliqued L-O-V-E on them in a great coordinating print.
To learn more about applique, please visit my Ultimate Applique Tutorial.
Place the pieces with right sides together and stitch at a 1/4″ seam allowance.
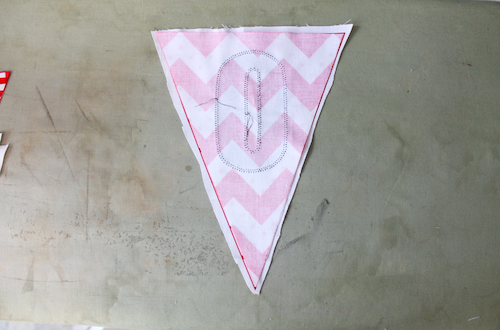
Clip the point, turn right side out, and iron.
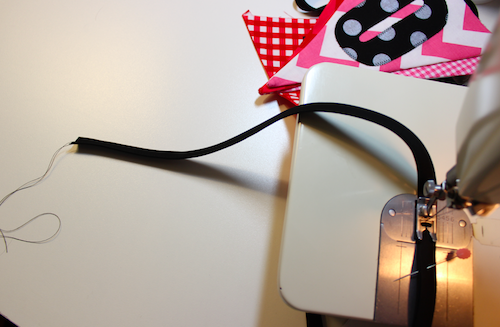
Get out your bias tape and measure off 12″-15″ for the tie. Start stitching at one in, stopping at your mark.
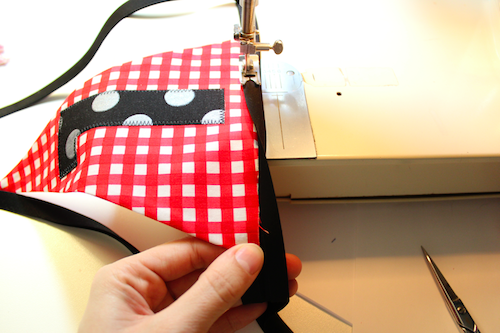
Then add the first flag between the layers, continuing to sew until you get all the banners placed. Once the last one is sewn, continue stitching for 12″-15″ to create the tie on the other side.
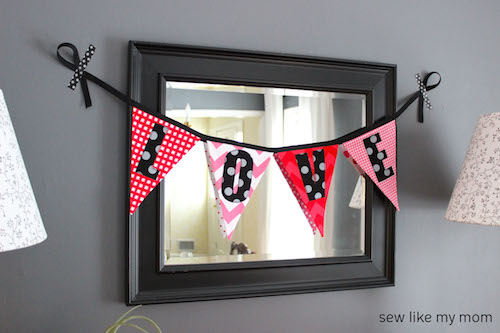
Isn’t it adorable?!
Happy Valentine’s Day and thanks so much for having me today!