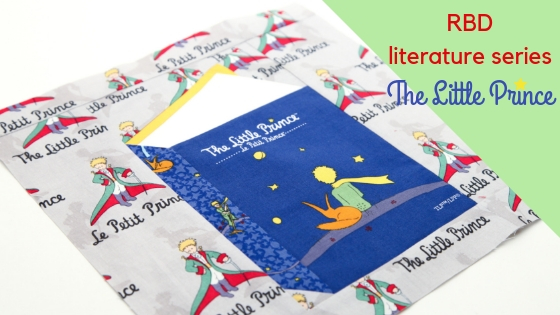
We are thrilled to be kicking off a brand new series featuring our fabric collections that come straight out of our favorite literature! Our first block features fabric from THE LITTLE PRINCE collection. Kate Basti, from Quilt With Kate, has created a fun foundation paper piecing Tall Tales Quilt Block – the perfect choice for our Literature Series! You’ll find Kate’s block available HERE for $1 ($1 covers the cost of her listing/selling fees).
I decided to make 12 1/2″ blocks because I wanted plenty of space to show off the fun prints in the various literature themed fabric lines. .
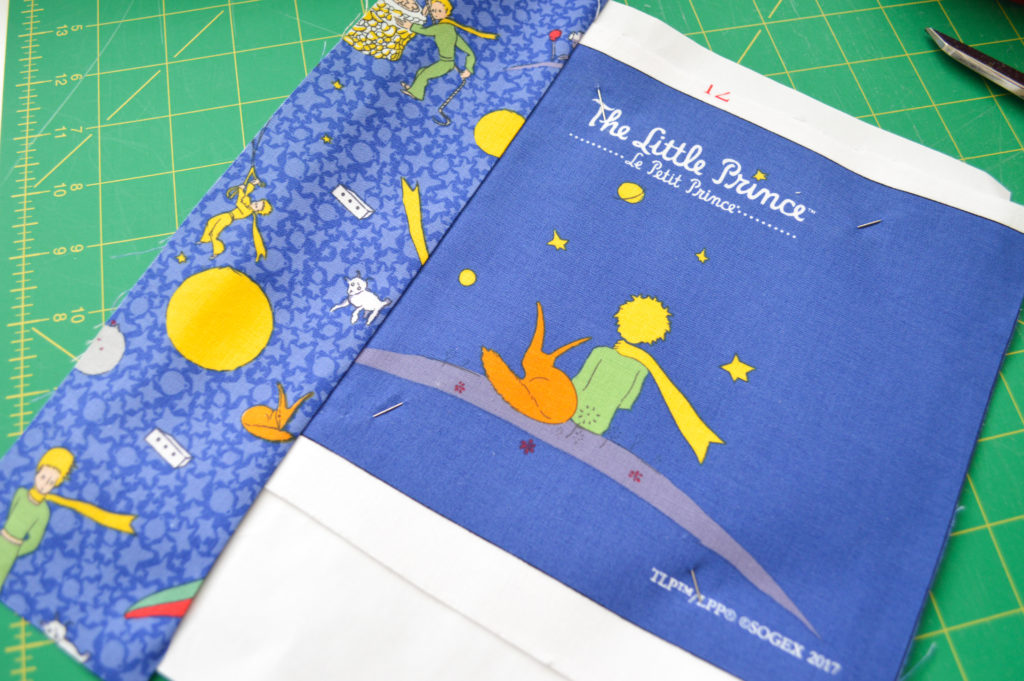
For this block, I used The Little Prince Book Panel for the book cover on this quilt block. The panel has several great options for the book cover, but I really liked this one that actually looked like an authentic book cover.
To create this block, you will need:
- 1 The Little Prince Soft Book Panel – book cover
- 1/2 yard The Little Prince Title – Gray – background
- 1/4 yard The Little Prince Main – Navy – book spine
- 1/4 yard Riley White Confetti Cotton – book pages
- 1/4 yard Riley Daffodil Confetti Cotton – inside back book cover
- Tall Tales Quilt BLOCK
If you are new to foundation paper piecing, I recommend you check out this great VIDEO TUTORIAL before getting started.
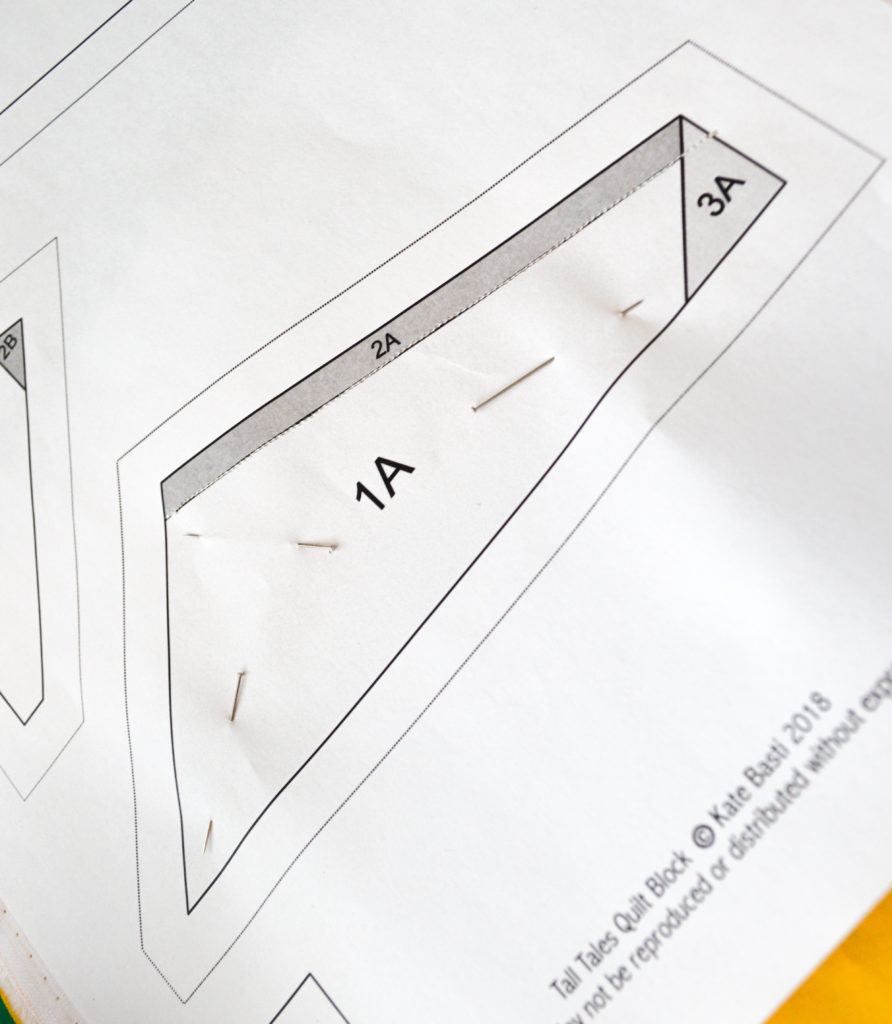
To begin, download and print out the Book Block Pattern, and enlarge it on your printer 150%. Locate section 1, as seen above, on the printout. To make this section, you will be using the Riley White, Daffodil, and Little Prince Main Navy fabrics.
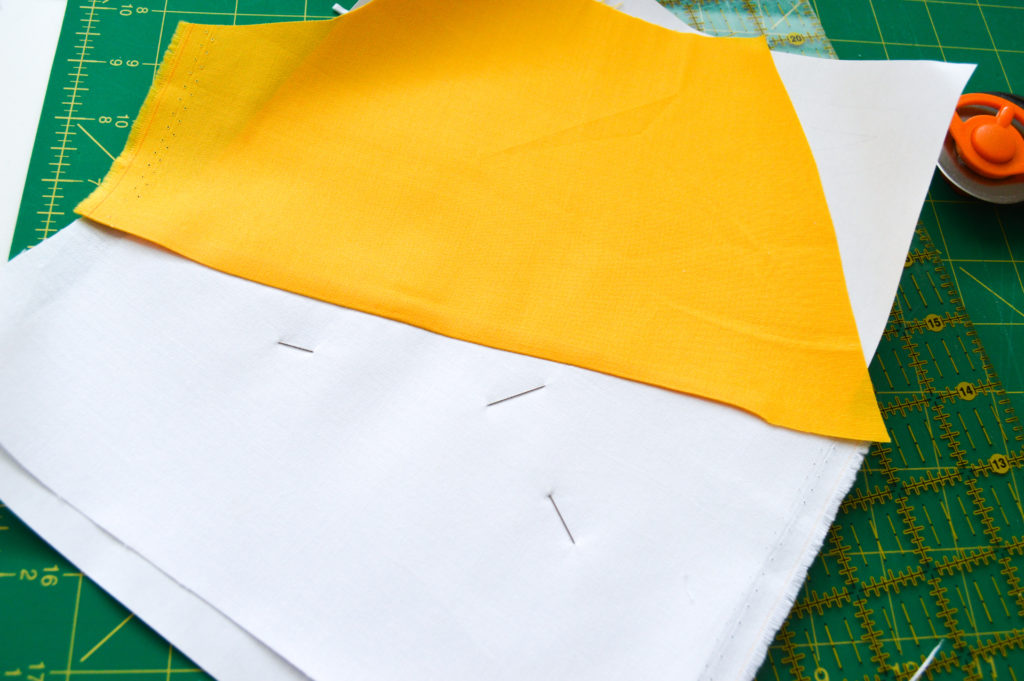
Place the Riley White fabric against the back side of the pattern. Holding it up to the light, make sure the white fabric covers the outline of the pattern. Pin it into place. Now take the Daffodil fabric and place it behind the Riley White. Hold it up to the light and arrange it so that it covers the 2A section. You will be stitching and then folding the Daffodil fabric back in the opposite direction, so be sure than when you fold it back, it will cover section 2A. In the photo above, notice I have a lot of extra Daffodil fabric on the left. This will be flipped over and pressed to the right in the next several steps.
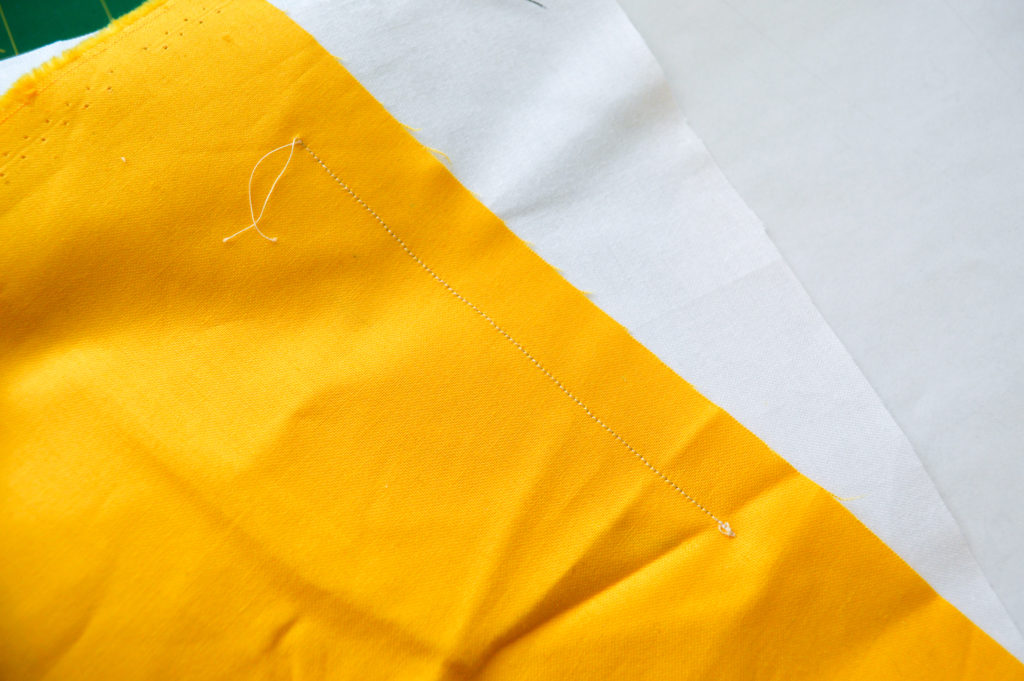
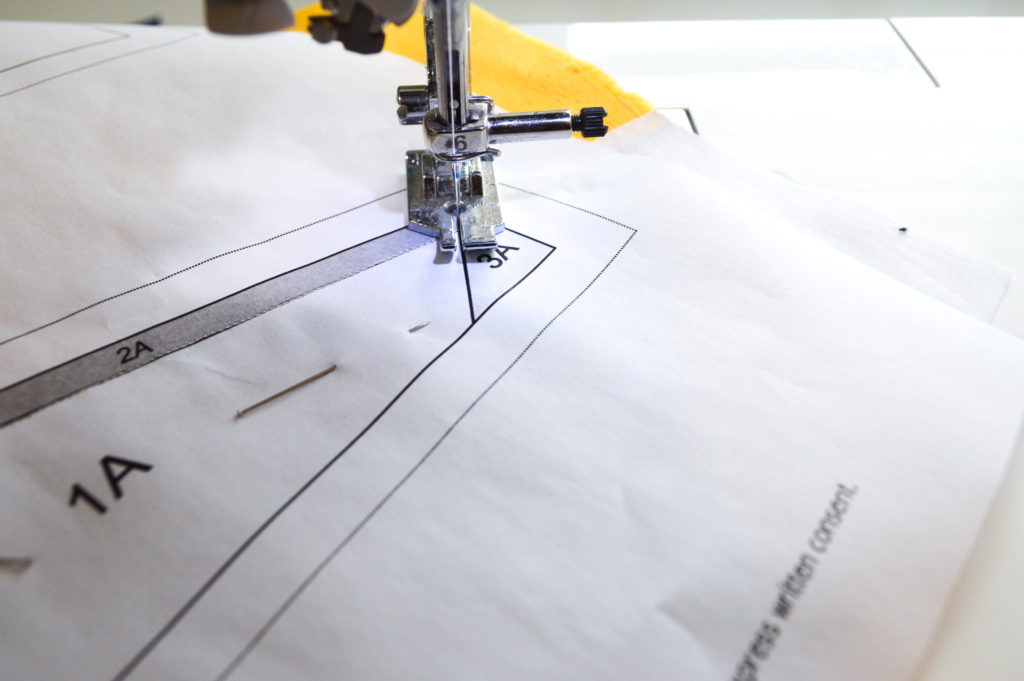
Once you have it placed where you want, stitch along the bottom line of 2A (as shown 2 photos above). You will want to set your machine to a very tight stitch. I set mine to 1.5. Doing this makes it easier to tear off the paper later.
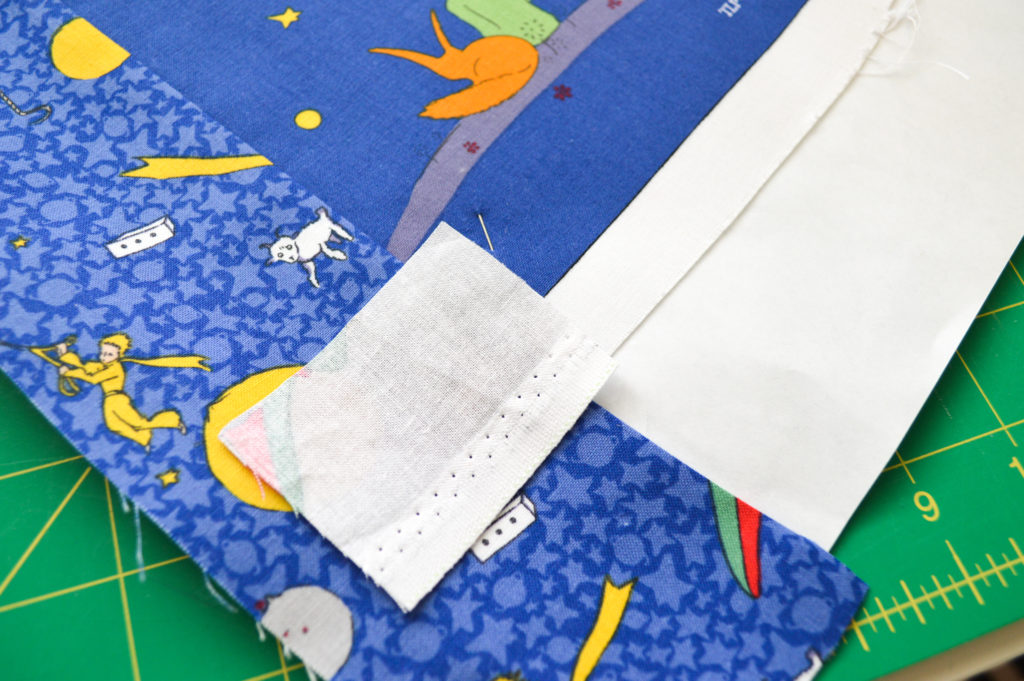
Now, with the fabric on your table or cutting mat, fold the paper back along the stitching line, without tearing the stitching line. See that little bit of fabric on the right? We are going to trim this.
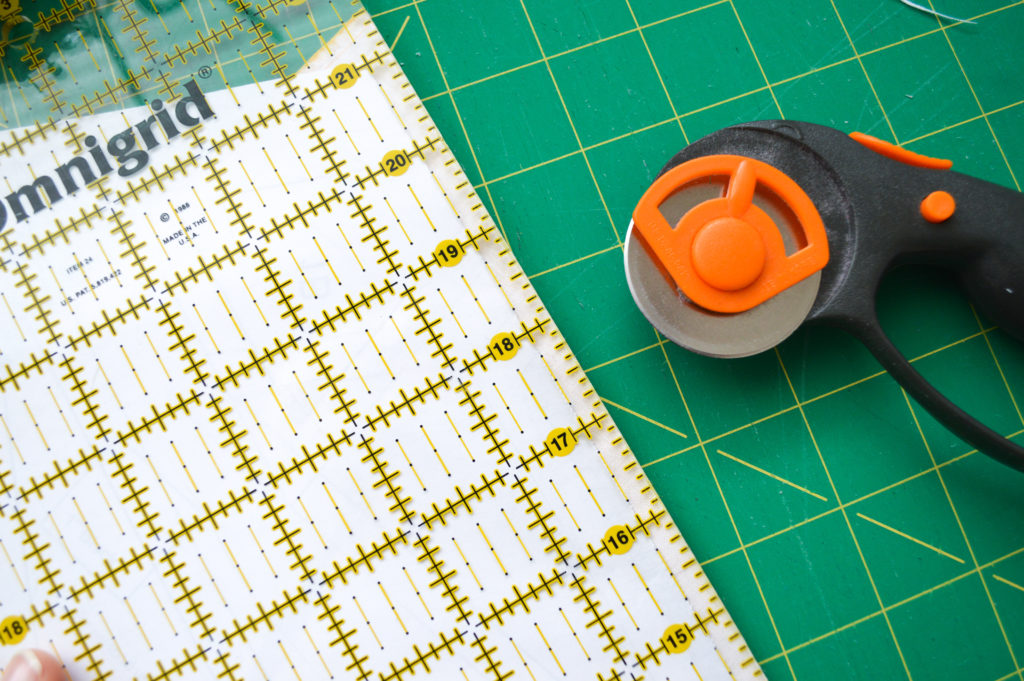
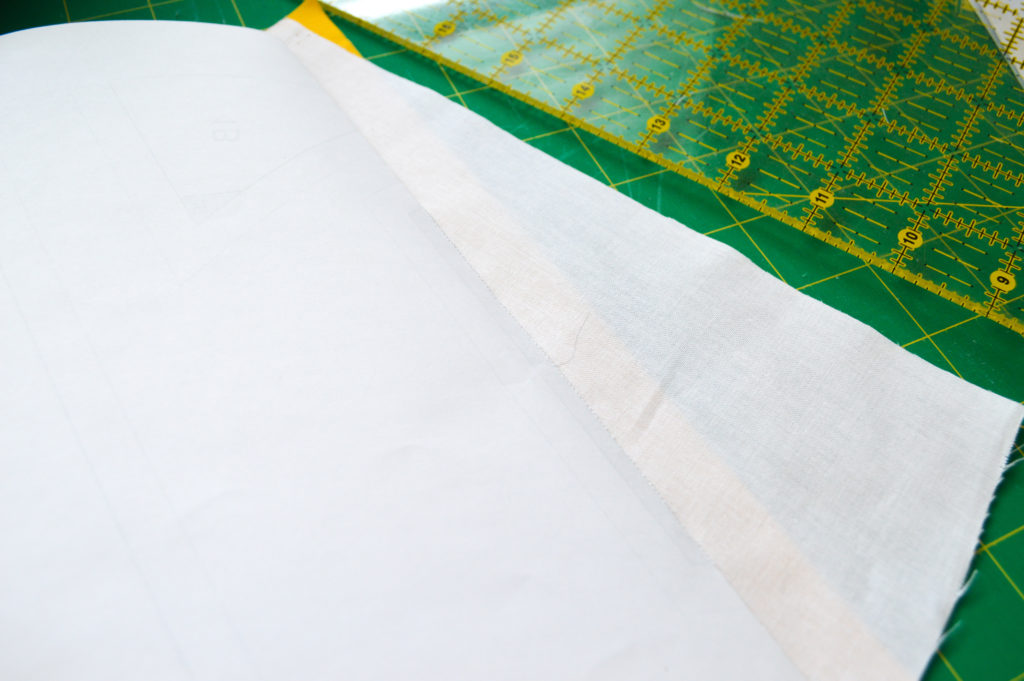
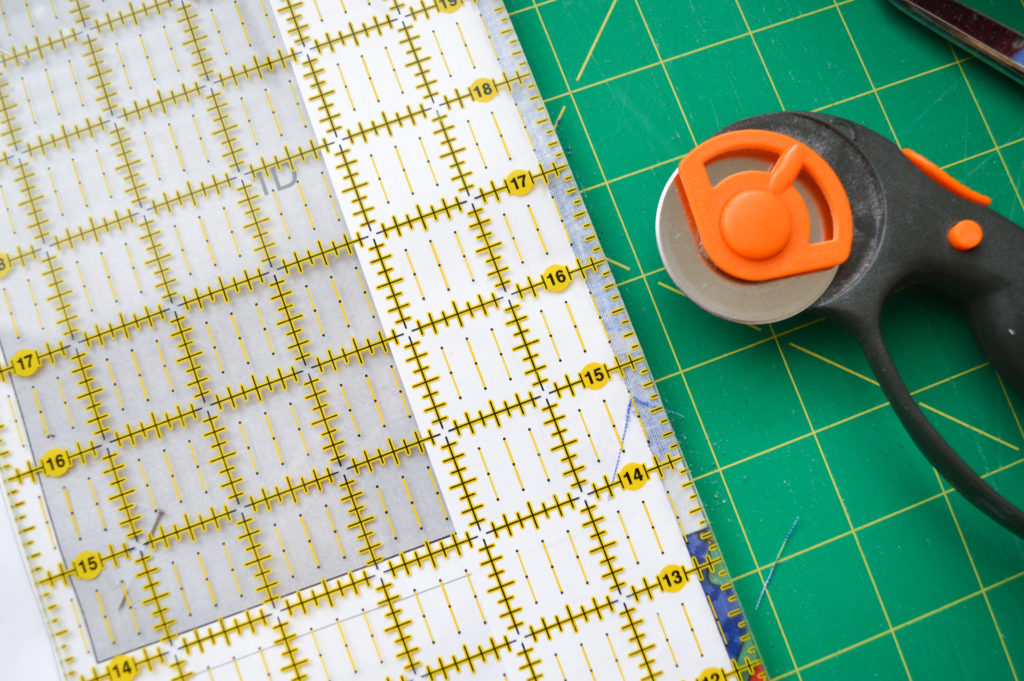
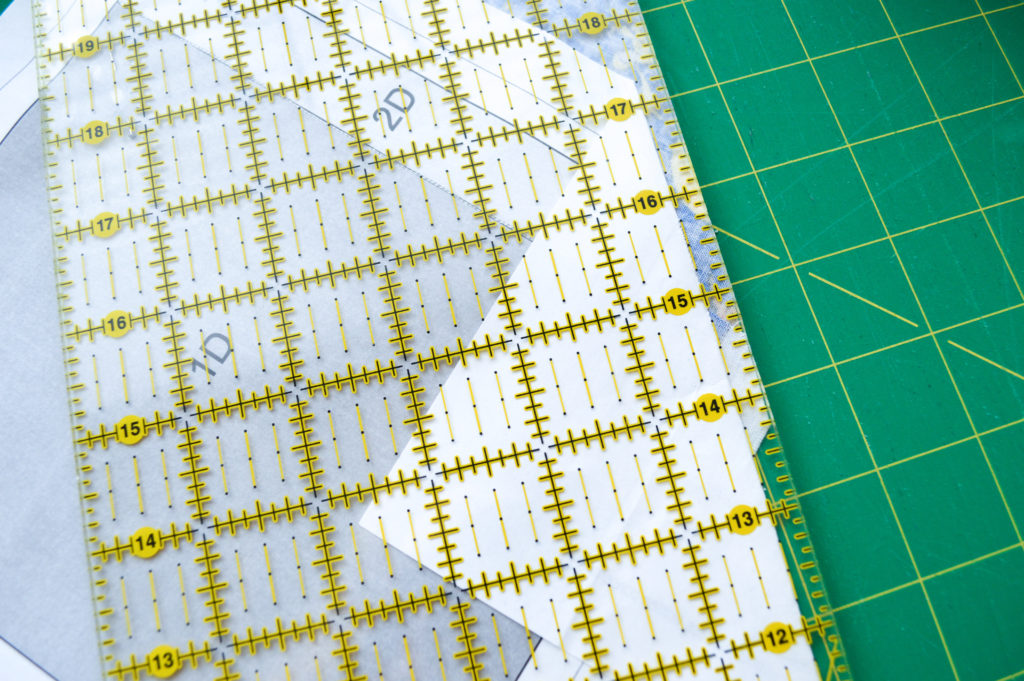
Lay your ruler on the paper and line it up at the 1/4″ mark along the stitching line. Trim the excess fabric 1/4″.
Now open your paper back up and flip the Dandelion fabric back to the right and press the seam open.
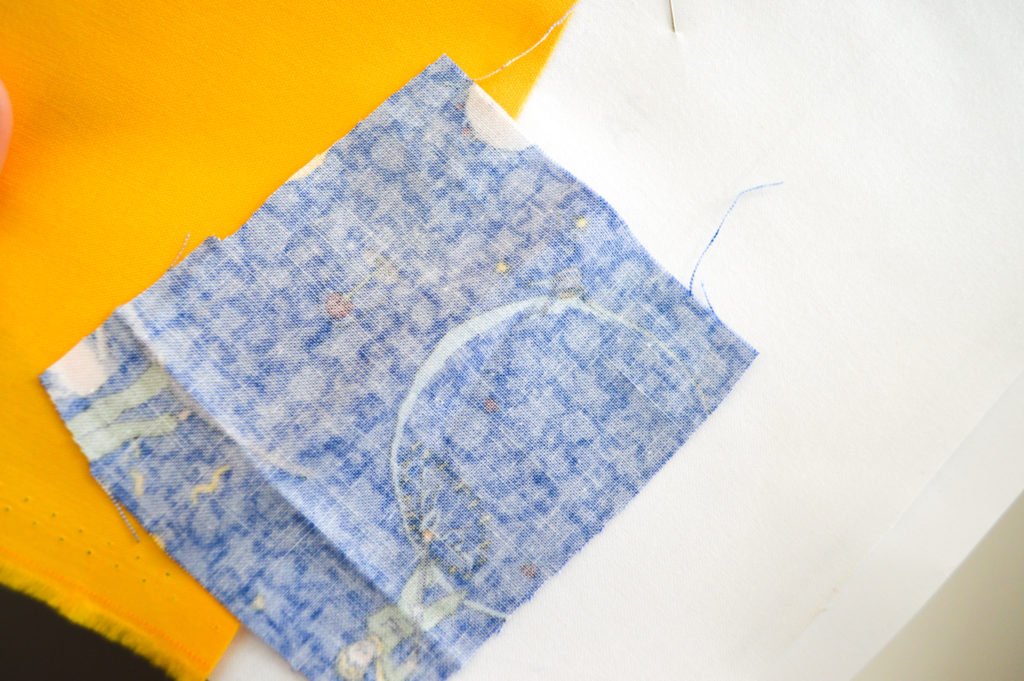
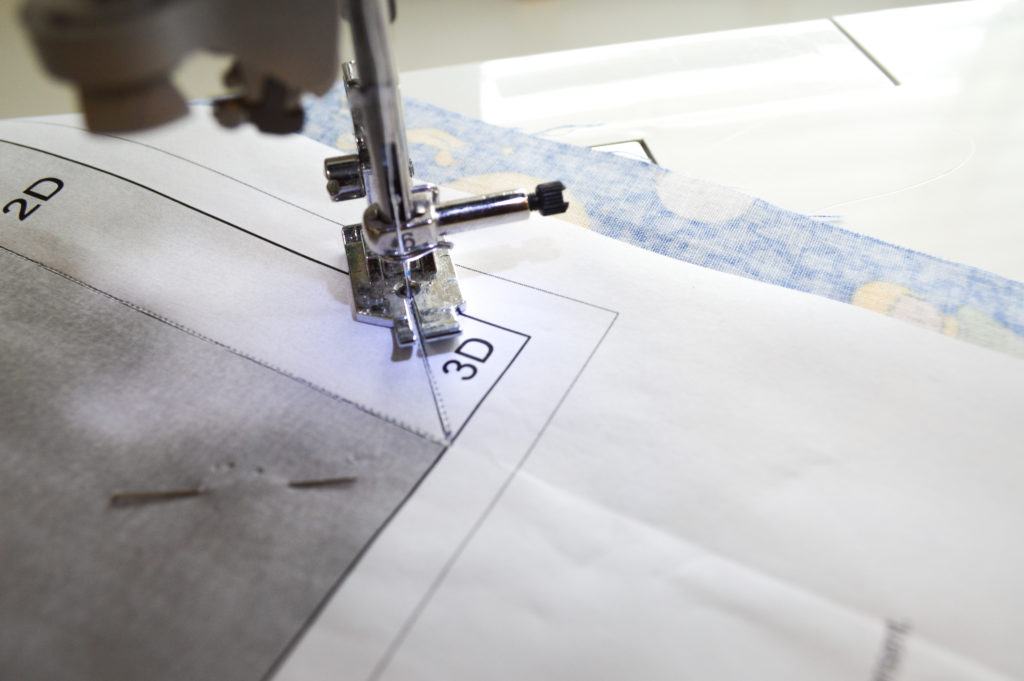
It’s time to add the 3A piece. Take a small piece of the Little Prince Main Navy and place it right side down on the fabric side of the block. Hold it up to the light to arrange it exactly how you want it, keeping in mind that once it is stitched and folded back, it will need to cover the entire 3A section.
Once you have it where you want it, stitch along the 3A angle, as shown above. Fold the paper back on the seam like we did earlier. Trim the excess fabric 1/4″. Lay the paper flat again. Fold 3A back and press open.
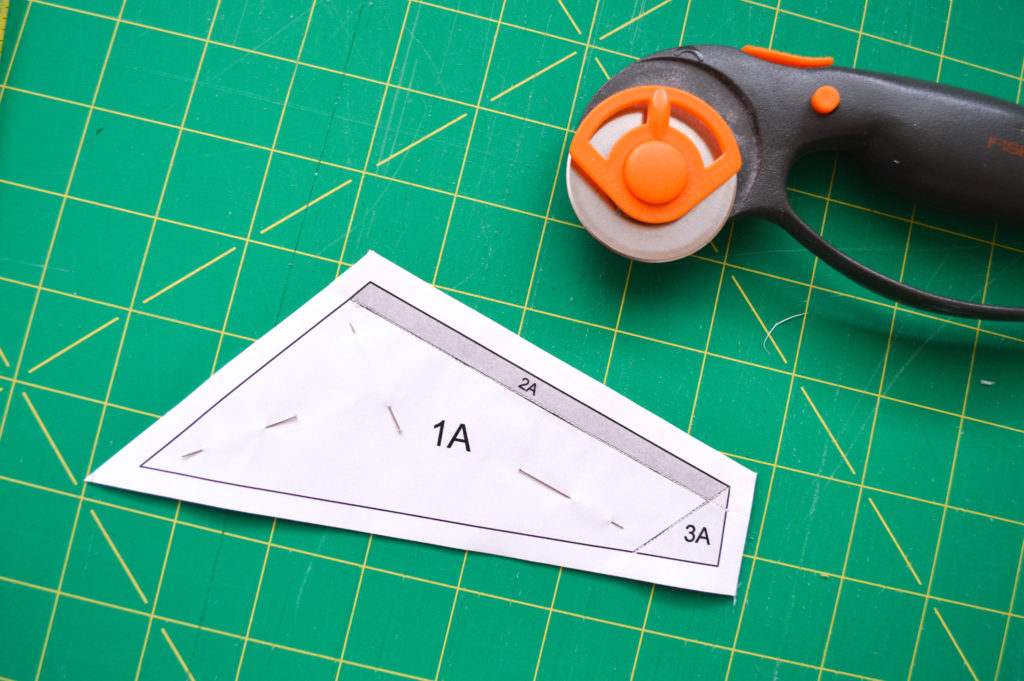
Once you have it all pressed, it is time to trim the block. Did you notice the outer trim line on the pattern? Because we enlarged the pattern, we will ignore that. Instead, use your ruler to trim 1/4″ around the perimeter of the block – trimming through the paper and fabric.
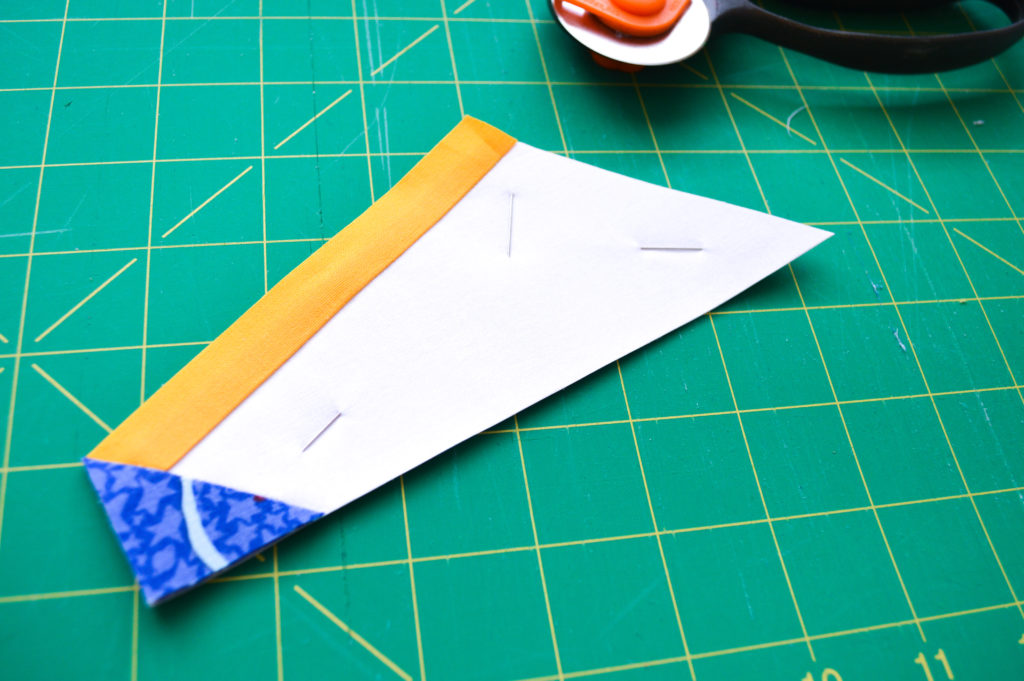
When you turn it over, it will look like this.
Repeat these steps for section 2. In section 2, you will use the Little Prince Title fabric in Gray for 2A, and Daffodil for 2B. Place 2A so that the WRONG side of the fabric is facing the WRONG side of the pattern. Hold it up to the light to arrange it how you want, and pin in place. Arrange the Daffodil over the 2B section, holding it up to the light and pinning in place. Stitch along the seam where 2A and 2B meet. Fold the paper back to trim the seam 1/4″. Press open and trim around the edges 1/4″
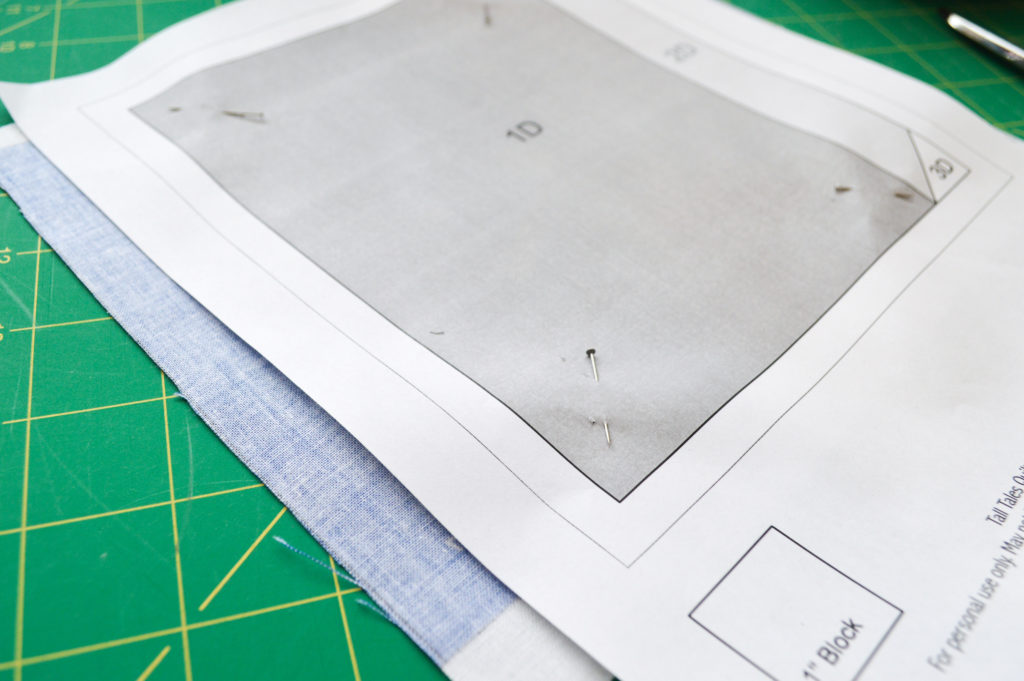
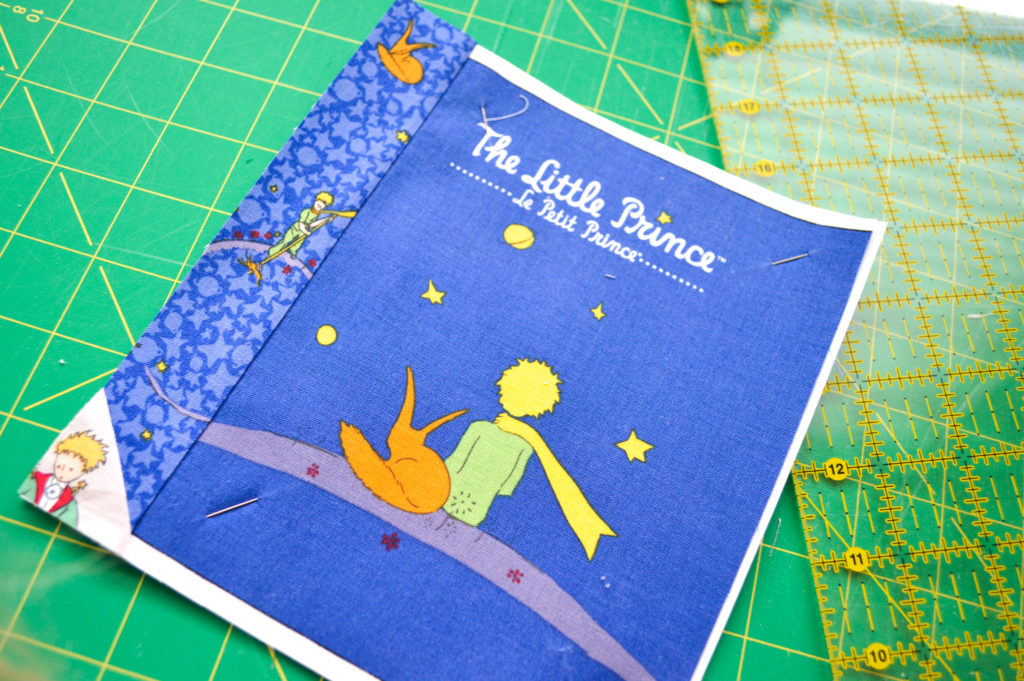
To assemble the main book block, select which fabric you want for 1D – the main book cover. Place the fabric so that the WRONG side is facing the WRONG side of the pattern. If you are using a piece of the book panel, carefully line up the top and bottom so they align exactly with the top and bottom of 1D. Pin in place.
Here you can see how exactly the top and bottom of this panel square fits.
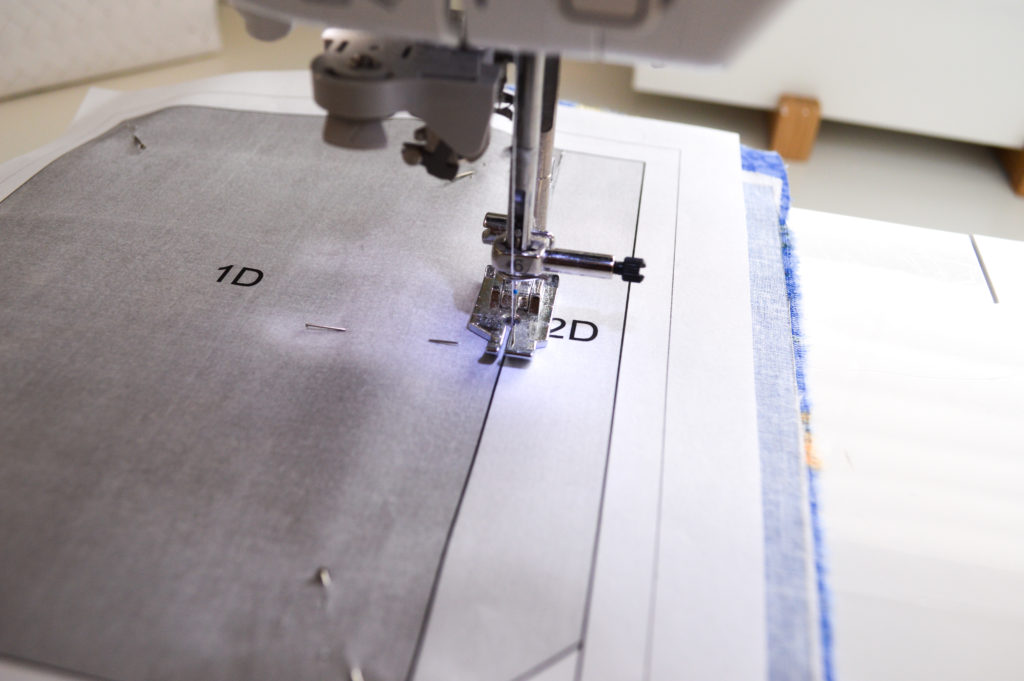
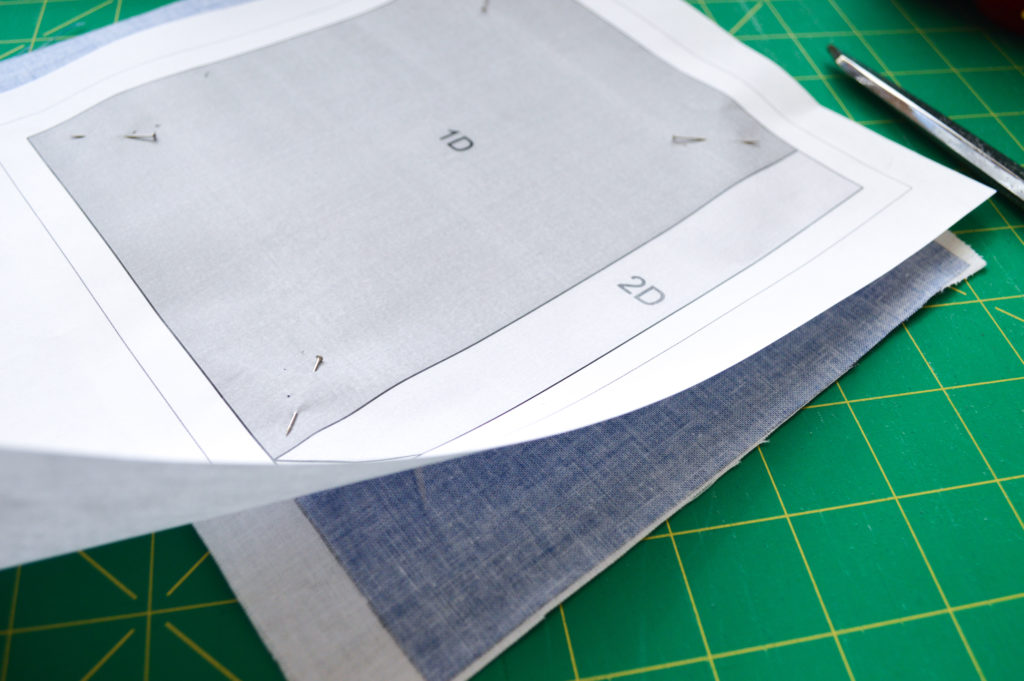
Place the fabric for 2D (which is the book spine) so that the RIGHT side is facing the RIGHT side of the 1D fabric. I used The Little Prince Main in Navy. Stitch along the line that connects 1D to 2D as shown above.
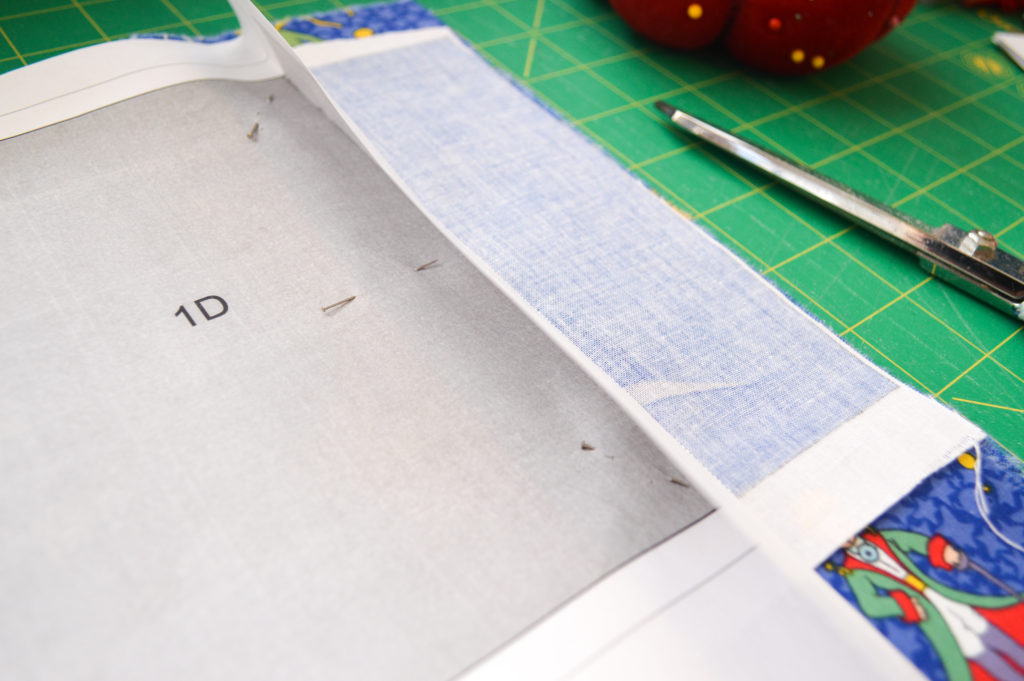
Fold the paper back along the stitching line.
Trim the excess fabric 1/4″ past the paper fold like we did in the earlier blocks.
Lay paper pattern flat again and press fabrics open as shown above.
For the little 1C piece, use the same fabric as the background fabric – I used The Little Prince Title in Gray. Holding it up to the light, position it so it completely covers 3D, even when folded backward like it will be in the next few steps.
Stitch along the 2D/3D line as shown above.
Fold the paper back along the stitching line and trim the excess fabric 1/4″ from paper fold.
Press fabric open and trim entire block 1/4″ from edge of block pattern. Now it is time to tear away the paper pattern from all of the block sections. It should come off easily, but be careful as you tear it away not to pull or stretch the fabric out of shape.
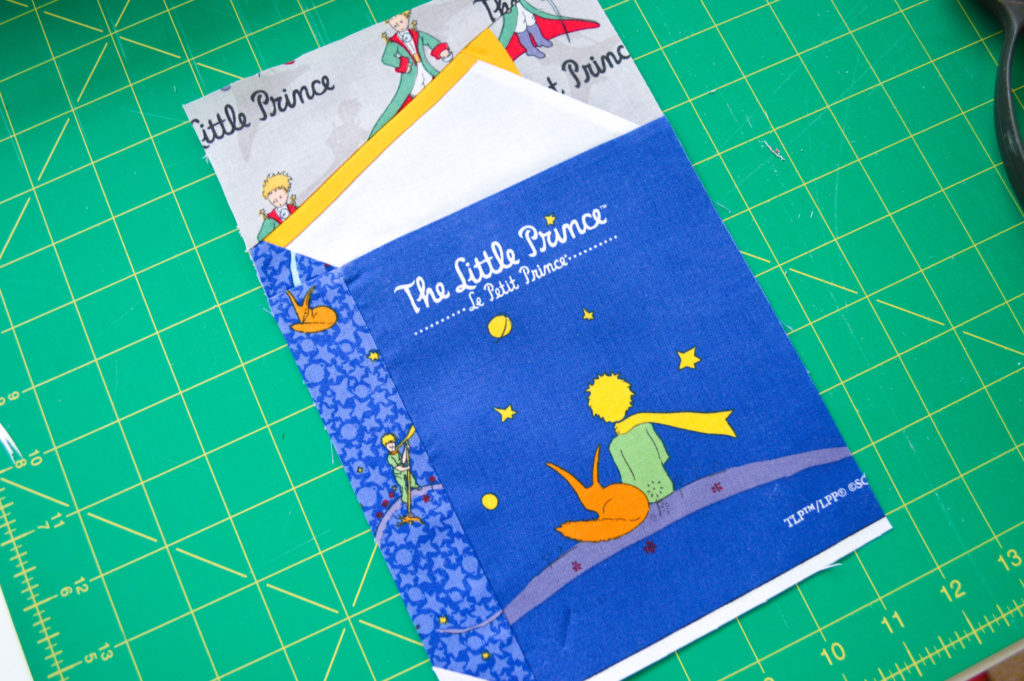
Sew the top three sections together first. Start by sewing the book pages section to the little section to its right – it has the background fabric + the yellow book corner. Press
Next sew the top background triangle to the top of the book. Press.
Sew the entire top section to the main book cover. Press.
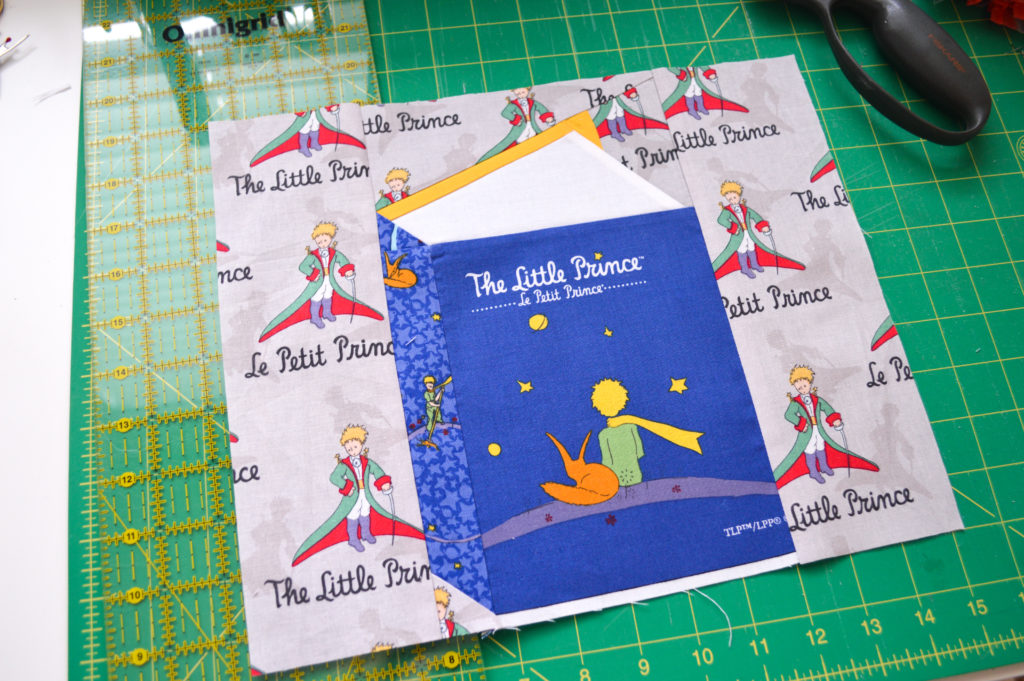
Add background fabric to the top and sides to get 12″ or whatever size you want. I added approximately 3.5″ to each side and 1.5″ to the top and bottom in order to get a 12 1/2″ block. Press.
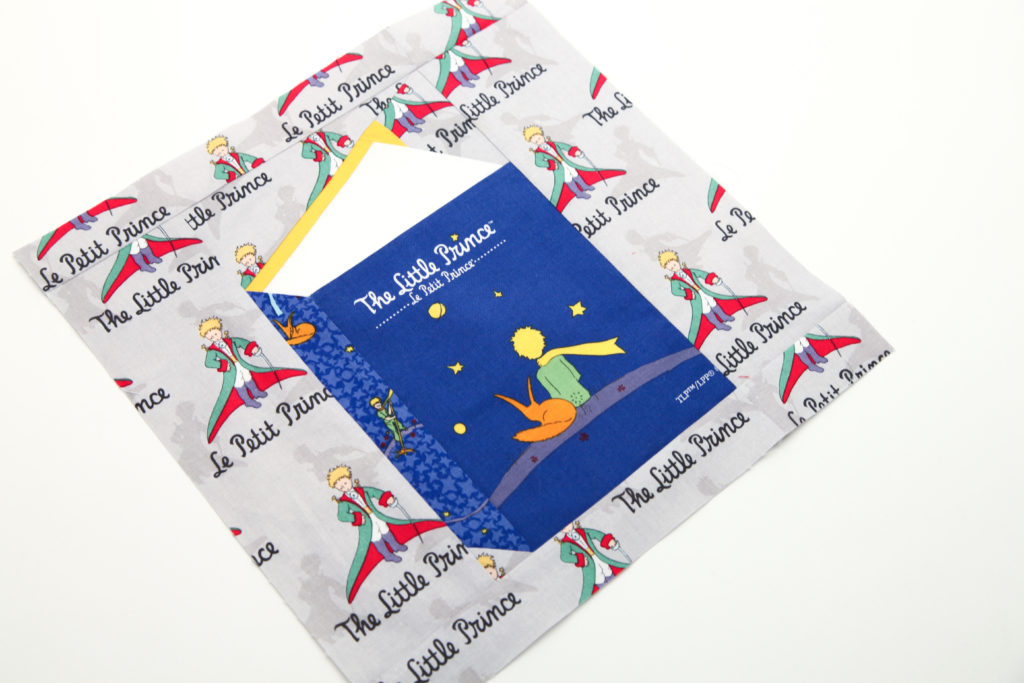
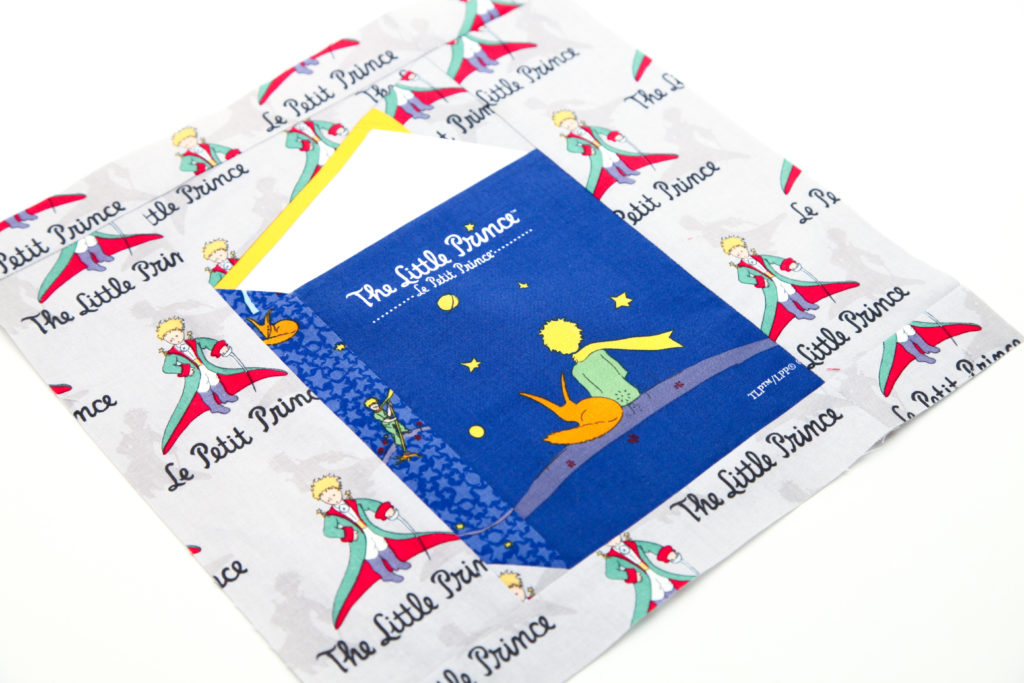
And here is the finished block!
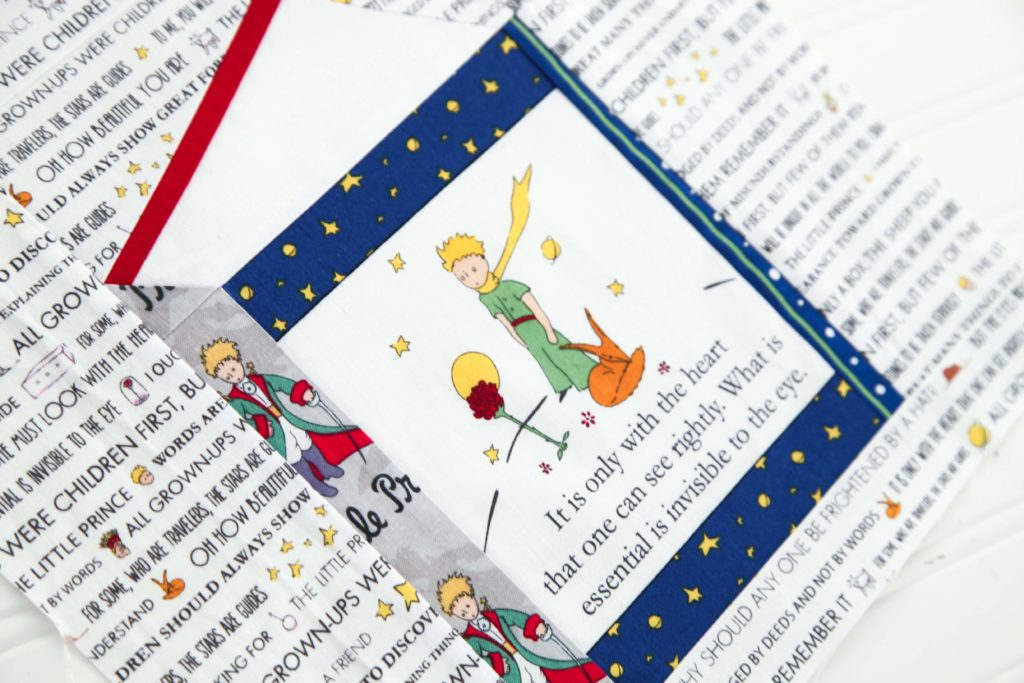
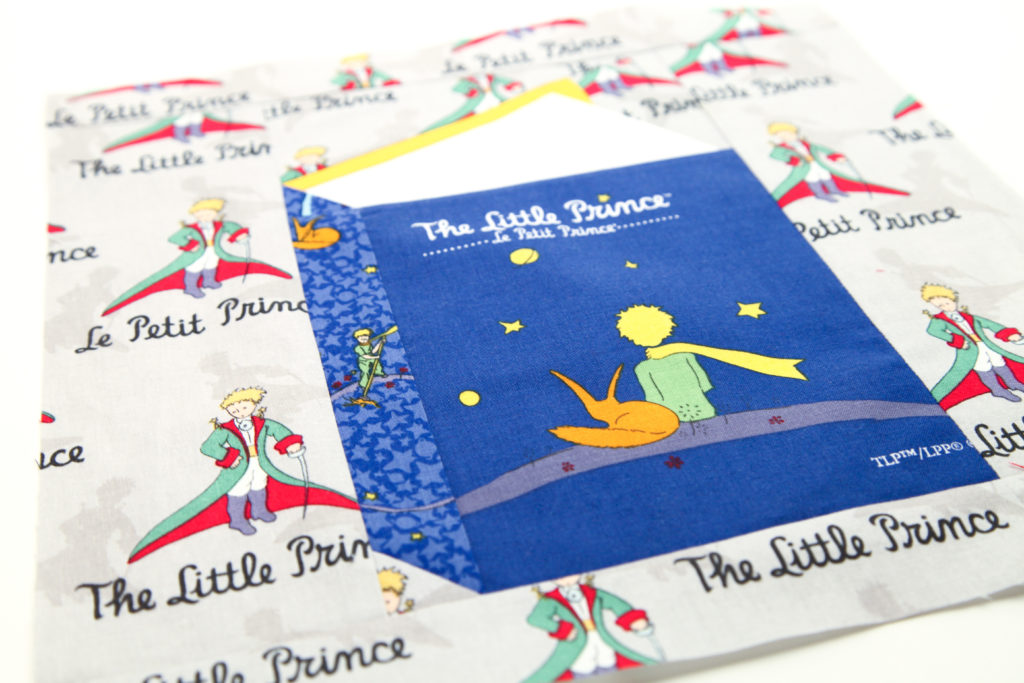
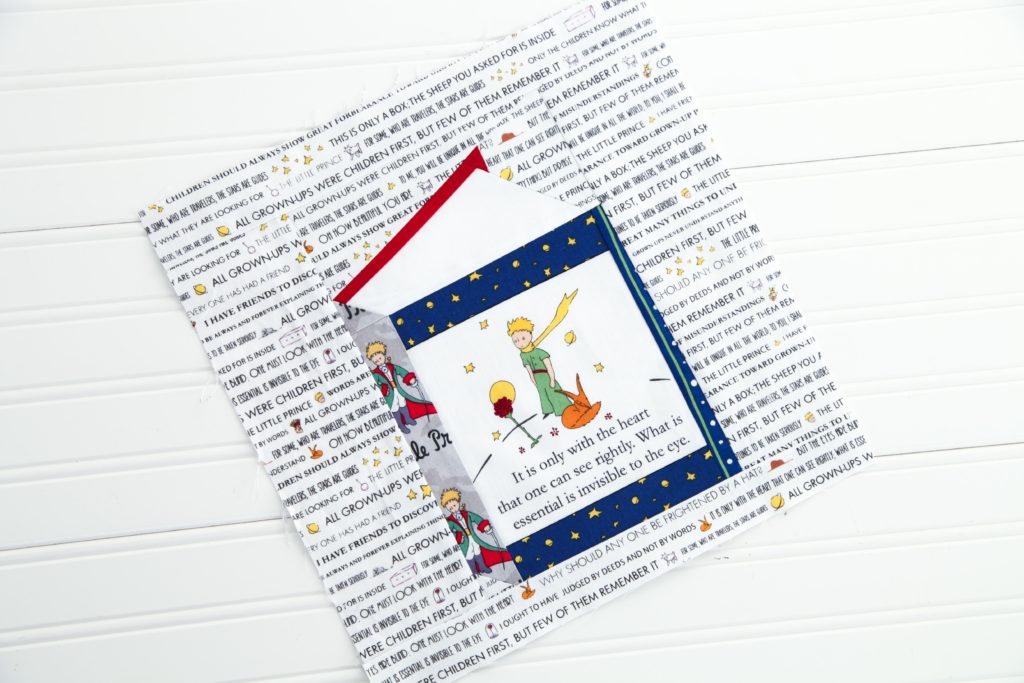
Here is another option. I used a different page in the Soft Book Panel and the fun Little Prince Words fabric for the background. So many fun options to play with!
The Little Prince fabric collection is available now at your favorite local and online quilt shops. Pick up yours today and share your Tall Tales Blocks with us on Instagram @rileyblakedesigns #rileyblakedesigns #iloverileyblake #fabricismyfun.