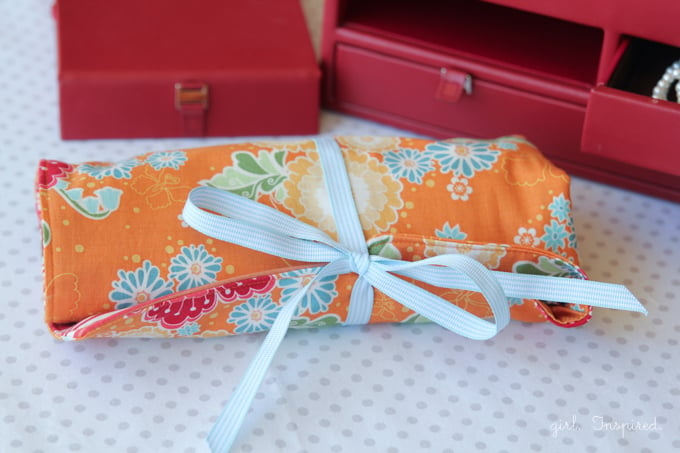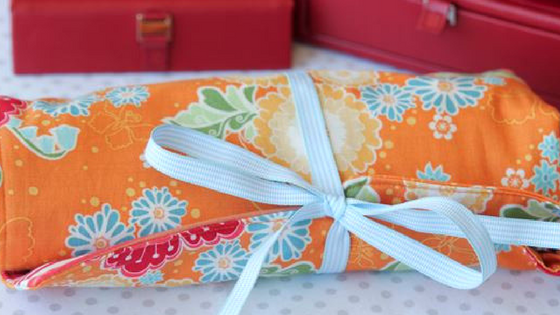
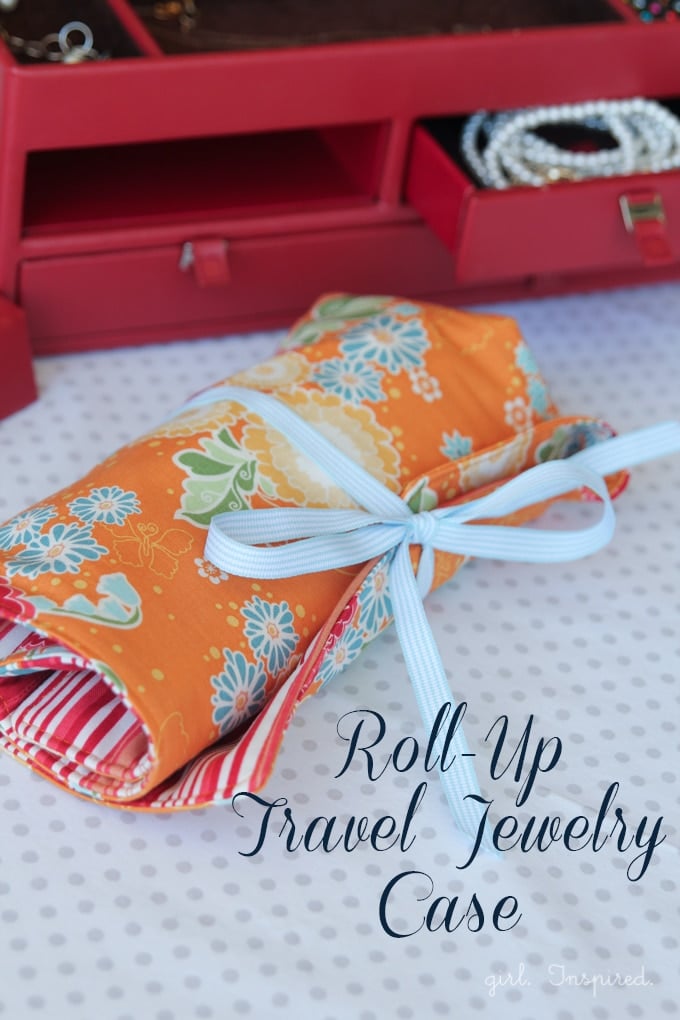
Hey friends! It’s Stef from Girl. Inspired. and I’m excited to be here again today to share a tutorial for this handy roll-up travel jewelry case. I first made one of these when I was traveling to a blogging conference last year and I have used it so many times since. It’s a great way to keep all those stylish necklaces safely stowed away so that the chains don’t get tangled with each other or themselves! Let’s get started!
Supplies:
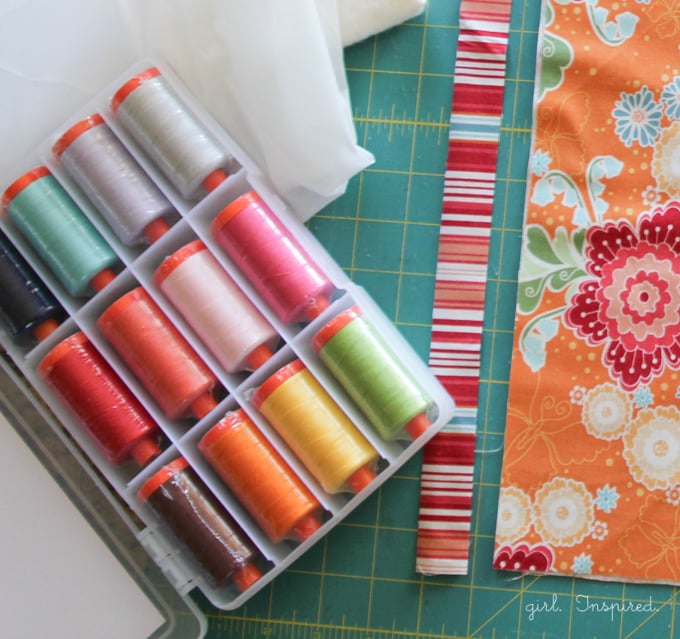
- 1/2 yard main fabric
- 1/2 yard accent fabric
- 1 yard piping
- 1/2 yard lightweight fusible interfacing
- 1 yard coordinating ribbon or decorative elastic
- coordinating thread and basic sewing supplies
Fabric Shown: Flutter by The Quilted Fish for Riley Blake Designs Thread: 100% Aurifil Cotton Thread – the Basic Colors collection
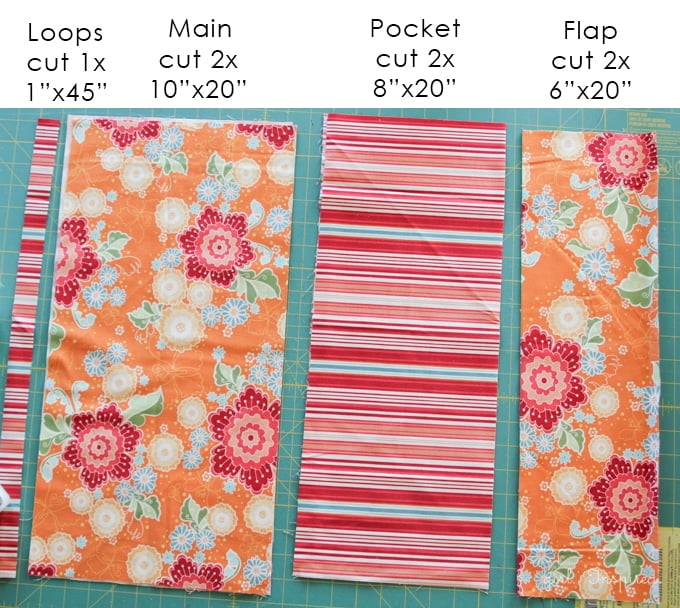
Step 1: Cut fabric into the following pieces:
- Main – 2 pieces measuring 10″x 20″
- Flap (from main fabric) – 2 pieces measuring 6″x 20″
- Pocket (accent fabric) – 2 pieces measuring 8″x 20″
- Loops (accent fabric) – 1 piece measuring 1″x 45″ (or two shorter pieces)
- Cut interfacing pieces to fit all main, flap, and pocket pieces.
Step 2: Follow package instructions to fuse interfacing to the wrong side of all fabric pieces (except for the loop strip).
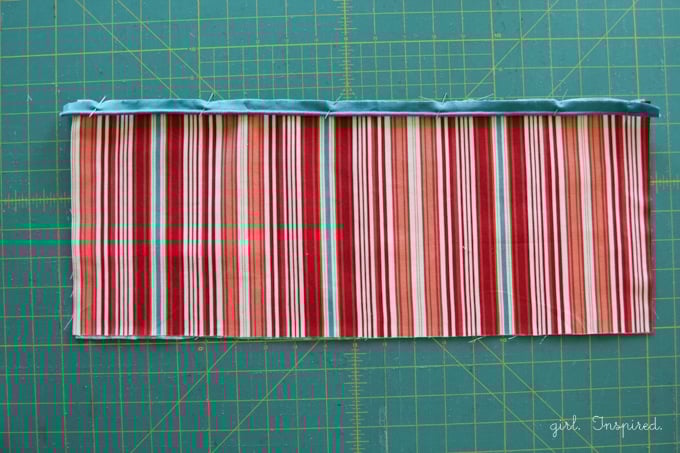
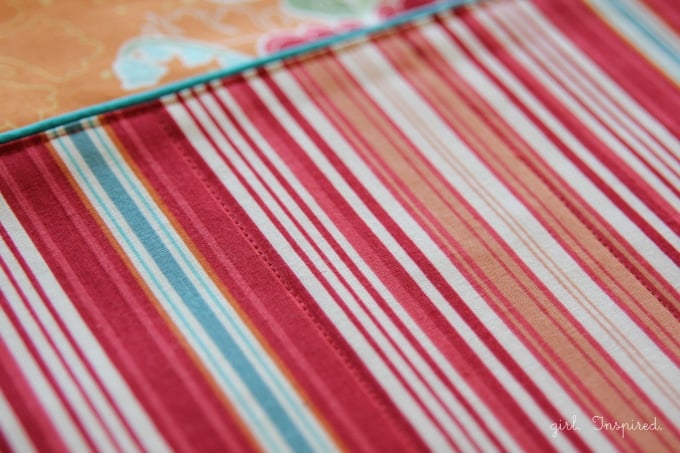
Step 3: Place one pocket piece right up on the table in front of you. Align a piece of piping with the top edge of the fabric, matching raw edges; pin. Use a zipper foot to baste the piping to the fabric, as close to the piping edge as possible.
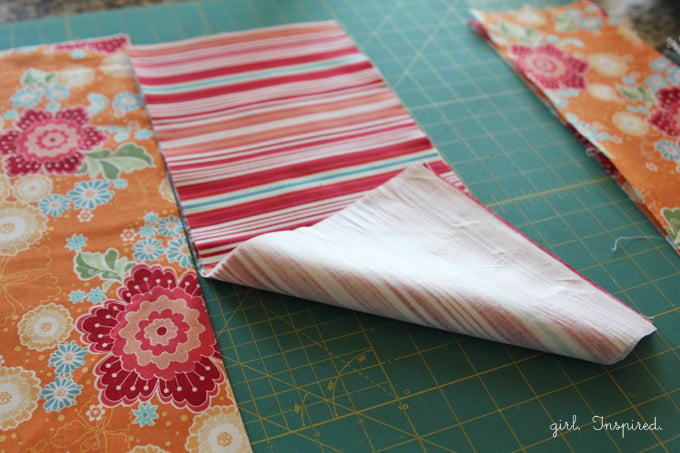
Step 4: Place the other pocket piece right side down on top of the first piece and pin, matching raw edges at the top.
Step 5: Using a zipper foot, stitch again through all three layers, as close to the piping edge as possible; the piping should be sandwiched between the two pocket pieces.
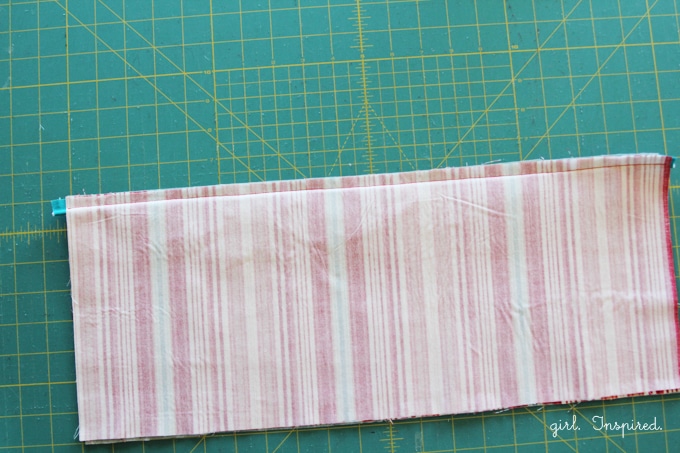
Step 6: Turn the pocket pieces right side out and press well.
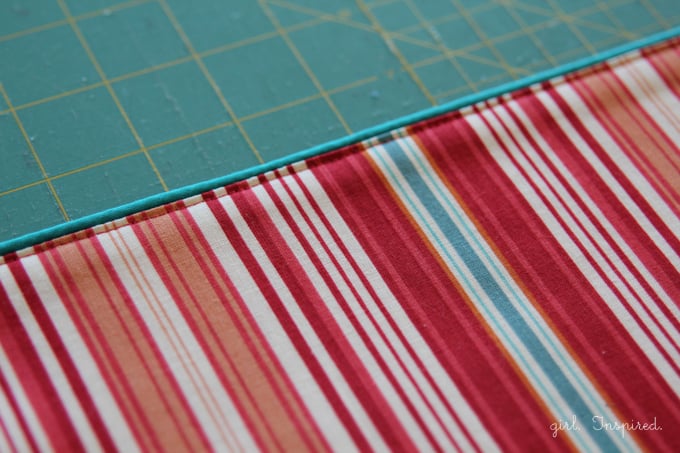
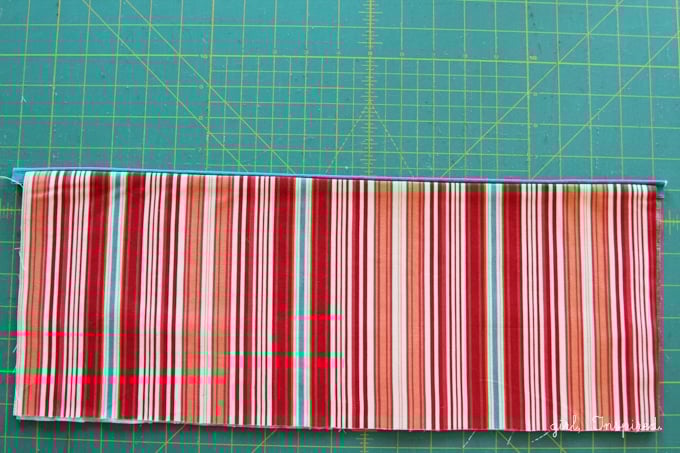
Step 7: Top stitch close to the piping edge.
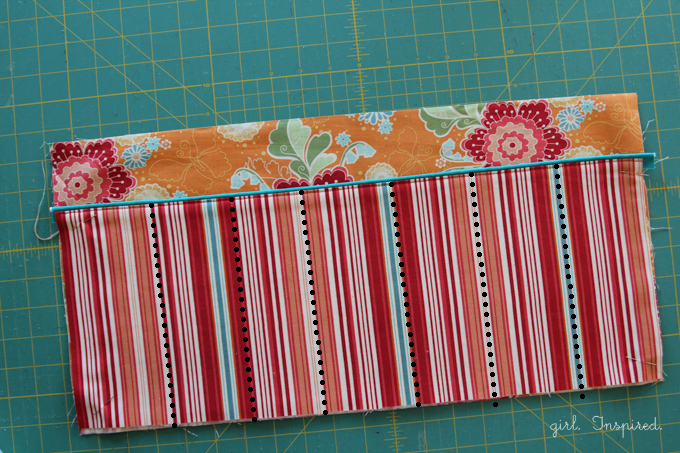
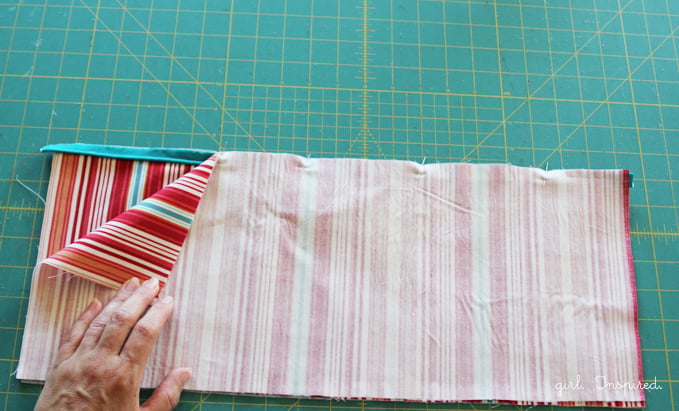
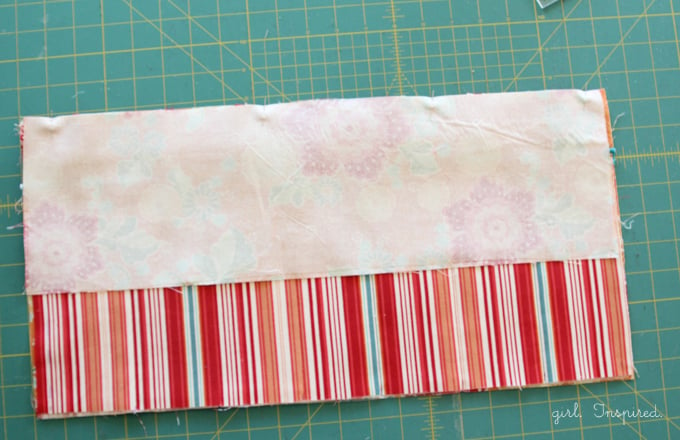
Step 8: Stack the pocket piece, with piping edge along the top, directly on top of one main piece. Both pieces should be right side up as shown in the picture above. Pin or baste together along the sides (using a 1/4″ seam). Divide the piece into 7 equal segments. Use a fabric marker to make 6 stitch lines (using a striped fabric comes in especially handy here, but you can also just mark your straight lines with the fabric marker).
Step 9: Form the pockets by stitching from just below the piping down to the bottom of the fabric pieces. Backstitch at the beginning and end of each line to secure your thread. Repeat for all six lines, forming seven total sections.
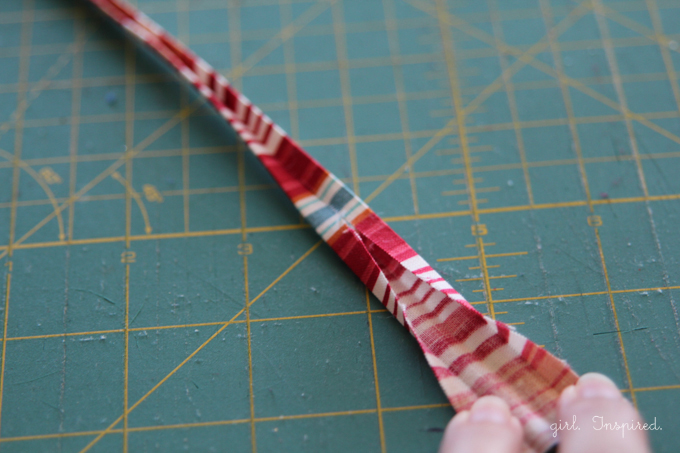
Step 10: It’s time to form the loops for your necklaces to hook around. Take your loop strip and press each outer edge in to the center of the strip, then fold again to form a small strip with raw edges enclosed (it will look just like bias tape). Press well. Stitch along the open edge, as close to the edge as possible.
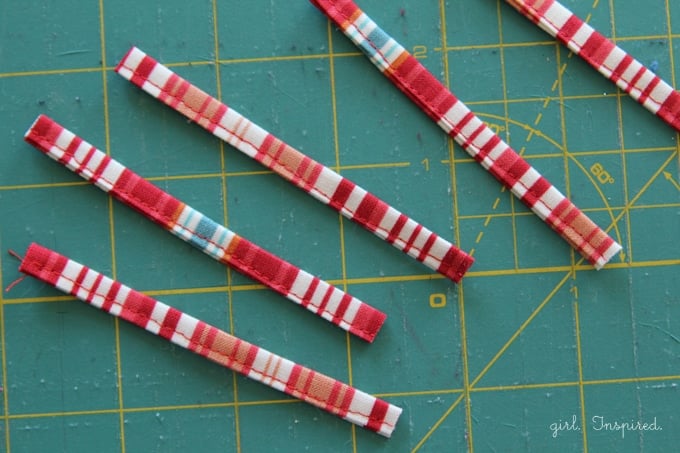
Step 11: Cut the sewn loop strip into 3.5″ sections to form 7 total loop pieces.
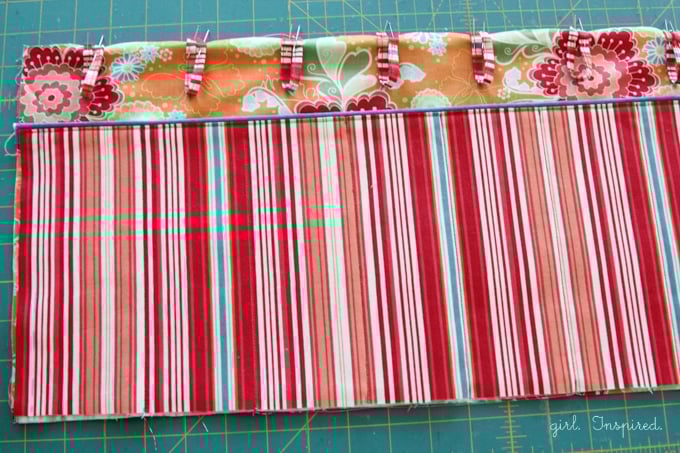
Step 12: Fold and pin each loop piece directly above the center of each pocket piece, matching raw edges with the raw edge of the bottom “main” piece. Baste the loops ends in place using a 1/4″ seam.
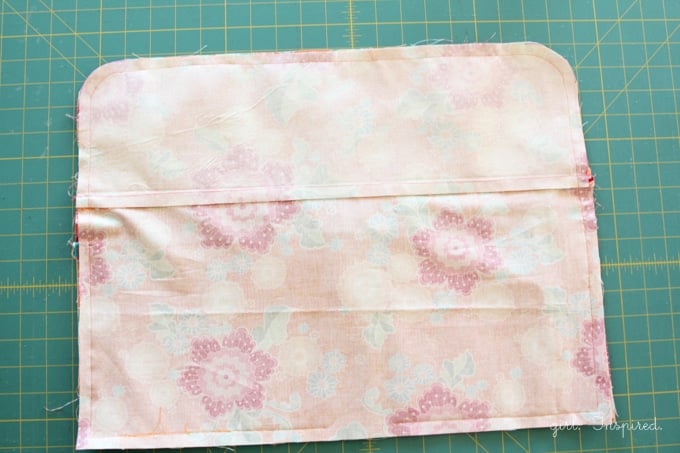
Step 13: Match the bottom edge of the “flap” piece with the top edge of the “main” piece and pin (right sides together). Stitch along this edge using a 1/2″ seam.

Step 14: Press the flap piece open and up, pressing seam toward the top. Notice the loops secured neatly in the seam.
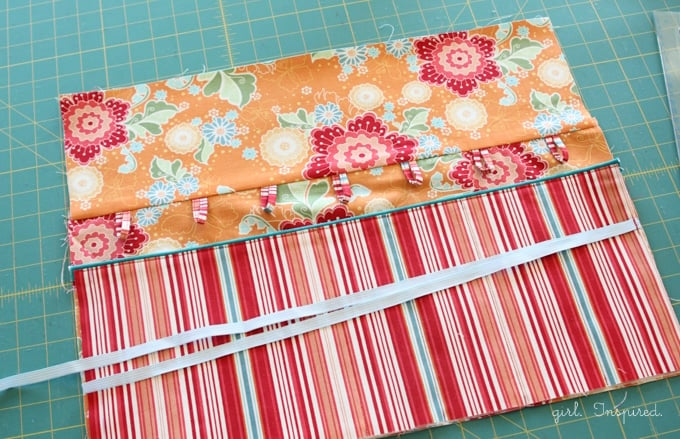
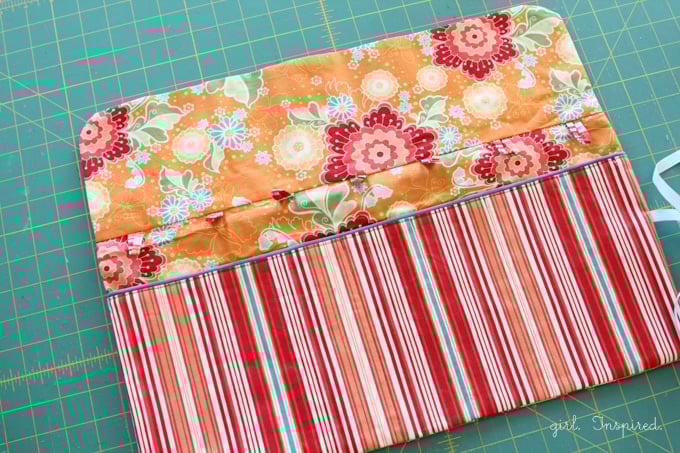
Step 15: Fold the piece of ribbon to make two long tails and pin the fold along the edge of the pocket portion, a shown. Baste in place using a 1/4″ seam allowance. I like to stitch back and forth over this section a few times to make sure that ribbon isn’t going to pull loose after a few uses. (You can also use a large loop of elastic which works really well, too).
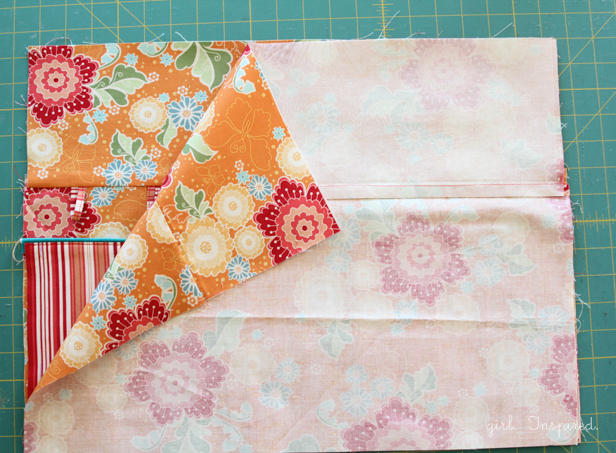
Step 16: Stitch together the second main piece and second flap piece and press open (step not shown) to form the second side of the travel case. Place this second side right sides together with the first side, as shown.
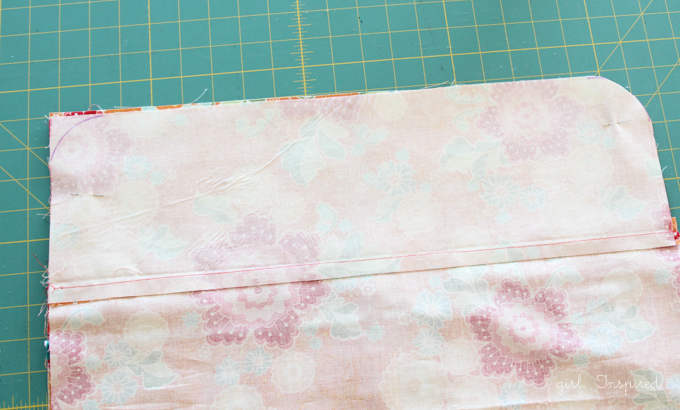
Step 17: Use a round object such as a cup or bowl to mark a curved line along both top corners and cut to shape.
Step 18: Using a 1/2″ seam allowance, stitch all the way around the perimeter of the jewelry case, leaving a 2-3″ opening in the bottom center for turning. (Be sure that the ribbon tails are tucked inside the case – don’t catch the tails in your stitching.
Step 19: Reach into the opening and turn the case right side out. Use a chopstick or pointed instrument to poke out all the corners and rounded edges. Press the whole thing really well. Edge stitch around the entire case for a neat finish and to close up the opening in the bottom. You are done!! Congratulations!