

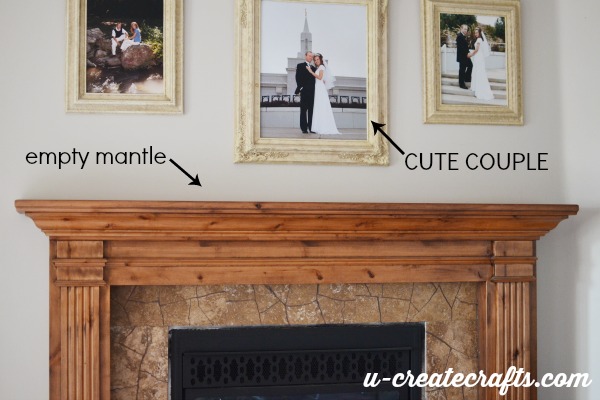
I was looking at my fireplace mantle the other day and thinking it needed something crafty before I decorated it for Christmas. The wheels in my sewing brain got spinning and I began to think about all the tutorials for Christmas tree skirts I’d seen. One thought led to another and I came up with this RUFFLED MANTLE COVER.
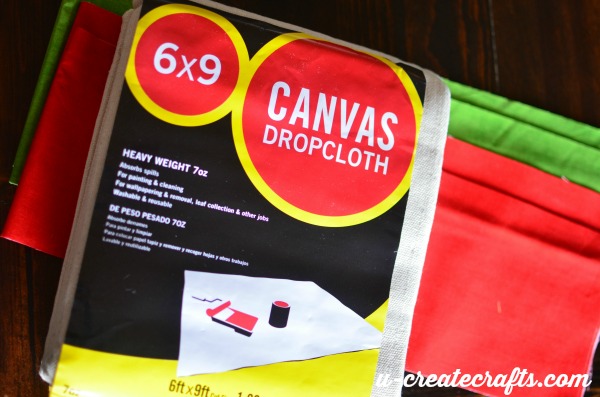
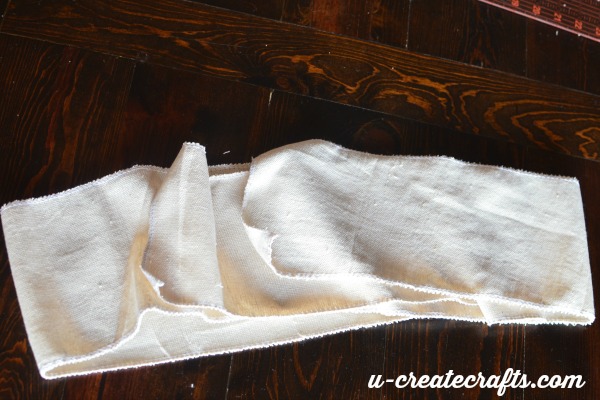
This project is a quick and easy one. It literally took me an hour to make. Not bad, right? I used a painters drop cloth for the base of this project. It’s thick and inexpensive which makes it a good idea in my eyes. You can score a painters drop cloth at Wal-Mart for about $6.
 Supply List:
- Canvas Drop Cloth
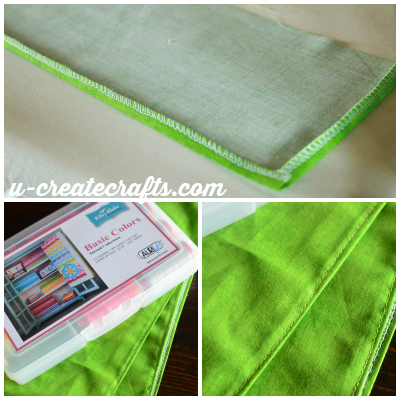
- 1/2 Yard of Riley Blake Designs basic red
- 1/2 Yard of Riley Blake Designs basic green
- Matching thread
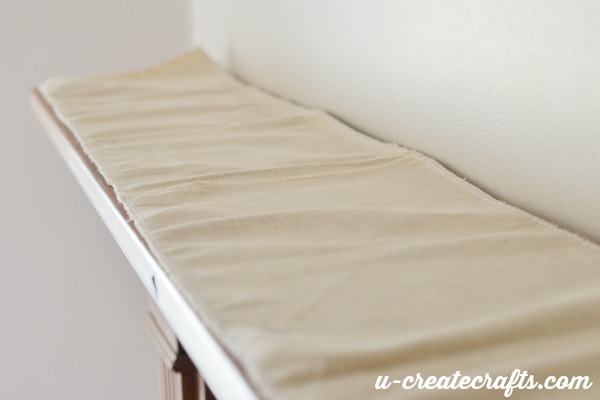
Instructions: Step #1: Measure your mantle
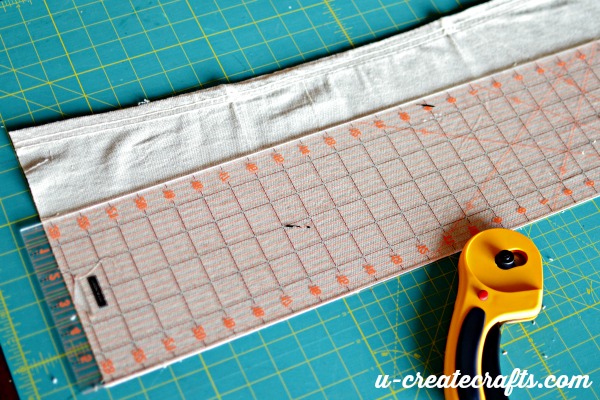
Step #4: Cut Ruffles From the red and green fabric you want to create a long strip that is 104″ x 6″. To achieve this I cut three 35″ x 6″ strips from each color, then I sewed them together using 1/4″ seam allowance. This should create a 104″x6″ strip of each color.
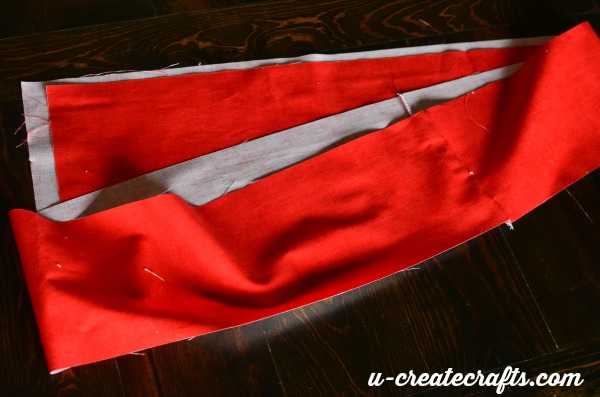
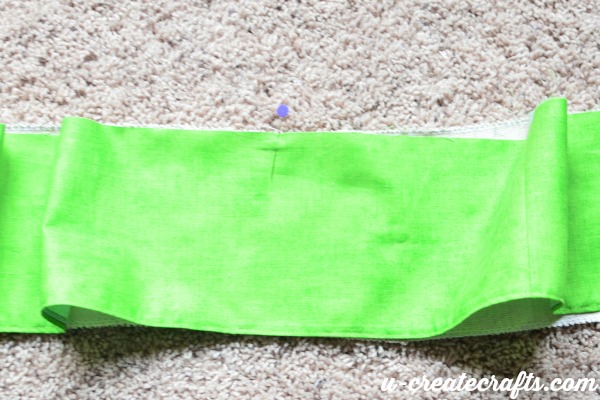
Step #5: Hemming the strips. Serge/zigzag stitch around the edges. You are going to hem the bottom and sides of the LONG colored strip. To do this, with a hot iron, press the hem and sides under about 1/2″ and then sew the hem down using 1/4″ seam. Do this to both the red and green strips.
Time to make the ruffles. This is the fun part.

Step #6: Take the front flap you made earlier with the drop cloth and the long green fabric strip and lay them out straight.
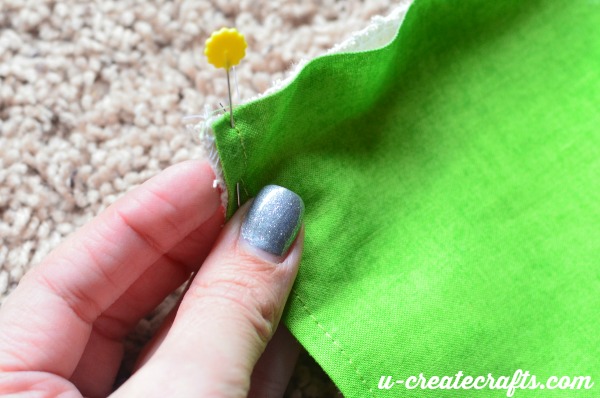
Step #7: Pin the side edges of the green strip to the side edges of the drop cloth strip.
Step #8: Pin the middle of the green strip to the middle of the drop cloth strip. You should have plenty of fabric on both sides of the middle pin.
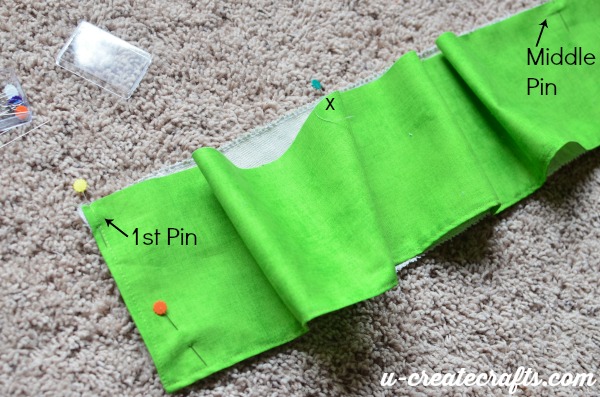
Step #9: Now take the fabric middle of the first two pins (the left edge pin and the middle pin) and find the middle of that bunch of fabric. Pin it to the middle of the drop cloth between the first two pins. Hopefully, it is made less confusing by the picture above.
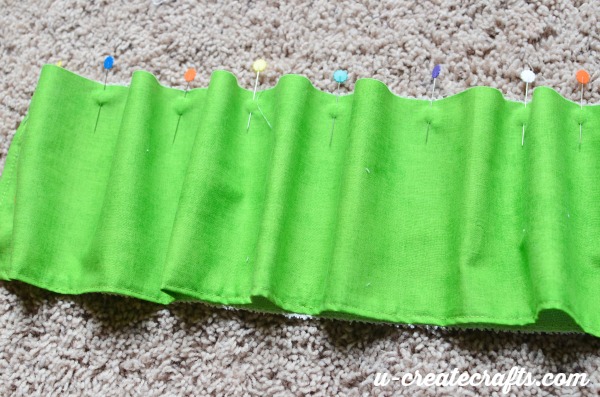
Step #10: Repeat the process of “finding the middle” between each pin and pinning the middle of the excess fabric to the drop cloth strip. It will look something like the picture above when you are done…add more pins if you want the create less bulk in fabric.
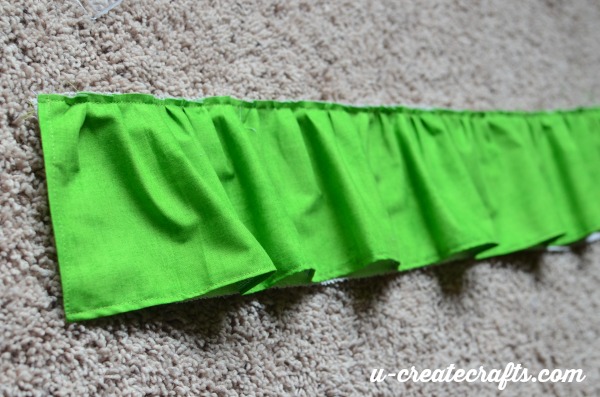
Step #11: Sew the Ruffles As I sew the fabric on the drop cloth strip, I kind of pinched the bumps of fabric between the pins to guide which way I wanted the ruffles to lay. Basically just sew a straight line from one side of the strip to the other and your ruffle if complete.
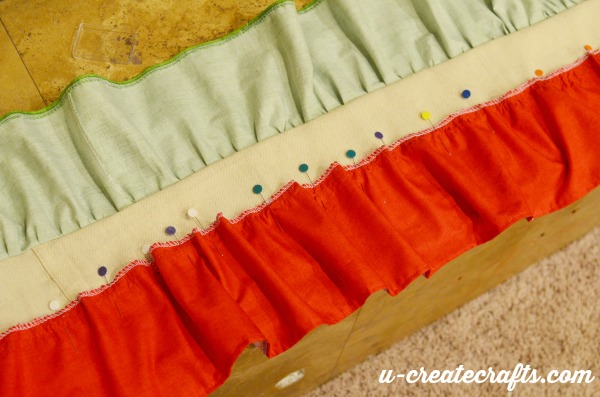
Repeat the same process on the red ruffle! I pinned the red fabric about an inch and 1/2 from the top of the green fabric. But the bunching process is the same as with the green strip.
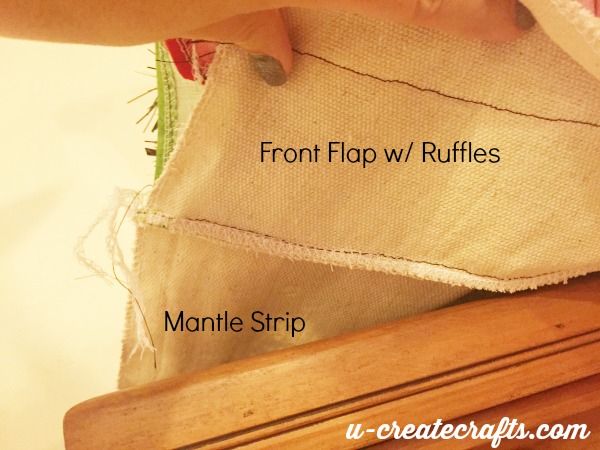
Step#12: Once the ruffles are complete, sew the front flap to the very first drop cloth strip we cut (the one that is the exact size of your mantle). Do this by placing the mantle strip on top of the ruffled strips and pinning along one side. Sew together using a 1/2″ seam.

Decorate your mantle and you’re done. Thanks for joining me for this fun tutorial. When you are done making your mantle cover, I would love to see it. What tips and tricks did you learn along the way? Come see us at u-createcrafts.com for more amazing DIY crafts and tutorials.
![becky bio[4]](http://www.u-createcrafts.com/wp-content/uploads/2014/12/becky-bio4.png)