We have such a fun quilt for you today! This quilt came about with no specific vision in mind, so you can imagine my happy surprise as it all came together!
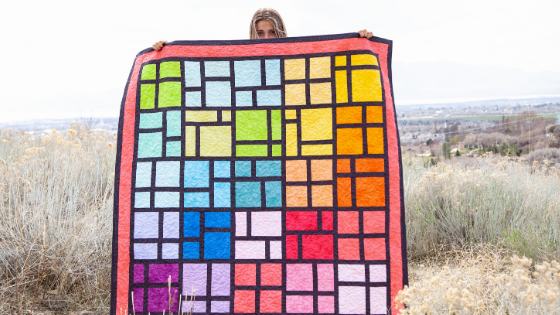
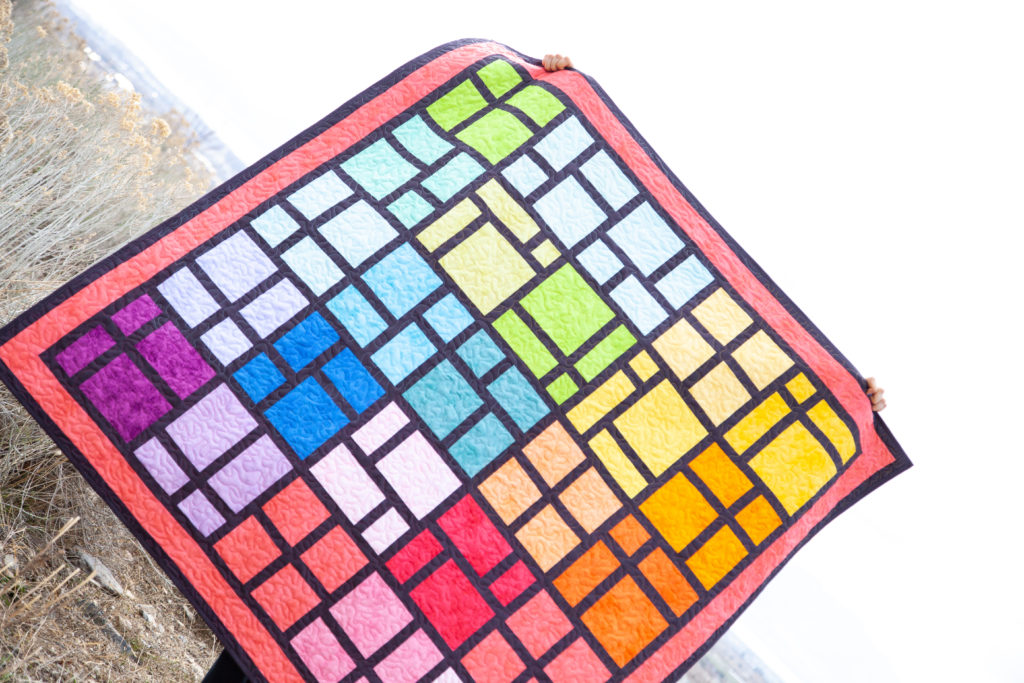
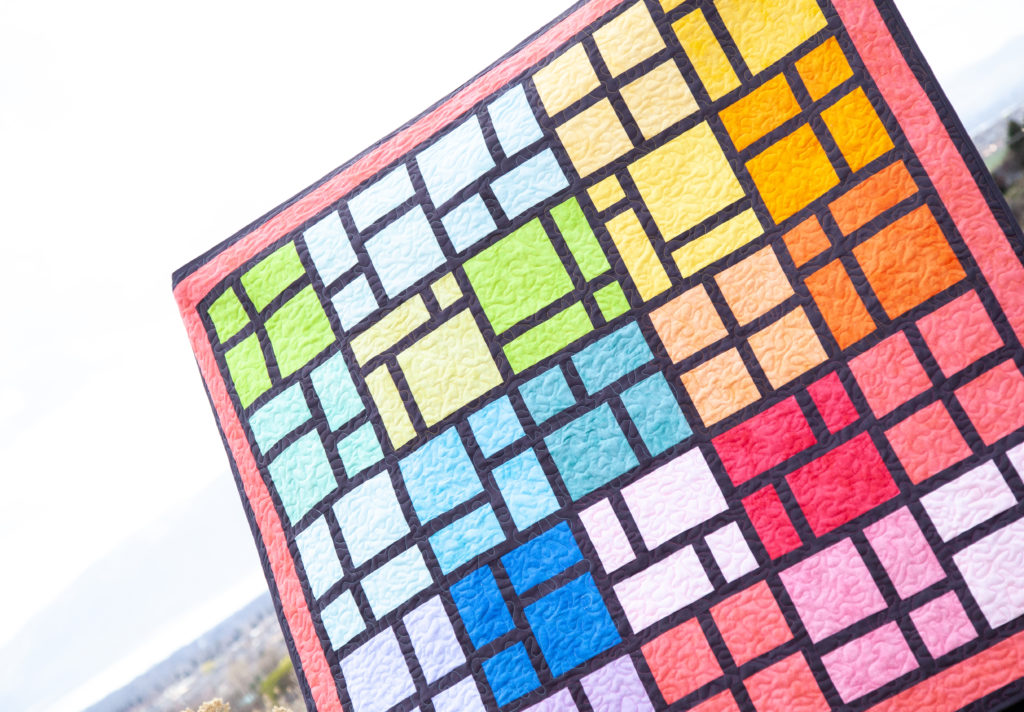
The quilt features Riley Blake Shades Basics. The dappled color variation in Shades has always reminded me of stained glass, so these basics were the perfect option to create this Stained Glass Quilt design.
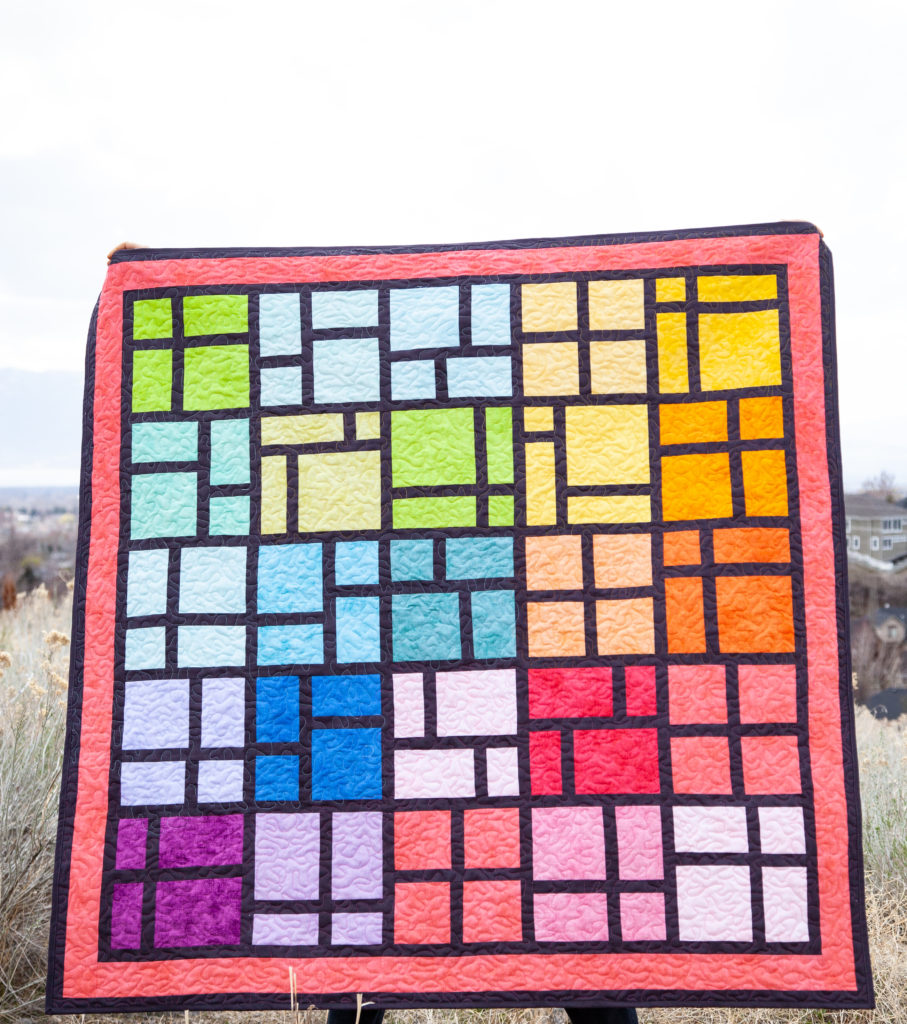
This quilt is definitely a keeper! So bright and beautiful on this cloudy day.
This is a throw size quilt measuring approximately 56″ x 56″.
To make this quilt, you will need:
- 25 – 10″ squares in various colors of Riley Blake Shades fabrics
- About 2 yards Riley Blake Charcoal Confetti Cotton for sashing, borders, and binding. Cut 7 – 2.5″ x WOF strips for the binding from the Charcoal Confetti Cotton. Set aside. Cut 1.5″ strips from the rest of the Charcoal Confetti Cotton.
- 2/3 yard Flamingo Shades for border cut into 3″ x WOF strips
- batting
- quilt back – we used Blossom Wide Back in Gray
Before getting started, I like to sew all of the 1.5″ Charcoal strips – joining the short ends – to create one super long strip. For me, this makes quick work of adding the strips throughout this quilt.
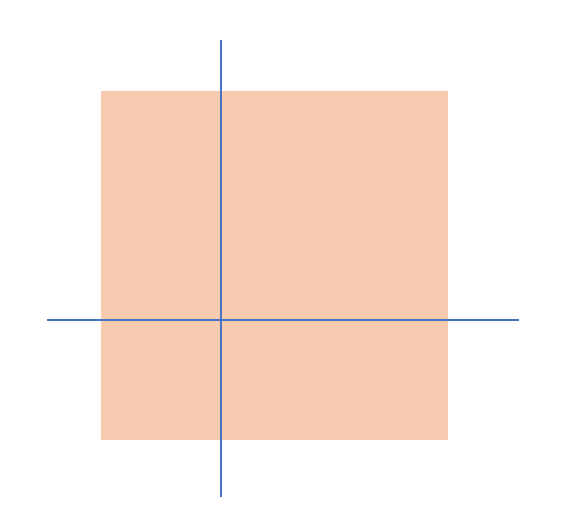
To begin, cut the 10″ squares into four sections. Each square can be cut a little differently. I started by stacking a group of four squares and measured 3″ with my ruler and made a vertical cut, then a 3″ horizontal cut, giving me four squares.

Next, sew 1.5″ strip to top left section. Press. Sew the same strip to the top right section. Press. Repeat for bottom sections as shown above.

Sew a 1.5″ strip to join the top and bottom sections as shown above. Trim the block to a 9.5″ square.
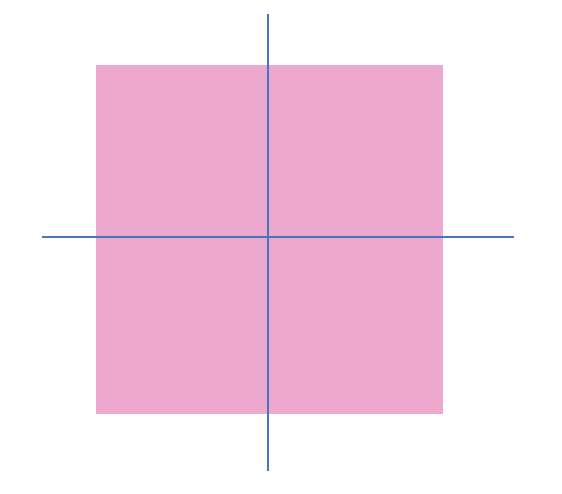
Continue cutting the squares into four sections (with varying vertical and horizontal measurements – the above graphic shows a square cut into four equal parts) and sewing the charcoal sashing, then trimming, as described above until all of the blocks are completed.

P.S. – Another option for sewing the squares back together is to flip the top and bottom – instead of lining up the gray sashing, turn the top section so that the gray sashing is on the other end. This adds some visual interest and I opted to do this for probably half of the blocks.
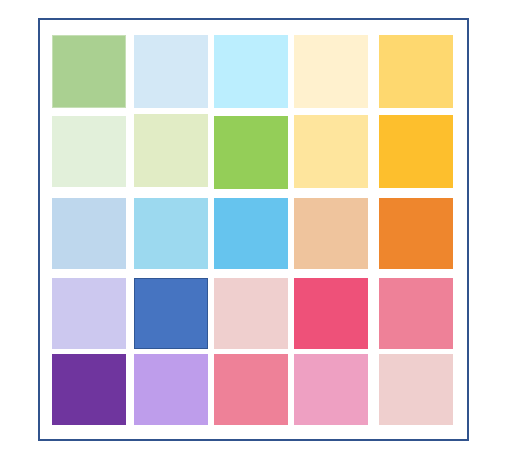
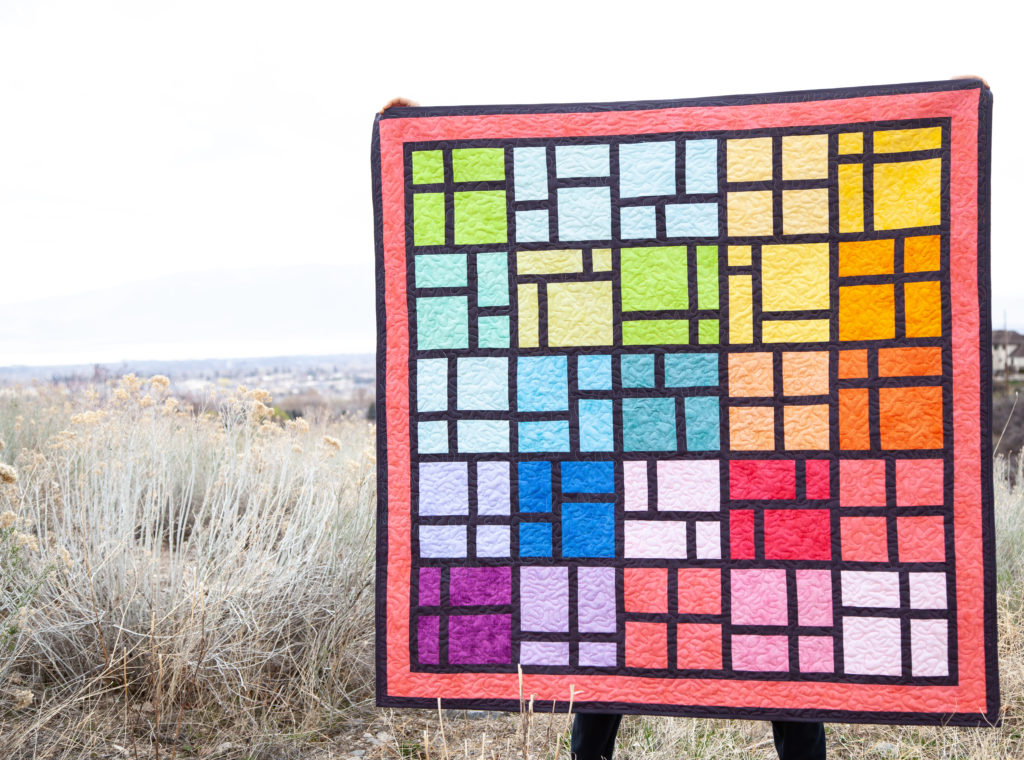
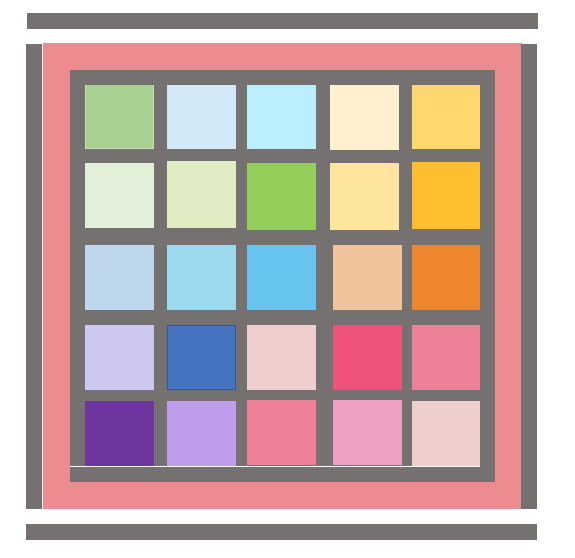
Now it’s time to arrange the blocks. I started at the upper left hand corner and began arranging the green squares, working to the right with the yellow squares, then down to oranges and pinks, and over to purples and blues.
Have fun with this, turning the blocks so the charcoal lines don’t line up. You want them to vary in height.
Once you have the blocks arranged in the color order you like, begin adding 1.5″ Charcoal strips as sashing on the top row, pressing as you go. Repeat with all of the rows. Next sew long strips of 1.5″ Charcoal sashing strips to form the horizontal sashing, joining the rows together.
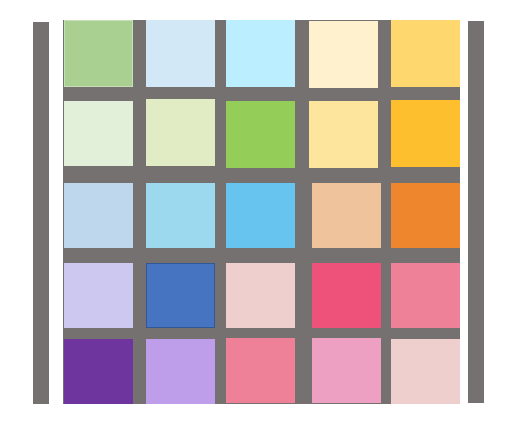
Now it’s time to add the borders. Sew 1.5″ Charcoal strips to each side. Press.

Sew 1.5″ Charcoal strips to the top and bottom. Press.
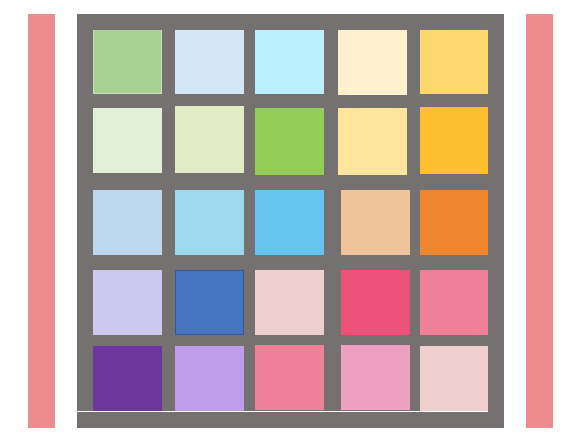
Again, I like to sew all of the border strips together into one long strip. This is what I also did with the 3″ wide Flamingo Shades strips. Sew the Flamingo Shades strips to each side. Press.
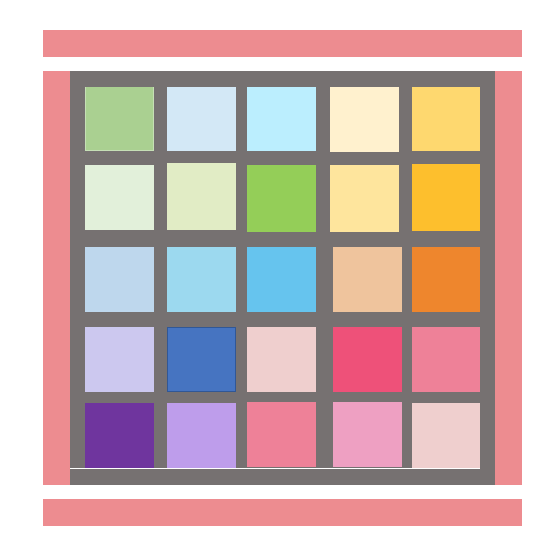
Sew the 3″ Flamingo Shades strips to the top and bottom. Press.
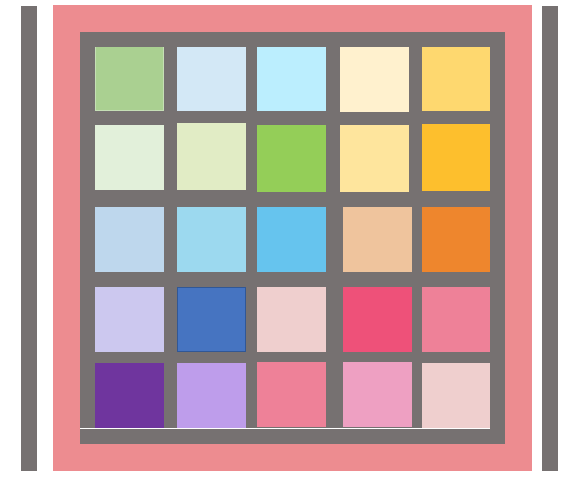
Again, sew 1.5″ Charcoal strips to each side. Press.
Sew 1.5″ Charcoal strips to the top and bottom. Press.

And that’s it! Your quilt top is complete!
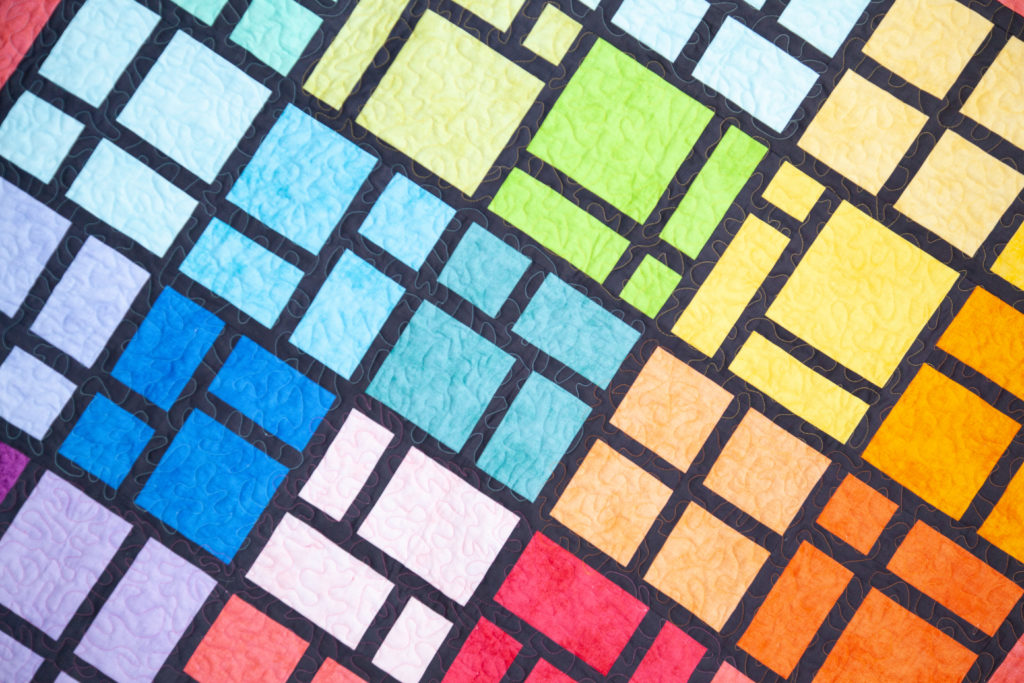
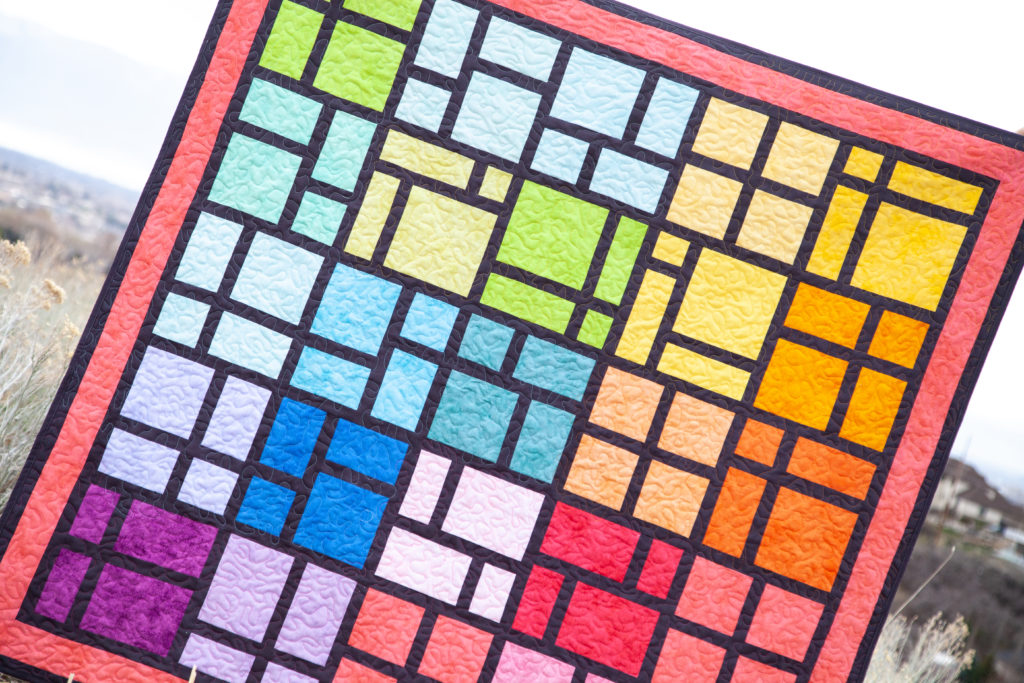
The bright shades fabrics paired with the Charcoal Confetti Cotton create a stunning stained glass effect.
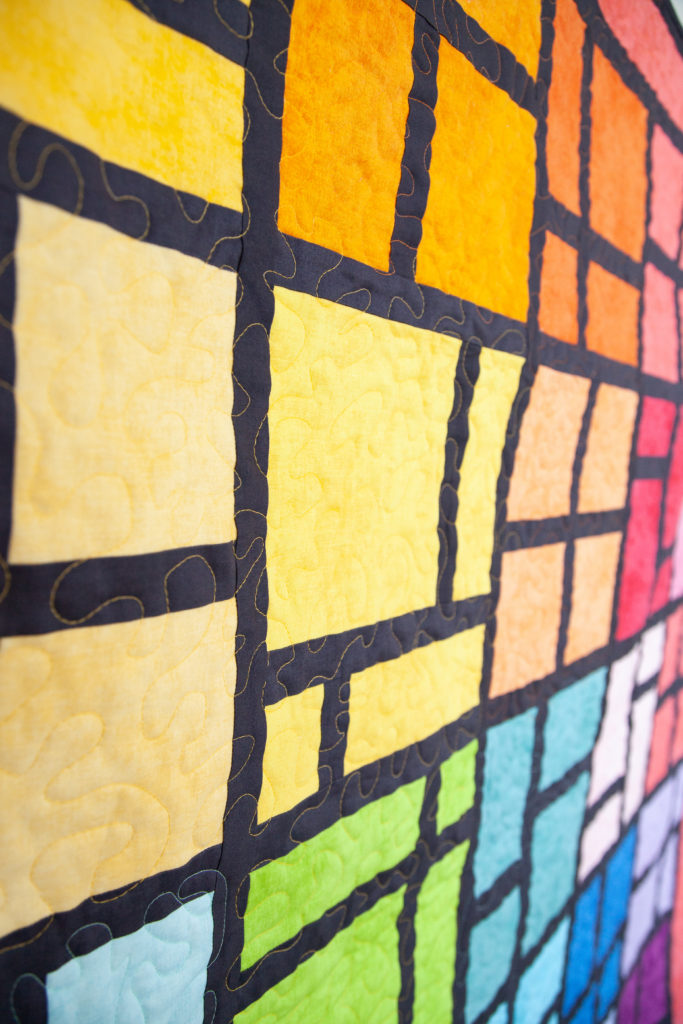
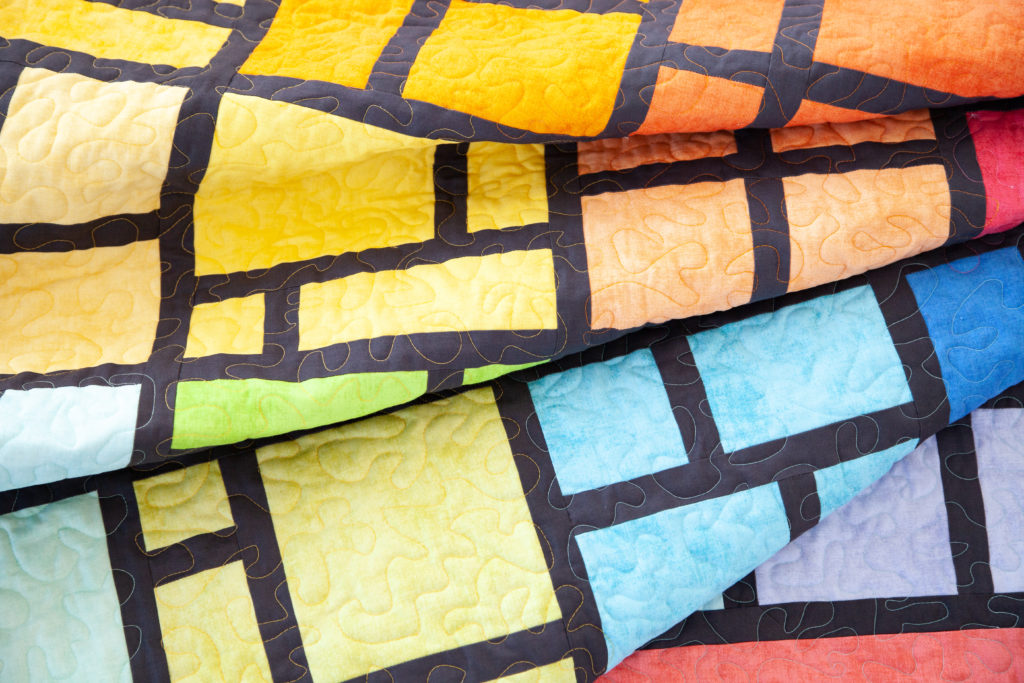
I quilted this by machine using three different threads. For the yellow/ orange/green sections, I used yellow thread. For the pink/purple sections, I used pink thread. For the blue/green sections, I used aqua thread. I love the subtle bit of interest the varying thread colors add.
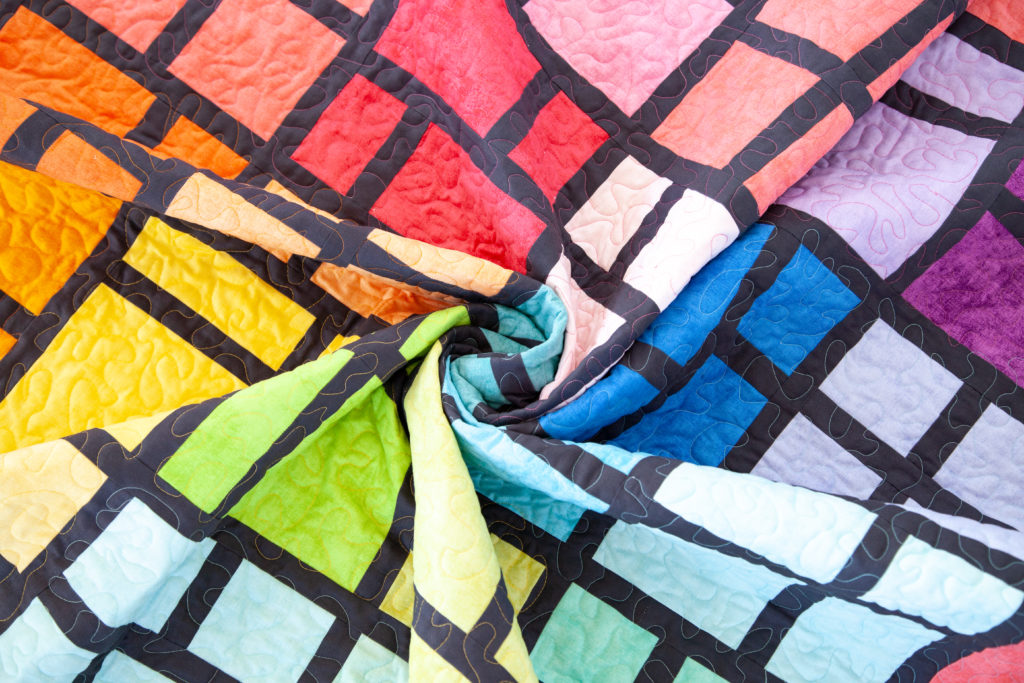
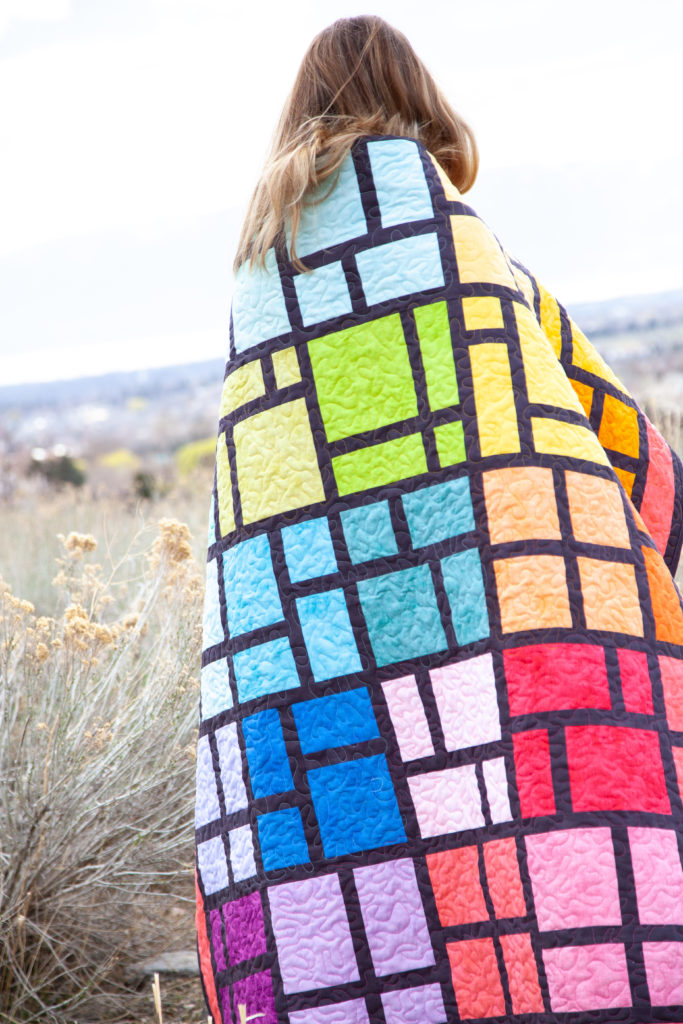
Look at all of that amazing color!
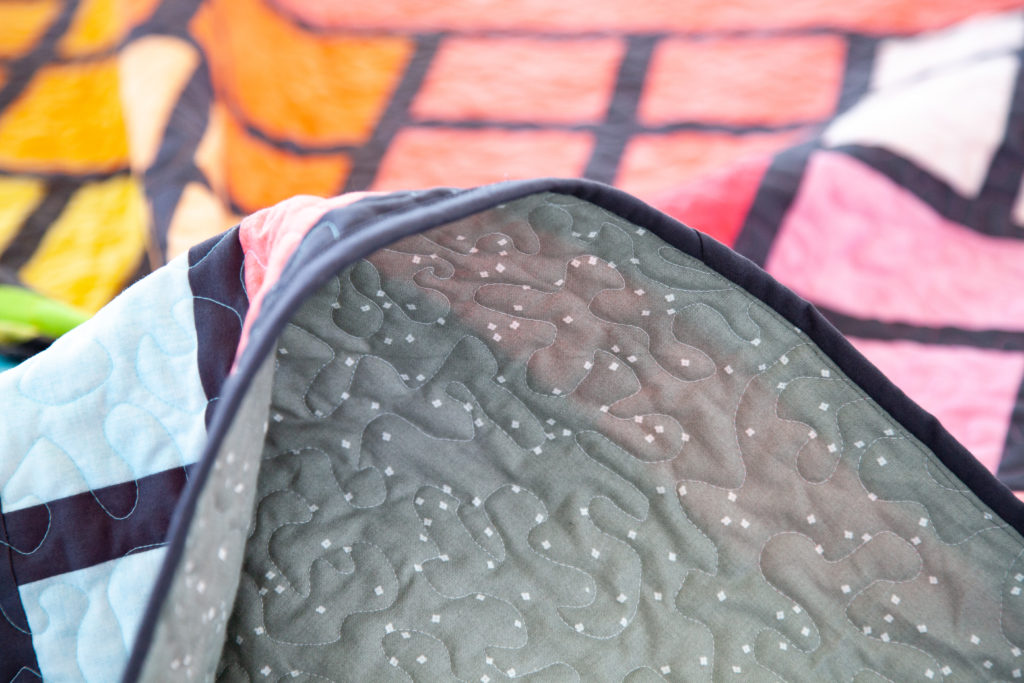
For the quilt back, I used Blossom Wide Back in Gray. The binding is Charcoal Confetti Cotton.
I love how the binding disappears into the Charcoal outside border.
Pure eye candy!
Riley Blake Shades Basics are available now at your favorite local and online quilt shops. Pick up yours today and share your makes with us on Instagram using #shadesfabrics, #rileyblakedesigns, #iloverileyblake, and tag us @rileyblakedesigns.
Happy Quilting!