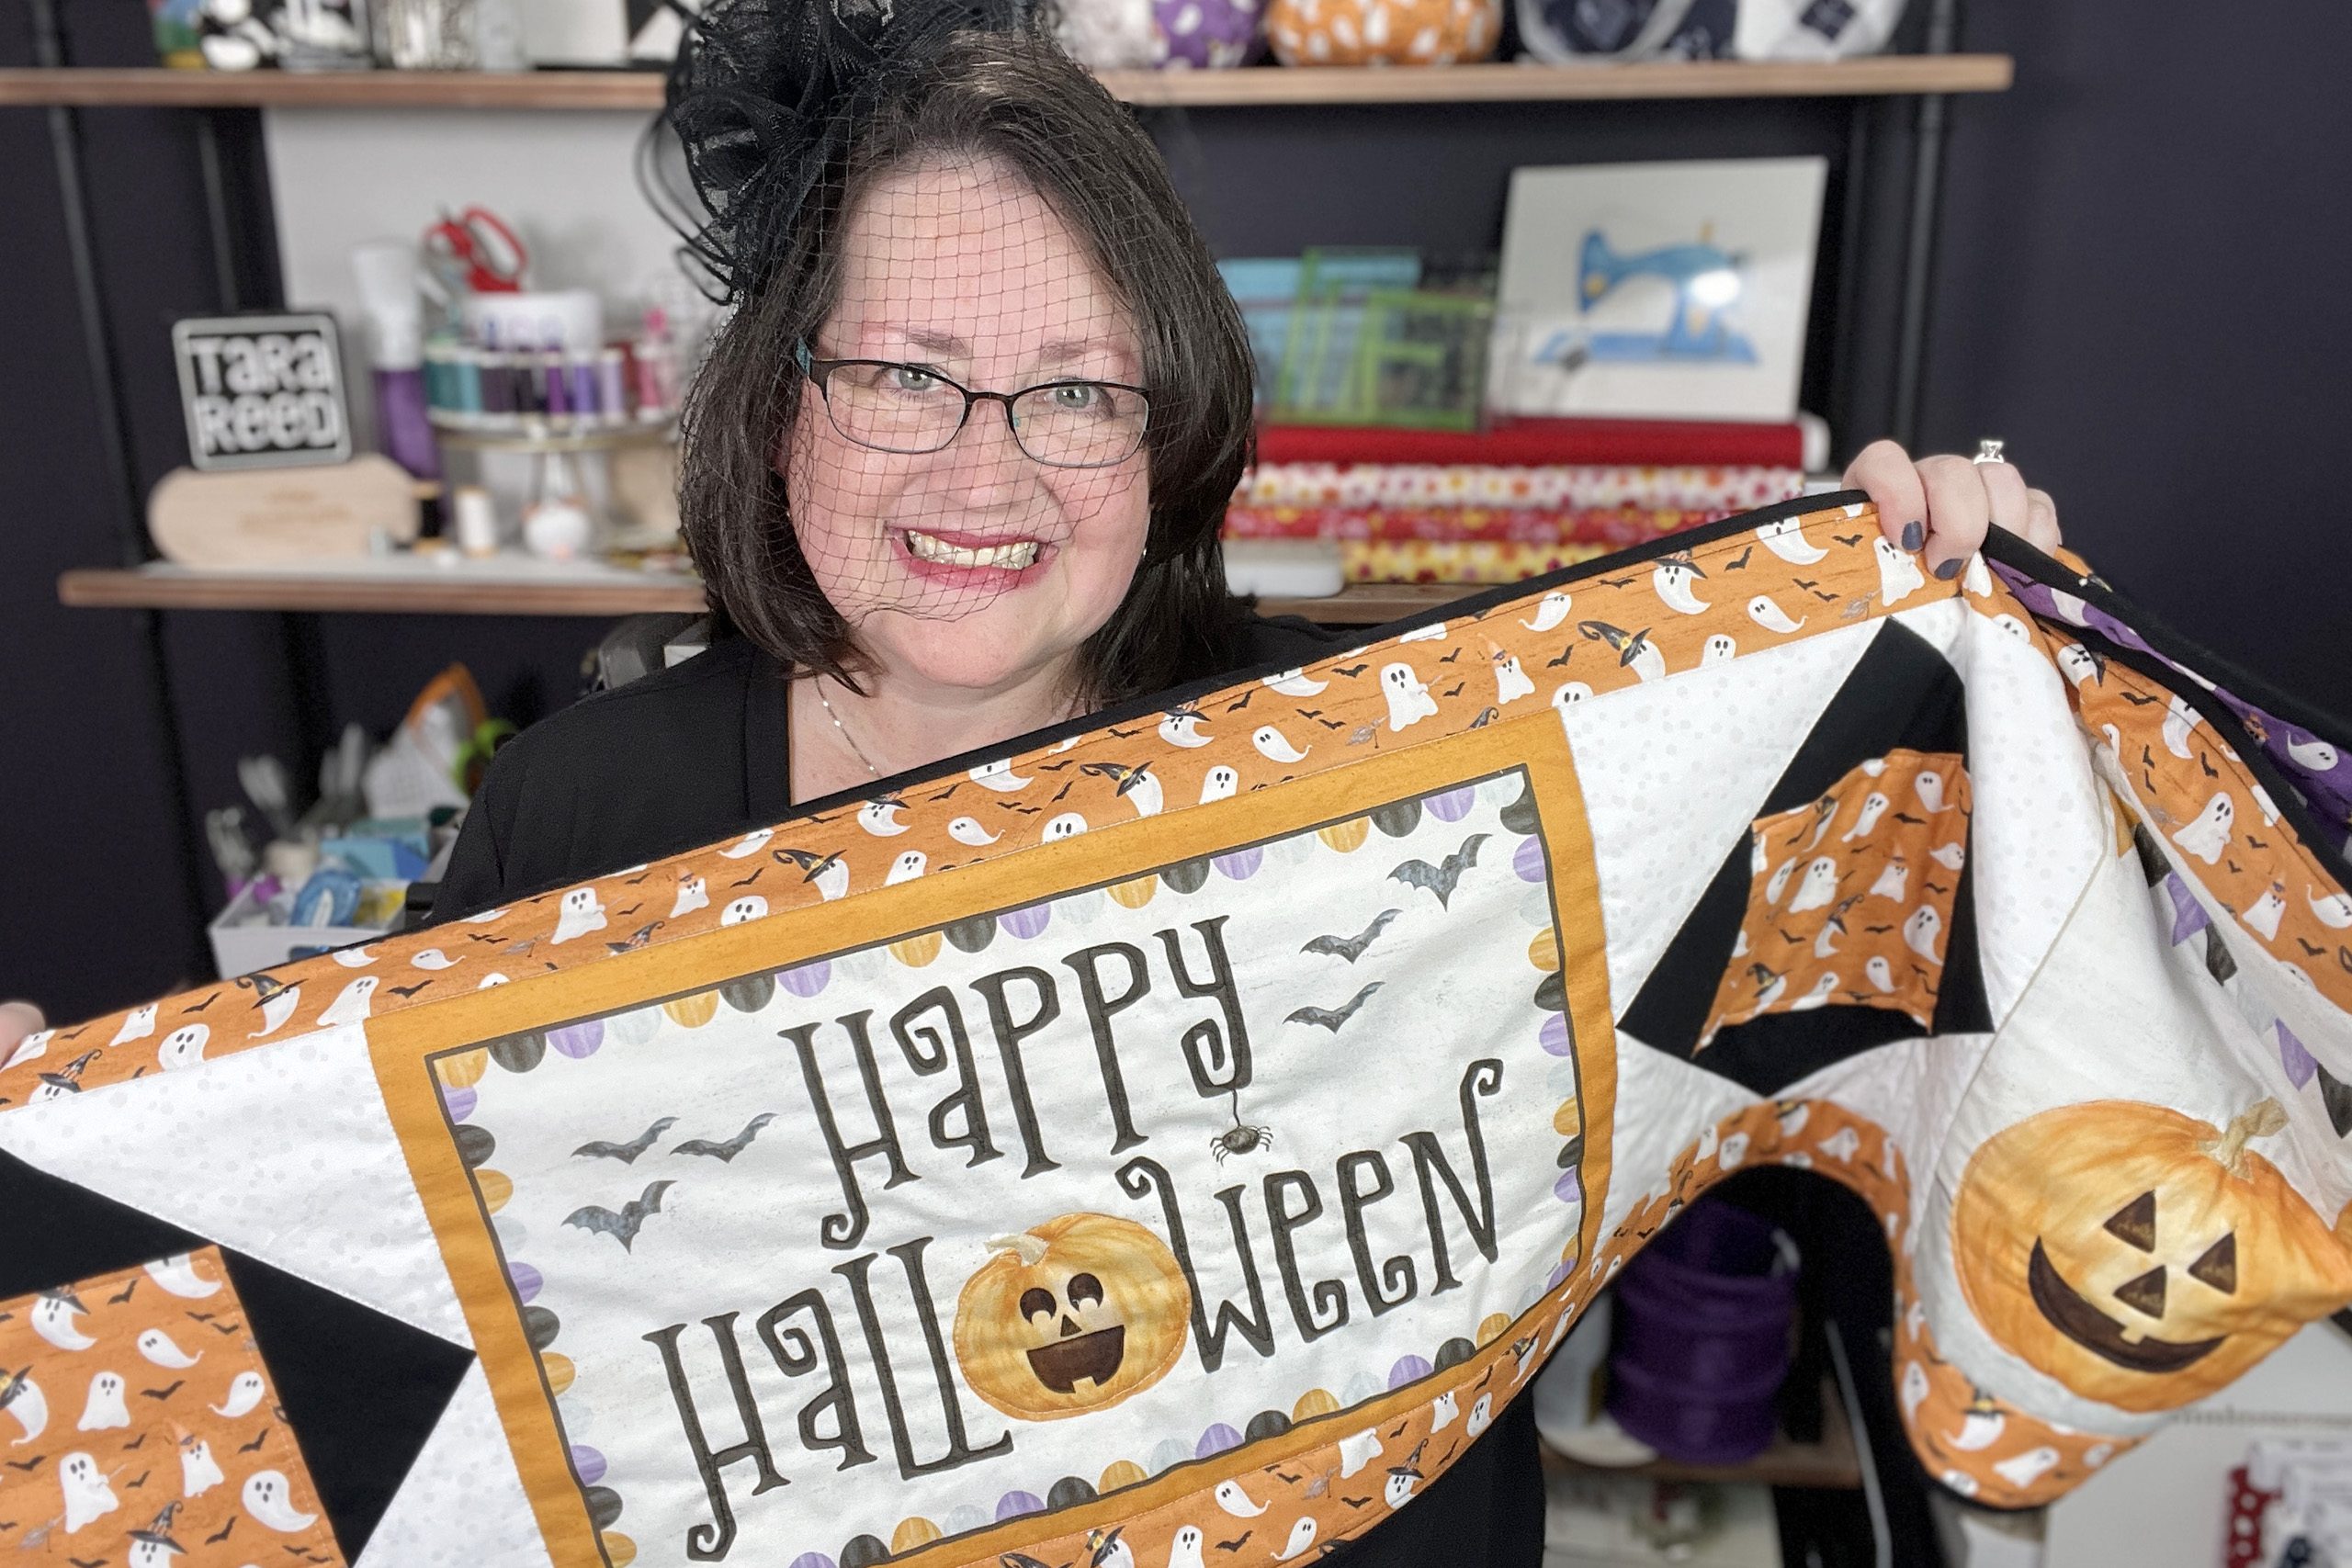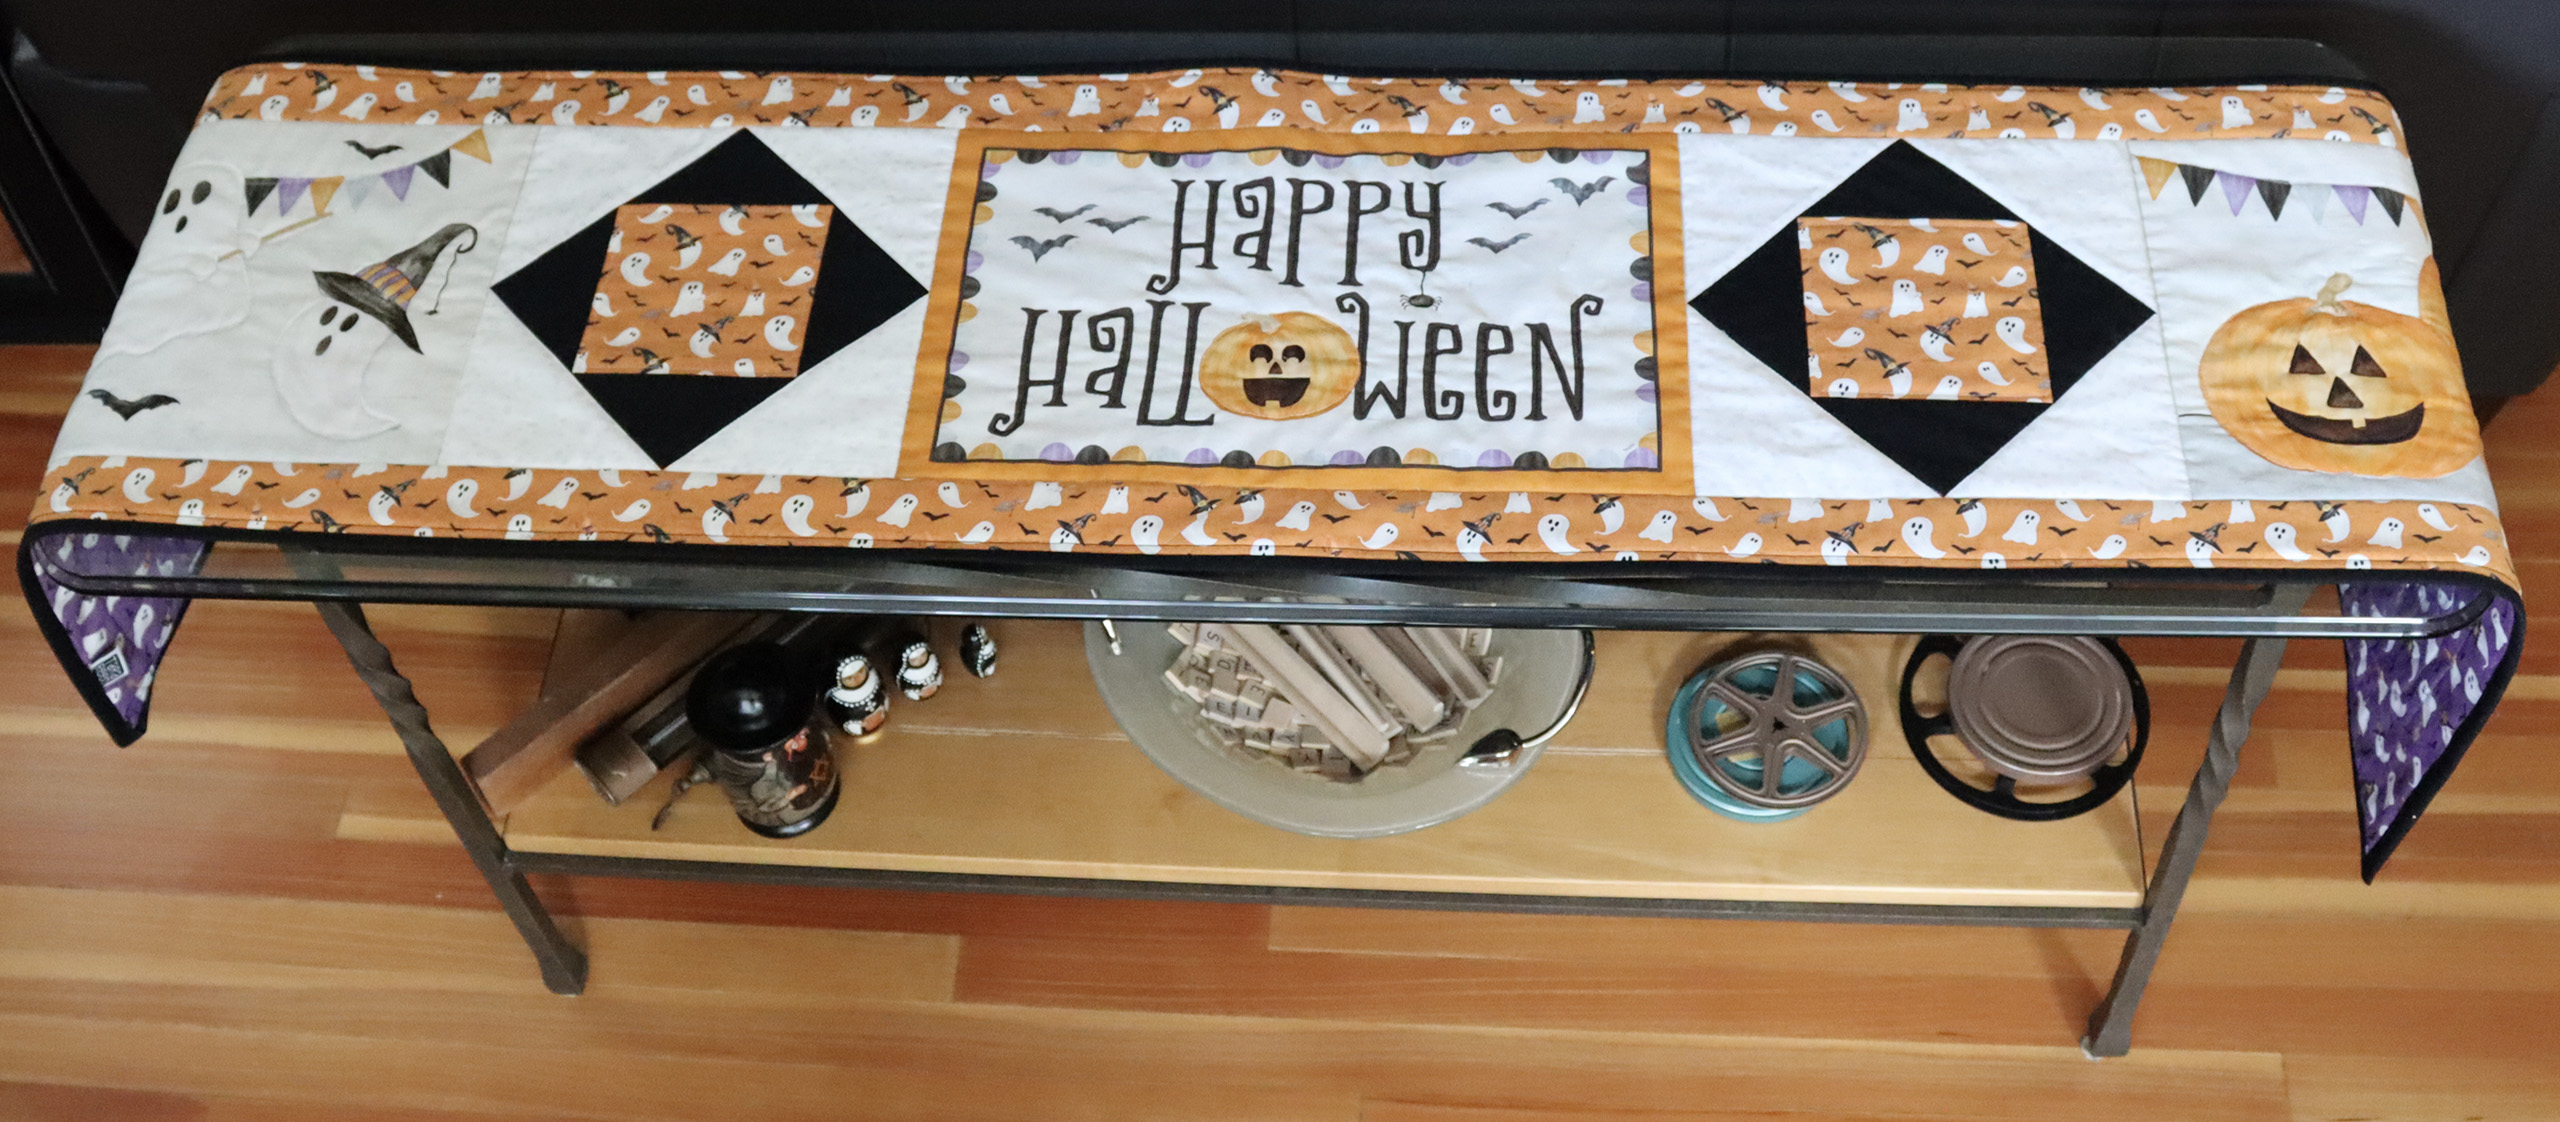
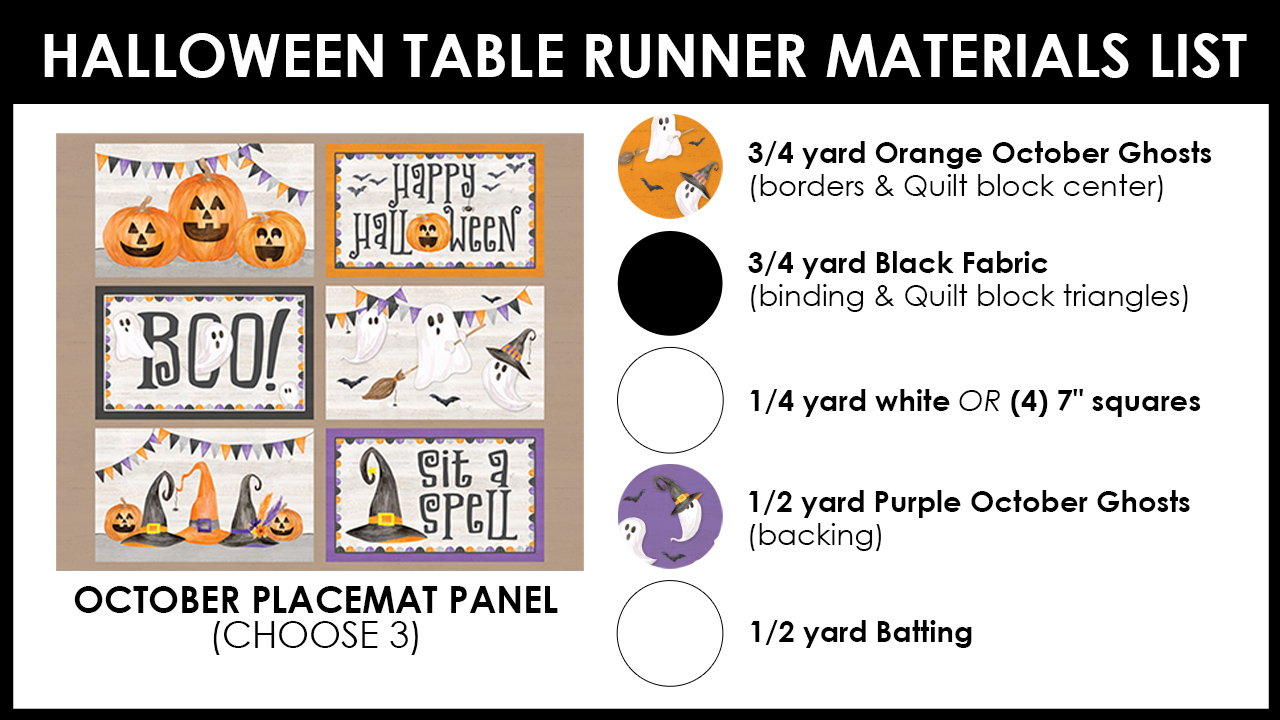
Halloween is just around the corner, and what better way to add a spooky touch to your home decor than with a Halloween table runner using the October Placemat Panel and Spooky Ghost prints?
In the video below I show you how to make an Economy Quilt Block (or square in square) that’s great for beginners because you trim it to size as you go – less stress on getting everything perfect!
🎯 SHORTCUTS TO SPECIFIC TOPICS:
00:00 Introduction
00:29 Supply List
00:32 How to make an Economy Quilt Block
03:58 Tips for straight seams
07:42 Use spray starch to help fabric hold shape
10:42 Assemble blocks and placemat images
11:24 Cut border fabric
12:04 How to use a rotary cutter and ruler correctly
13:05 Add side borders
13:53 Piece top and bottom border fabrics
15:28 Add top and bottom borders
17:07 Prepare backing fabric
17:29 Layer backing, batting and table runner top
18:35 Pin layers together
20:00 Choosing thread color for quilting
21:45 Using a walking foot for quilting
22:00 Baste table runner
22:30 Stitch in the Ditch quilting
23:20 Quilting Gloves
24:00 Machine Quilting Tips
26:19 Free Motion Quilting
27:50 Trim quilted table runner
28:13 Bind the table runner
29:10 How to miter quilt binding corners
30:14 How to match quilt binding
33:02 Press finished binding
34:32 A few ways to sew binding to the backing
35:02 Baste quilt binding with tape or Elmer’s glue
36:54 Machine stitching binding
Of course you can use these same techniques and whip up table runners for all year! Will you make one for Halloween, everyday or another season?
For more projects and sewing fun, please follow me on Instagram or Facebook. Tag me if you make a table runner – I’d love to see what fabrics you choose. Happy Sewing!
🎃 Tara Reed