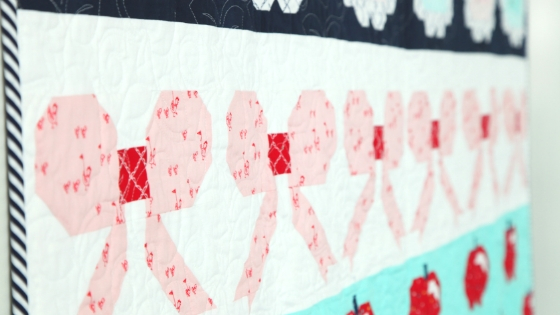
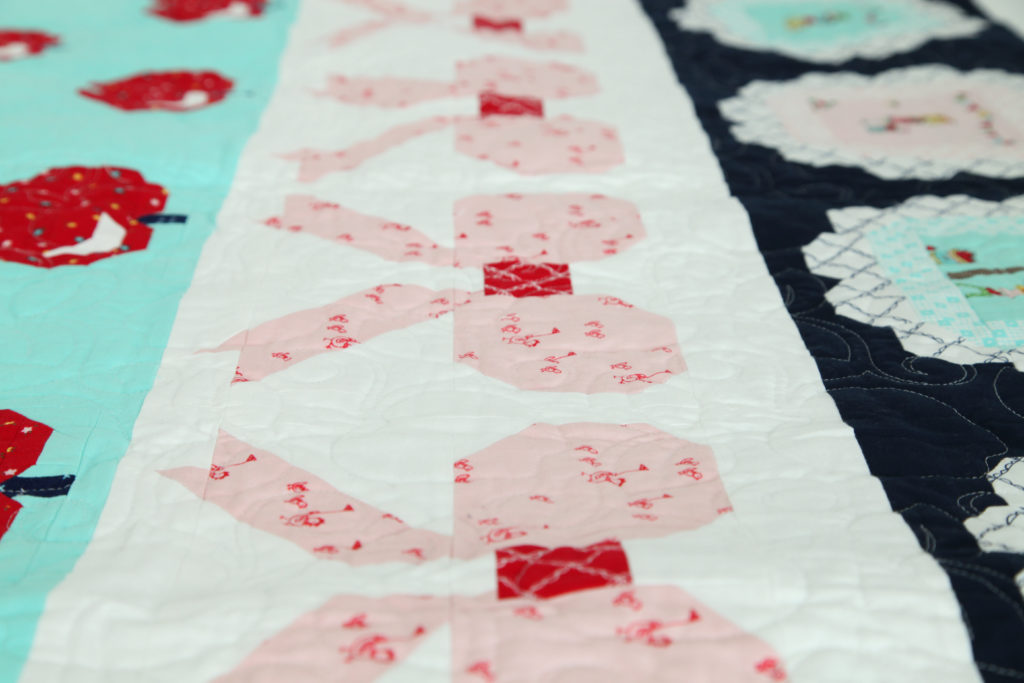
It’s Week 3 of the Sweet & Simple Row-by-Row Sew Along and we are excited to get started on the Bow Block! The Sweet & Simple quilt, designed by Burlap & Blossom Patterns, features six rows of the cutest blocks you’ve ever seen! Fabric is from Tasha Noel’s newest collection, Simple Goodness.
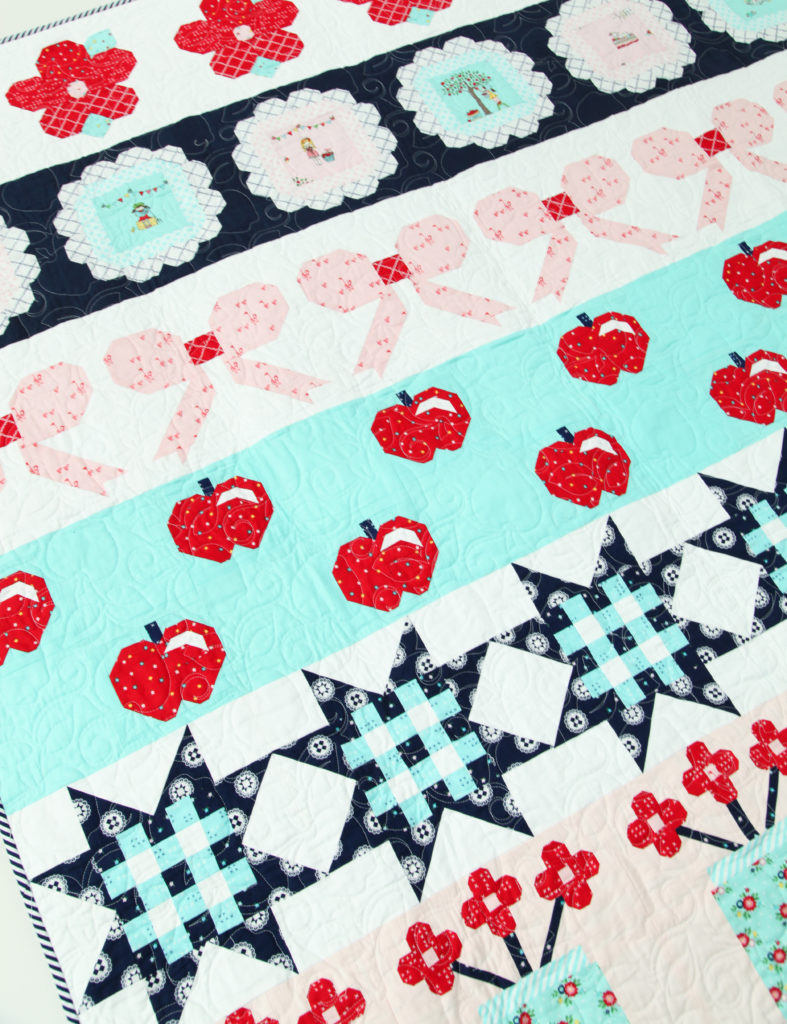
We have already finished our Flower and Scalloped Circle rows, and the Bow Block will make up Row 3 of this fun quilt.
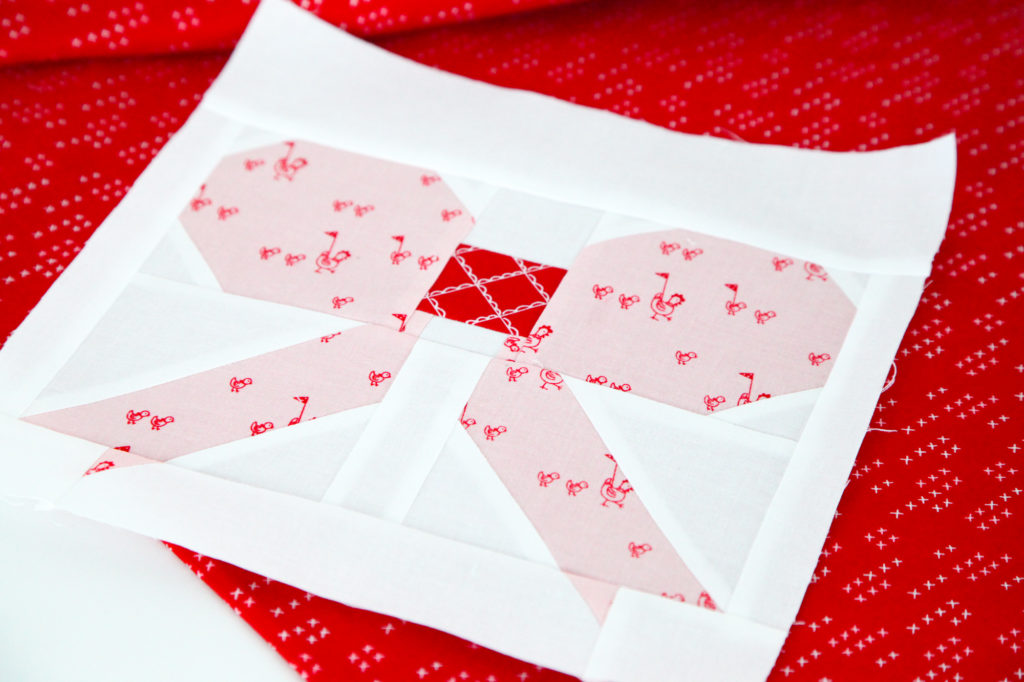
The Blow Block is such a fun, versatile block. I can see an entire quilt in different prints or solid colors for a cute baby or teen quilt.
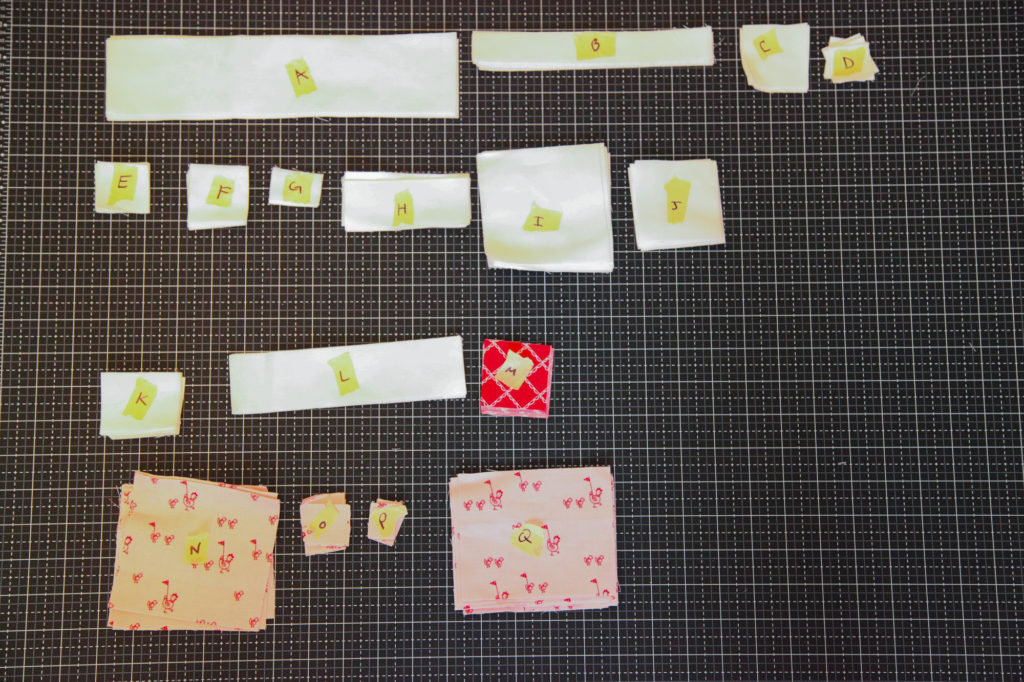
One of the most important things to remember when working with many small parts is to stay organized! Before you begin, label all of your cut pieces. Doing this at the beginning will prevent them from getting mixed up while you are working. Let’s get started!
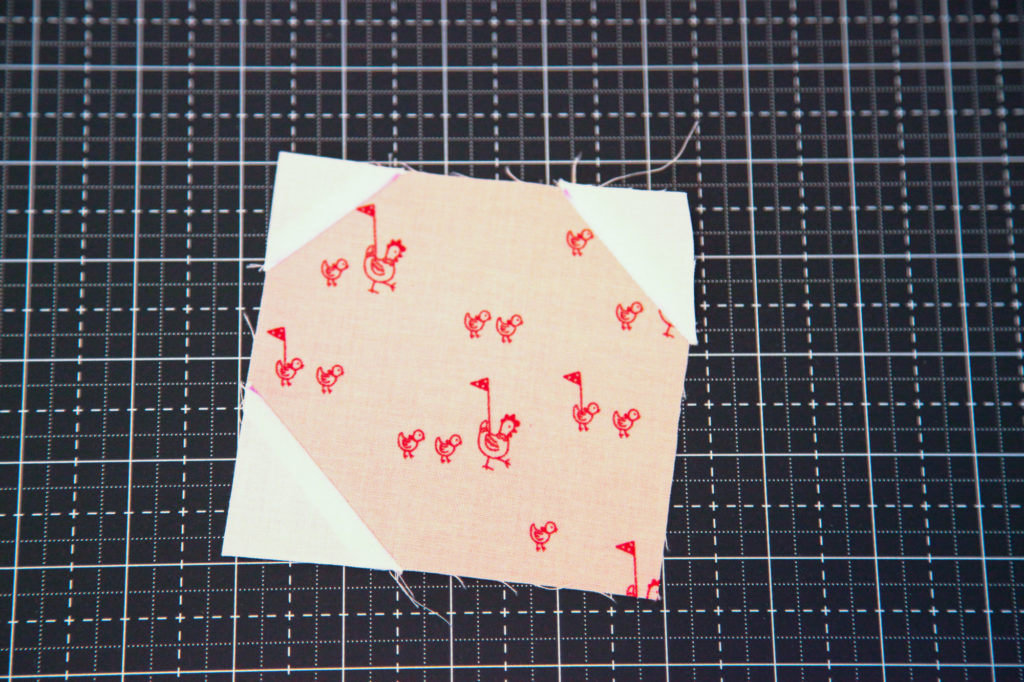
Draw a diagonal line on the wrong side of the D pieces. With the right sides facing, layer a D piece on the top left corner of an N piece. Stitch on the drawn line and trim 1/4″ away from the seam and press.
In the same manner, mark the E pieces and F pieces. Sew an E piece to the top right corner of the N piece and sew an F piece on the bottom left corner of the N piece. Repeat these steps on the opposite corners of the remaining N piece to make a reversed N piece.
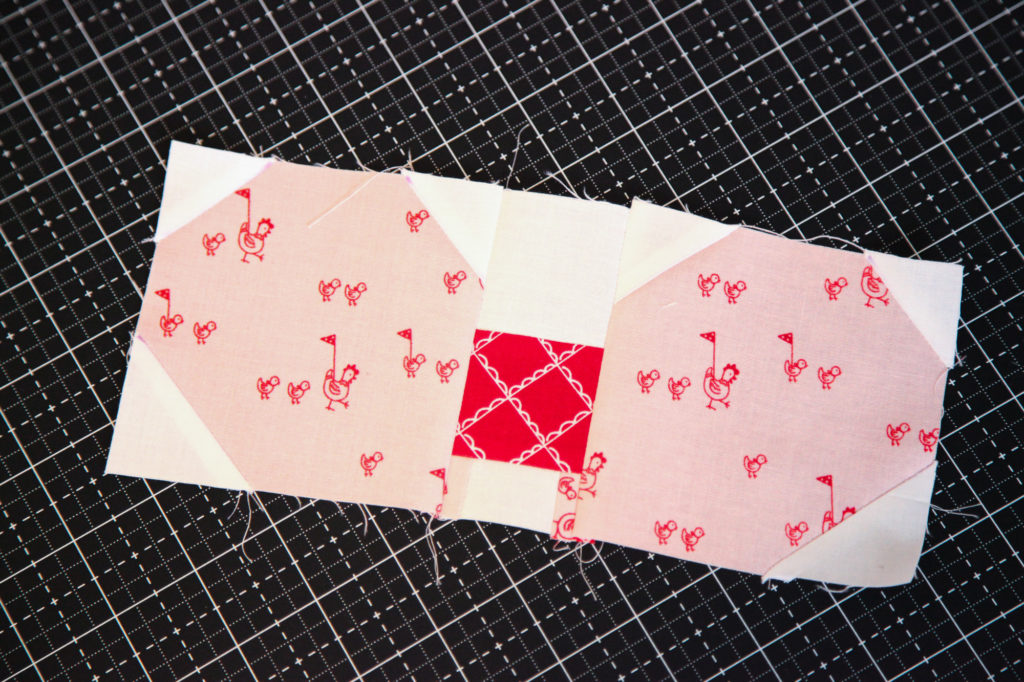
Join a P piece to the left and right sides of the G piece to form the G unit.
Join the G unit to the bottom of the M piece and join the C piece to the top of the M piece to form the center bow unit.
Join the N piece to the left side of the center bow unit and join the reversed N piece to the right side of the center bow unit to form the top bow unit.
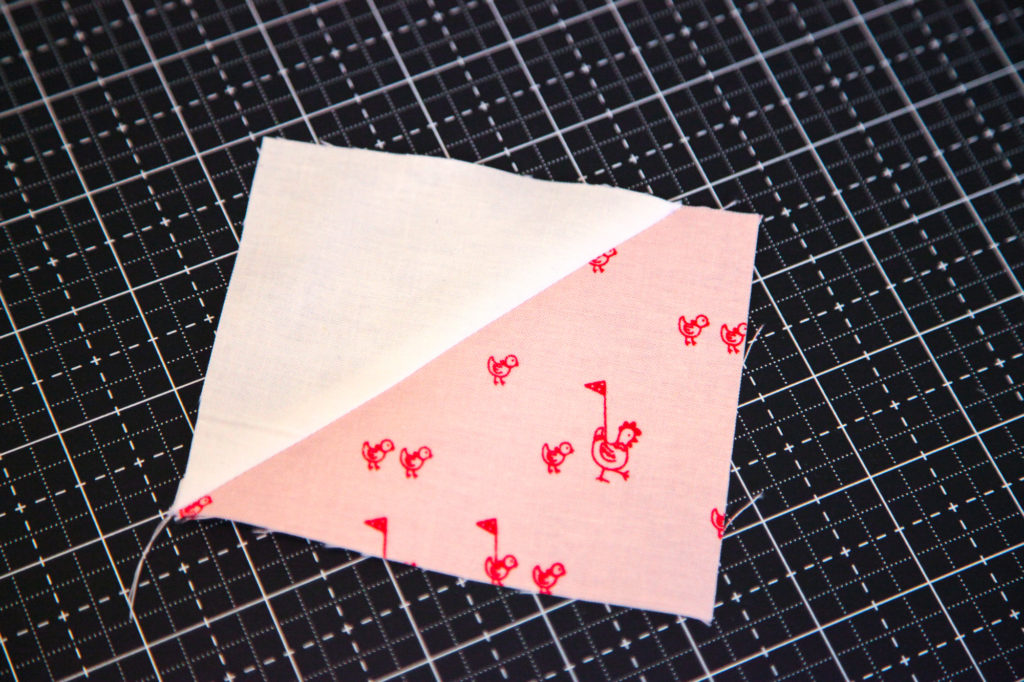
Draw a diagonal line on the wrong side of the I pieces. With the right sides facing, layer an I piece on the top left corner of a Q piece. Stitch on the drawn line and trim 1/4″ away from the seam and press.
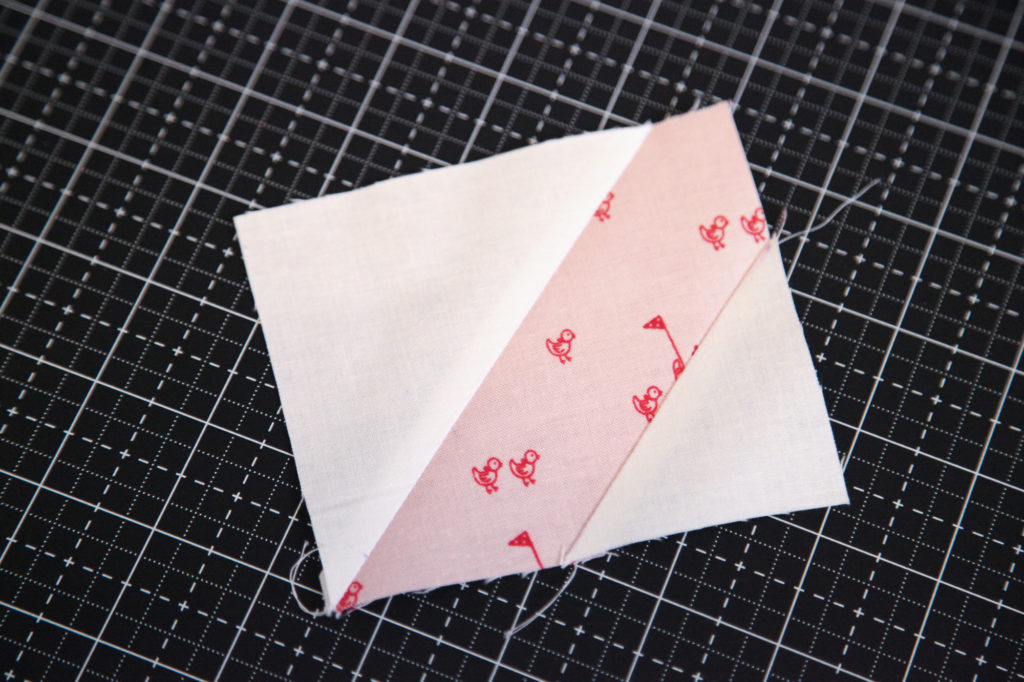
In the same manner, mark the J pieces. Sew a J piece to the bottom right corner of the Q piece. Repeat these steps on the opposite corners of the remaining Q piece to make a reversed Q piece.
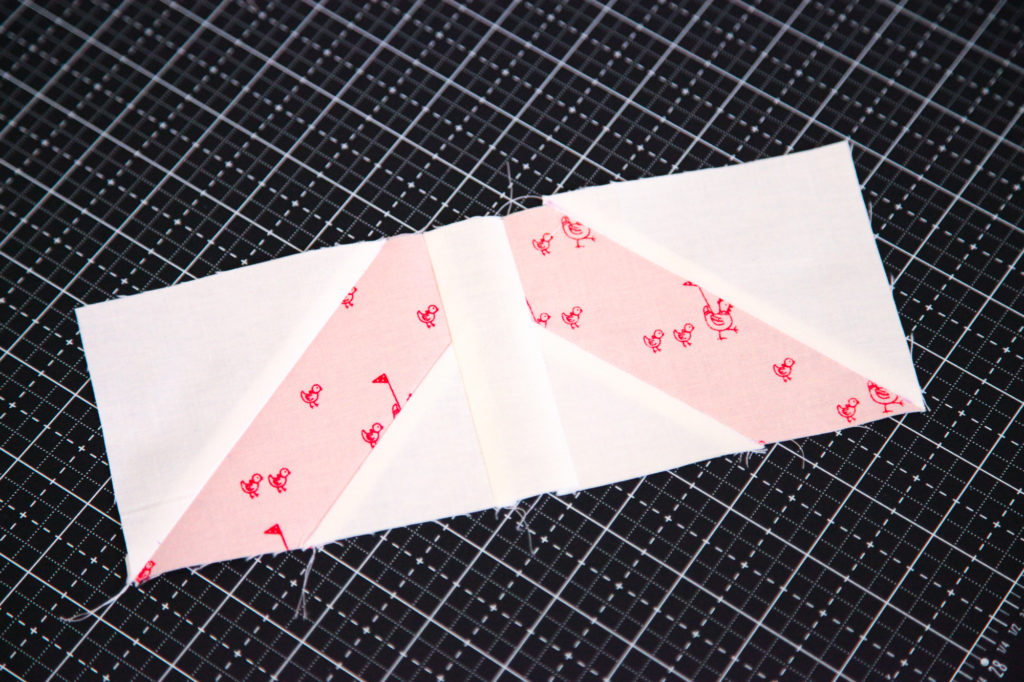
Join the Q piece to the left side of the H piece and join the reversed Q piece to the right side of the H piece to form the ribbon unit.
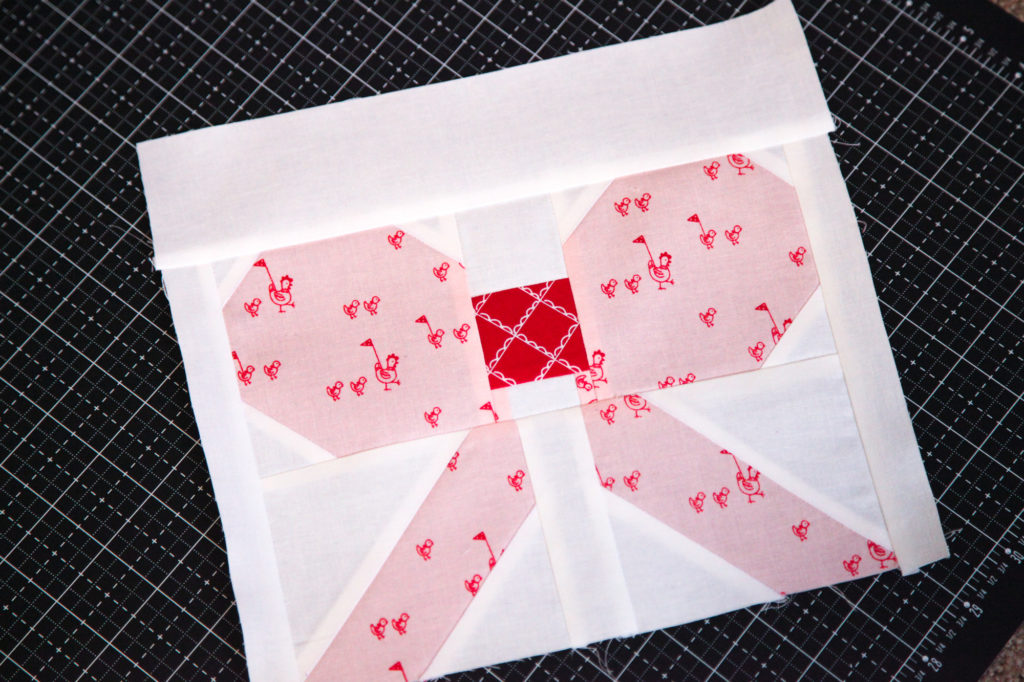
Join the top bow unit to the top of the ribbon unit to form the bow unit.
Join a B piece to the left and right sides of the bow unit. Join an A piece to the top of the bow unit.
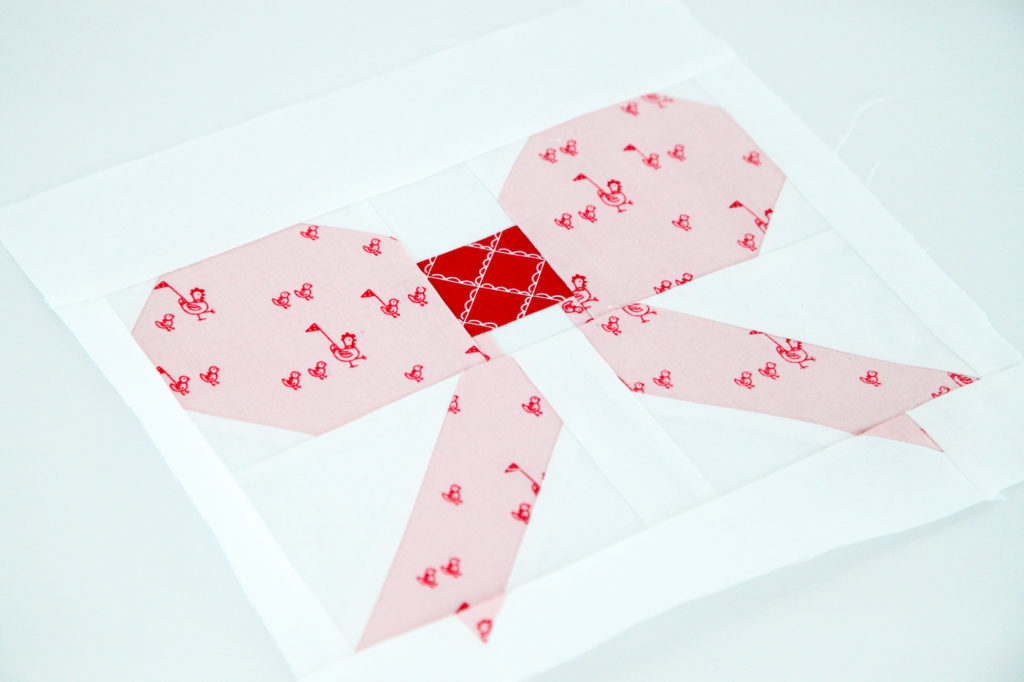
Draw a diagonal line on the wrong side of the O pieces. With the right sides facing, layer an O piece on the top left corner of the L piece. Stitch on the drawn line and trim 1/4″ away from the seam and press. Repeat on the top right corner of the L piece.
Join a K piece to the left and right sides of the L piece to form the L unit. Join the L unit to the bottom of the bow unit to form the finished block. Make six bow blocks and join them into a row to form the bow row (row 3).
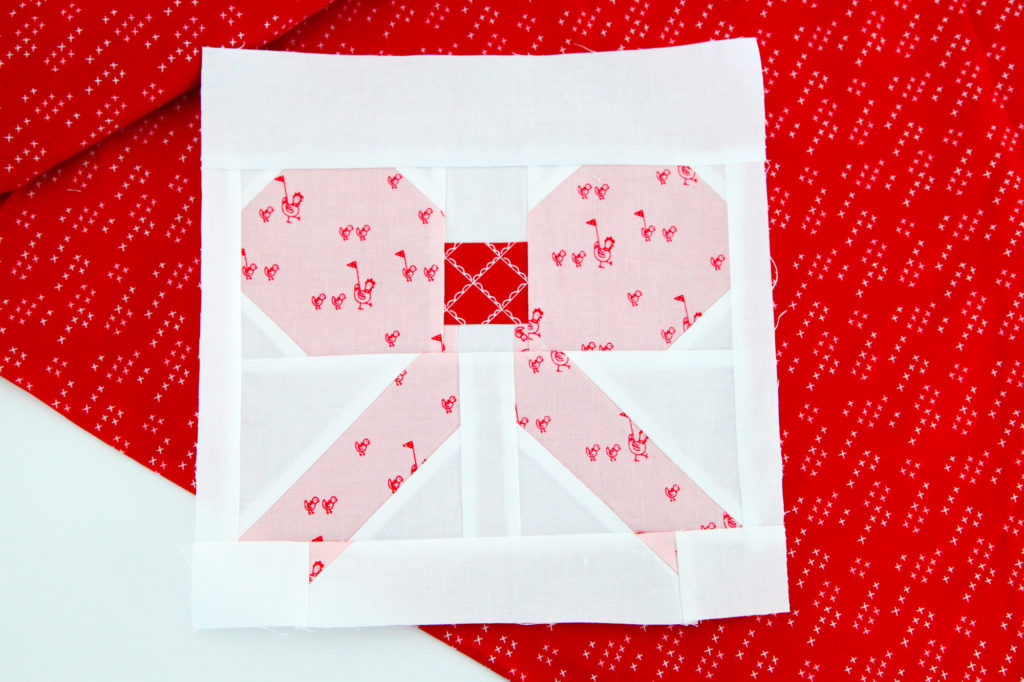
And that’s it! The cutest little bow block ever! If you are just joining our Sew Along, welcome! You can find the free downloadable cutting guide HERE. Sweet & Simple quilt kits, featuring fabric from Tasha Noel’s Simple Goodness collection, are available now at local and online quilt shops. Quantities are limited, so be sure to pick up yours today!
We want to see your progress! Be sure to share your blocks with us on Instagram using #rileyblakedesigns #iloverileyblake #fabricismyfun, and tag us @rileyblakedesigns.
Happy Quilting!

