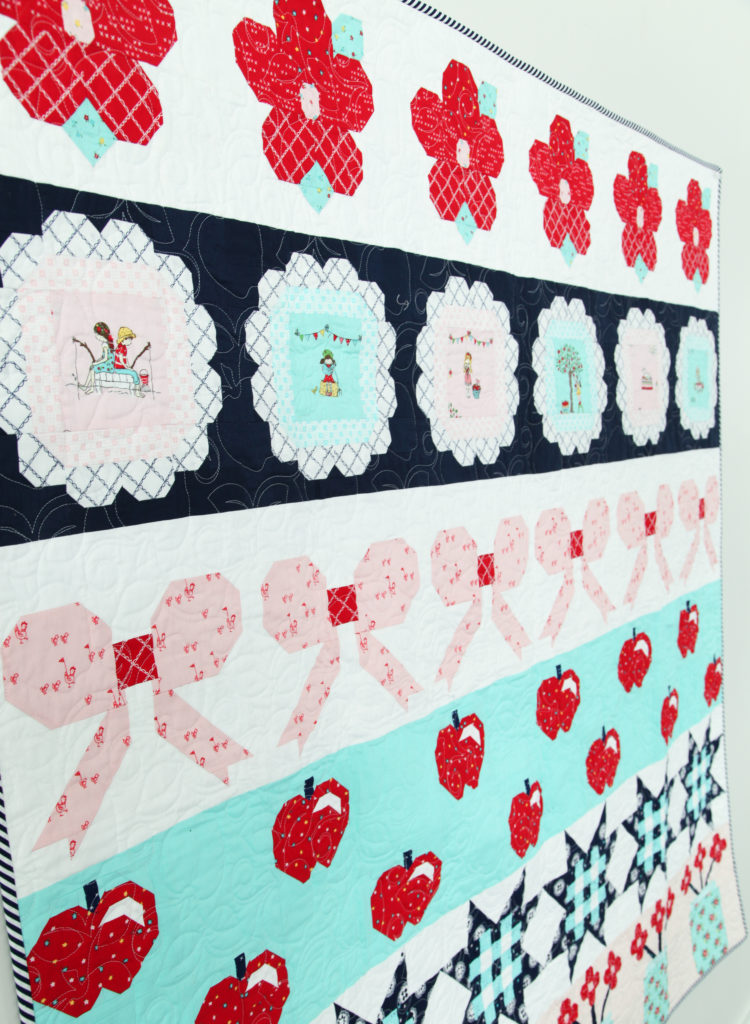
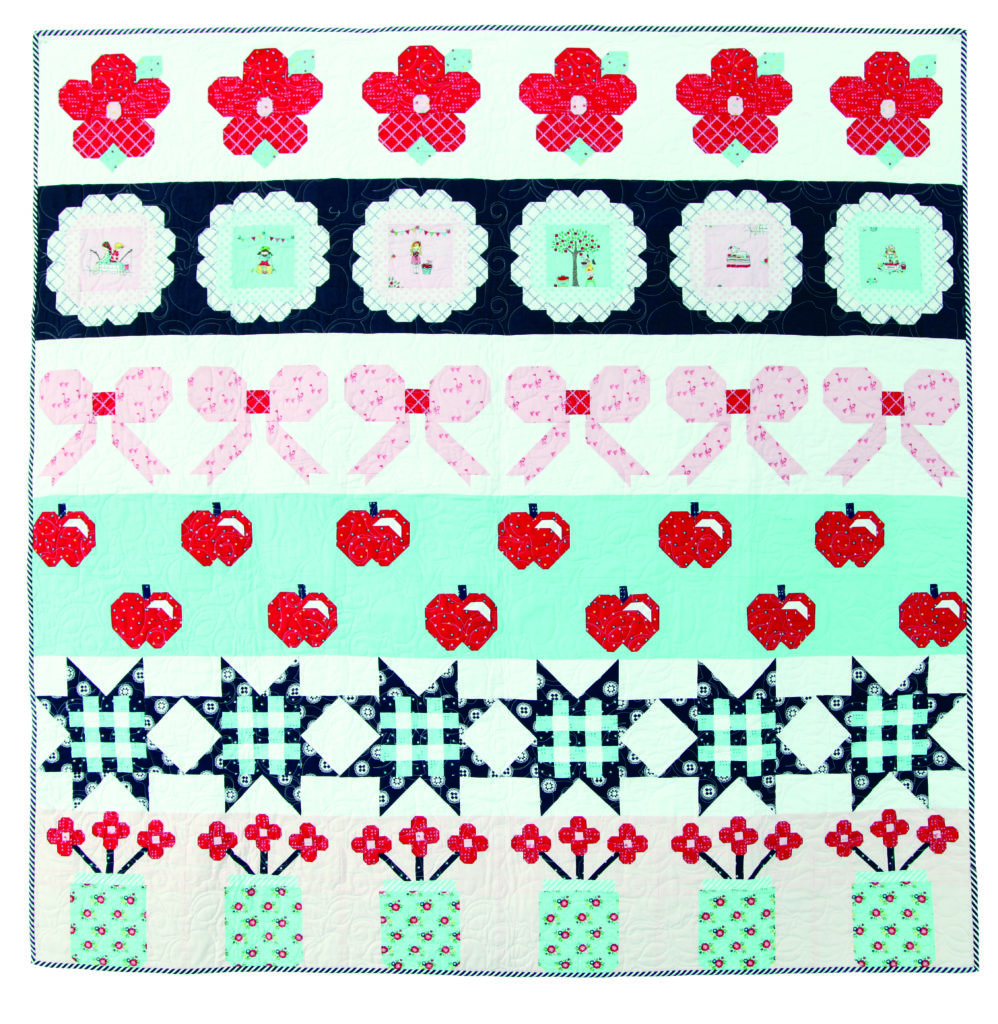
The time is finally here to begin the Sweet & Simple Row-by-Row Sew Along! This beautiful pattern, created by Gracie of BURLAP & BLOSSOM PATTERNS, really highlights the sweetness and lovely colors in Tasha Noel’s Simple Goodness fabric collection.
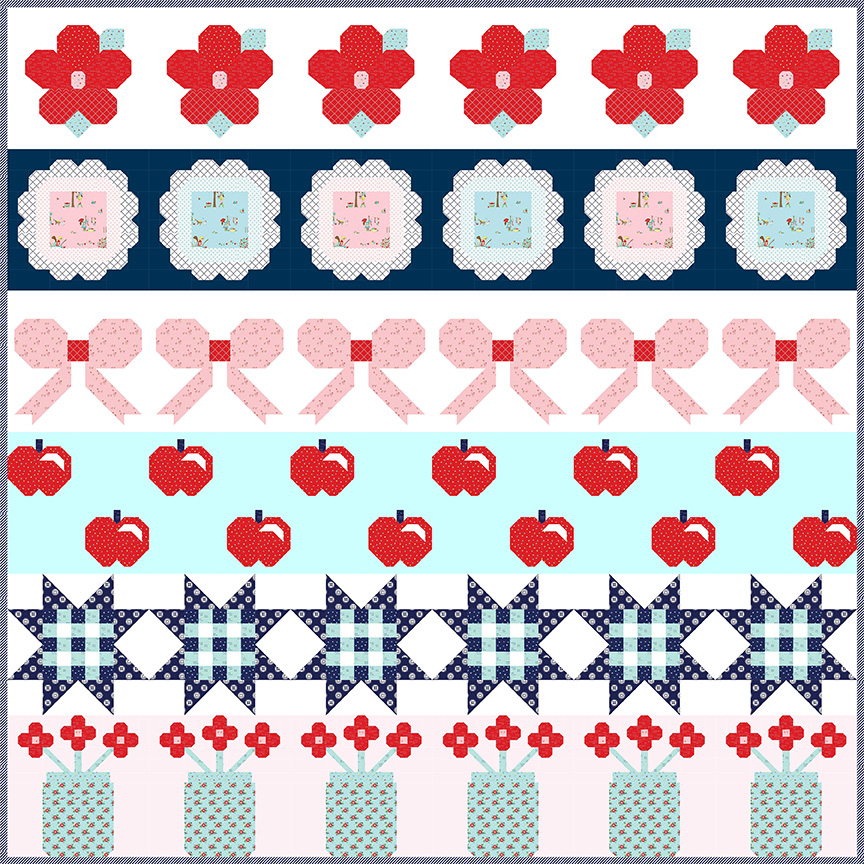
Complete quilt kits for the Sweet & Simple Quilt can be found at local and online quilt shops, so pick up yours today or download the FREE CUTTING GUIDE to get started. This week, we will be making the Flower Block.
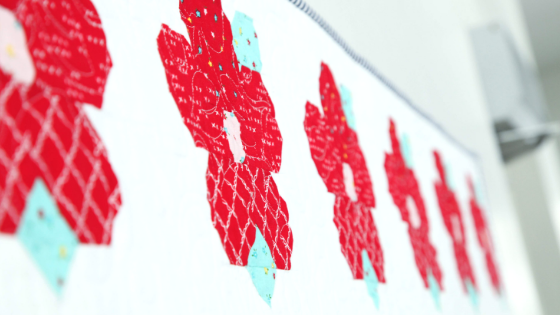
The bold red flowers feature several prints from Tasha’s collection, and add a fabulous POP to the top of the quilt.
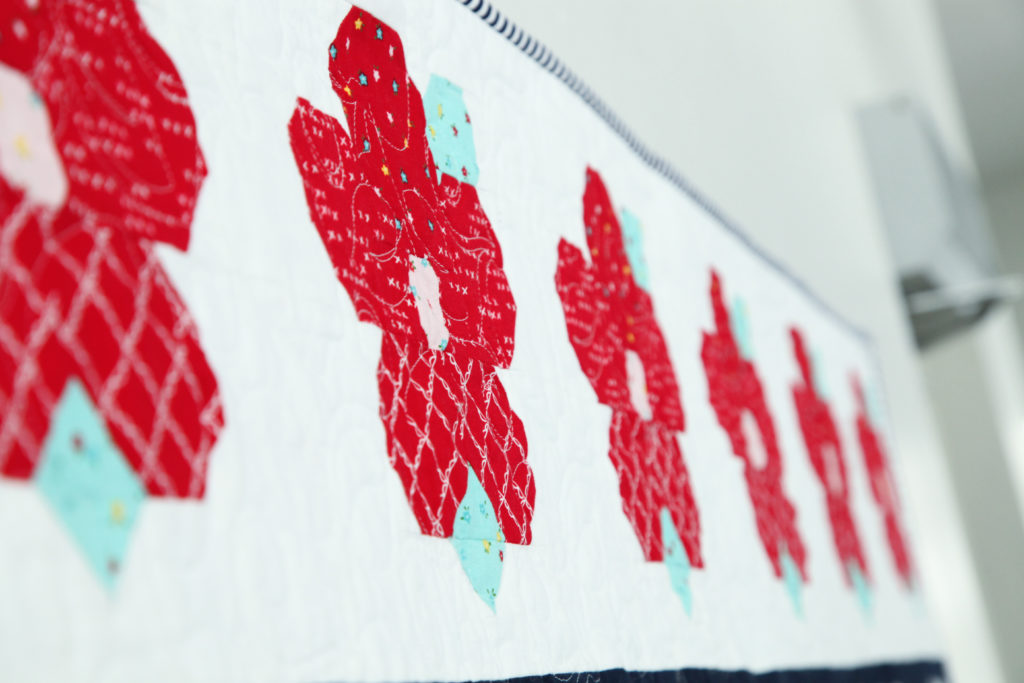
You will be making six blocks, which pieced together will become the entire top row.
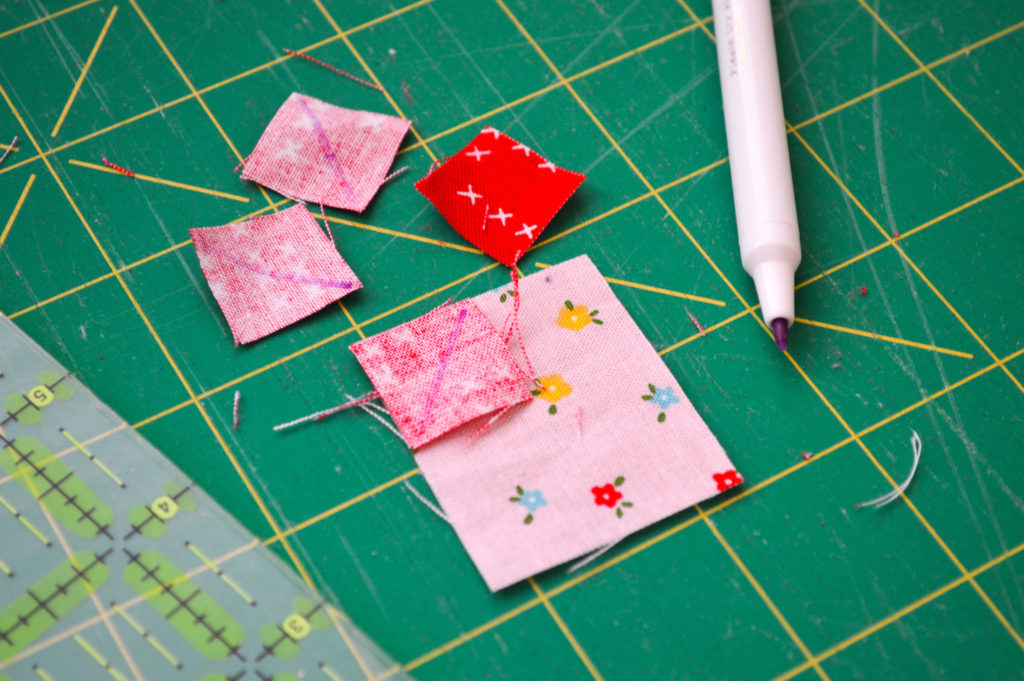
Isn’t it sweet? Let’s get started! Make sure you clearly label and separate each cut with the letters of the alphabet as indicated in the cutting guide.
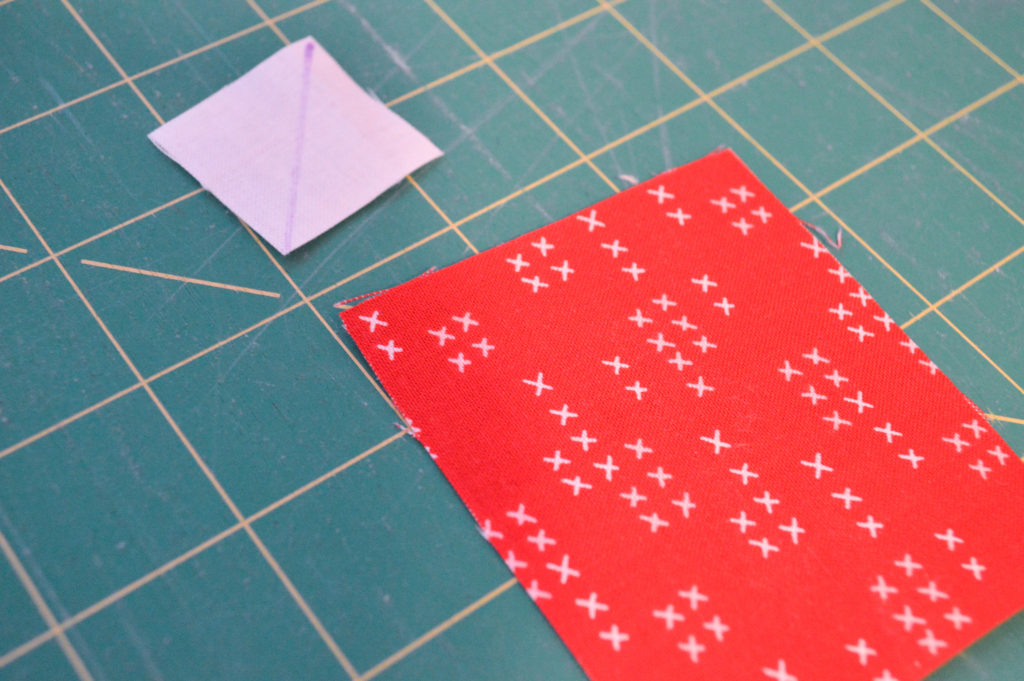
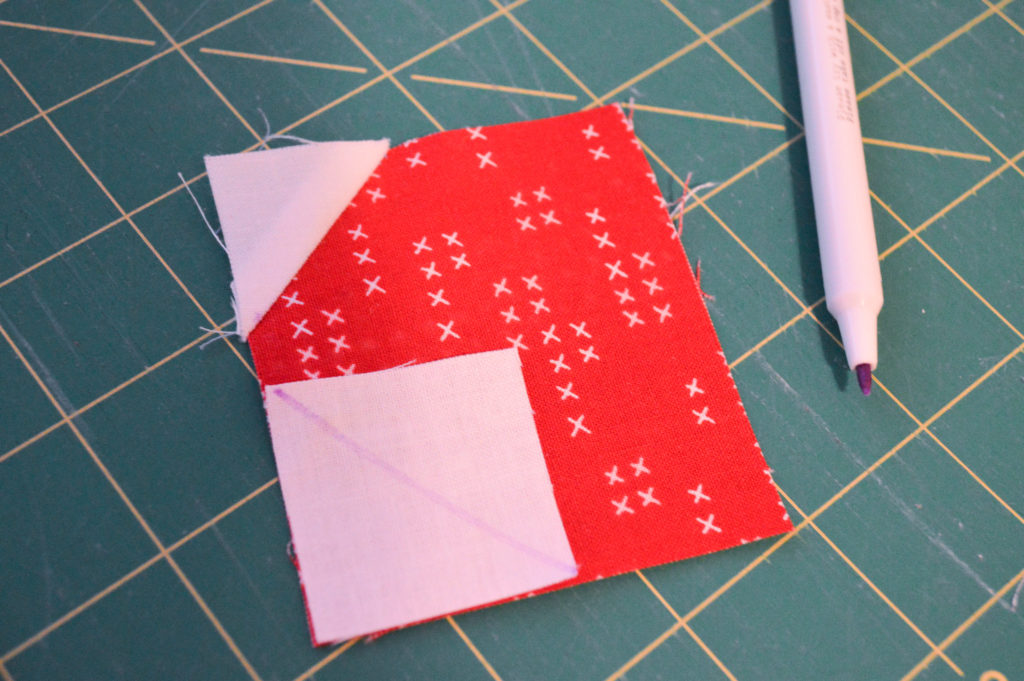
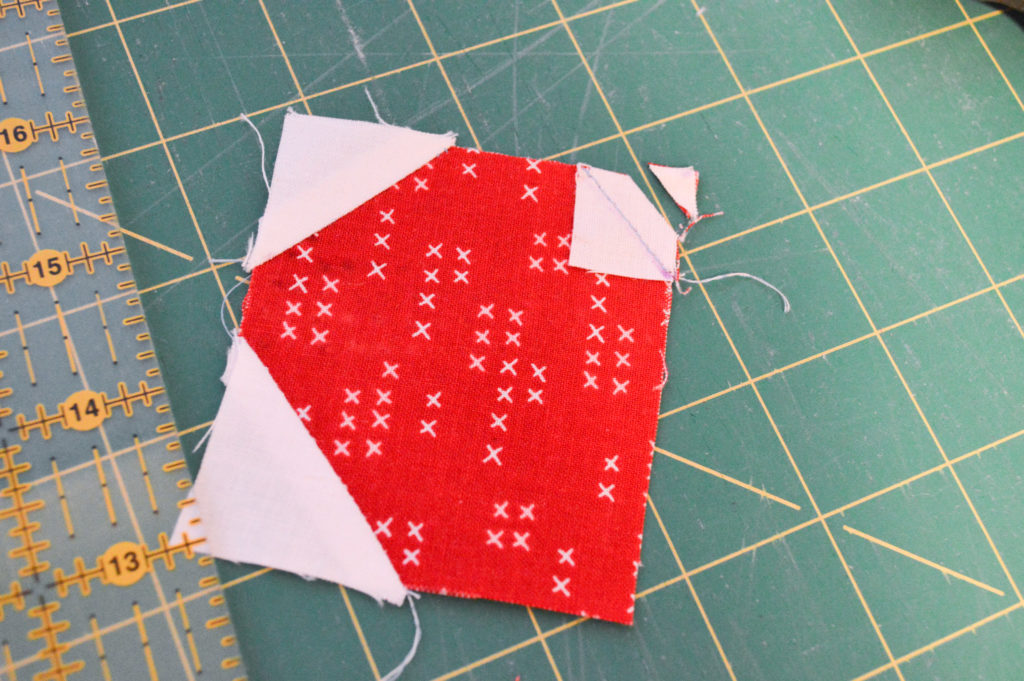
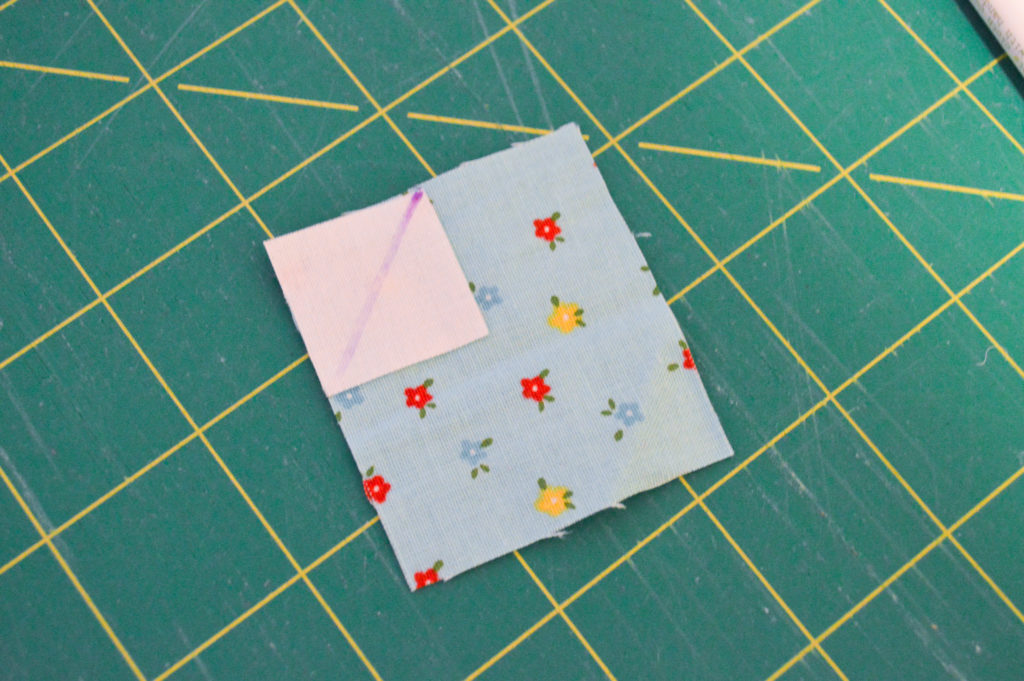
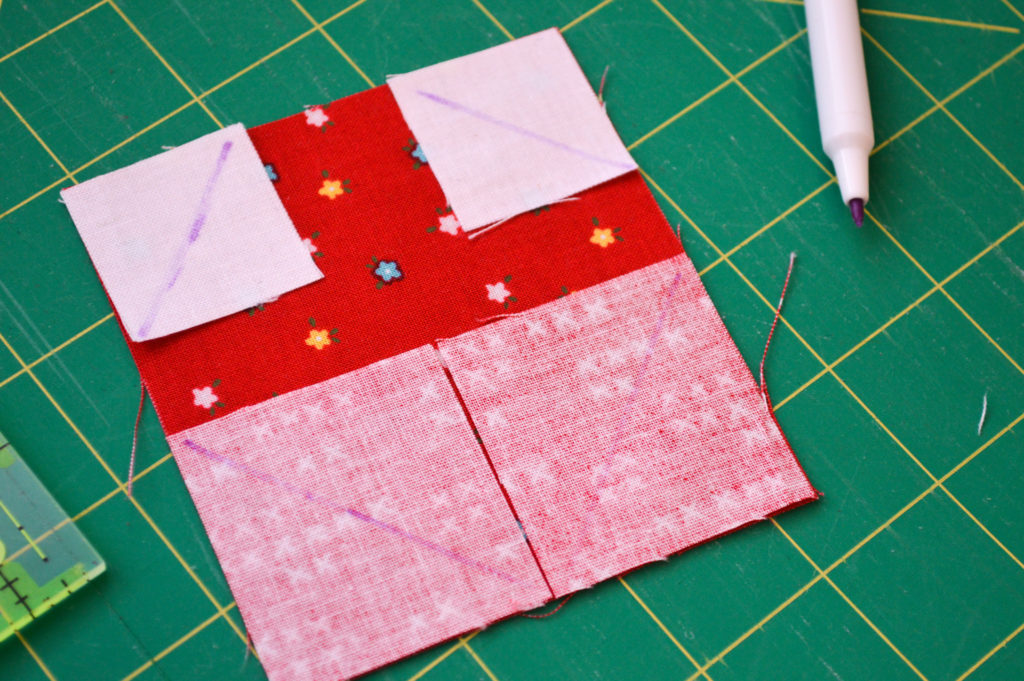
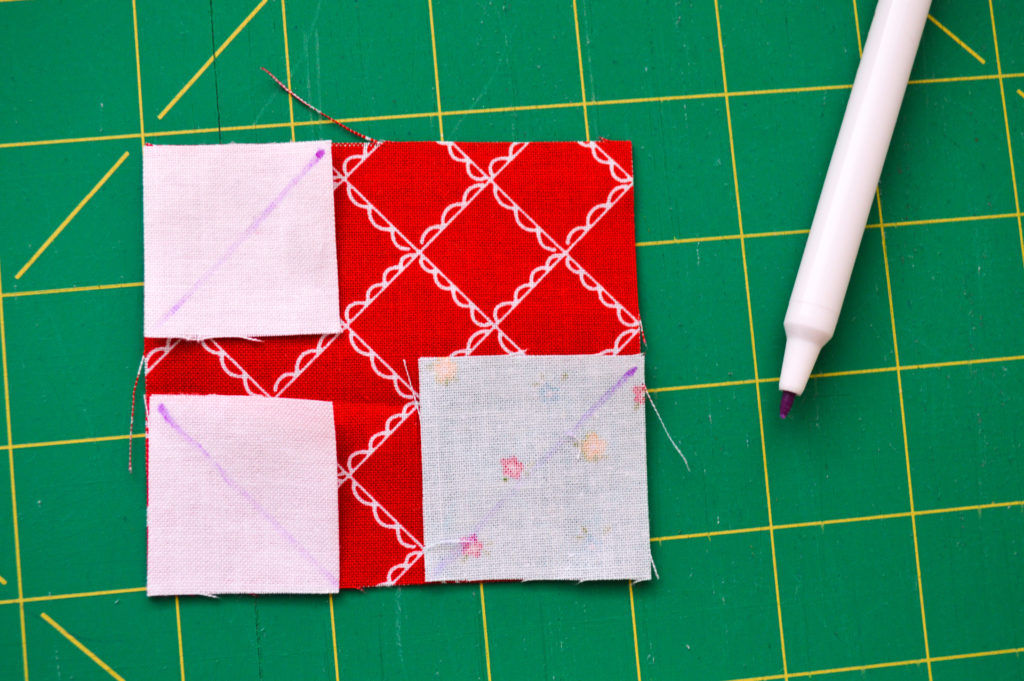
Draw a diagonal line on the wrong side of the I pieces. With the right sides facing, layer an I piece on the top left corner of a T piece.
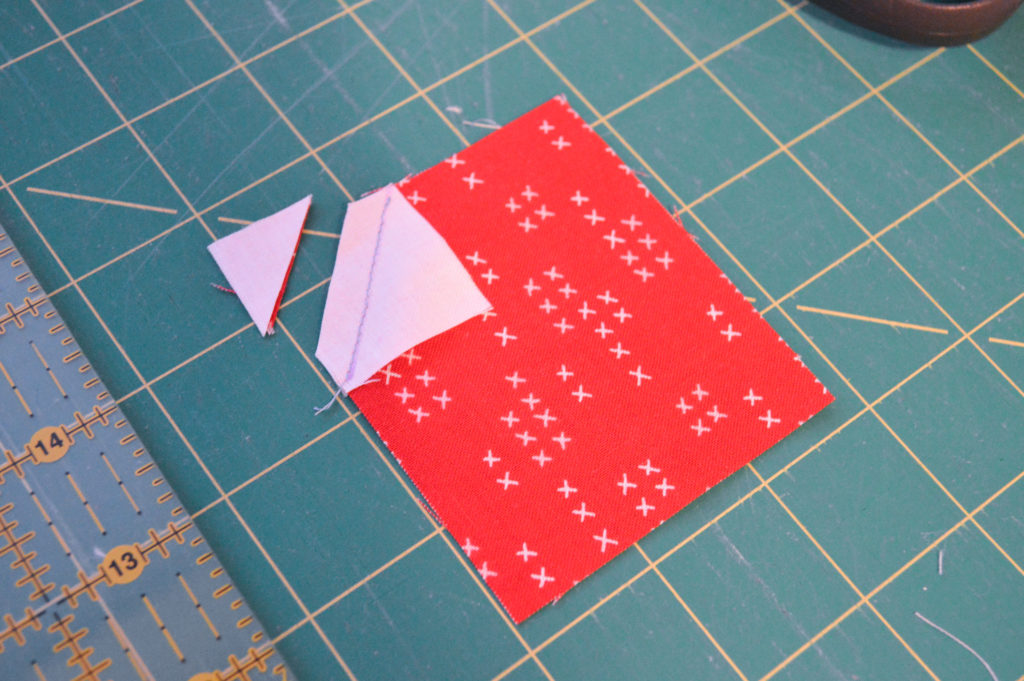
Stitch on the drawn line and trim 1/4″ away from the seam.
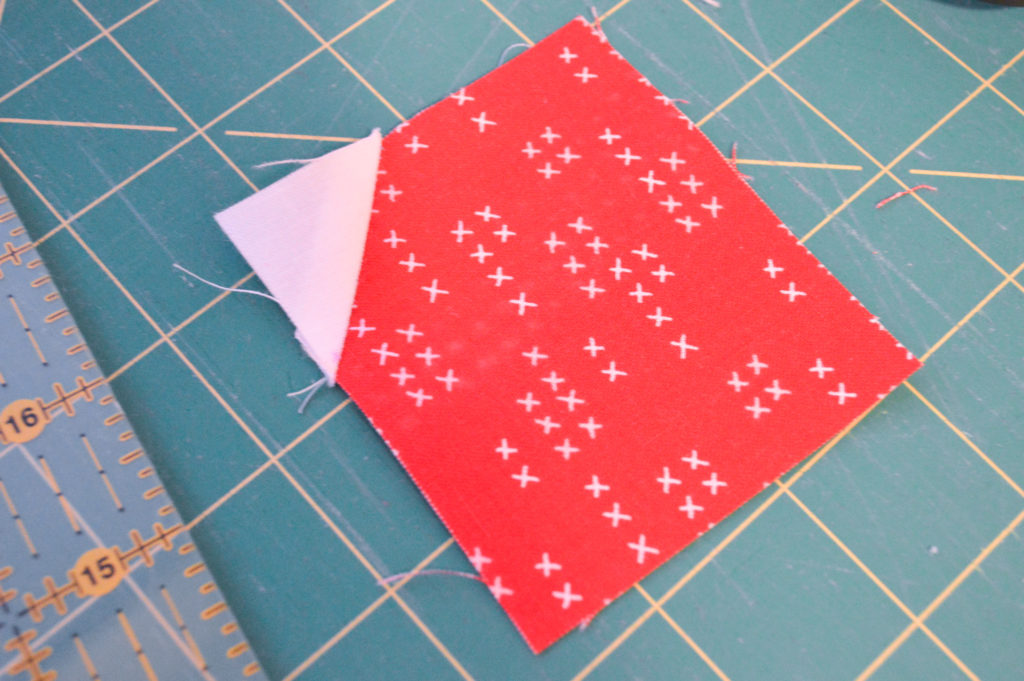
Press.
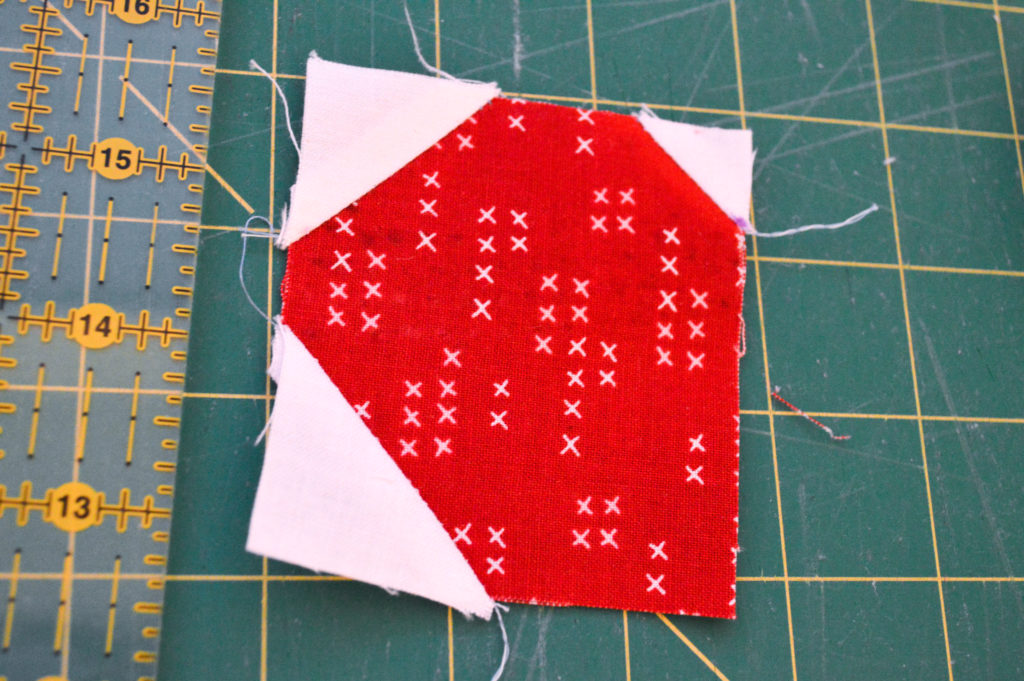
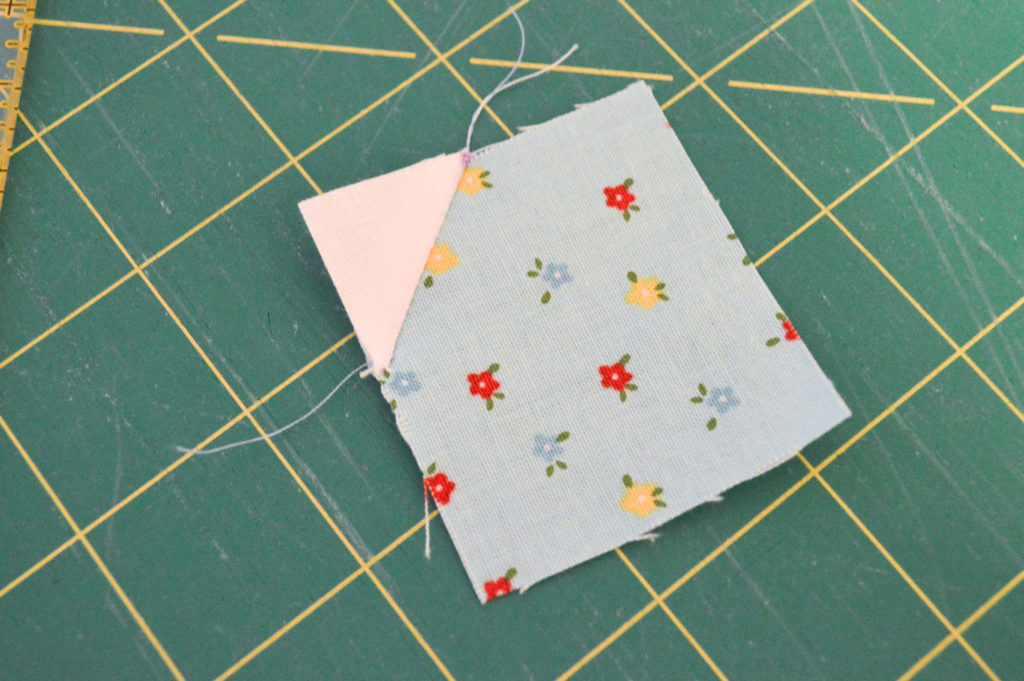
In the same manner, mark the H pieces.
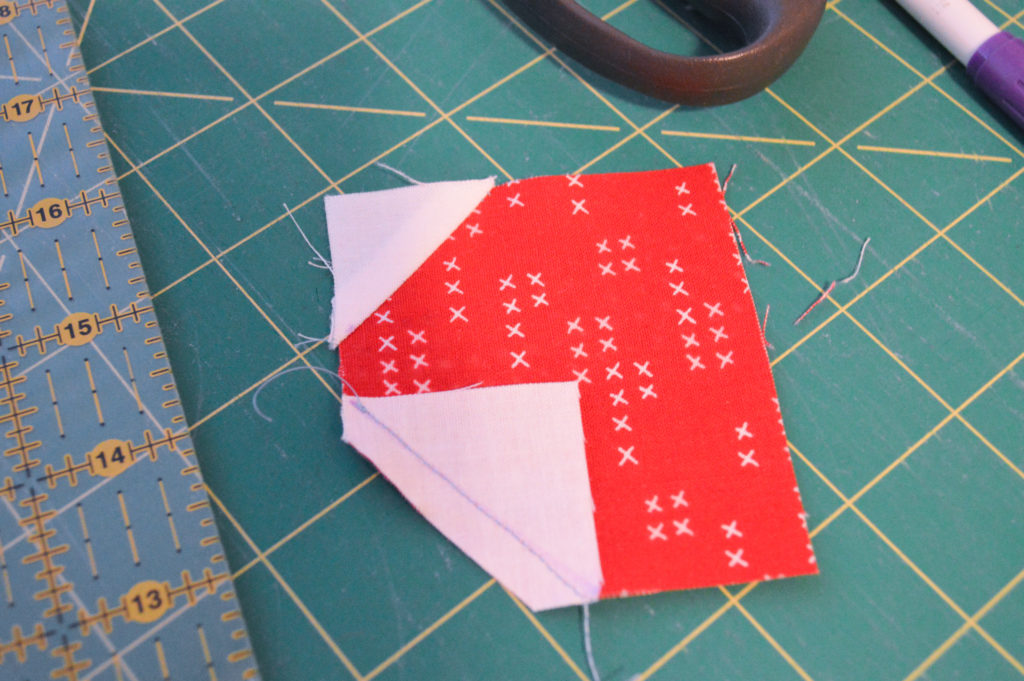
Sew an H piece to the bottom left corner of the T piece.
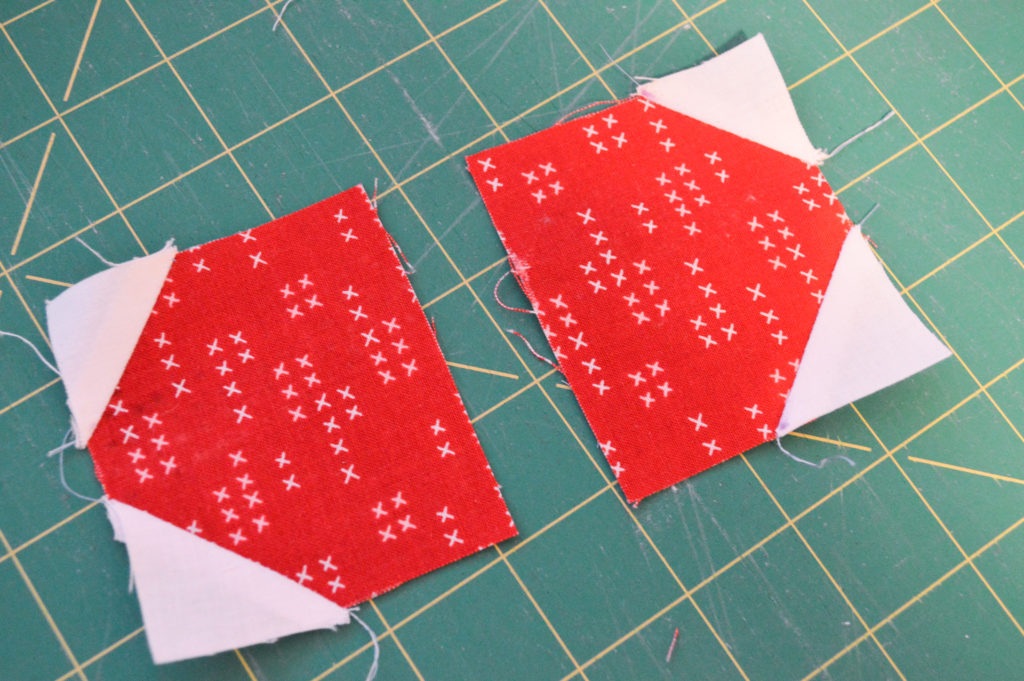
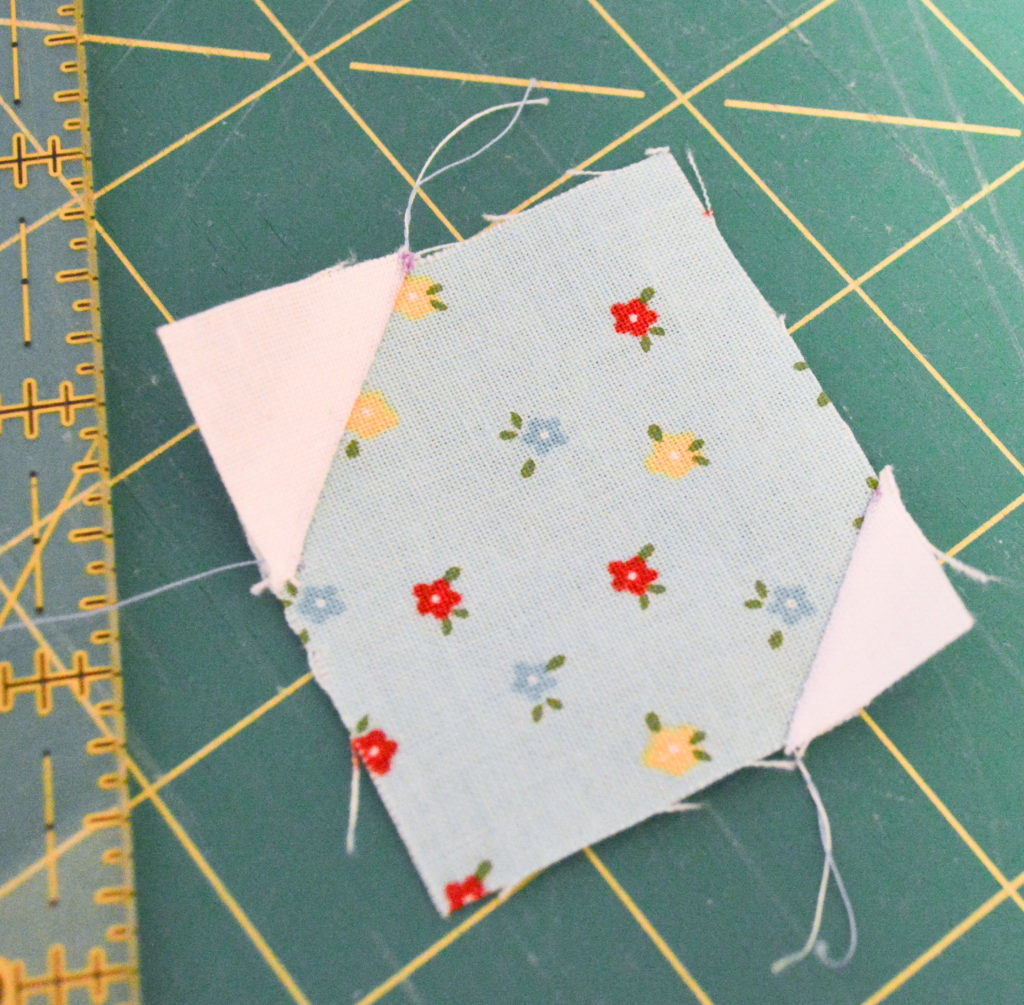
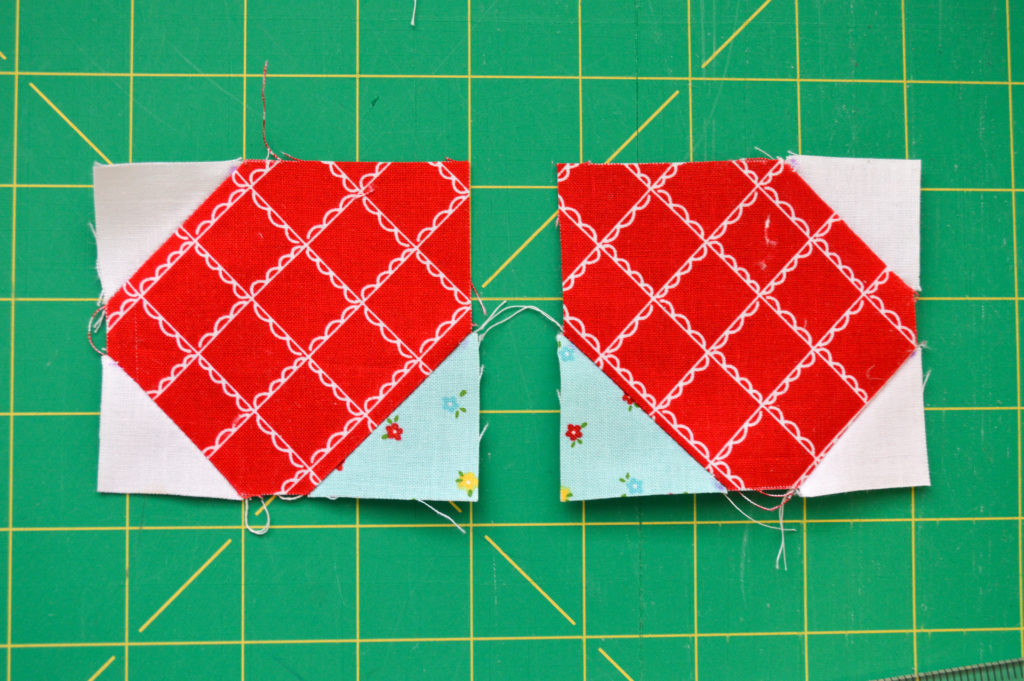
Repeat these steps on the opposite corners on the remaining T piece to make a reversed T piece.
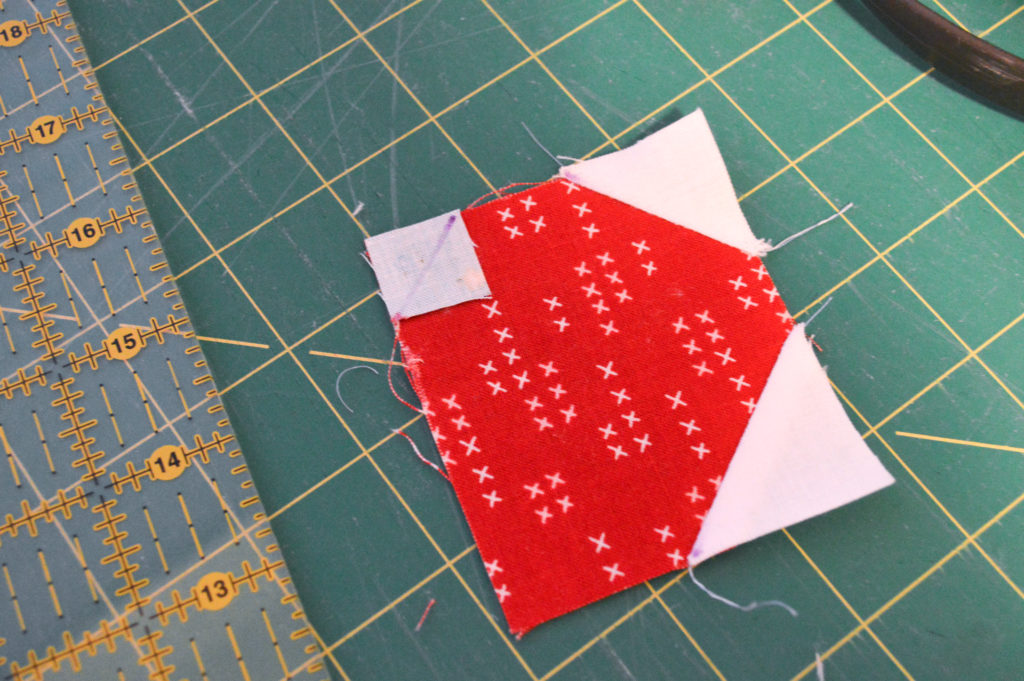
Draw a diagonal line on the wrong side of K pieces. With the right sides facing, layer a K piece on the top right corner of the T piece.
Stitch on the drawn line and trim 1/4″ away from the seam.
Press.
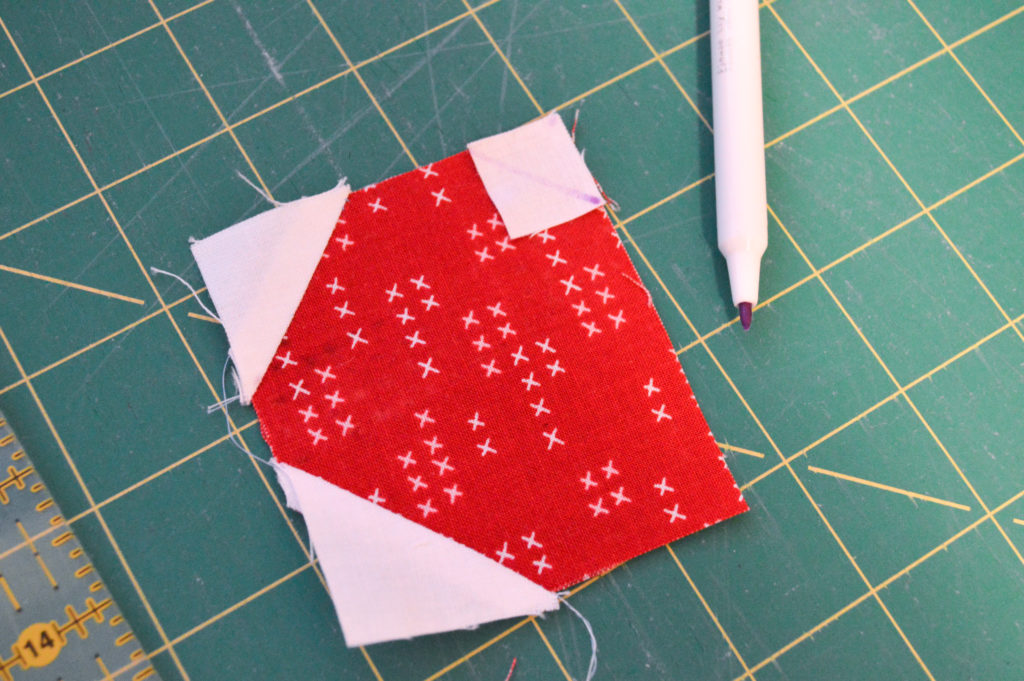
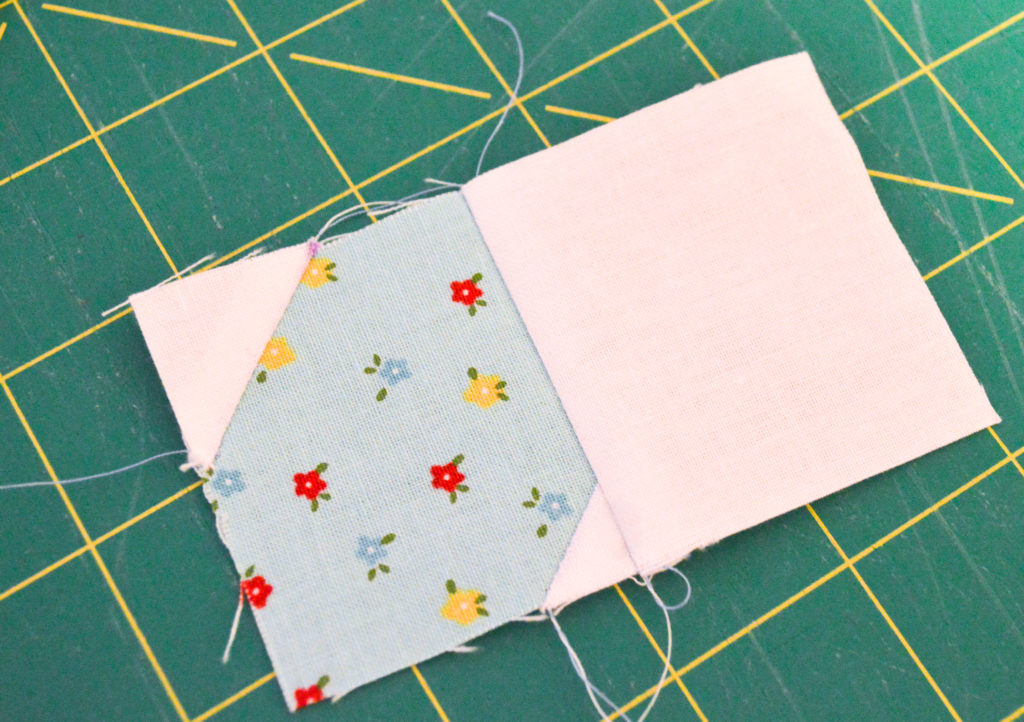
In the same manner, mark the P piece. With right sides facing, layer the P piece on the top left corner of the reversed T piece. Stitch on the drawn line and trim 1/4″ away from the seam. Press.
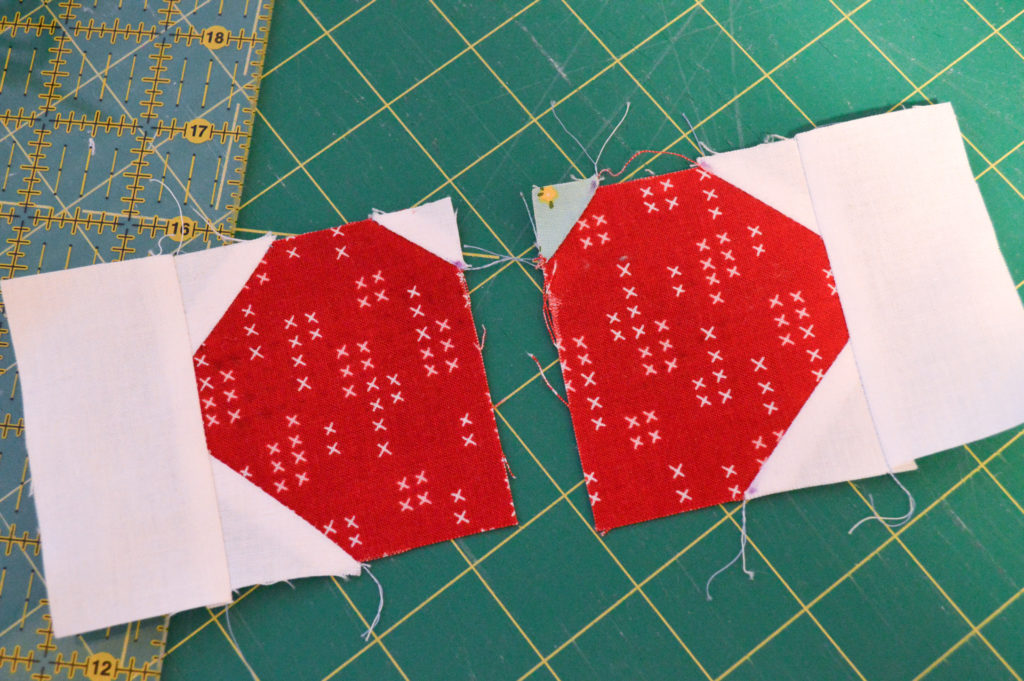
Join a C piece to the left side of the T piece and join a C piece to the right side of the reversed T piece. Press.
Draw a diagonal line on the wrong side of the L piece. With the right sides facing, layer the L piece on the top left corner of the O piece. Stitch on the drawn line and trim 1/4″ away from the seam.
Press.
With the right sides facing, layer a K piece on the bottom right corner of the O piece. Stitch on the drawn line and trim 1/4″ away from the seam and press.
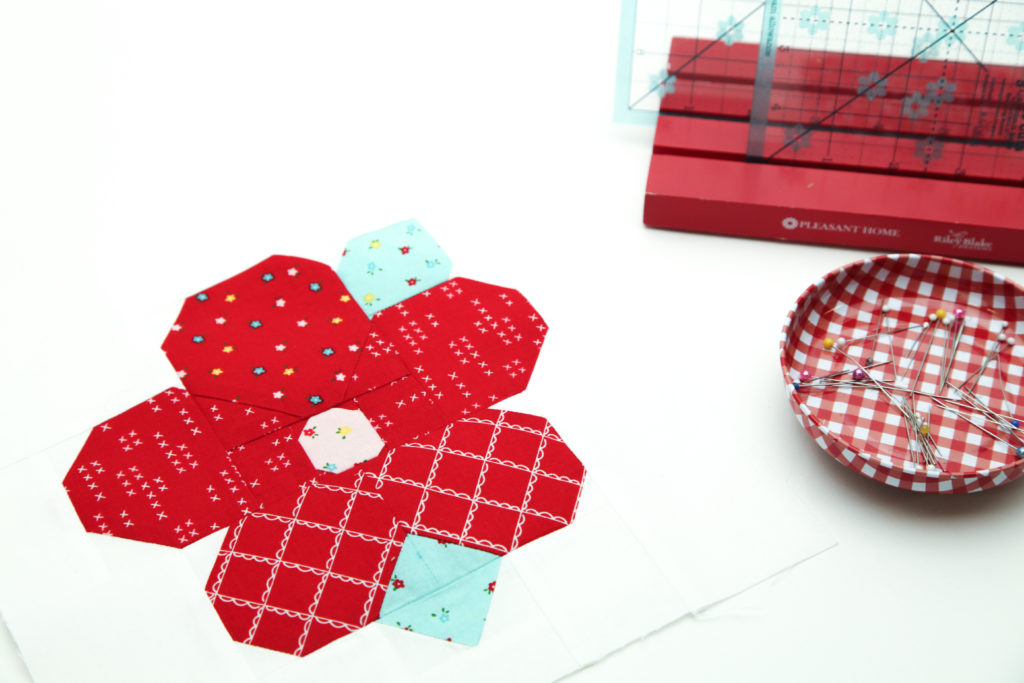
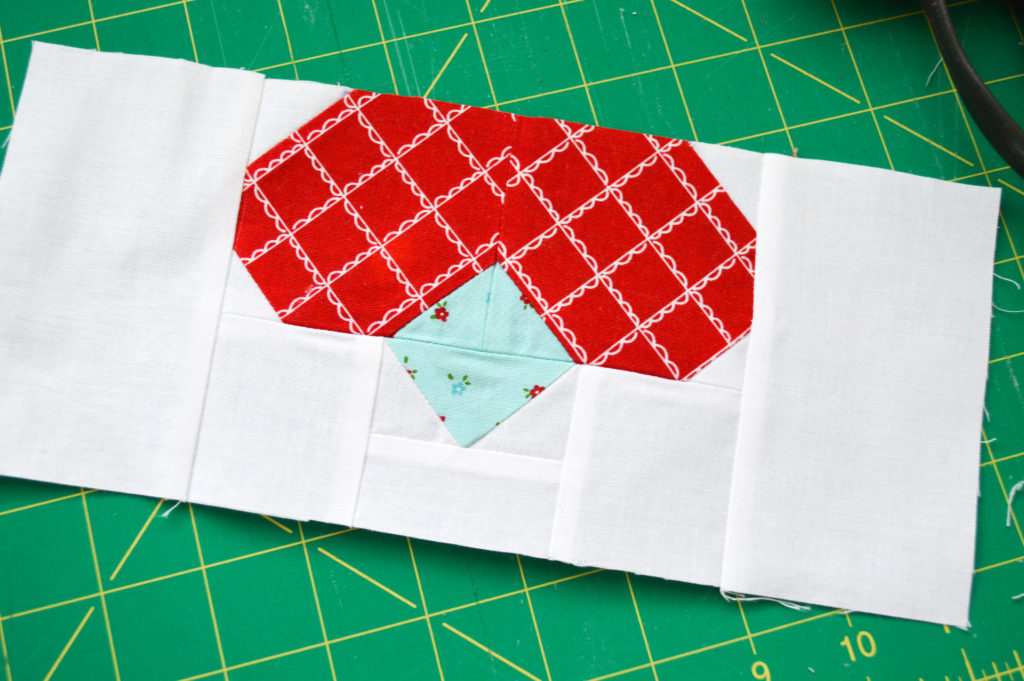
Join the D piece to the right side of the O piece. Then join the G piece to the top of the O piece (not pictured) to form the O unit.
Join the white A piece to the top of the T piece and join the O unit to the top of the reversed T piece to form the left and right petals (not pictured).
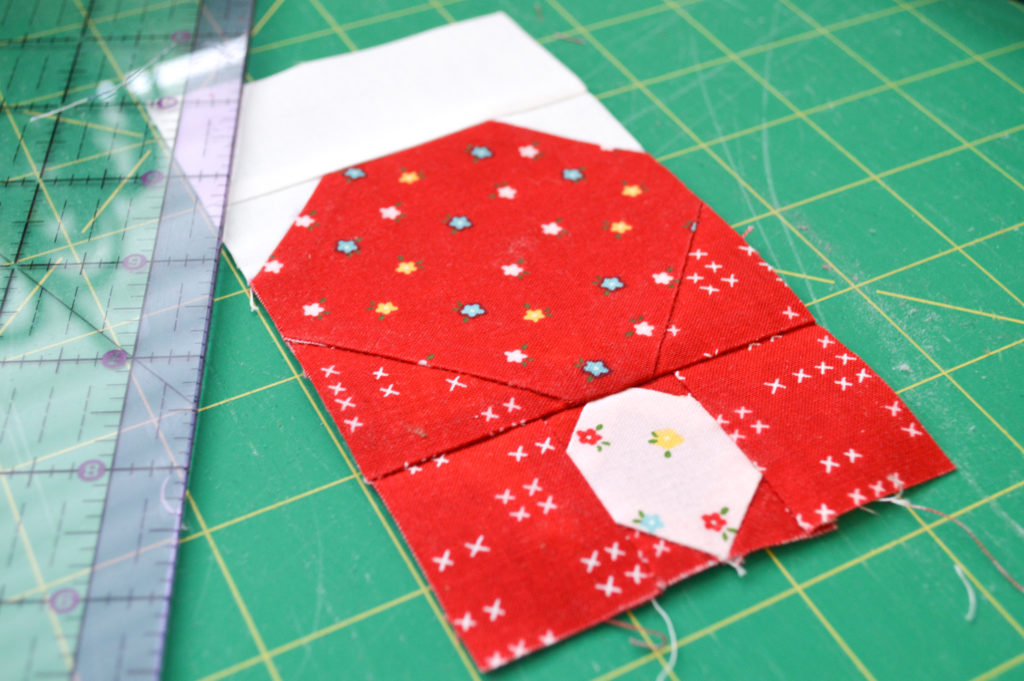
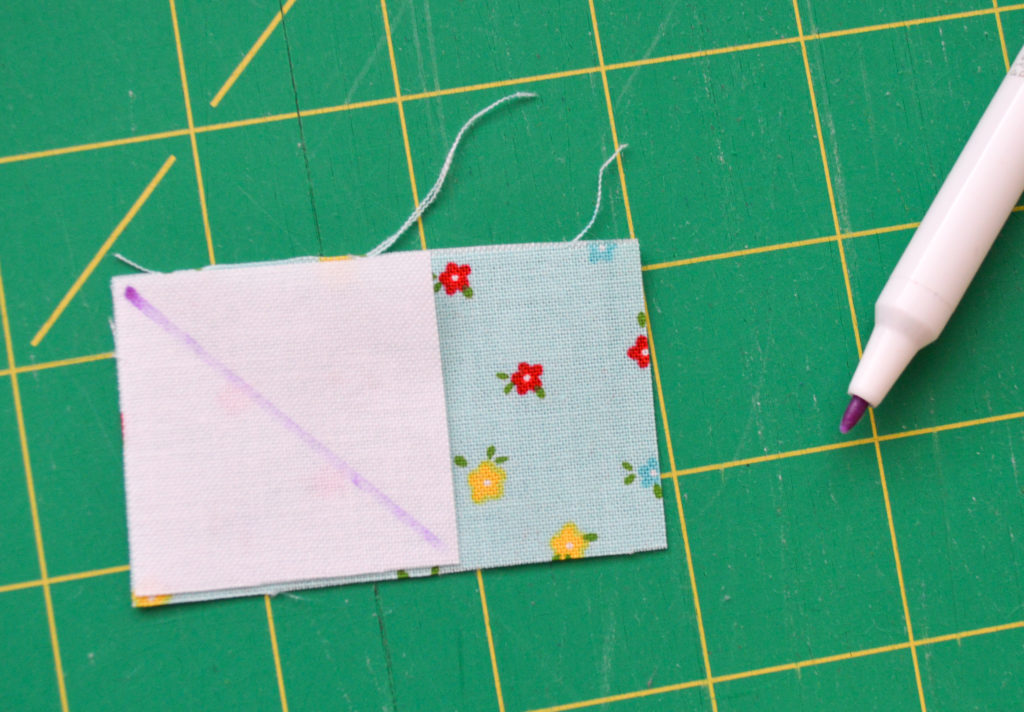
With right sides facing, layer an I piece on the top left corner of the R piece. Stitch on the drawn line and trim 1/4″ away from the seam and press. Repeat on the top right corner of the R piece. Draw a diagonal line on the wrong side of the U pieces. With the right sides facing, layer a U piece on the bottom left corner of the R piece. Stitch on the drawn line and trim 1/4″ away from the seam and press. Repeat on the bottom right corner of the R piece.
Join the white F piece (not pictured) to the top of the R piece to form the R unit.
Draw a diagonal line on the wrong side of the W pieces. With the right sides facing, layer a W piece on the top left corner of the Q piece. Stitch on the drawn line and trim 1/4″ away from the seam and press. Repeat on all remaining corners of the Q piece.
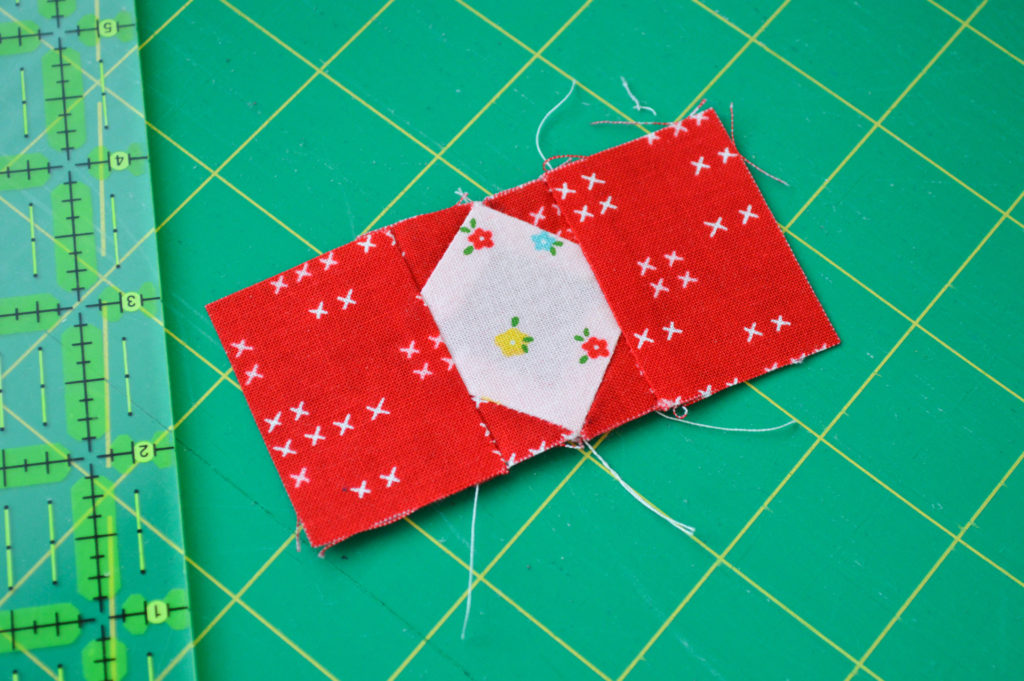
Join a V piece to the left and right sides of the Q piece to form the flower center.
Join the R unit to the top of the flower center.
Join the left petal to the left side of the flower center and join the right petal to the right side of the flower center to form the top flower unit.
With the right sides facing, layer an I piece on the top left corner of an S piece. Stitch on the drawn line and trim 1/4″ away from the seam and press. Repeat on the bottom left corner of an S piece.
Draw a diagonal line on the wrong side of the N pieces. With the right sides facing, layer an N piece on the bottom right corner of the S piece. Stitch on the drawn line and trim 1/4″ away from the seam and press.
Repeat these steps on the opposite corners of the remaining S piece to make a reversed S piece.
Join the S pieces, matching the N pieces, to form the S unit.
With the right sides facing, layer an H piece on the bottom left corner of the M piece. Stitch on the drawn line and trim 1/4″ away from the seam and press. Repeat on the bottom right corner of the M piece.
Join the white J piece to the bottom of the M piece (not pictured). Join a white E piece to the left and right sides of the M piece to form the M Unit (not pictured).
Join the M unit to the bottom of the S unit. Join a B piece to the left and right sides of the S unit to form the bottom flower unit.
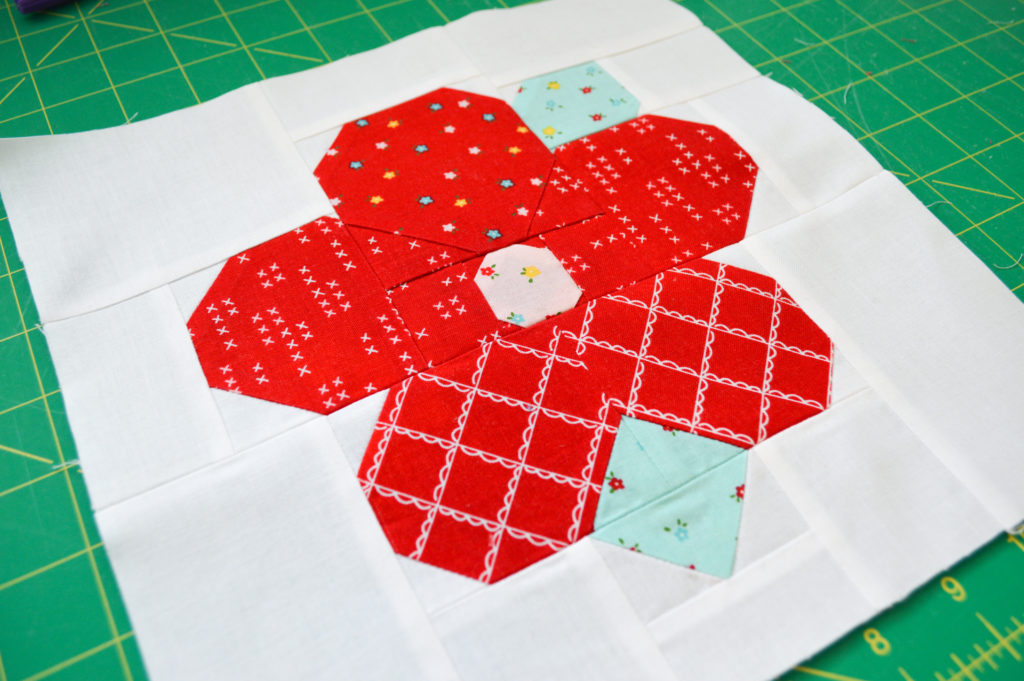
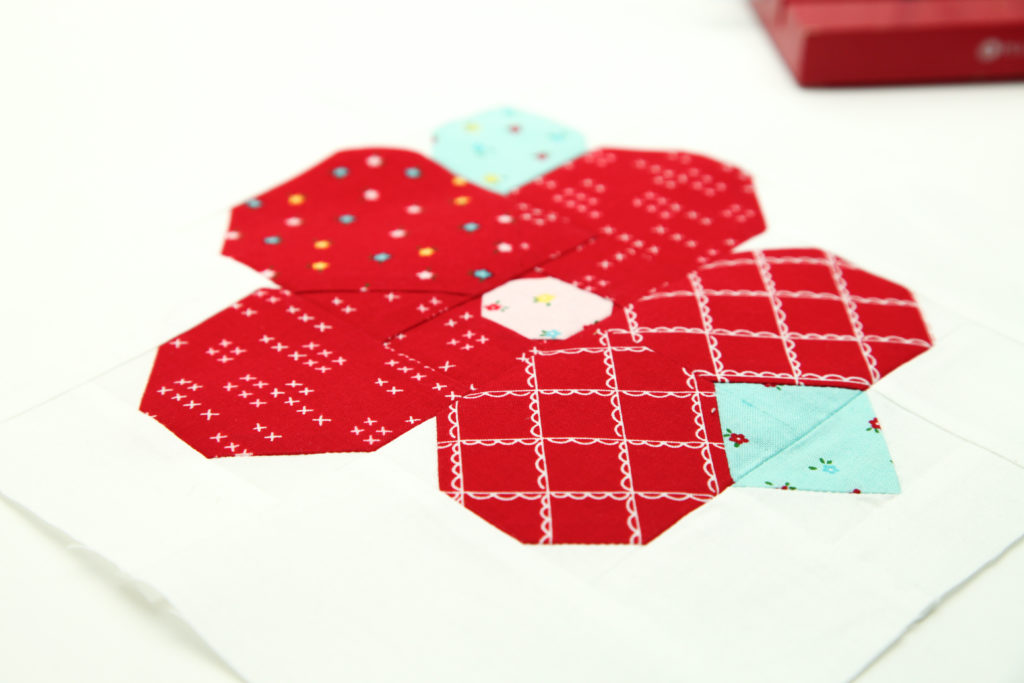
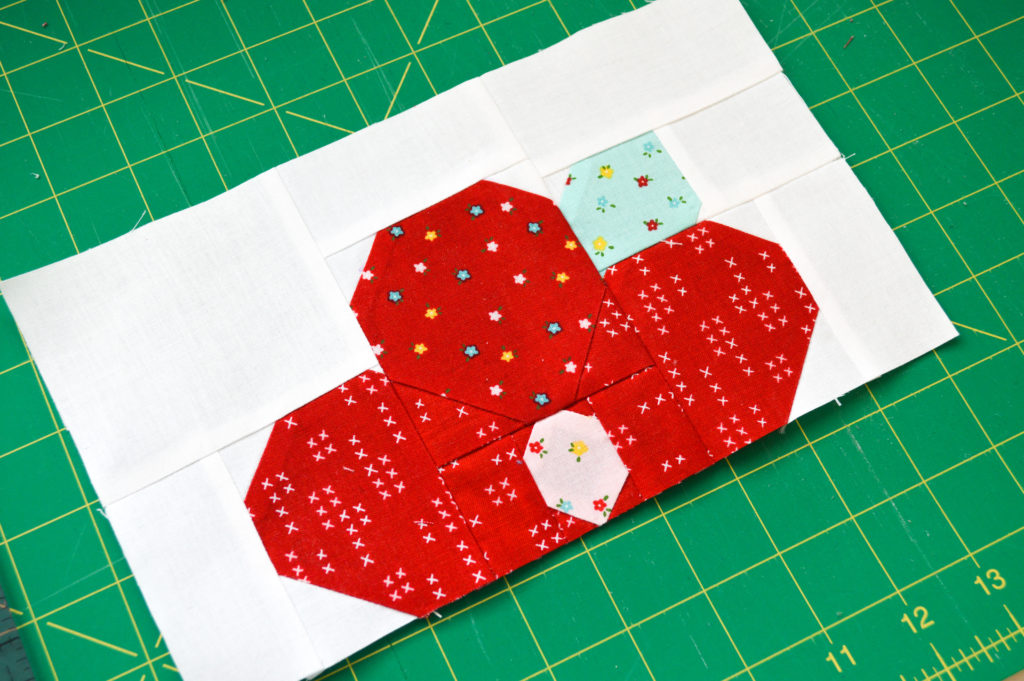
Join the top flower unit to the top of the bottom flower unit to form the finished block.
Make six flower blocks and join them into a row to form the flower row.
Congratulations! You are on your way to completing this bright and charming quilt that is sure to be a treasured keepsake!
Share your progress with us on Instagram #rileyblakedesigns #iloverileyblake #fabricismyfun, and tag us @rileyblakedesigns. Be sure to also tag Simple Goodness designer, Tasha Noel, and Sweet & Simple quilt designer, Gracie Larson, @burlapandblossompatterns @tashanoel.
Happy Quilting!