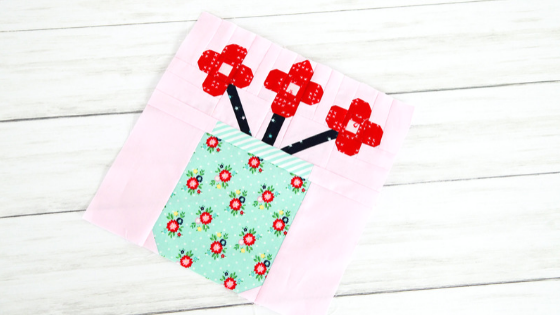
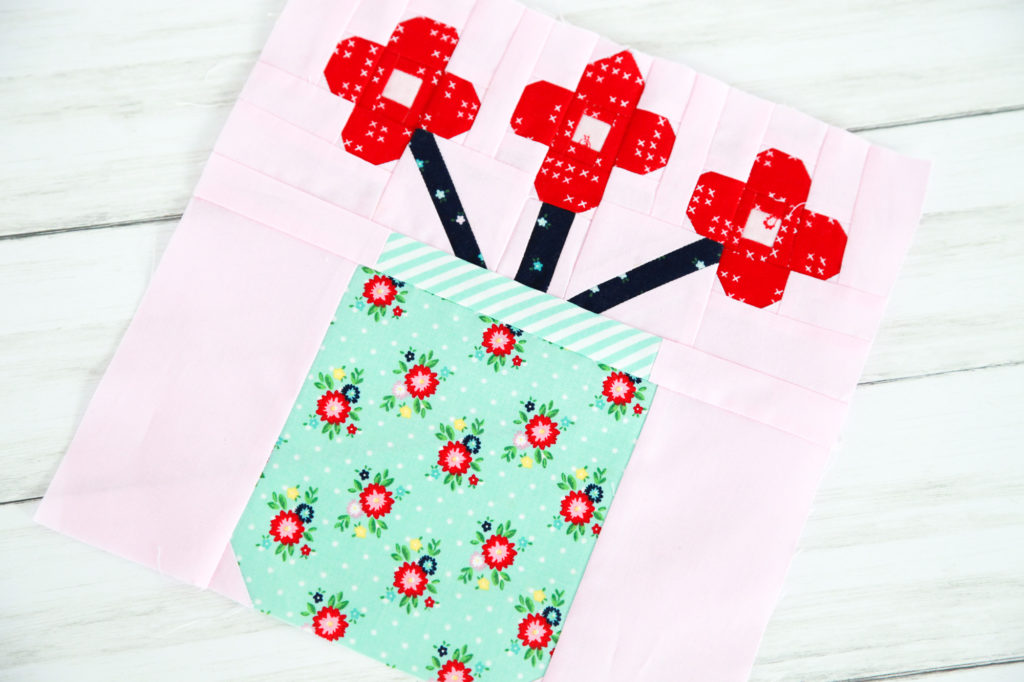
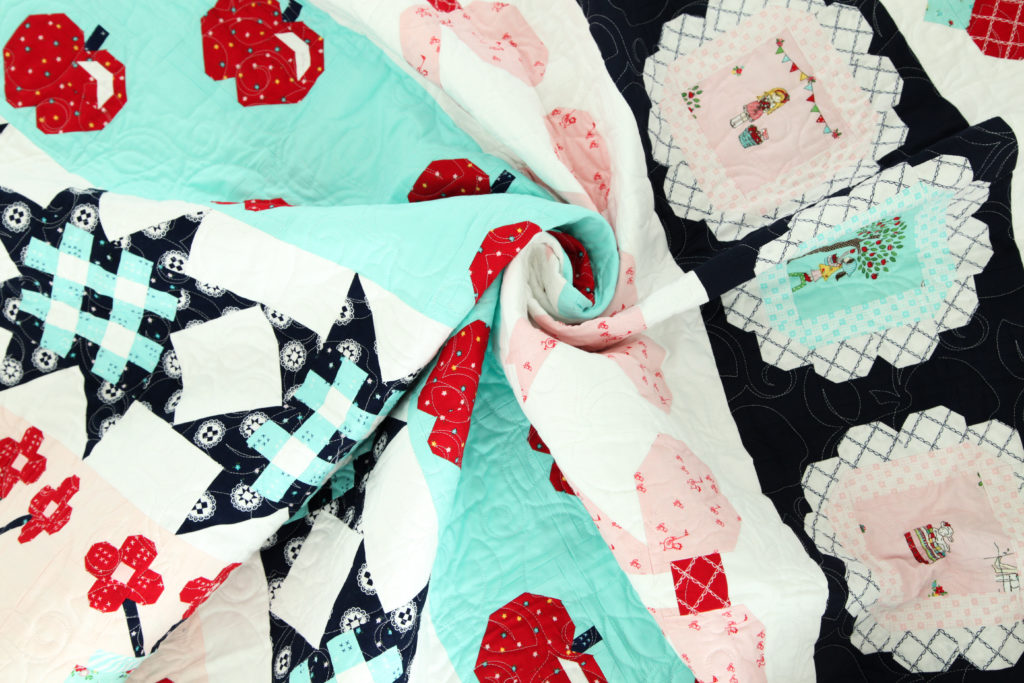
It’s Week 6, the final week of the Sweet & Simple Row-by-Row Sew Along, and we are excited to get started on the Jar Block! The Sweet & Simple quilt, designed by Burlap & Blossom Patterns, features six rows of the cutest blocks you’ve ever seen! Fabric is from Tasha Noel’s newest collection, Simple Goodness.
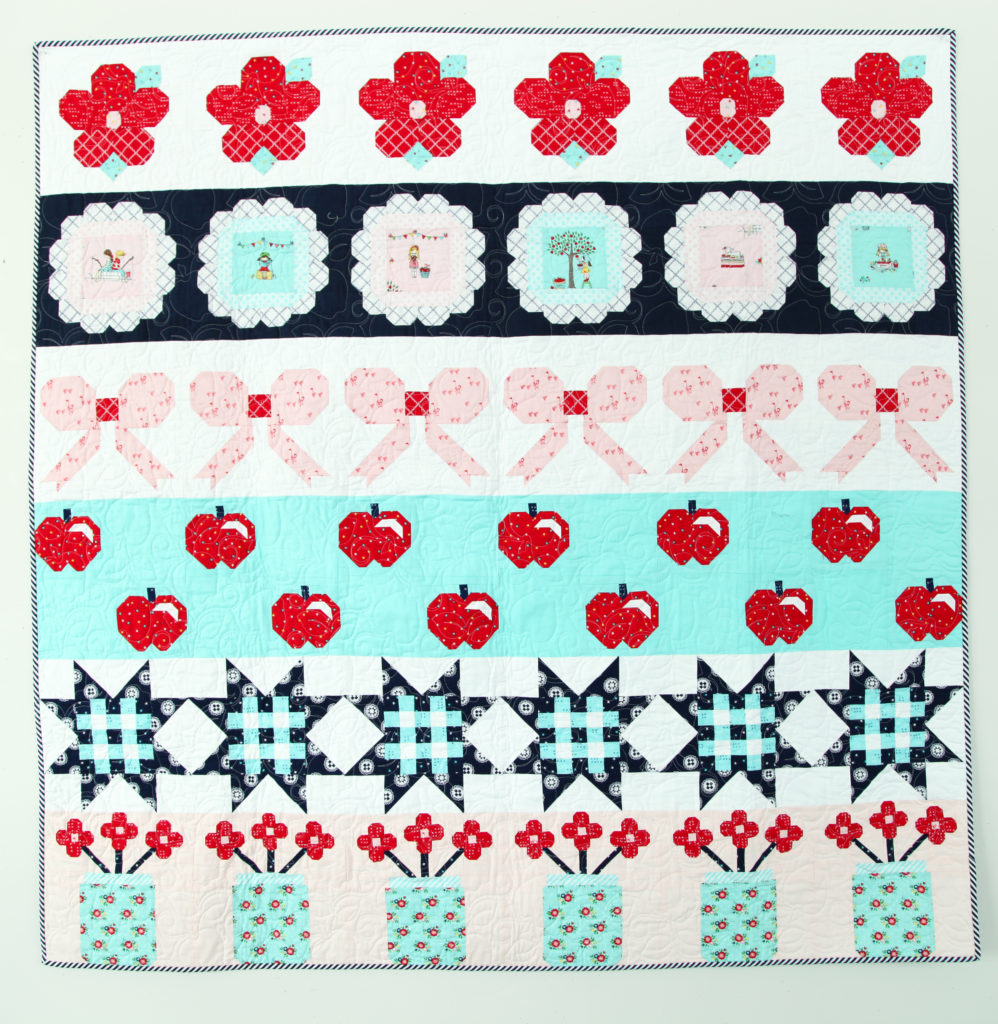
We have already finished our Flower, Scalloped Circle, Bow, Apple, and Gingham Star blocks, and the Bow Block will make up Row 6 of this fun quilt.

The jar block is probably the most time consuming of the blocks due to the challenge of working with the itty bitty pieces that make up the cute flowers in this block. However, the finished product is well worth the work!
Let’s get started! Before you begin, as always, make sure to clearly label your cut pieces. I promise this will save you headaches and aggravation later on!

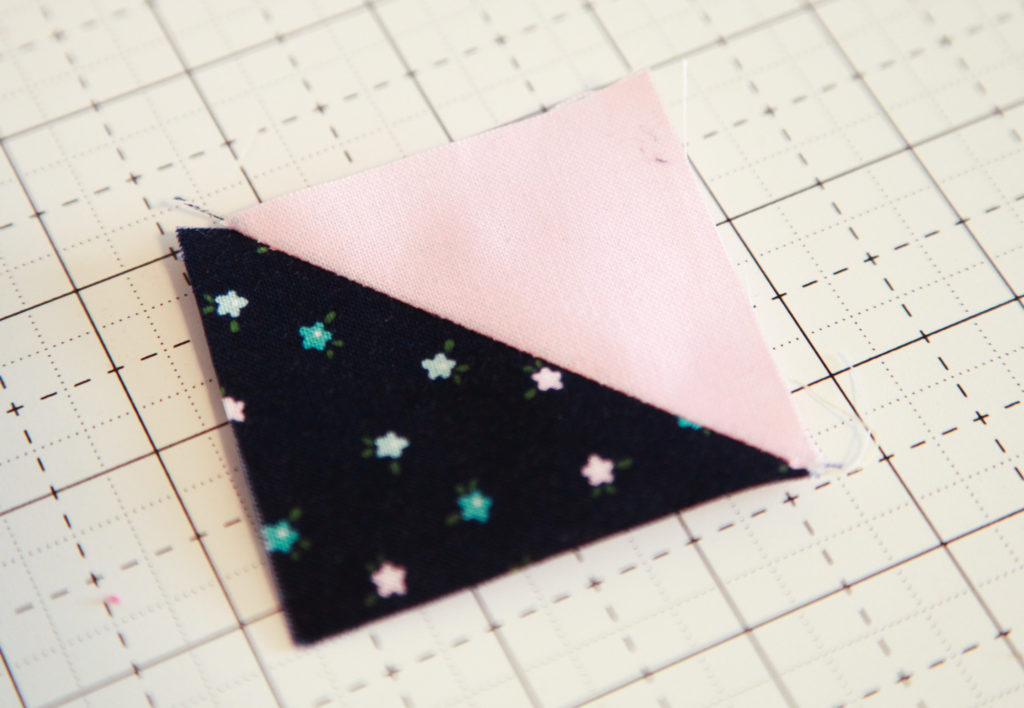
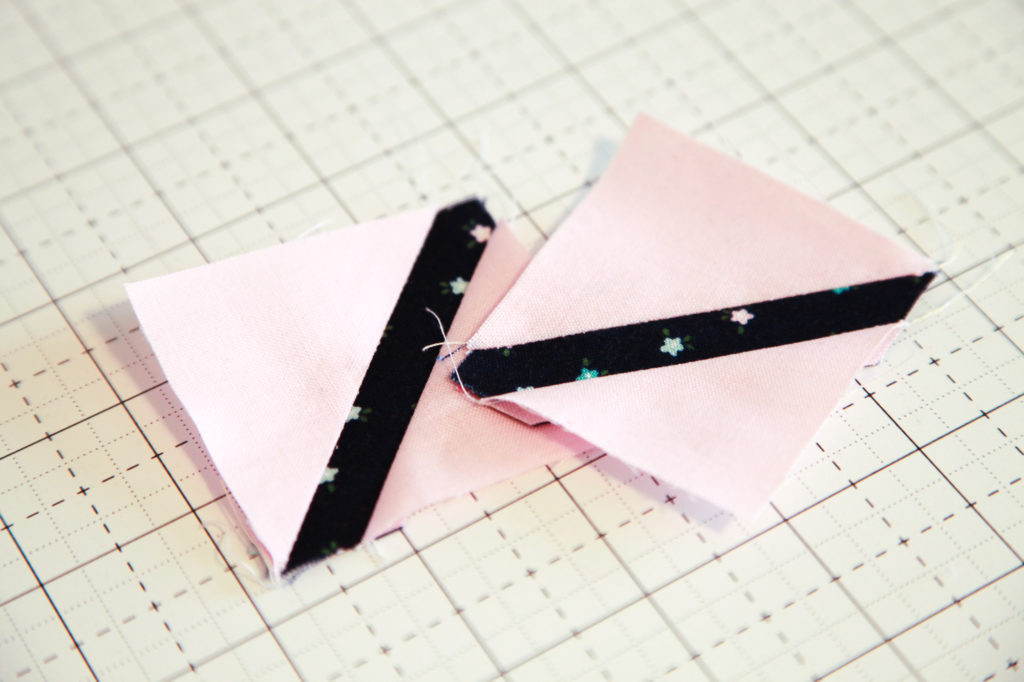
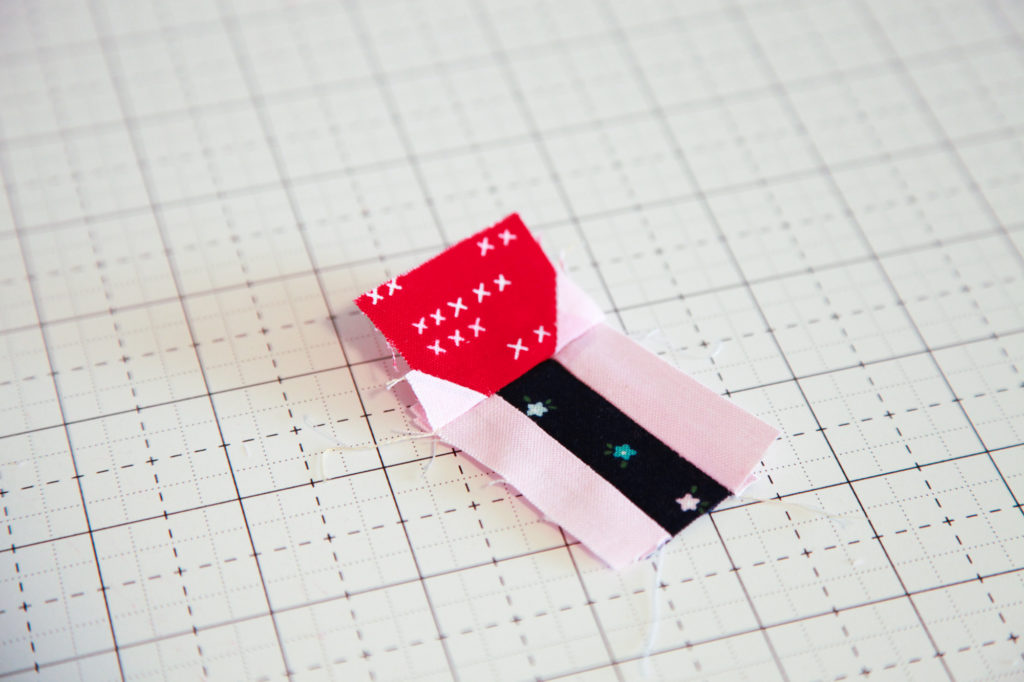
Begin by drawing a diagonal line on the wrong side of the J pieces. With the right sides facing, layer a J piece on the top left corner of a V piece. Stitch on the drawn line and trim 1/4″ away from the seam and press. Repeat on the top right corner of the V piece. Make 12.
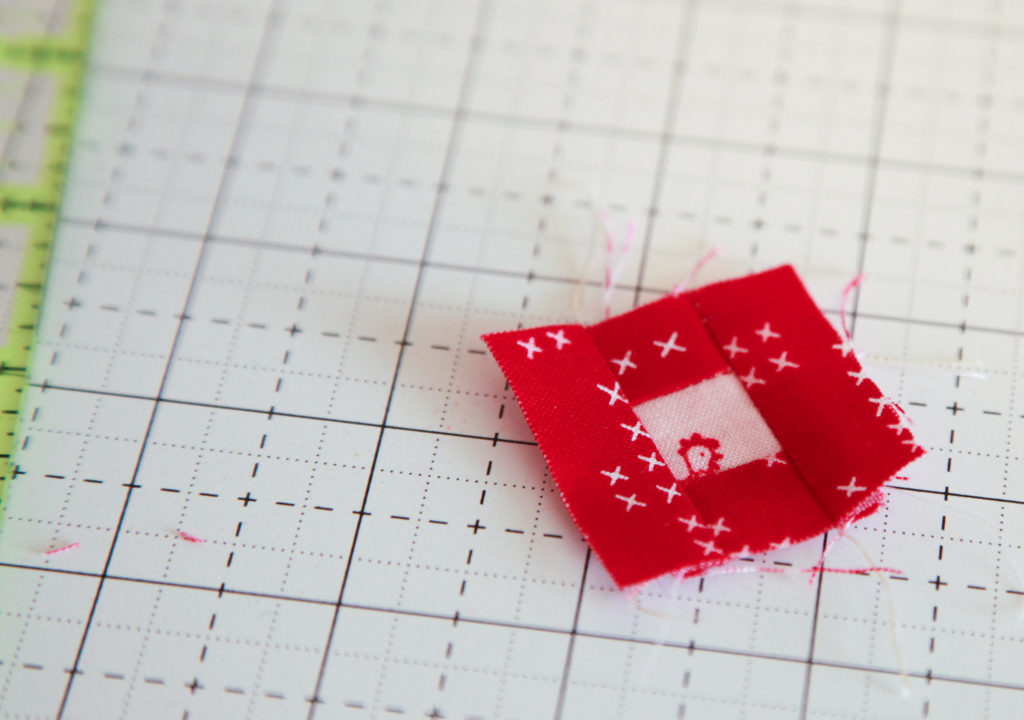
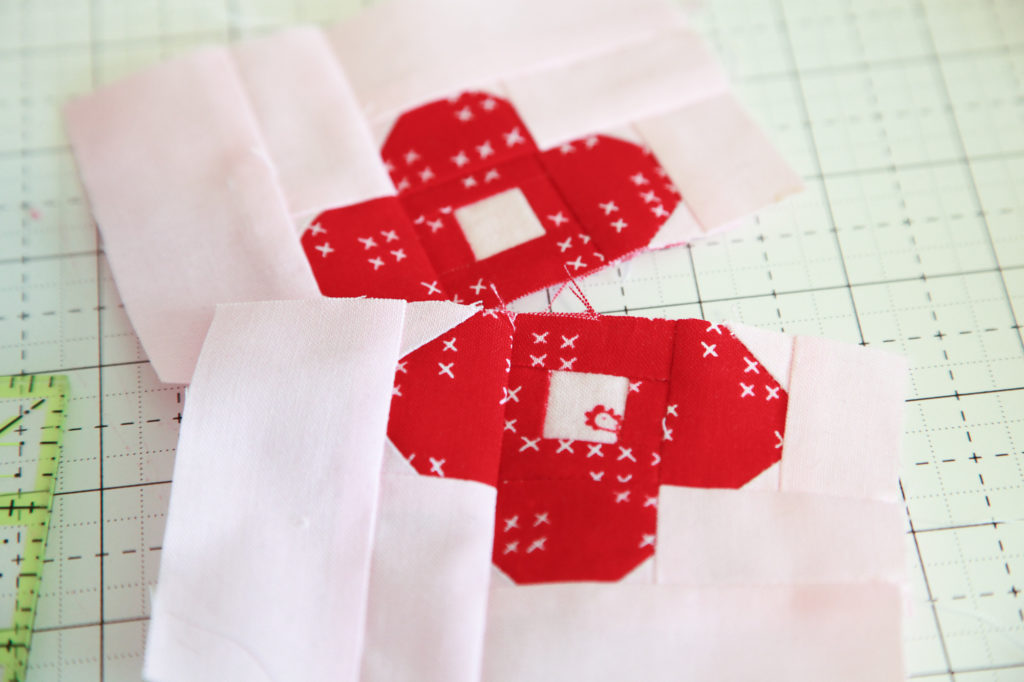
Join a T piece to the top and bottom of a W piece. Join a U piece to the top left and right sides of the W piece to form the flower center unit. Make 3.
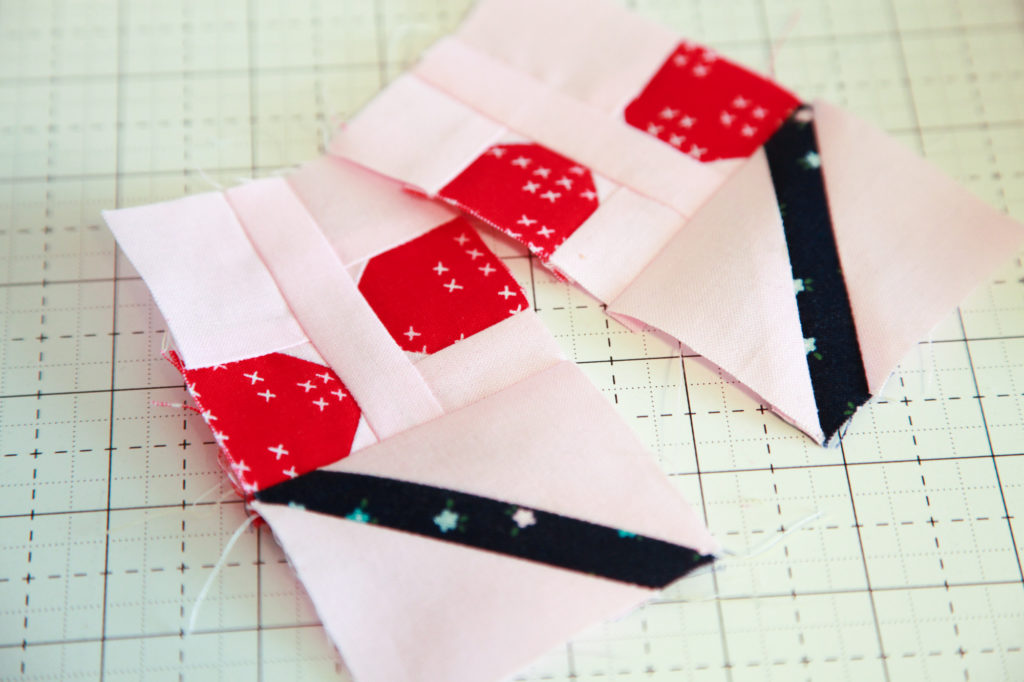
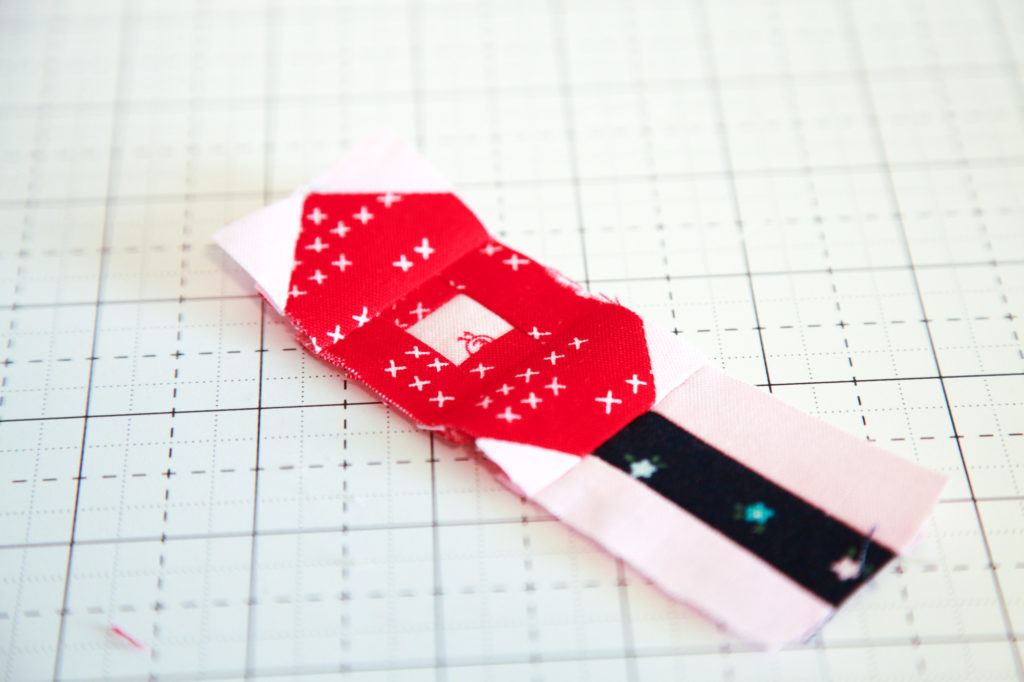
Join an H piece to the top of a V piece and join a flower center unit to the bottom of the V piece to form a top petal unit. Make 2.
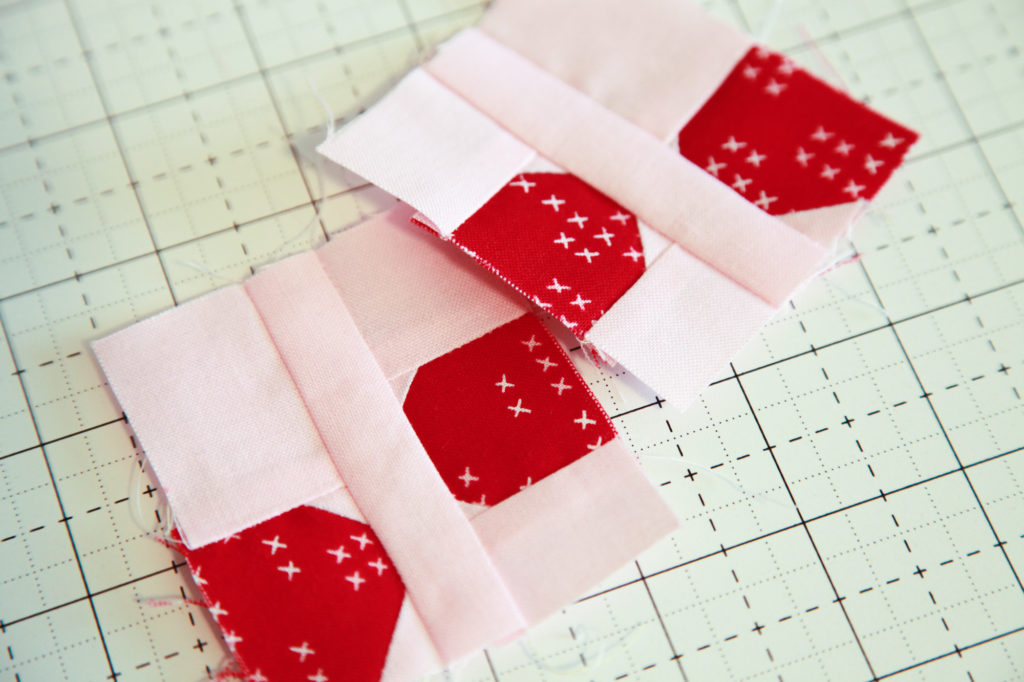
Join an F piece to the top of a V piece. Join an E piece to the left side of the V piece to form the F unit. Repeat these steps to make a reversed F unit.

Join a top petal unit to the right side of the F unit and join a top petal unit to the left side of the reversed F unit.
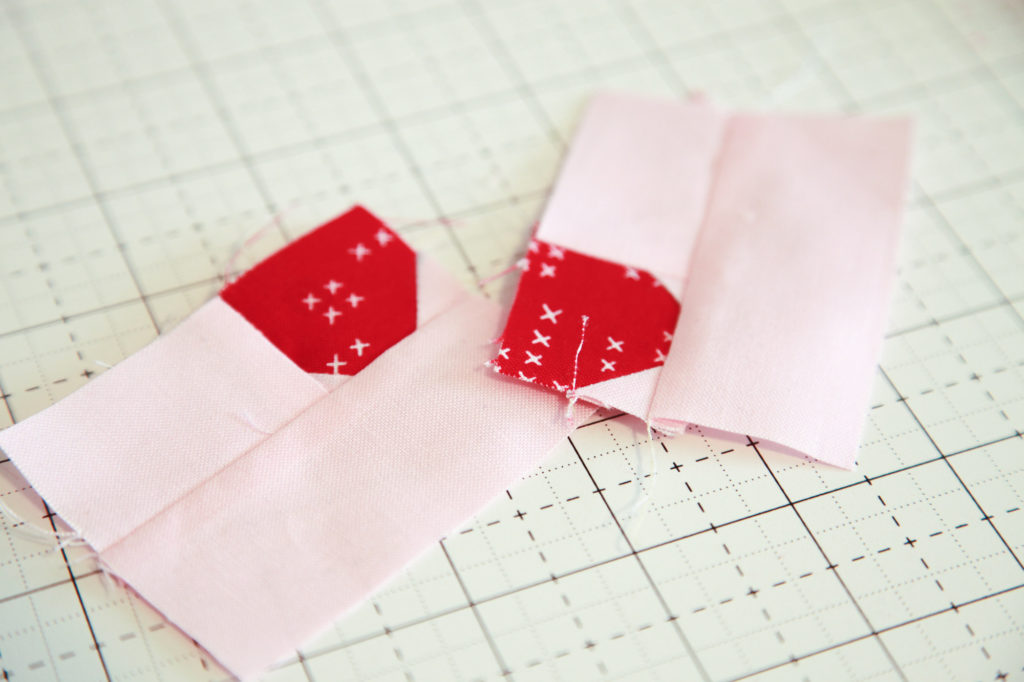
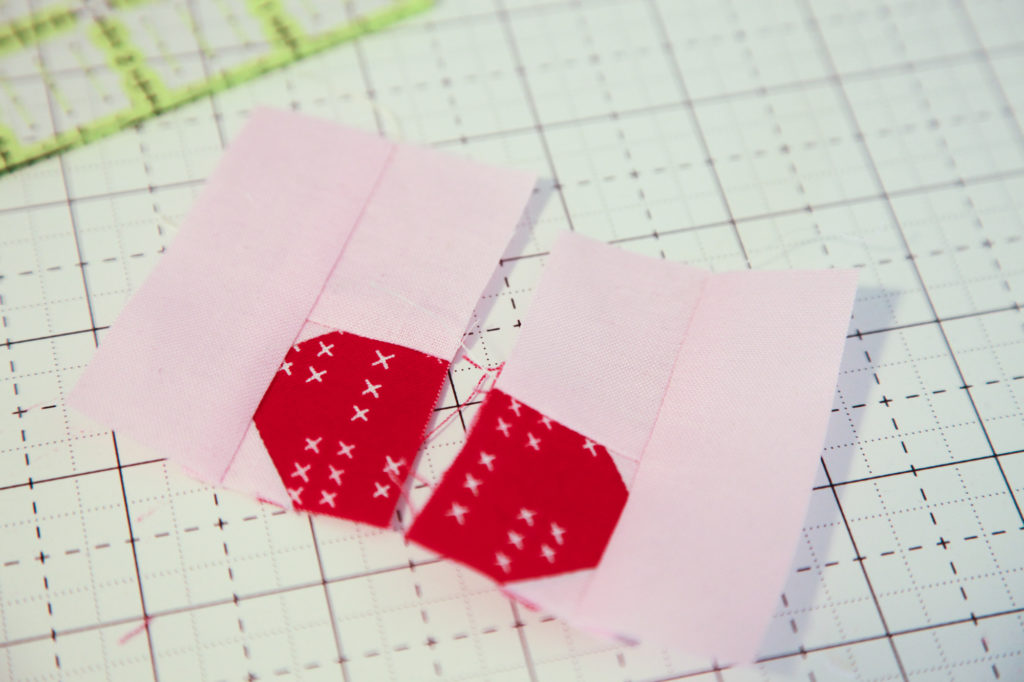
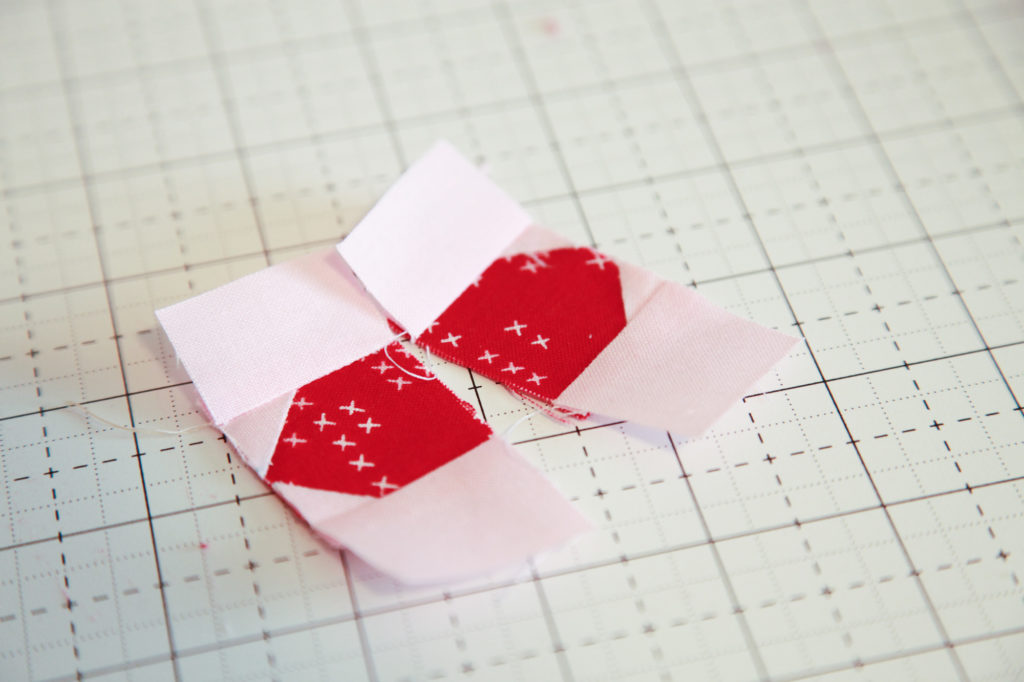
Join a D piece to the left side of a V piece. Join the C piece to the bottom of the V piece to form the C unit. Repeat these steps to make a reversed C unit.
Join the F unit to the top of the C unit and join the reversed F unit to the top of the reversed C unit to form the side petal units.
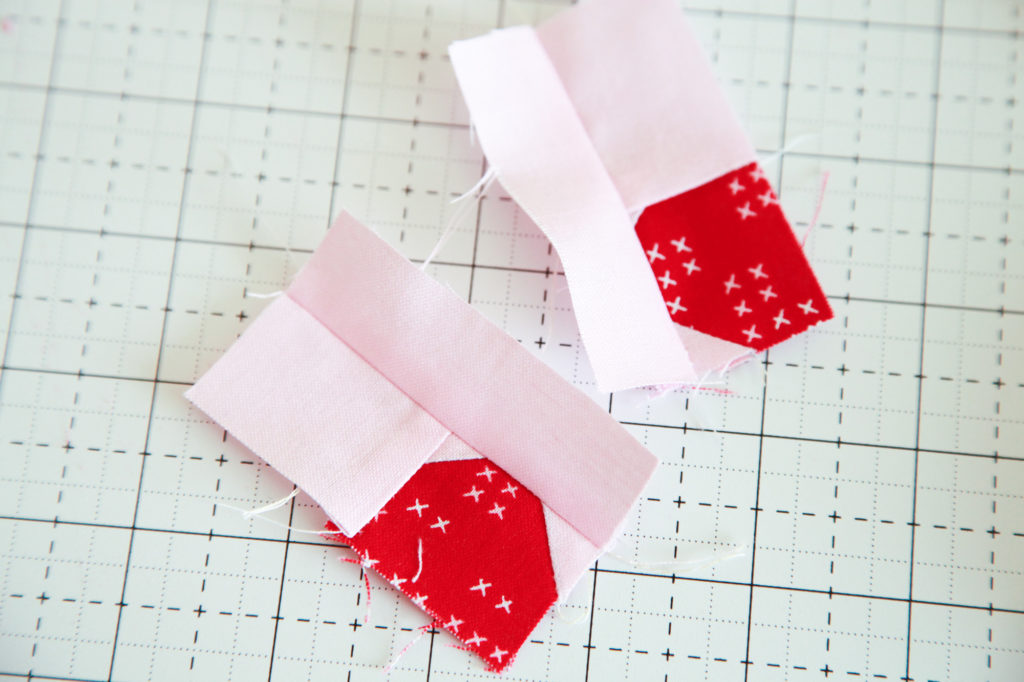
Join an F piece to the top of a V piece. Join a G piece to the right side of the V piece to form the G unit. Repeat these steps to make a reversed G unit.
Join a K piece to the top of a V piece to form the K unit. Repeat these steps to make a reversed K unit.
Join the K unit to the right side of the G unit. Join the reversed K unit to the left side of the reversed G unit to form the inside petal units.
Draw a diagonal line on the wrong side of the M pieces. With the right sides facing, layer an M piece on the top right corner of an S piece. Stitch on the drawn line and trim 1/4″ away from the seam and press.
In the same manner, mark the L pieces. With right sides facing, layer an L piece on the bottom left corner of the S piece. Stitch on the drawn line and trim 1/4″ away from the seam and press. Repeat these steps on the opposite corners of the remaining S piece to form a reversed S piece.
Join the S piece to the bottom of the inside petal unit. Join the reversed S piece to the bottom of the reversed inside petal unit.
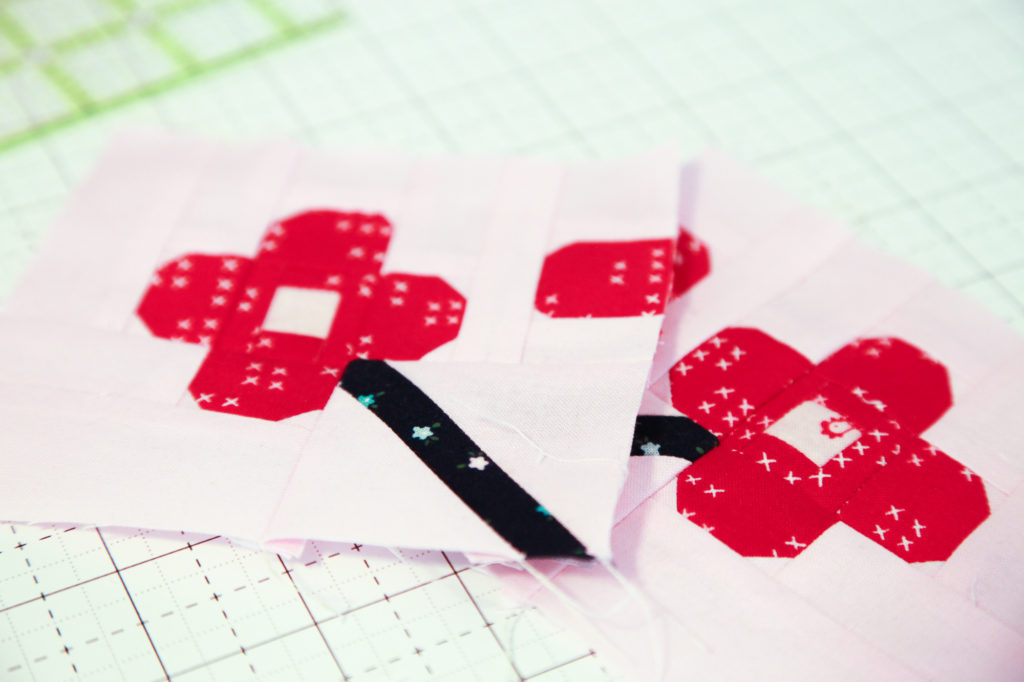
Join the side petal unit to the left side of the inside petal unit. Join the reversed side petal unit to the right side of the reversed inside petal unit to form the outside flowers.
Join an O piece to the left and right sides of the R piece.
Join a V piece to the top of the R unit.
Join the R unit to the bottom of a flower center unit and join a V piece to the top of the flower center unit to form the middle flower unit.
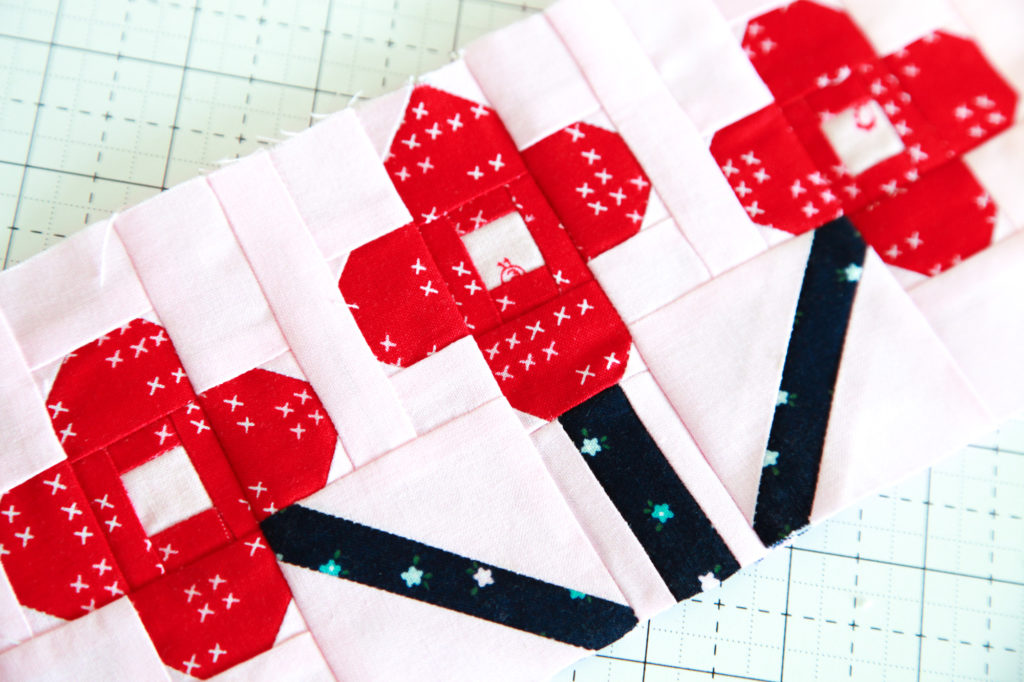
Join the left outside flower to the left side of the middle flower unit, and join the right outside flower unit to the right side of the middle flower unit to form the bouquet unit.
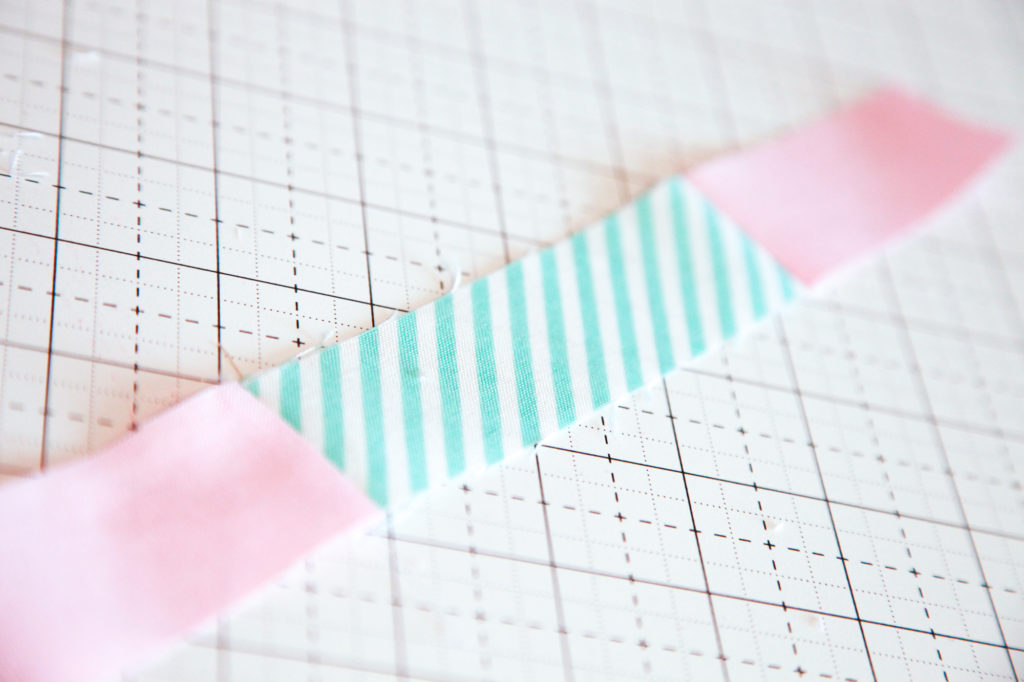
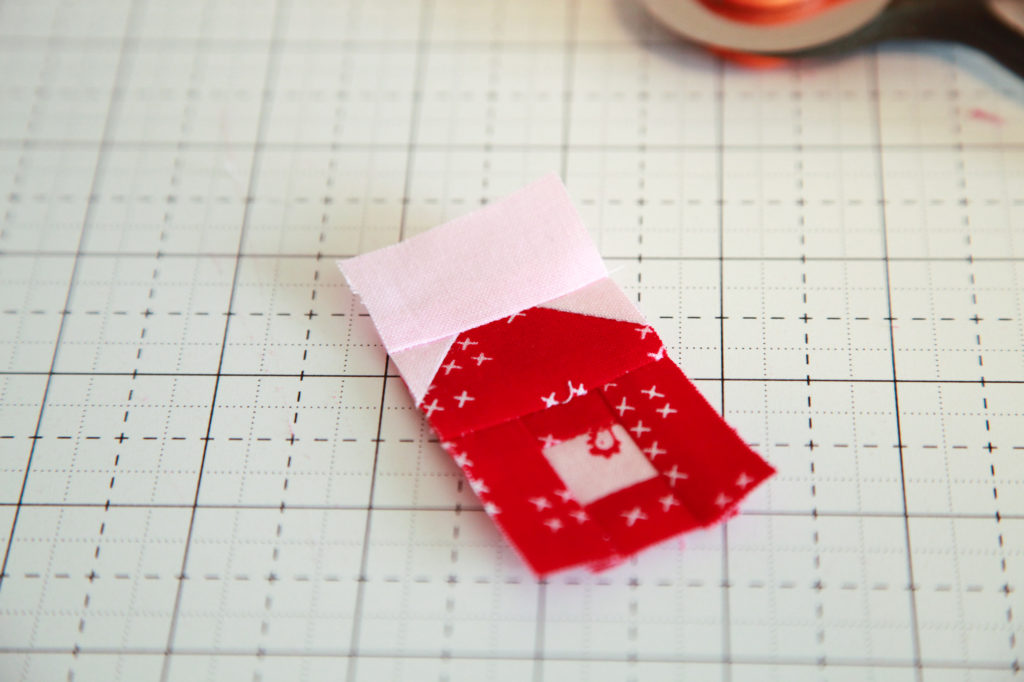
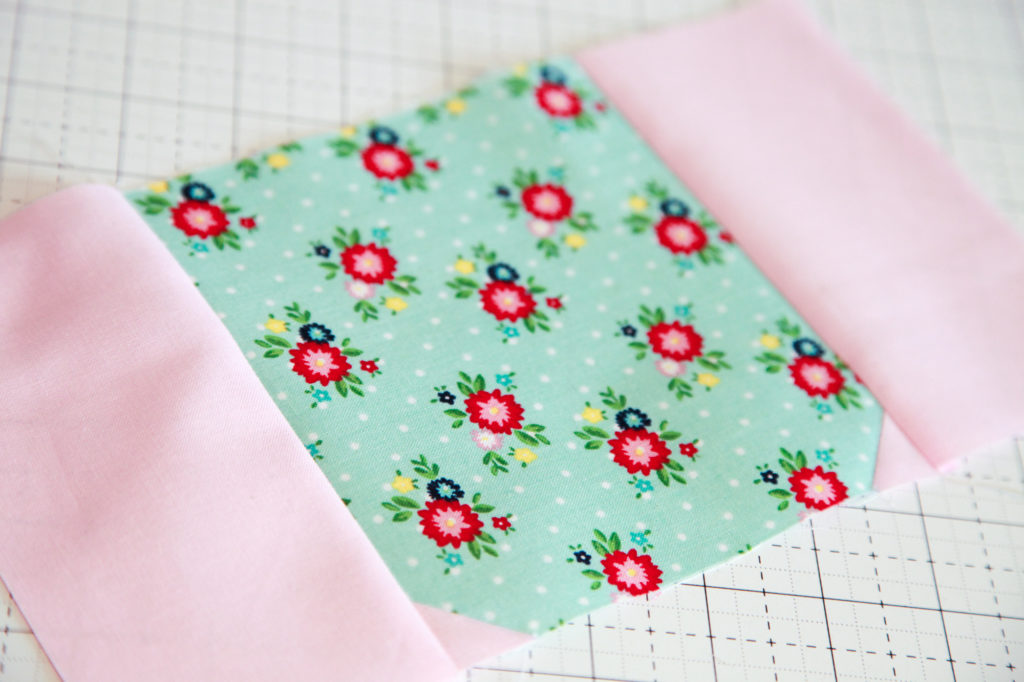
Join a B piece to the left and right sides of the P piece to form the jar opening unit.
Draw a diagonal line on the wrong sides of N pieces. With the right sides facing, layer an N piece on the bottom left corner of the Q piece. Stitch on the drawn line and trim 1/4″ away from the seam and press. Repeat on the bottom right corner of the Q piece.
Join an A piece to the left and right sides of the Q piece to form the jar unit.
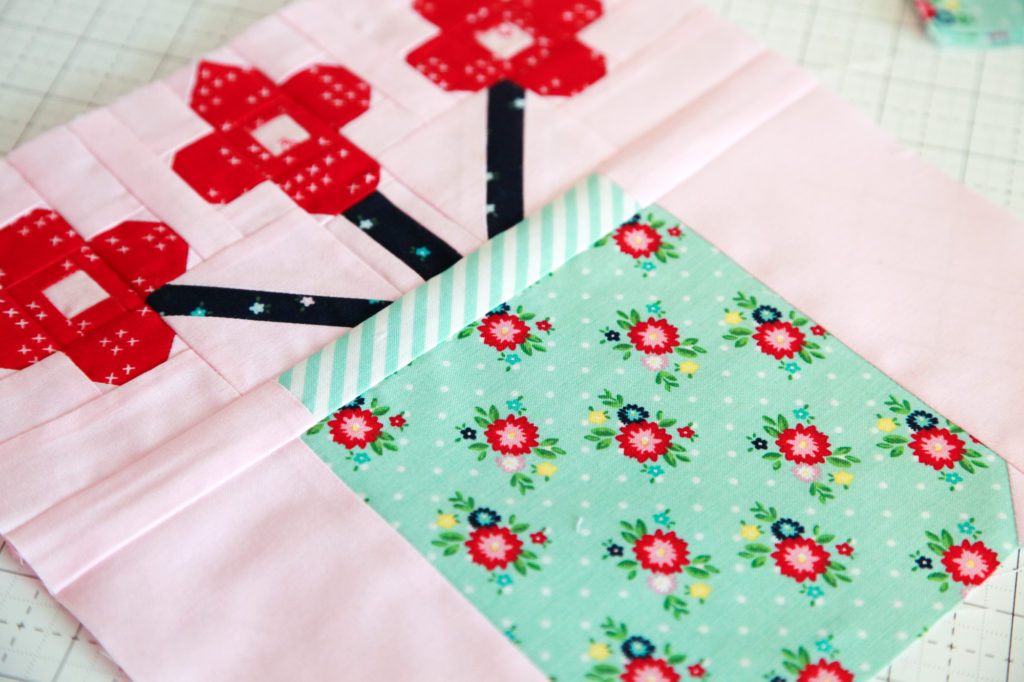
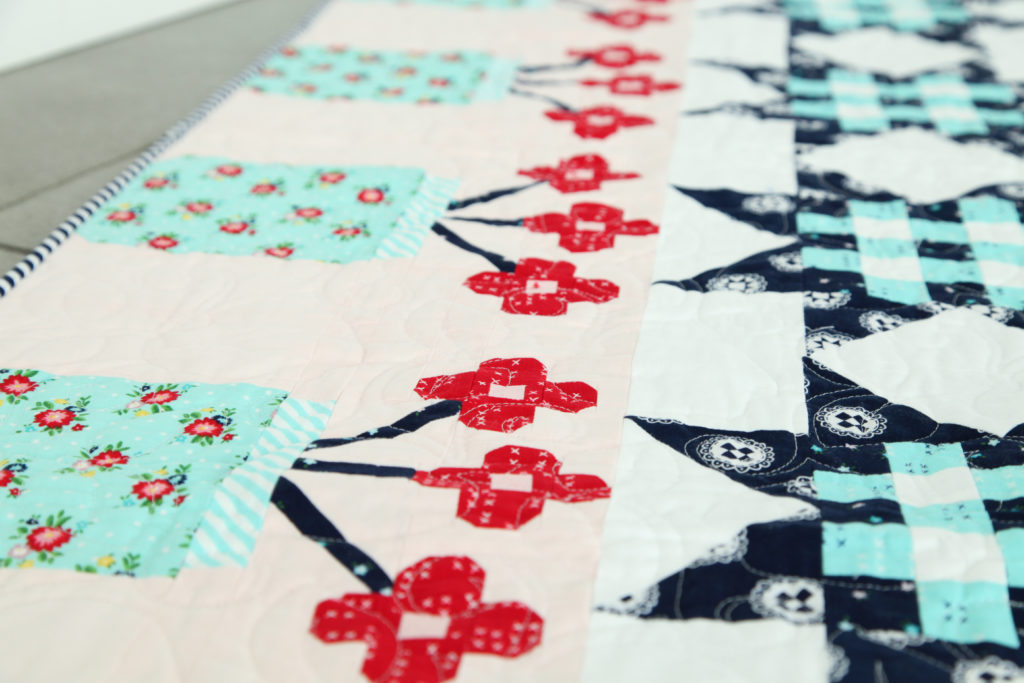
Join the jar unit to the bottom of the jar opening unit and join the bouquet unit to the top of the jar opening unit to form the finished block. Make 6 jar blocks and join them into a row to form the jar row (row 6).
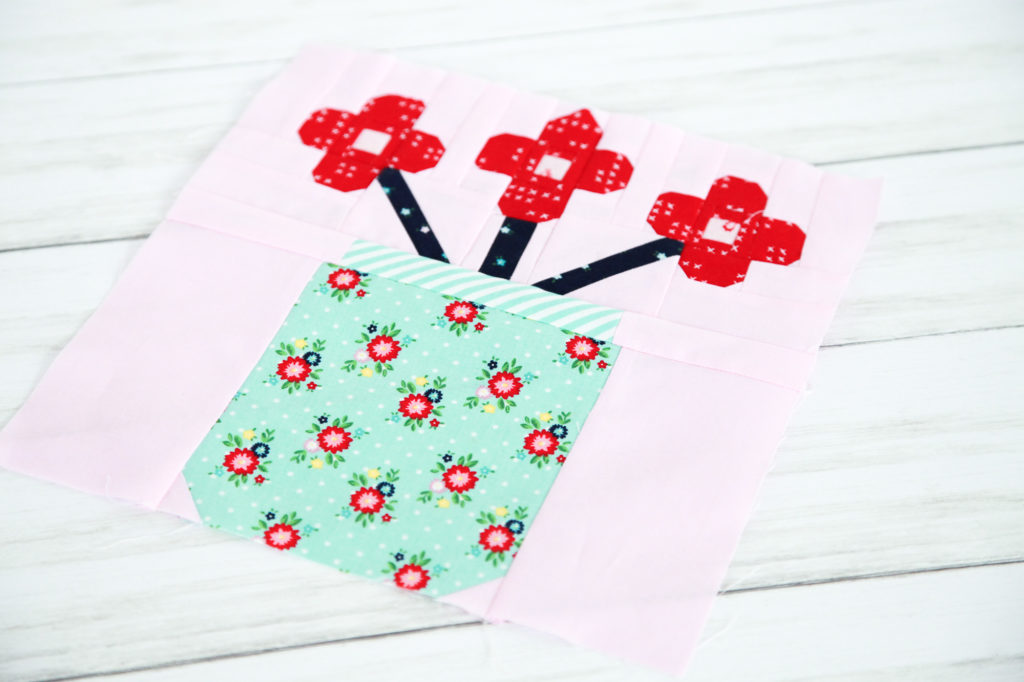
Aren’t these jars so cute?!
To assemble your quilt top, sew the rows together in the following order from top to bottom: flowers, scalloped circles, bows, apples, stars, and jars.
Baste, quilt, and bind as desired to finish the quilt.
Congratulations! You are well on your way to completing the beautiful Sweet & Simple quilt!
If you are just getting started, click HERE for the free cutting guide. Sweet & Simple kits are available now at participating local and online quilt shops.
Tasha Noel’s Simple Goodness fabric collection is available now at your favorite local and online quilt shops. Pick up yours today and share your progress with us on Instagram #rileyblakedesigns #iloverileyblake #fabricismyfun, and tag us @rileyblakedesigns.
Be sure to also tag Simple Goodness designer, Tasha Noel, and Sweet & Simple quilt designer, Gracie Larson, @burlapandblossompatterns @tashanoel.
Happy Quilting!