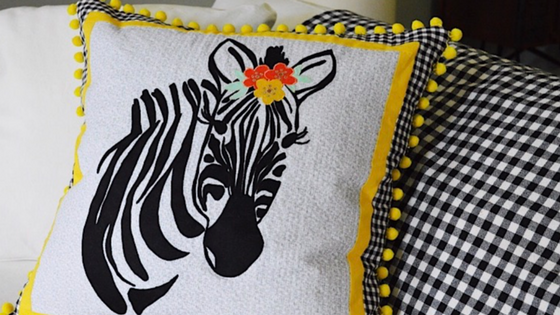
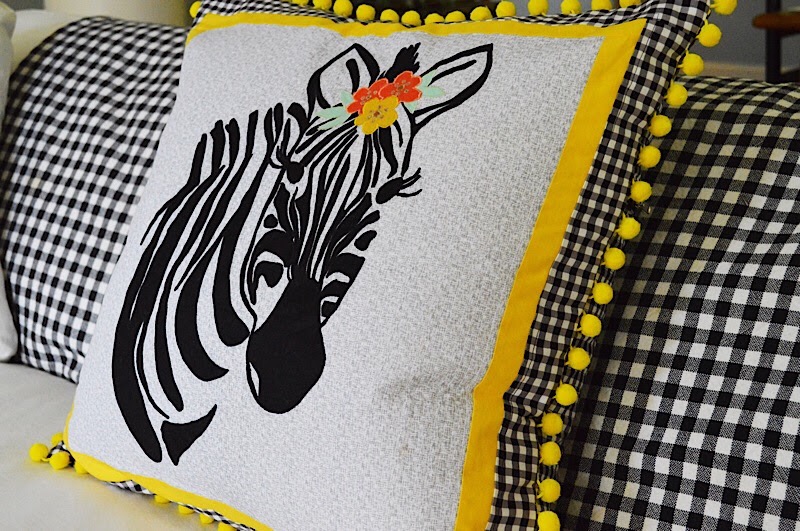
Meet Zinnia the Zebra! Isn’t she gorgeous? When Riley Blake Designer asked me if I would like to try out her latest pattern, I took a look at that zebra batting her eyelashes, and said, “heck ya, count me in!”
This Zinnia Zebra Quilt Pattern is inspired by Melissa’s latest and totally fabulous fabric line, Safari Party. Take a moment to view the complete Safari Party fabric line HERE.
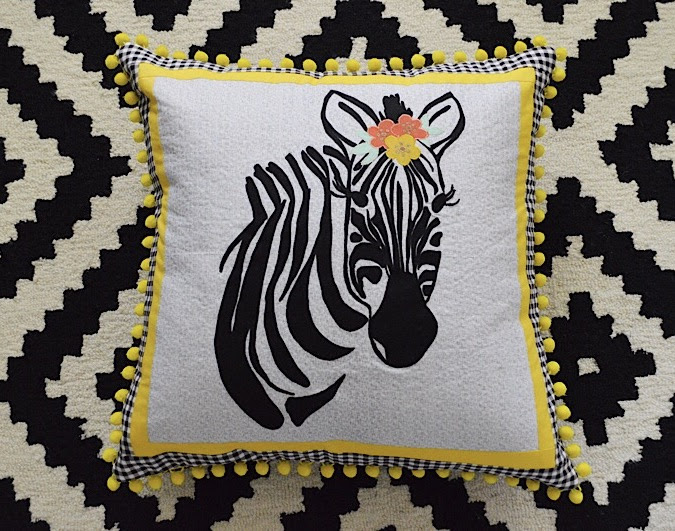
Melissa’s ZINNIA ZEBRA QUILT PATTERN offers a scaled down zebra option for smaller projects, like this 26″ pillow. It could also work nicely for something small, like a baby quilt.
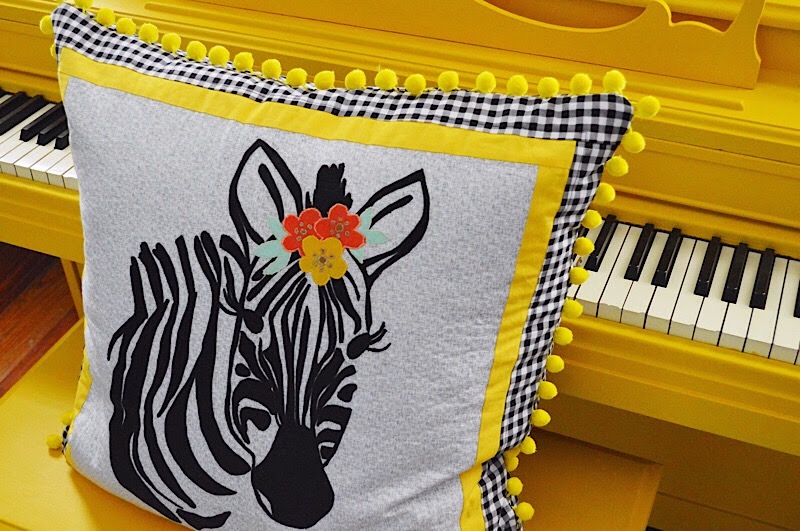
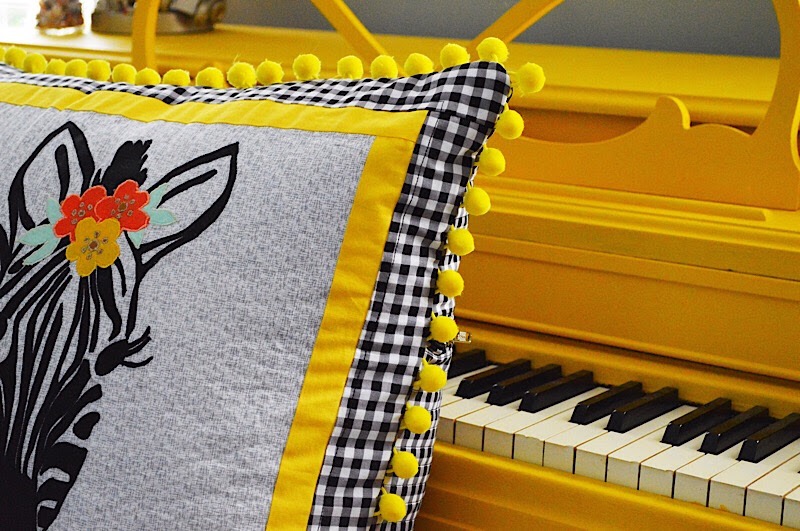
I took my inspiration for this pillow from my own bright yellow piano. I LOVE the look of the black and white keys against the bold yellow, and wanted that same look for this zebra pillow.
For the yellow solid border, I used RILEY YELLOW from Riley Blake Designs collection of solid color basics, CONFETTI COTTONS.
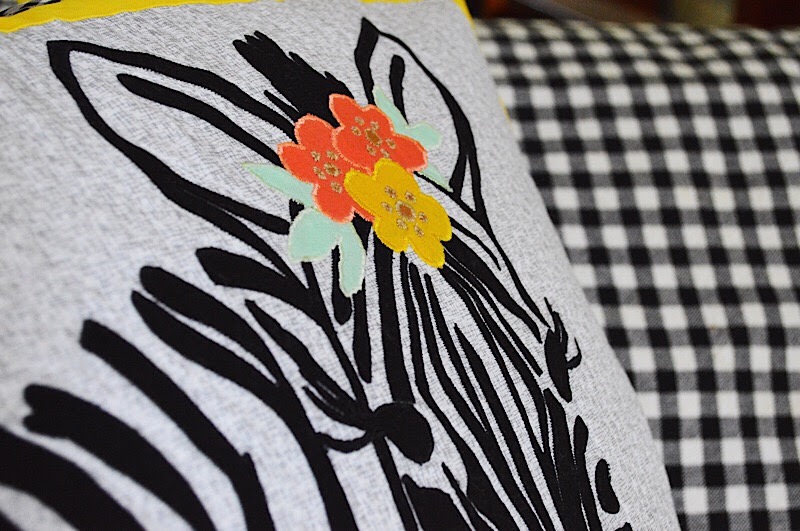
I used the same Riley Yellow as well as the SALMON color for the flowers, and this lovely SWEET MINT color for the leaves.
The pattern instructions walk you through the applique process, which involves tracing the design onto a sheet of fusible adhesive, pressing the adhesive to your fabric, then cutting through both layers along your traced outlines. Once your pieces are cut, you use a hot iron to carefully press them to the fabric. Follow up with a narrow zig-zag stitch around the edges and you’re done! While this is a very detail oriented project, which definitely takes quite a bit of time and patience, the actual technique is rather simple and straight forward.
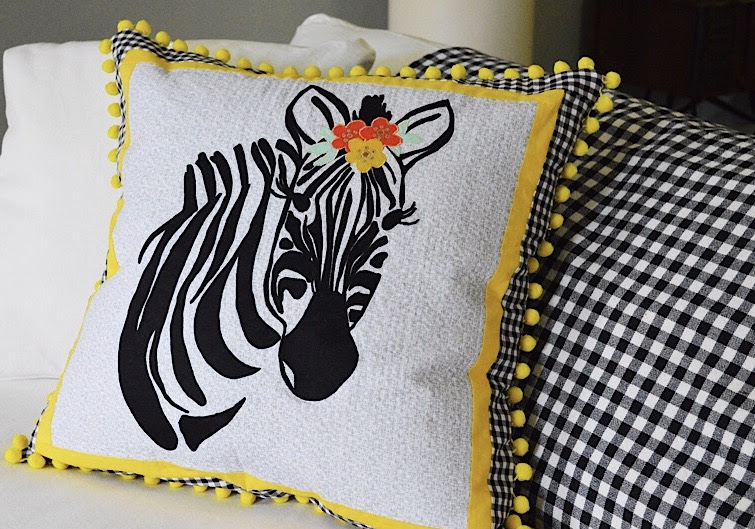
I used RILEY BLAKE DESIGNS 1/4″ GINGHAM fabric for the outside border and pillow back.
For the zipper, I used a fabulous 22″ YKK metal zipper specifically color matched for Riley Blake Designs Fabrics. You can see the variety of colors that are available in both Polyester and Metal Zippers HERE. The zippers can be found at local and online quilt shops.
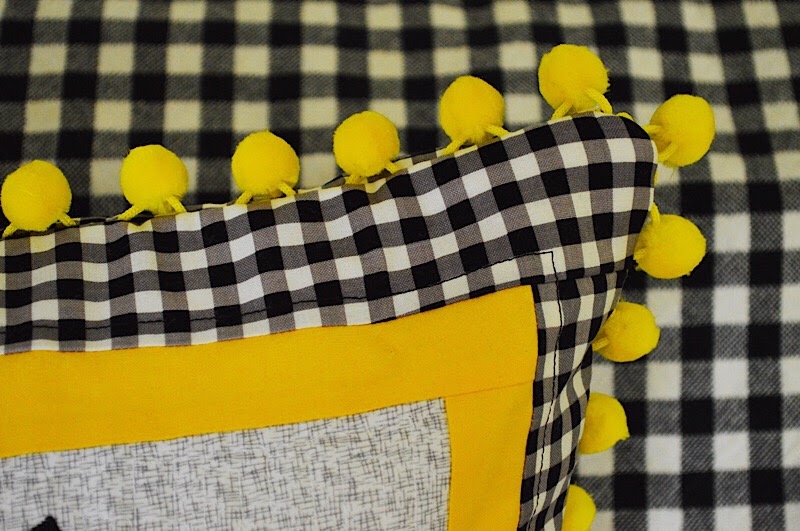
To add some extra POP to this pillow, I added these fun yellow pom poms around the edge. Aren’t they cute?

And don’t you love this mini hashtag fabric from Riley Blake Designs HASHTAG COLLECTION? This might be one of my new favorite basics because it has a nice, subtle design that adds texture without being too intrusive to the focal point of the project. I also love that it adds a decidedly modern aesthetic to the project, but again, not in an overpowering way.
I backed the pillow front with quilt batting and quilted the hashtag fabric in rows 1/4″ apart, which are a little bit difficult to see because the white thread blends so well with the white background of the hashtag fabric.
This is a 26″ square pillow. I prefer to use down filled pillows because they retain their body and shape for a very long time. I have learned, though, to make my pillow cover smaller than the down-filled pillow form in order to have the nice fully stuffed look that I prefer. So I decided I wanted the front and backs to measure 24.5.” After finishing the zebra panel, I trimmed it back to measure 20.5.” Next, I added the Riley Yellow border, which measured 1.5.” Finally, I added a 2.5″ gingham border and the yellow pom pom trim (attached with the pom poms facing toward the center of the pillow.)
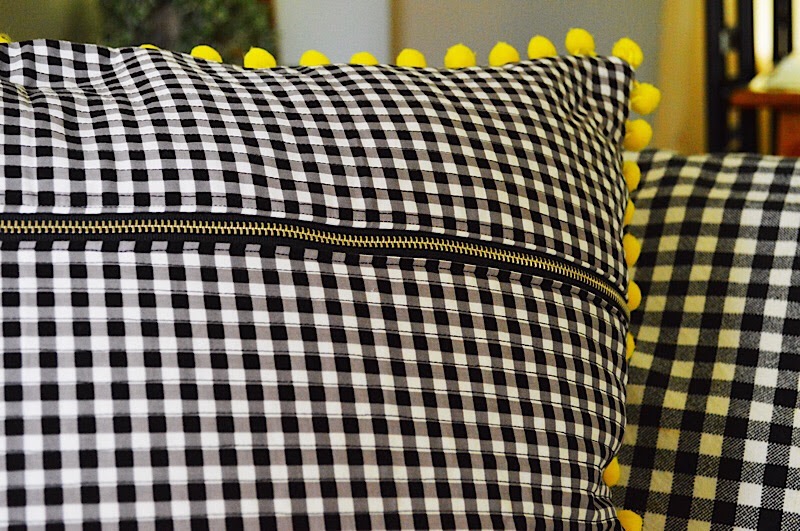
The back is just two quilted panels with the exposed metal zipper sandwiched between them. After the zipper is installed, I took the panel and trimmed it to measure 24.5″ x 24.5.” Super simple.
Sewing the front and back panels together is a cinch. Making sure the zipper is open (for turning the pillow cover right side out) I pinned the front and back together with right sides facing. Then I simply sewed the panels together using a 1/2″ seam allowance. Next, I trimmed the corners and turned the pillow cover right side out. Add the pillow form and you’re done. That’s really all there is to it!
I hope you love Zinnia as much as I do! This was such a fun project to tackle. It really had me thinking outside the box, and the results were far better than I imagined. You can find more photos and information about this fun pattern at Melissa’s blog HERE.
Happy Sewing!