Need a 10 minute gift idea? We have it! Seriously! We made this Reversible Bandana Baby Bib in our brand new designer jersey knit fabric, so it is as luxuriously soft as it is adorable and easy to make!
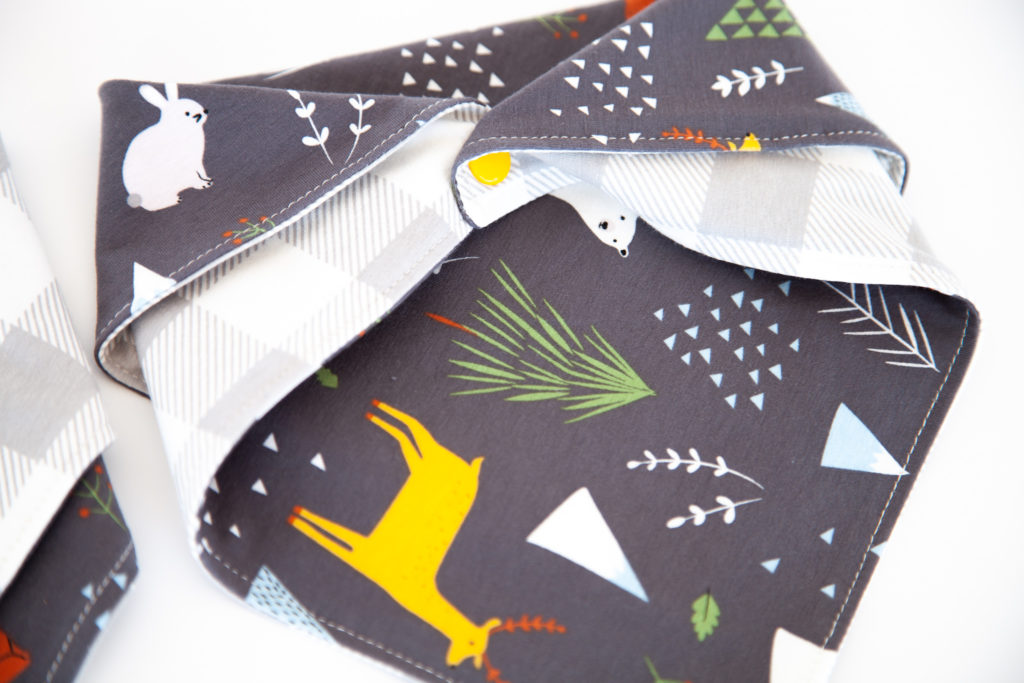
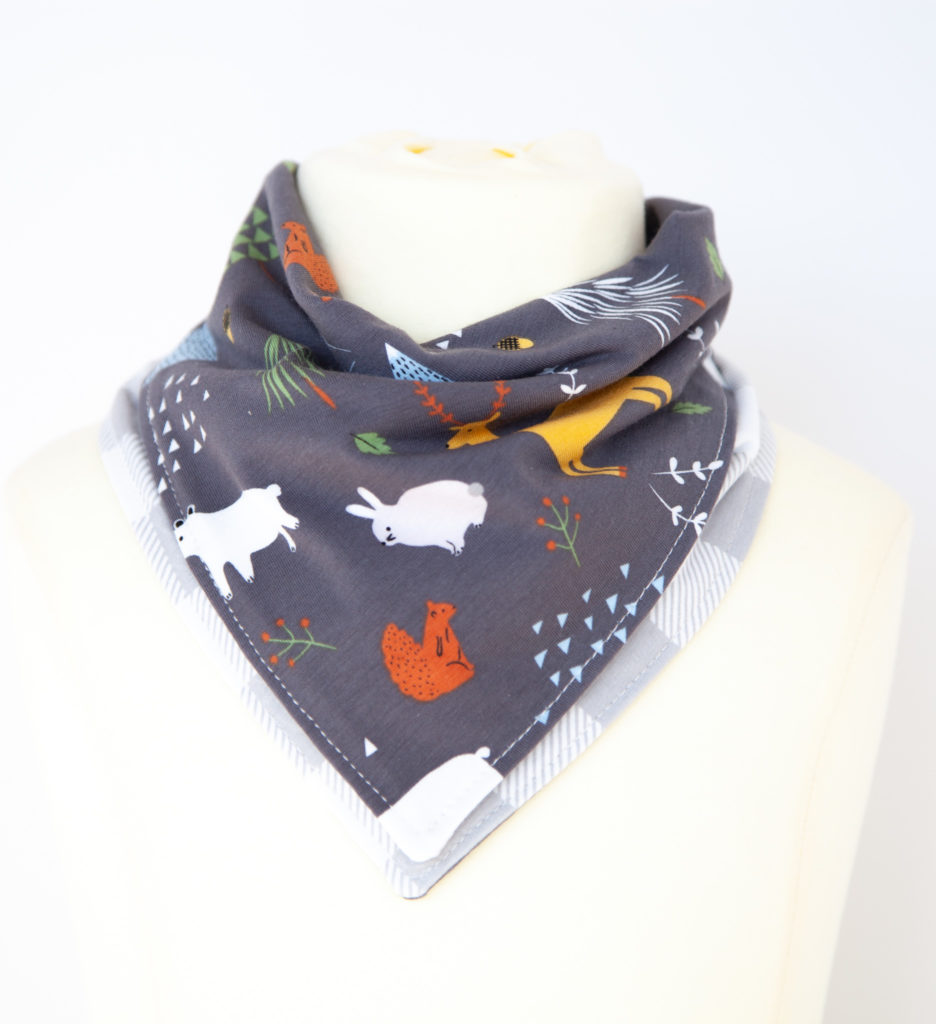
This is the perfect bib for catching baby’s drool and everything else while looking totally cool at the same time. I love the fact that this bib is reversible. A little too much “who-knows-what” on your bib? No problem! Just turn it over and you’re good to go!
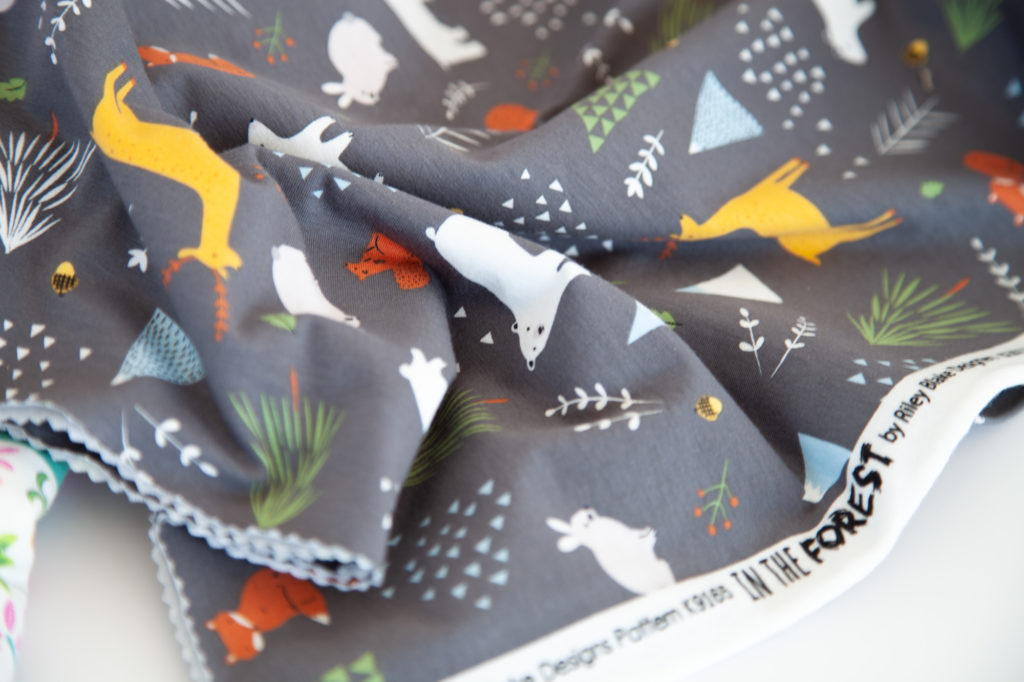
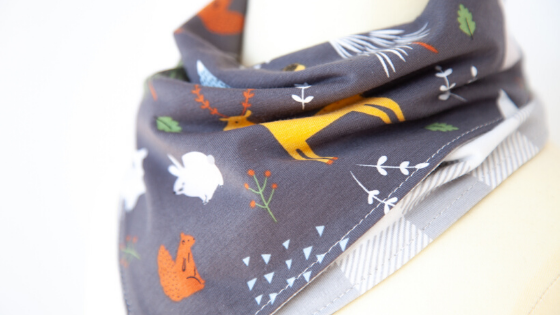
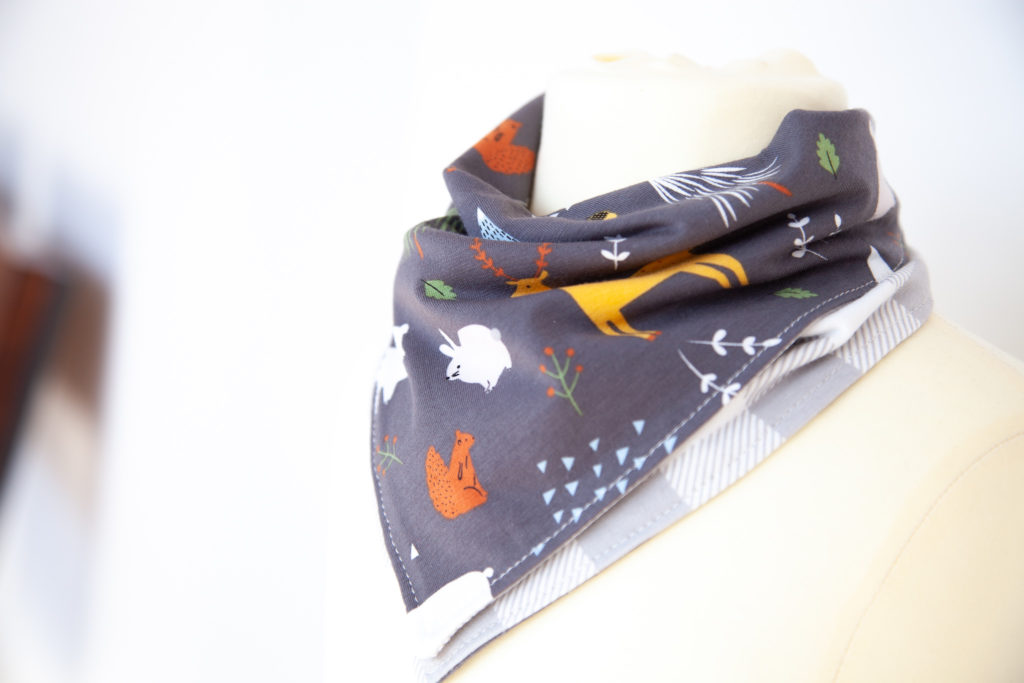
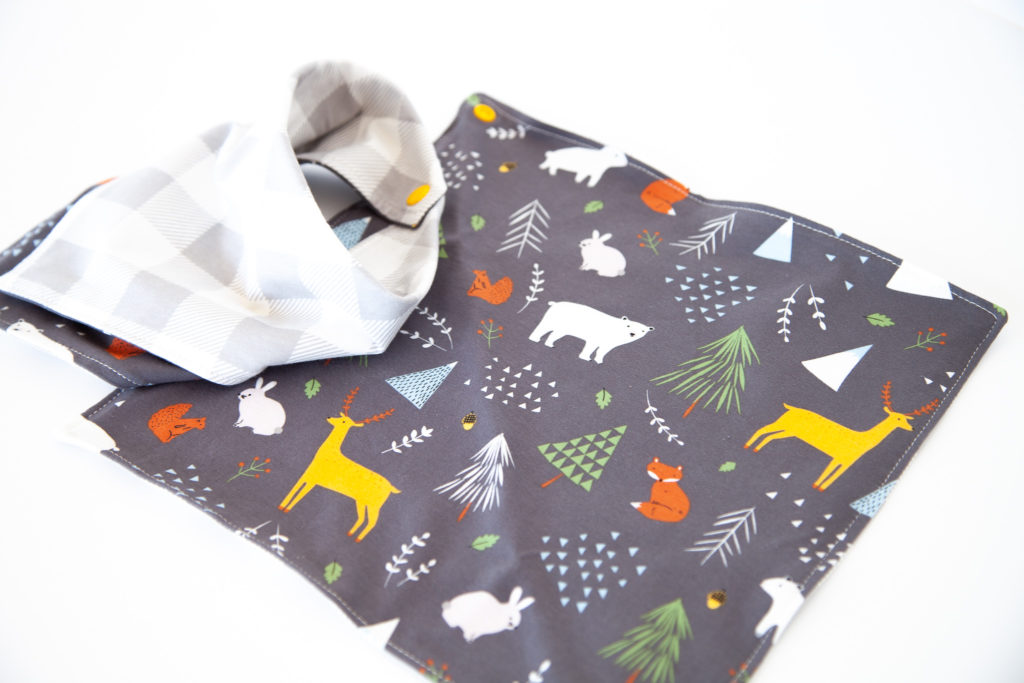
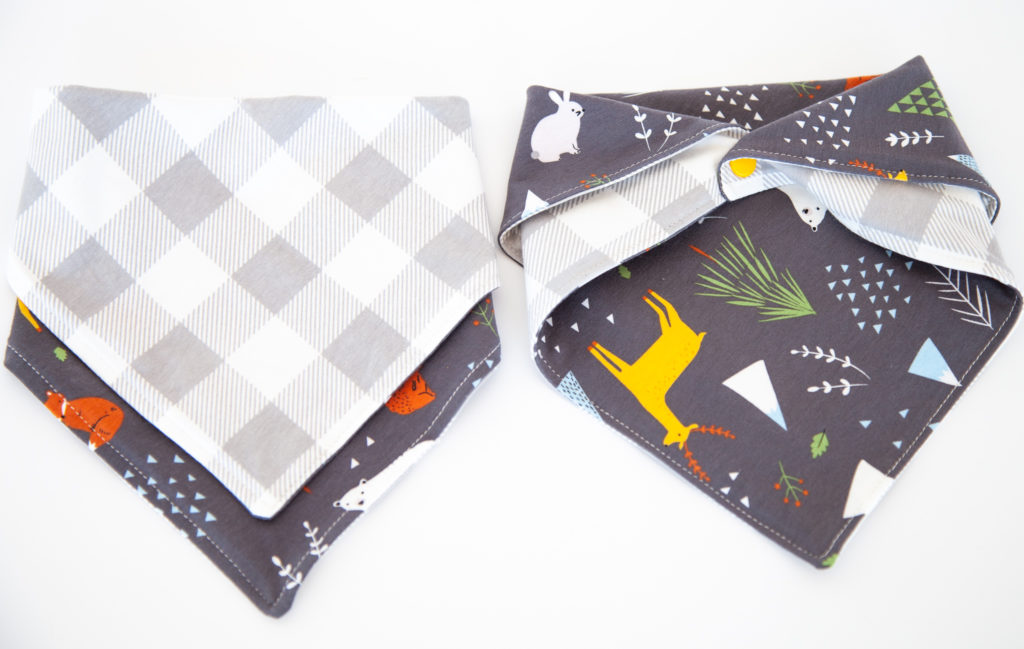
I used the brand new In the Forest jersey knit fabric in Gray for the main print. I love the little animals and trees and tiny acorns. So cute!
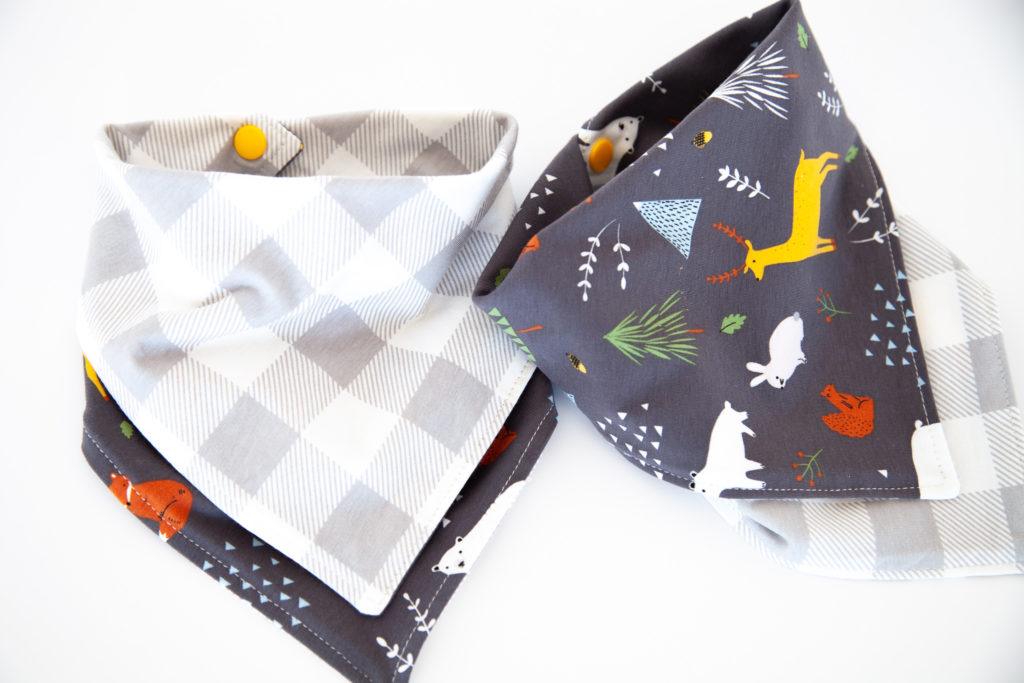
For the reverse print, I used Let Them Be Little Lumberjack Plaid Gray.
The plaid is a nice, light contrast against the darker gray print.
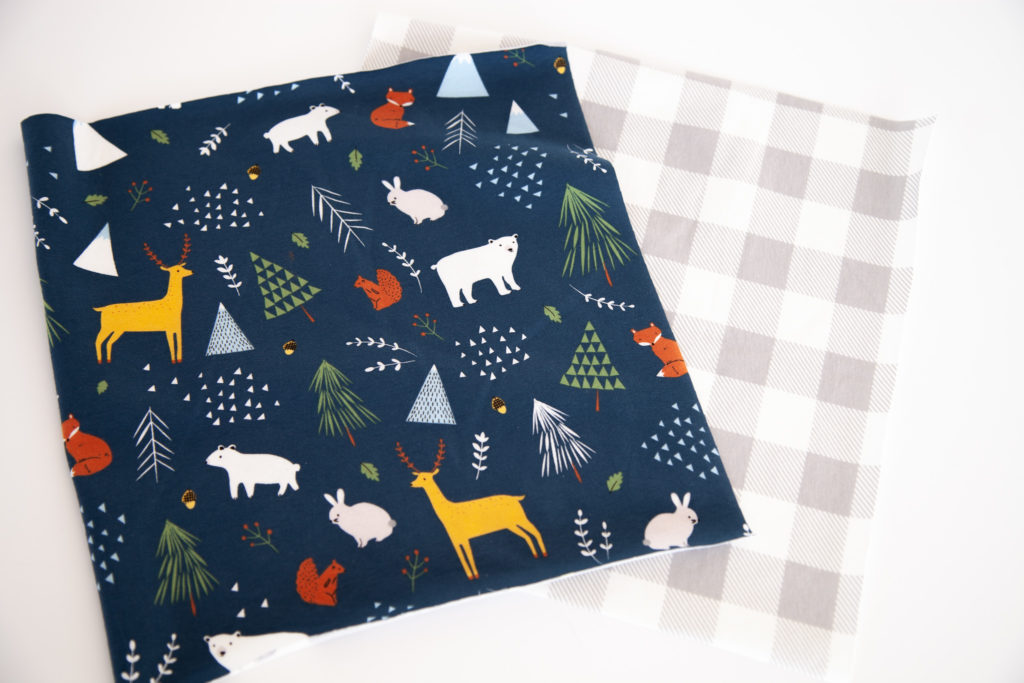
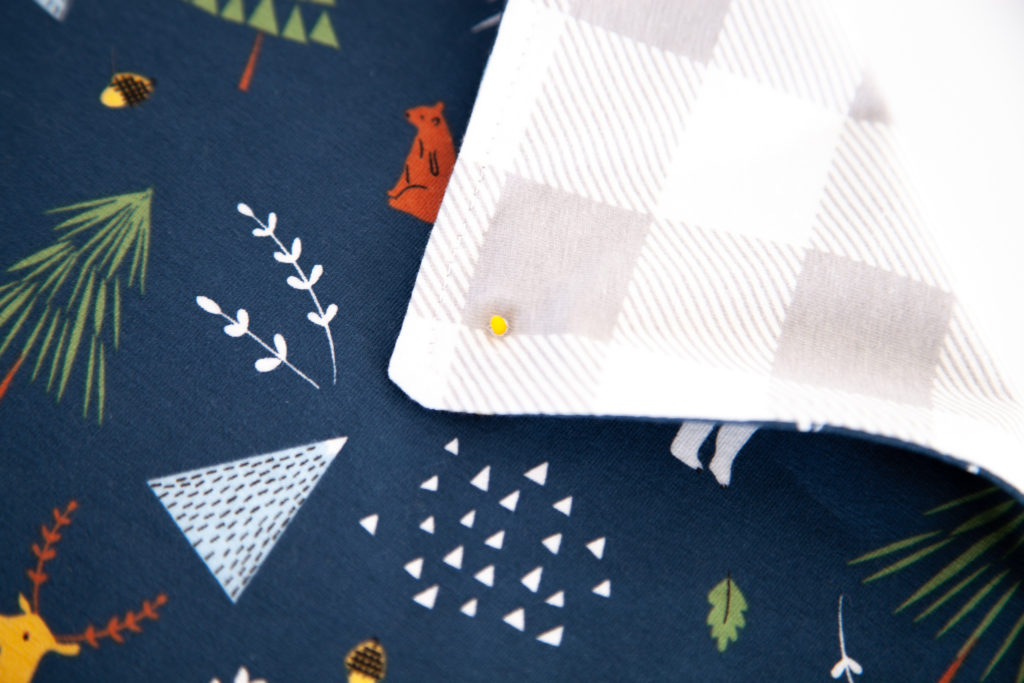
To make this bib, you will need two 11 1/2″ x 11 1/2″ squares of fabric. Here you can see I am using the same plaid, but with the In the Forest Navy print. I love the Navy and the Gray, so I had to play with them both!
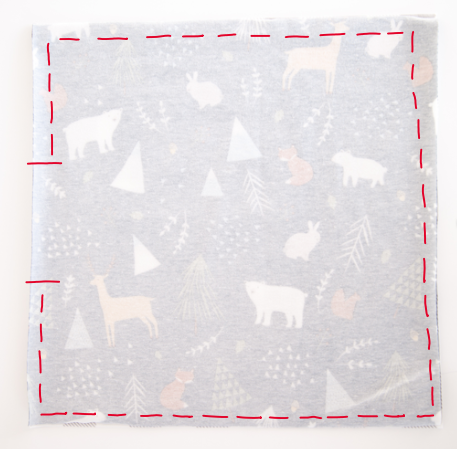
Take your 11 1/2″ squares and lay them on top of each other, right sides facing. Sew around the square using 1/2″ seam allowance, leaving about a 3″ opening.
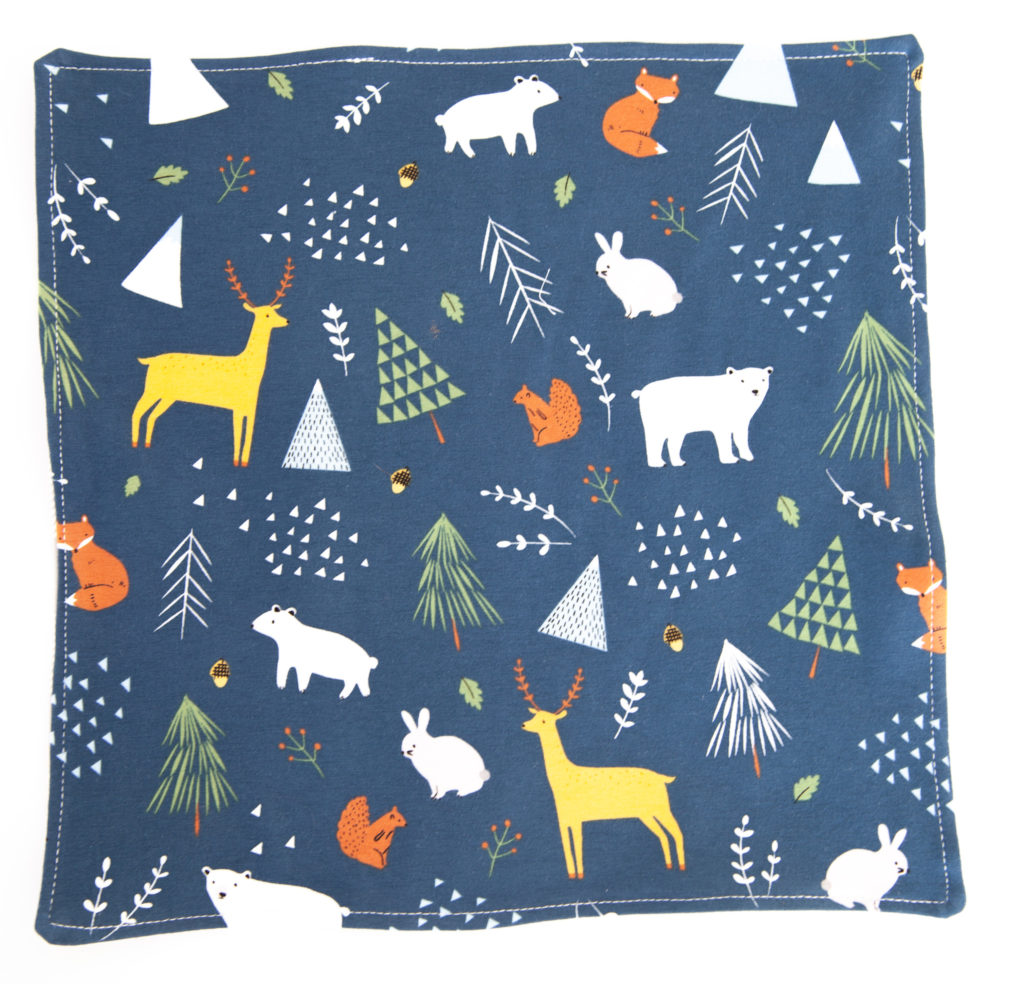
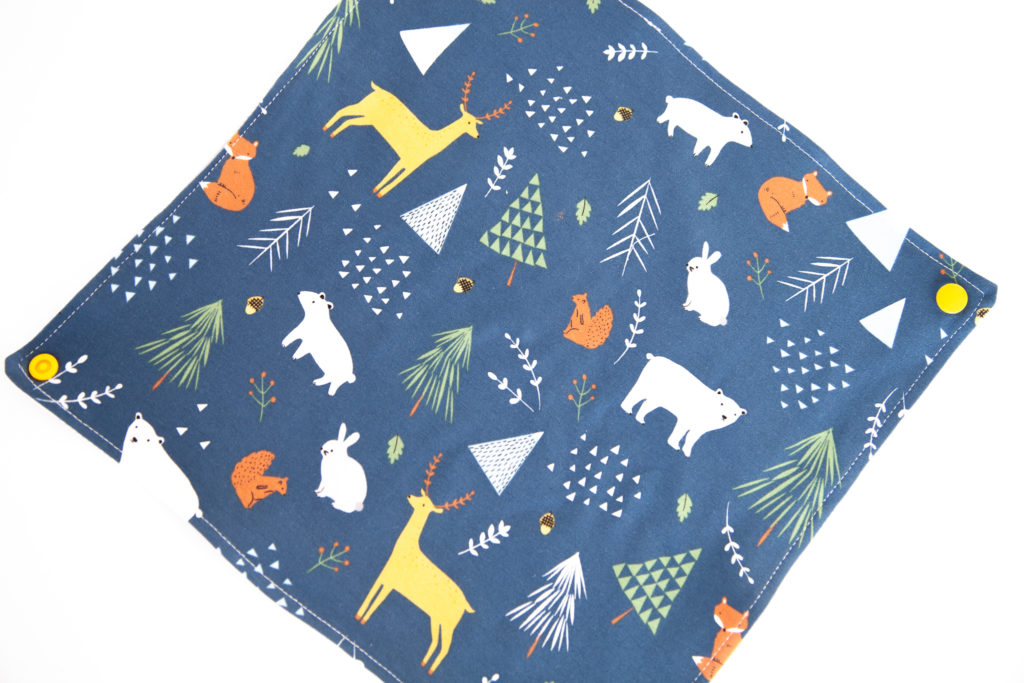
Turn right side out and press. Top stitch around the perimeter. As you do this, you will sew the 3″ opening closed. Now you have your basic bandana shape. All that is left is to add the snaps!
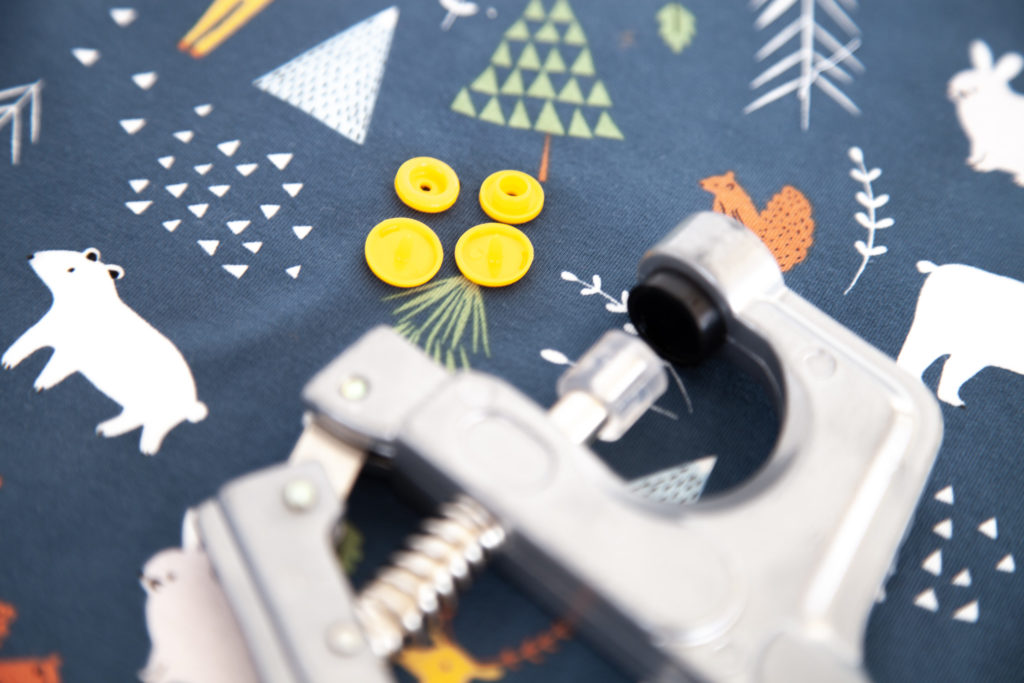
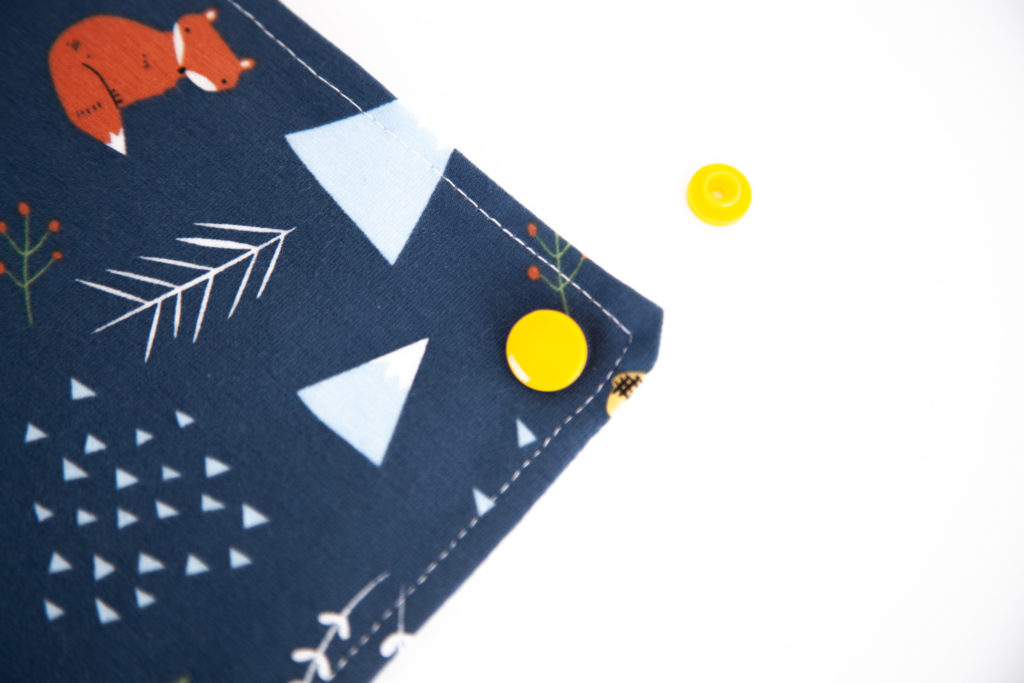
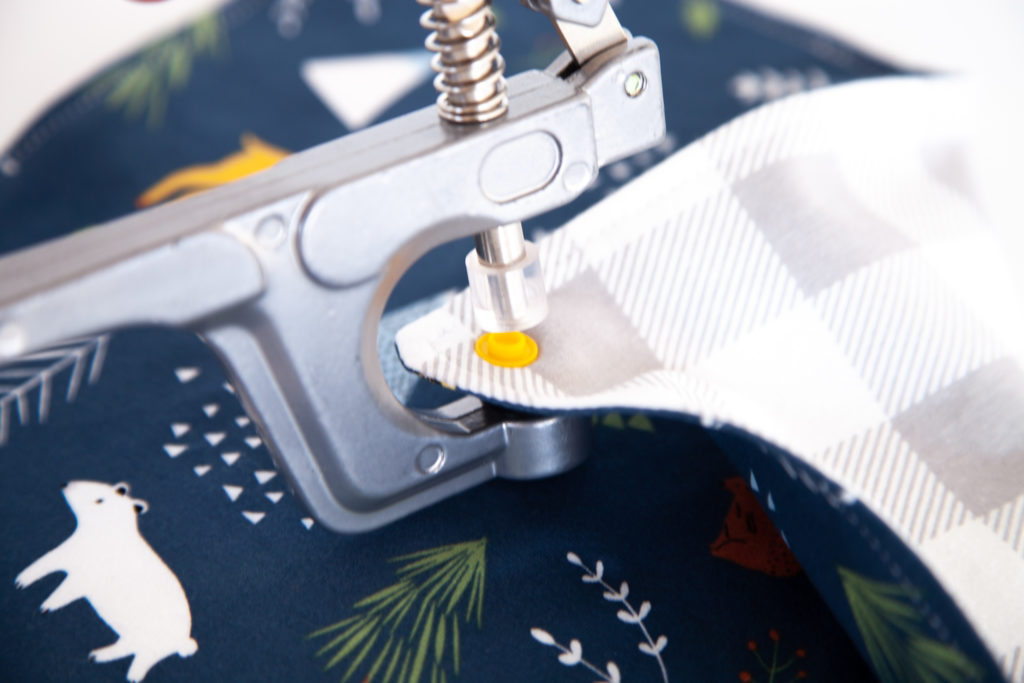
It is up to you what snaps you want to use. I have an inexpensive set of multicolor plastic snaps. The set also came with the snap-clamp-installer-thing. I chose yellow snaps for this bandana.
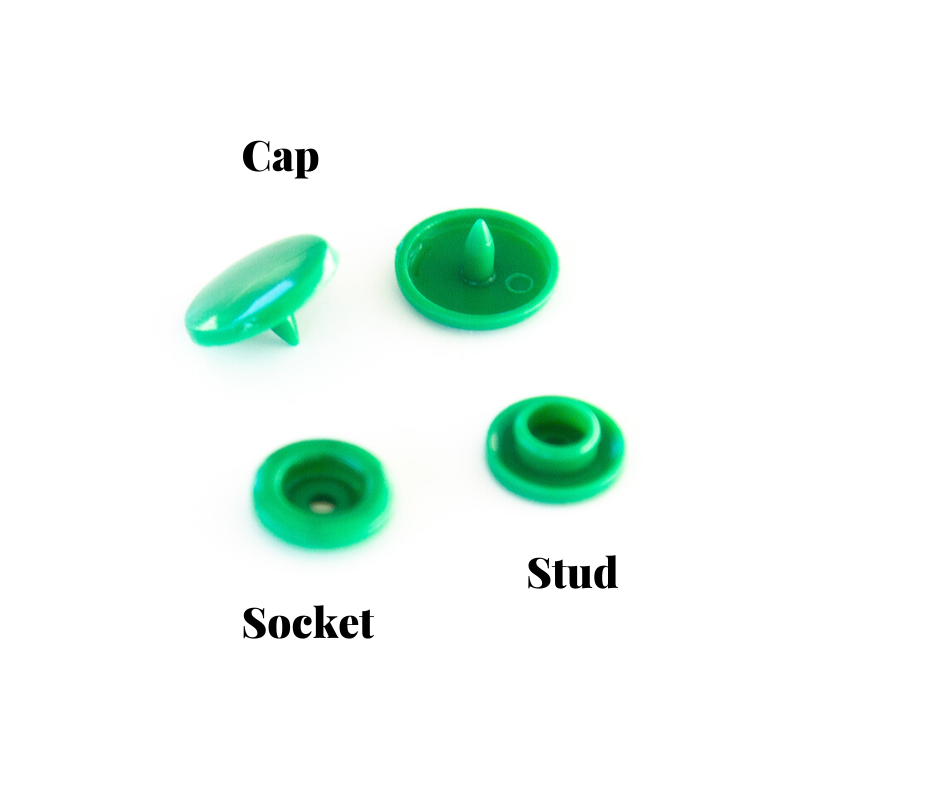
You’ll want two caps, as well as a socket and a stud.
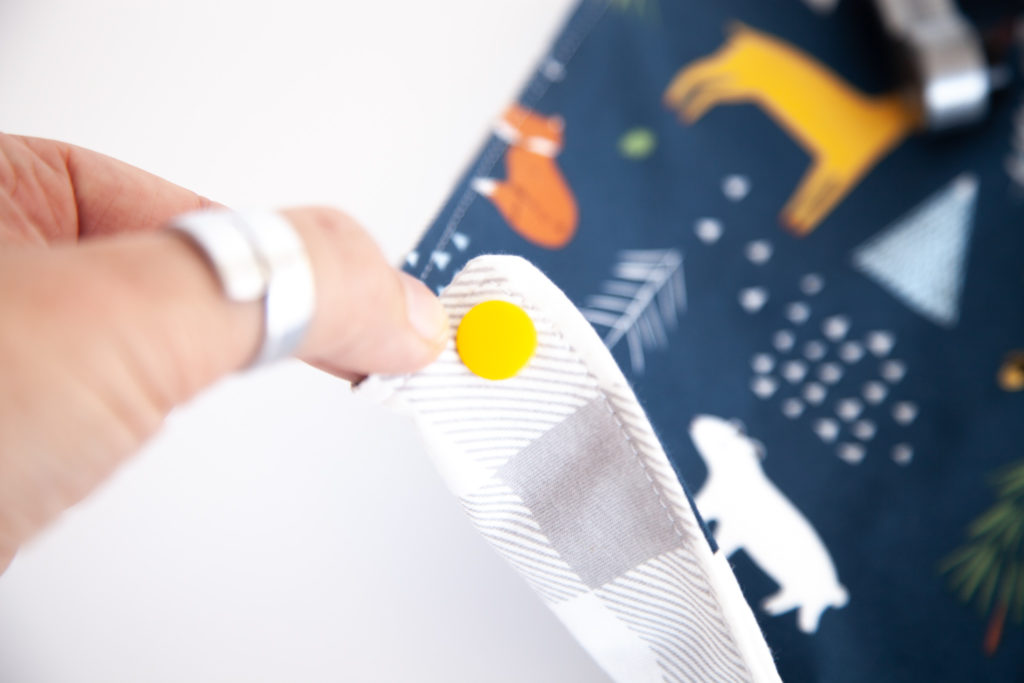
Install the first snap by positioning the cap close to one corner of the bandana. Once you are happy with where it is, poke the pointy part of the cap through the back of the fabric to the front.
Here is what it will look like.
Now, set the socket over the pointy part.
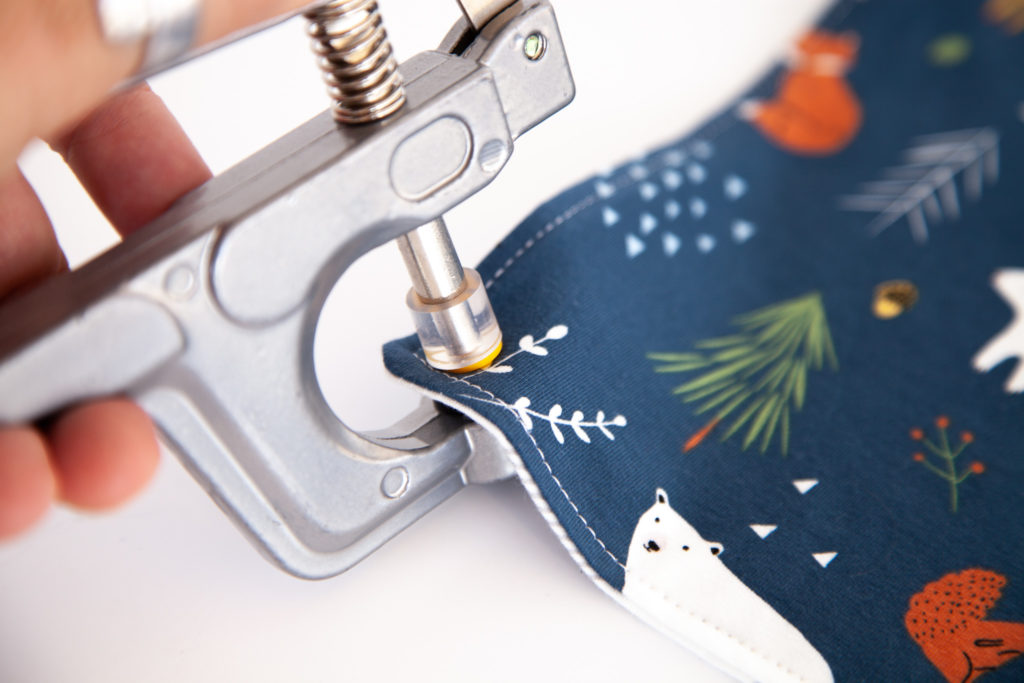
It’s time grab your clamp tool. You’ll want the flat part of the tool on the cap side, and the clear plastic tube part of the tool on the socket side. Position the top and bottom of the clamp directly over the cap and socket and press down firmly. This will push down and flatten the pointy part of the cap over the socket opening, holding the snap in place.
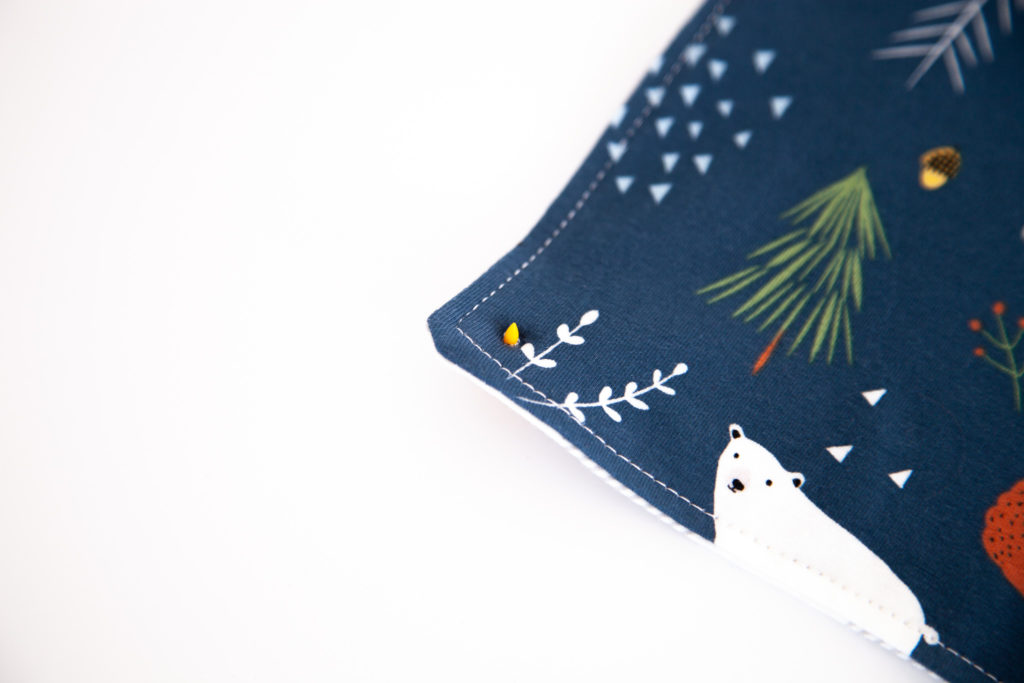
The second snap will be placed on the opposite corner, as seen here.
The second snap will be installed the same way, but you’ll start with the cap on the top, and poke the pointy part through the the back side – so the opposite direction of the first snap.
Here is what it will look like.

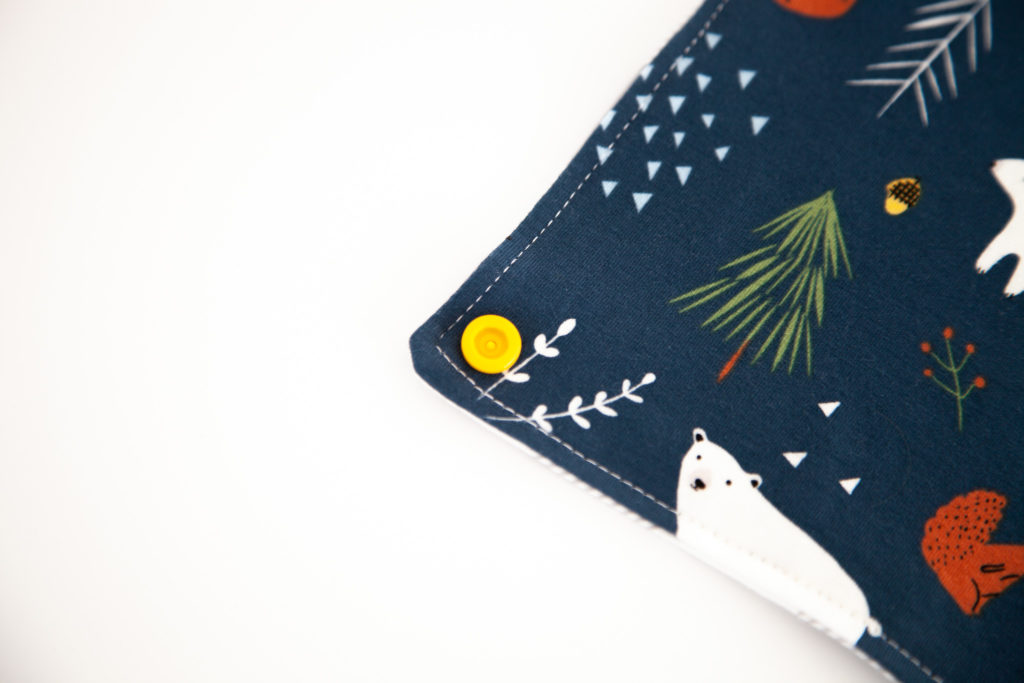
Place the stud over the pointy part.
Use the clamp tool the exact same way you did before — placing it directly over the snap and pressing down very firmly.
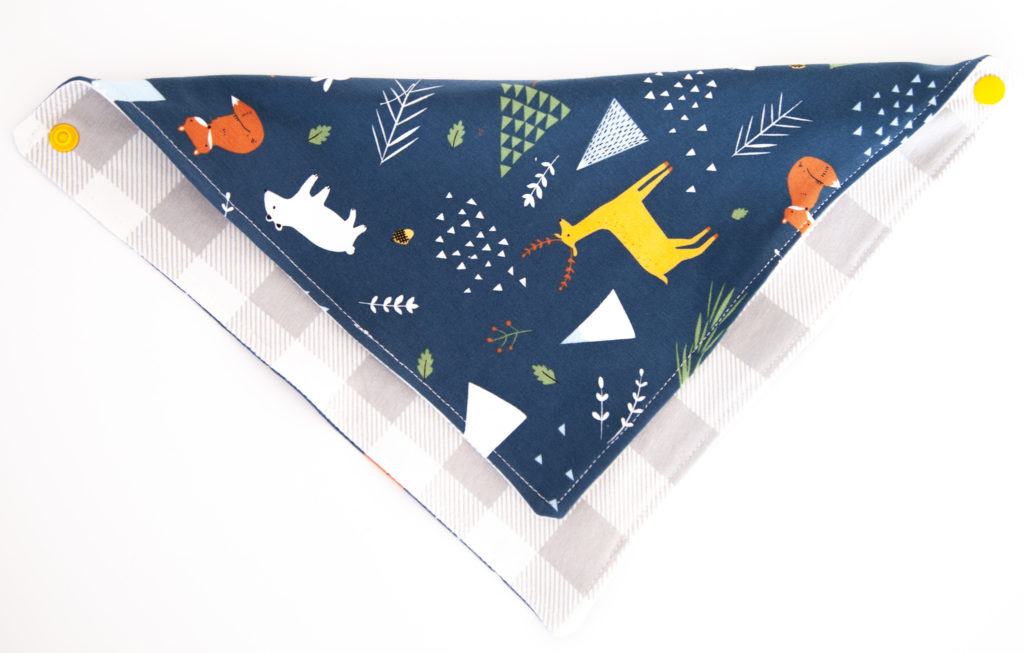
And that’s it! Your bandana is completely finished!
Can you believe how easy that is?
It can be worn with the bandana facing front or to the side.
To reverse it, just flip it over. If you want to see the contrasting fabric peeking out, you just fold it so about 1″ of the contrasting fabric is showing. Easy!
This is a quick and easy gift idea and a fantastic scrap buster. Try making some in our super soft jersey knit, but be prepared, your little one may never want to take it off!
Riley Blake Designer Knit fabrics are available now at your favorite local and online quilt shops. Pick up yours today and share your makes with us on Instagram using #rileyblakeknitfabric, #rileyblakedesigns, #iloverileyblake, and be sure to tag us @rileyblakedesigns.
Thanks for stopping by!