We have a fun, fast, and totally fabulous project for you today! Jersey knit swaddle blankets have become a favorite among mothers and babies alike, and I am going to show you how to whip one up in no time at all!
The super stretchy jersey knit wraps babies in irresistible cocoon-like softness, and Riley Blake Jersey Knit is the perfect weight and thickness for these dreamy blankets.
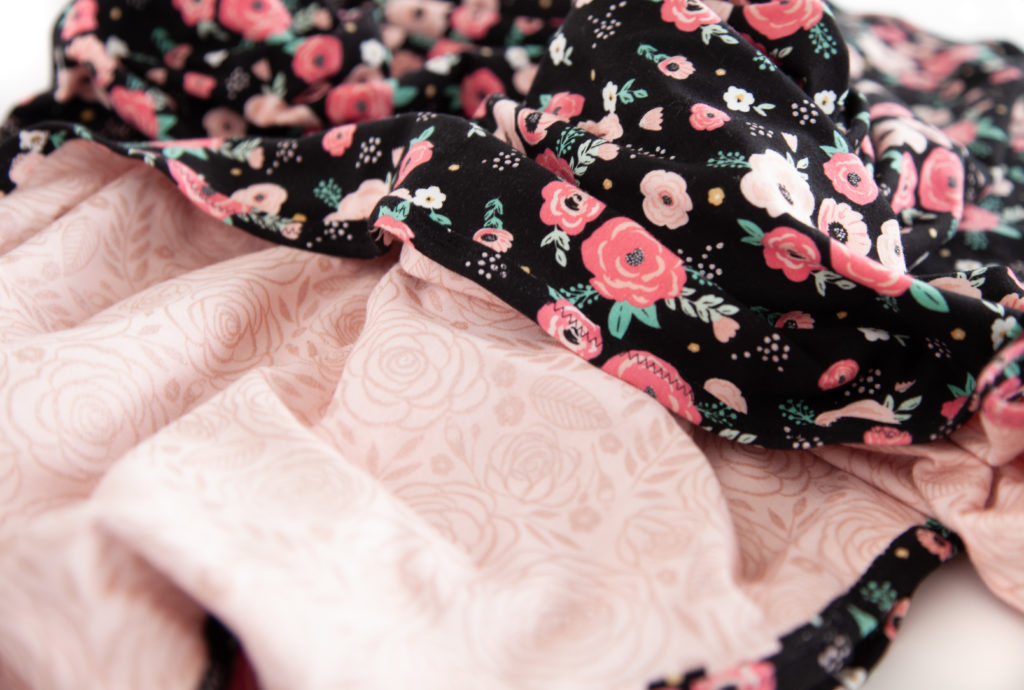
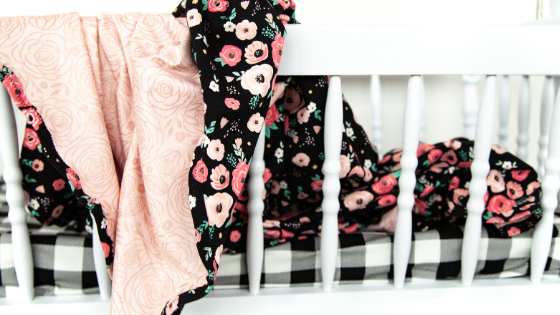
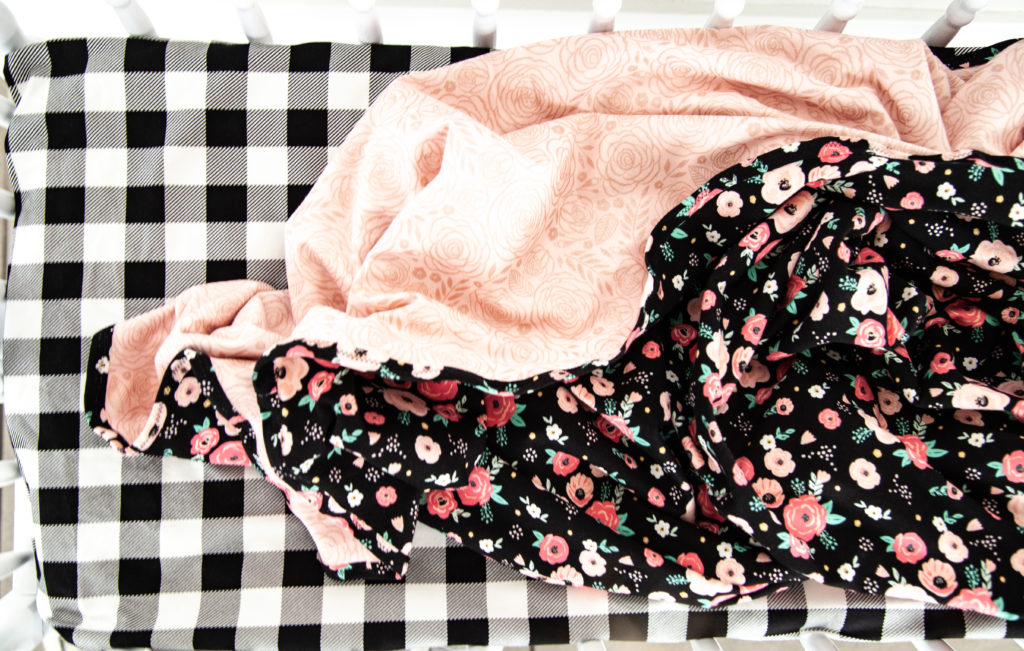
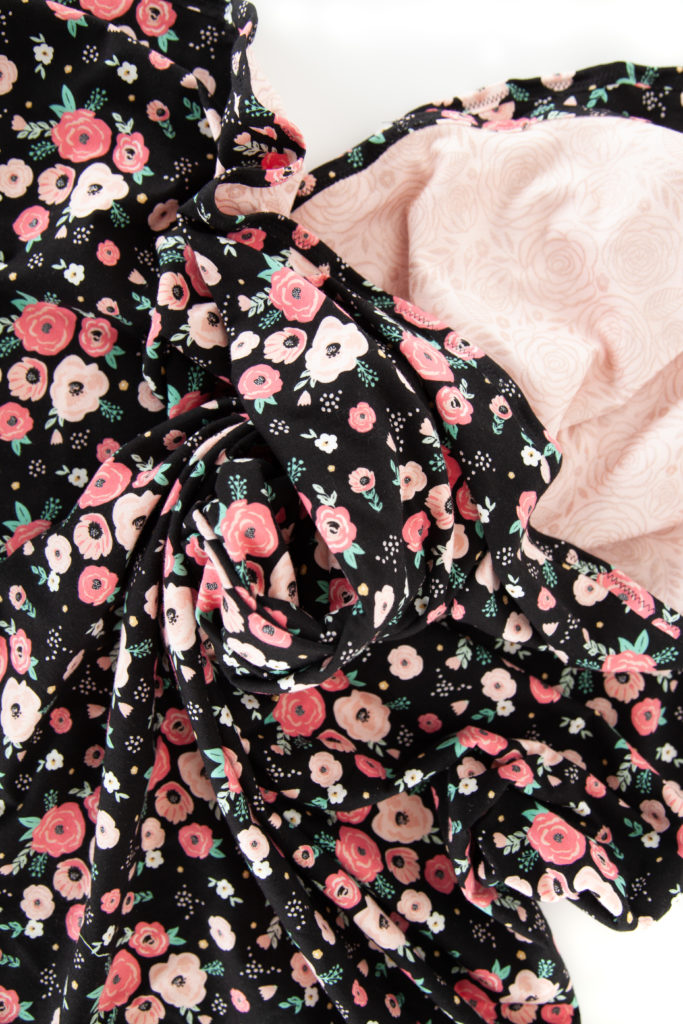
I used two pieces from Dani Mogstad’s Glam Girl collection: Pink Glam Girl Main and Black Glam Girl Floral. The Pink Glam Girl Main features a gorgeous rose gold sparkle throughout, which adds a lovely splash of elegance to this knit fabric.
To make this blanket, take two 36″ x WOF pieces of coordinating Riley Blake Jersey Knit. If you want a larger toddler size blanket, you can go 45″ x WOF. The size of the blanket is up to you.
I like to make the blanket square, so I trimmed my fabric down to 36″ x 36″.
Now that you have the fabric cut to the size you want, lay the fabrics wrong sides together and pin both pieces together all around the edges. Knit edges can curl and because the fabric is so stretchy, it likes to wander off from its original place, so pinning is extremely important here.
*Tip: At this point, I like to take a cup or bowl and trace a curve around the blanket corners. It makes binding the blanket much easier.
After you have the blanket top and bottom pinned together, it’s time to cut your strips of binding fabric. In order to create some stability in the binding, I like to first starch and press the fabric, BEFORE cutting the strips. It makes a big difference, trust me! Now cut enough 1″ x WOF strips to bind the quilt.
Press each of the strips in half, lengthwise.
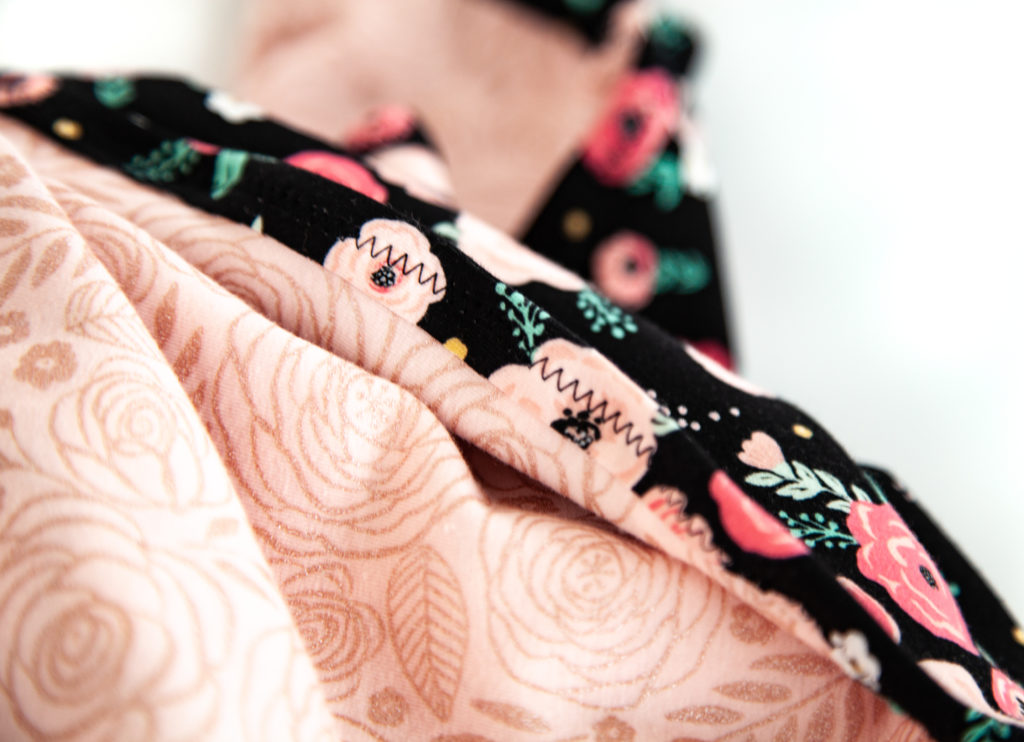
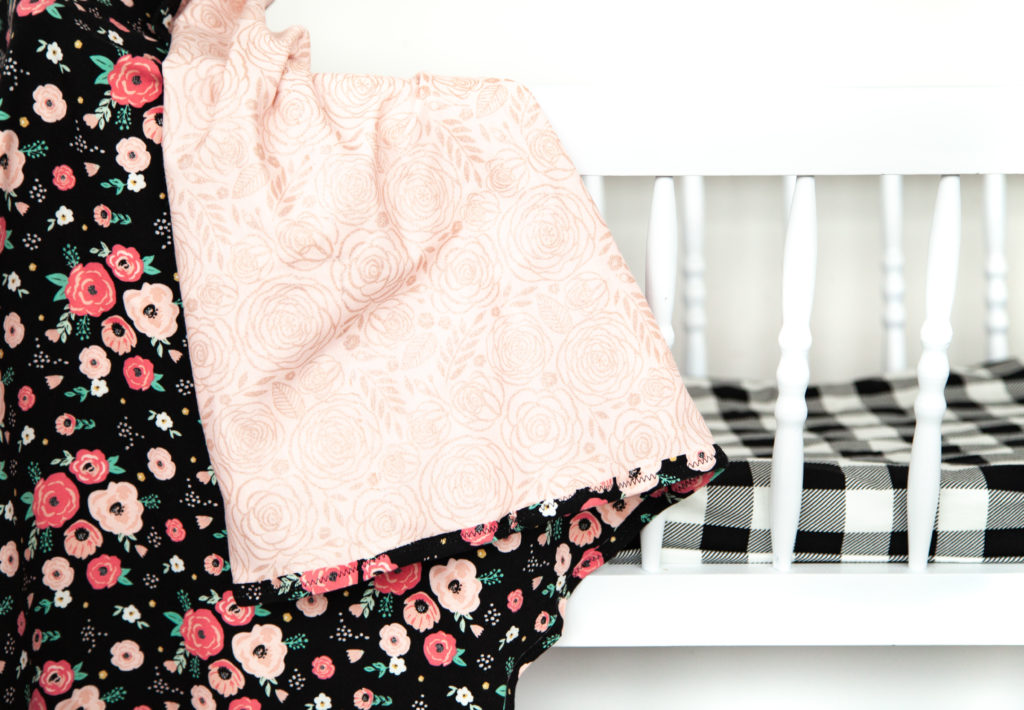
I like to do a raw edge binding here. The jersey knit won’t fray, so raw edge is an easy option that gives the blanket a fun, modern look. Simply place one strip of the folded binding on the edge of the blanket, so that half of the binding is on the front, and half is on the back. Start sewing it in place with a zig-zag stitch. As you get about an inch from the end of the binding strip, place another strip so that it overlaps, maybe 1/2″, over the first piece and continue with the zig-zag stitch.
Continue overlapping and stitching until you finish making your way around the edge of the entire blanket.
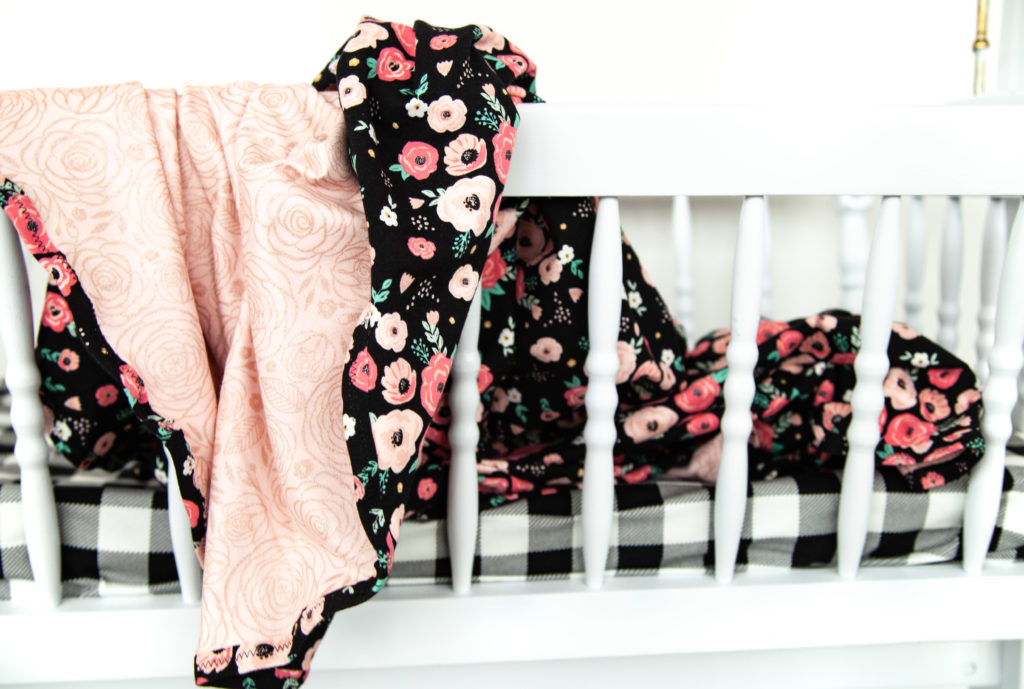
That’s all there is to it! You can have one of these whipped up in an hour. These blankets are the perfect gift – easy, cute, and functional!
Riley Blake Designer Knit fabrics are available now at your favorite local and online quilt shops. Pick up yours today and share your makes with us on Instagram using #rileyblakeknitfabric, #rileyblakedesigns, #iloverileyblake, and be sure to tag us @rileyblakedesigns.
Thanks for stopping by!