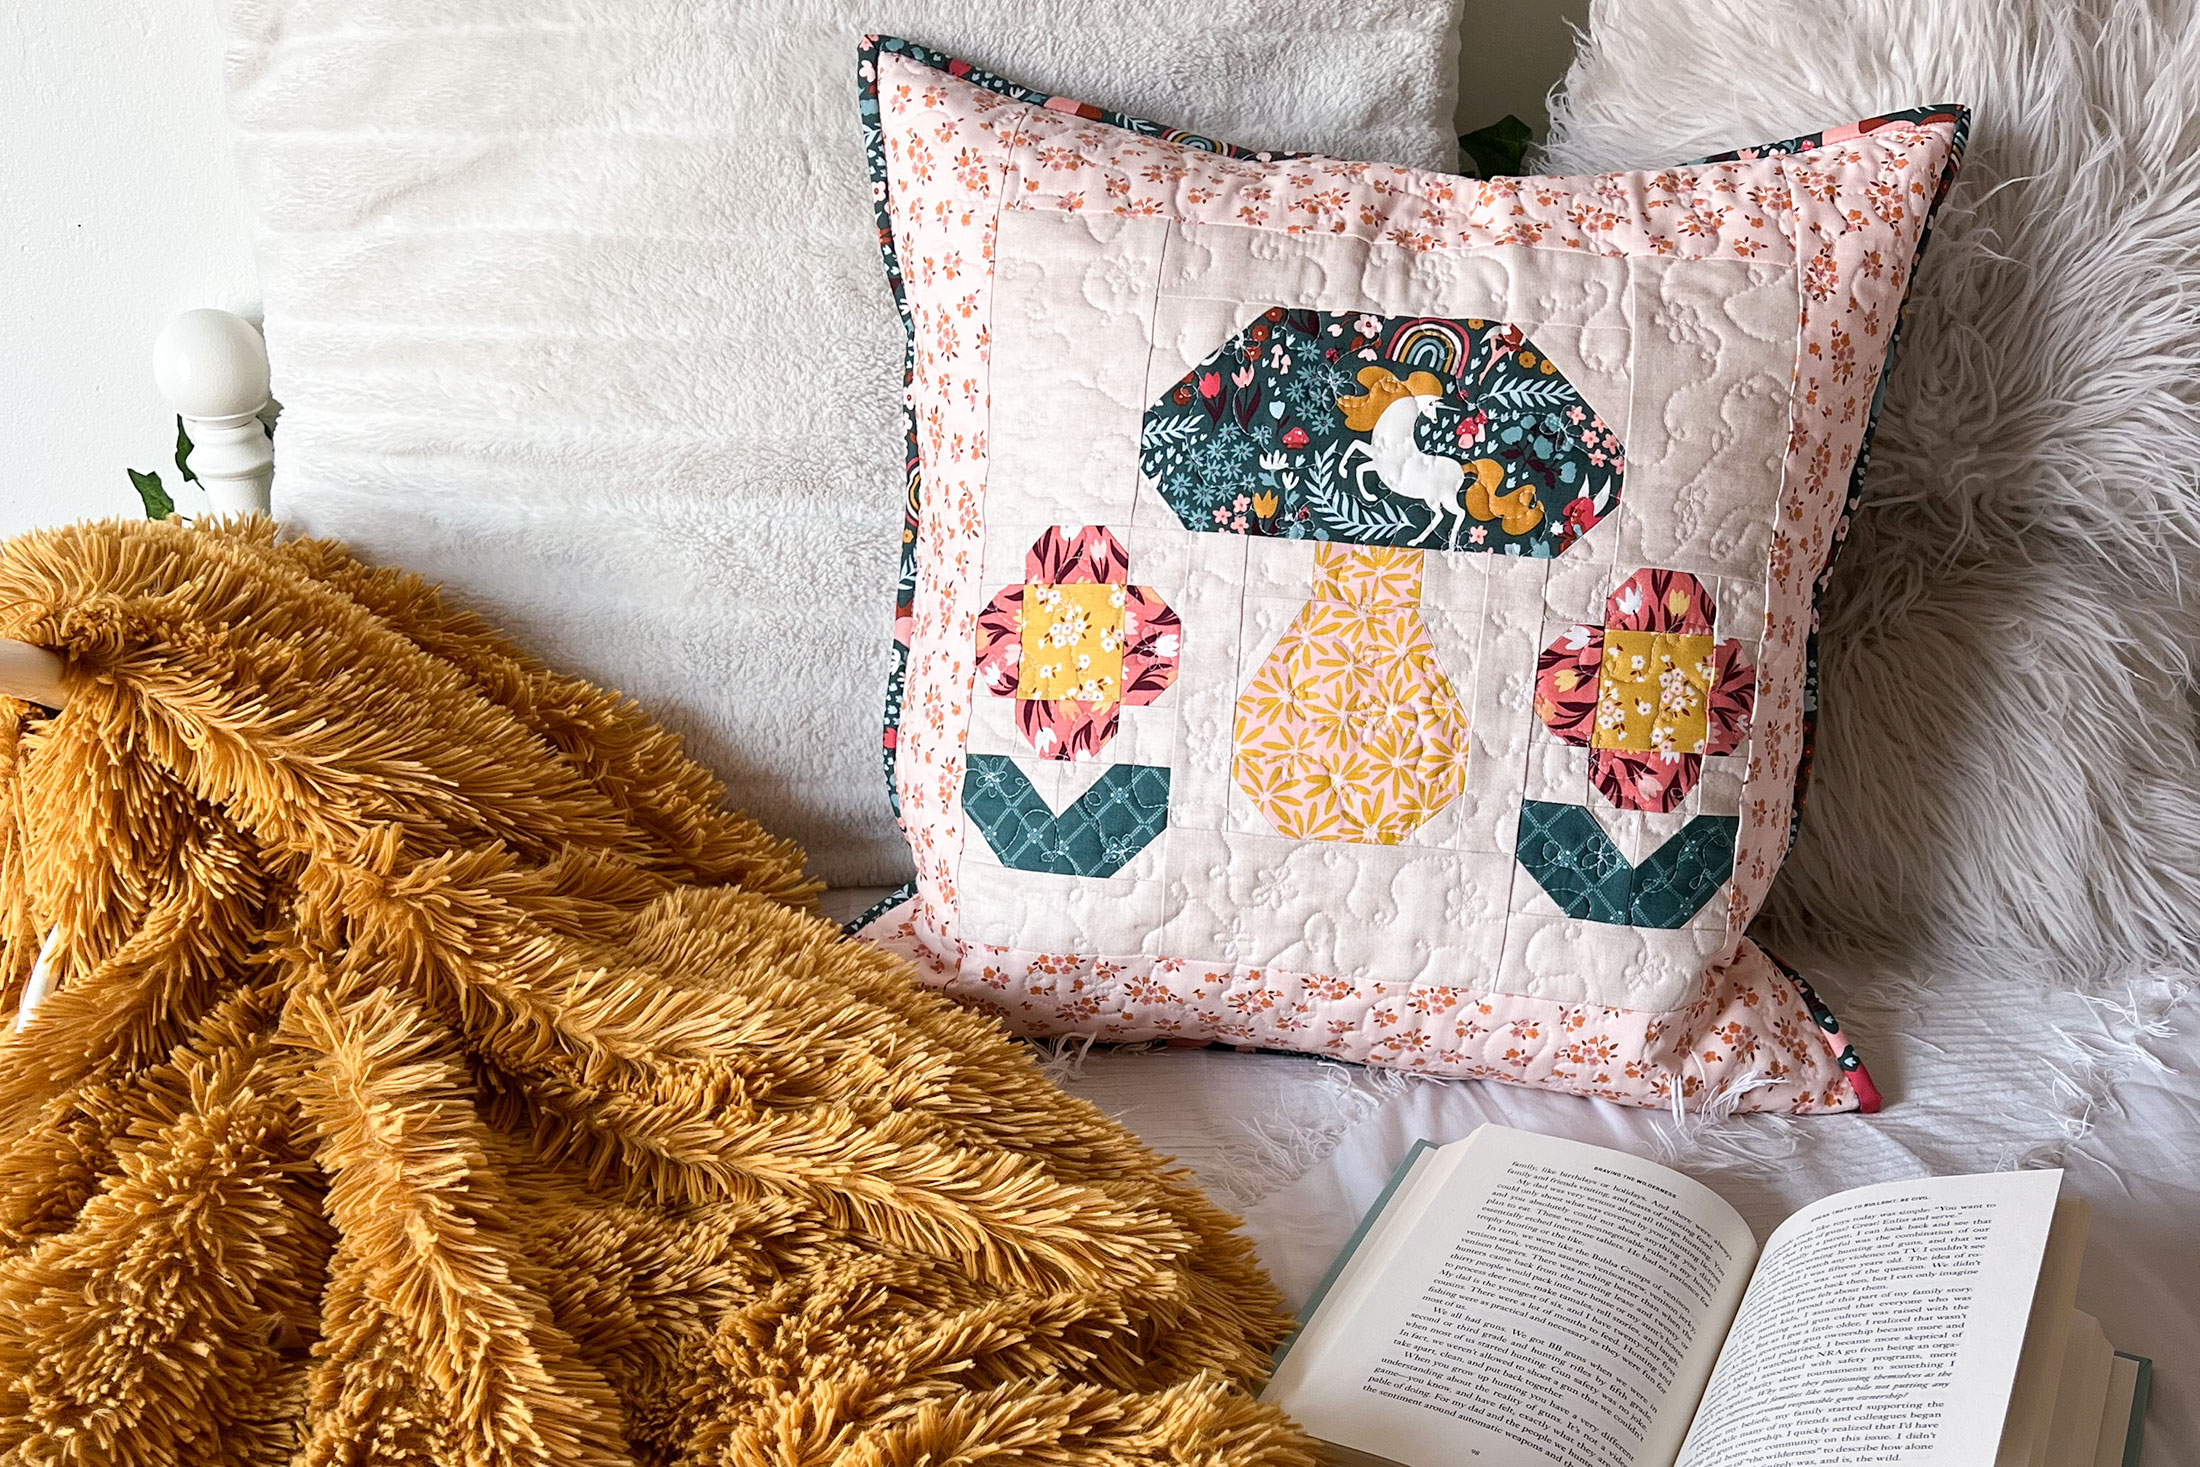
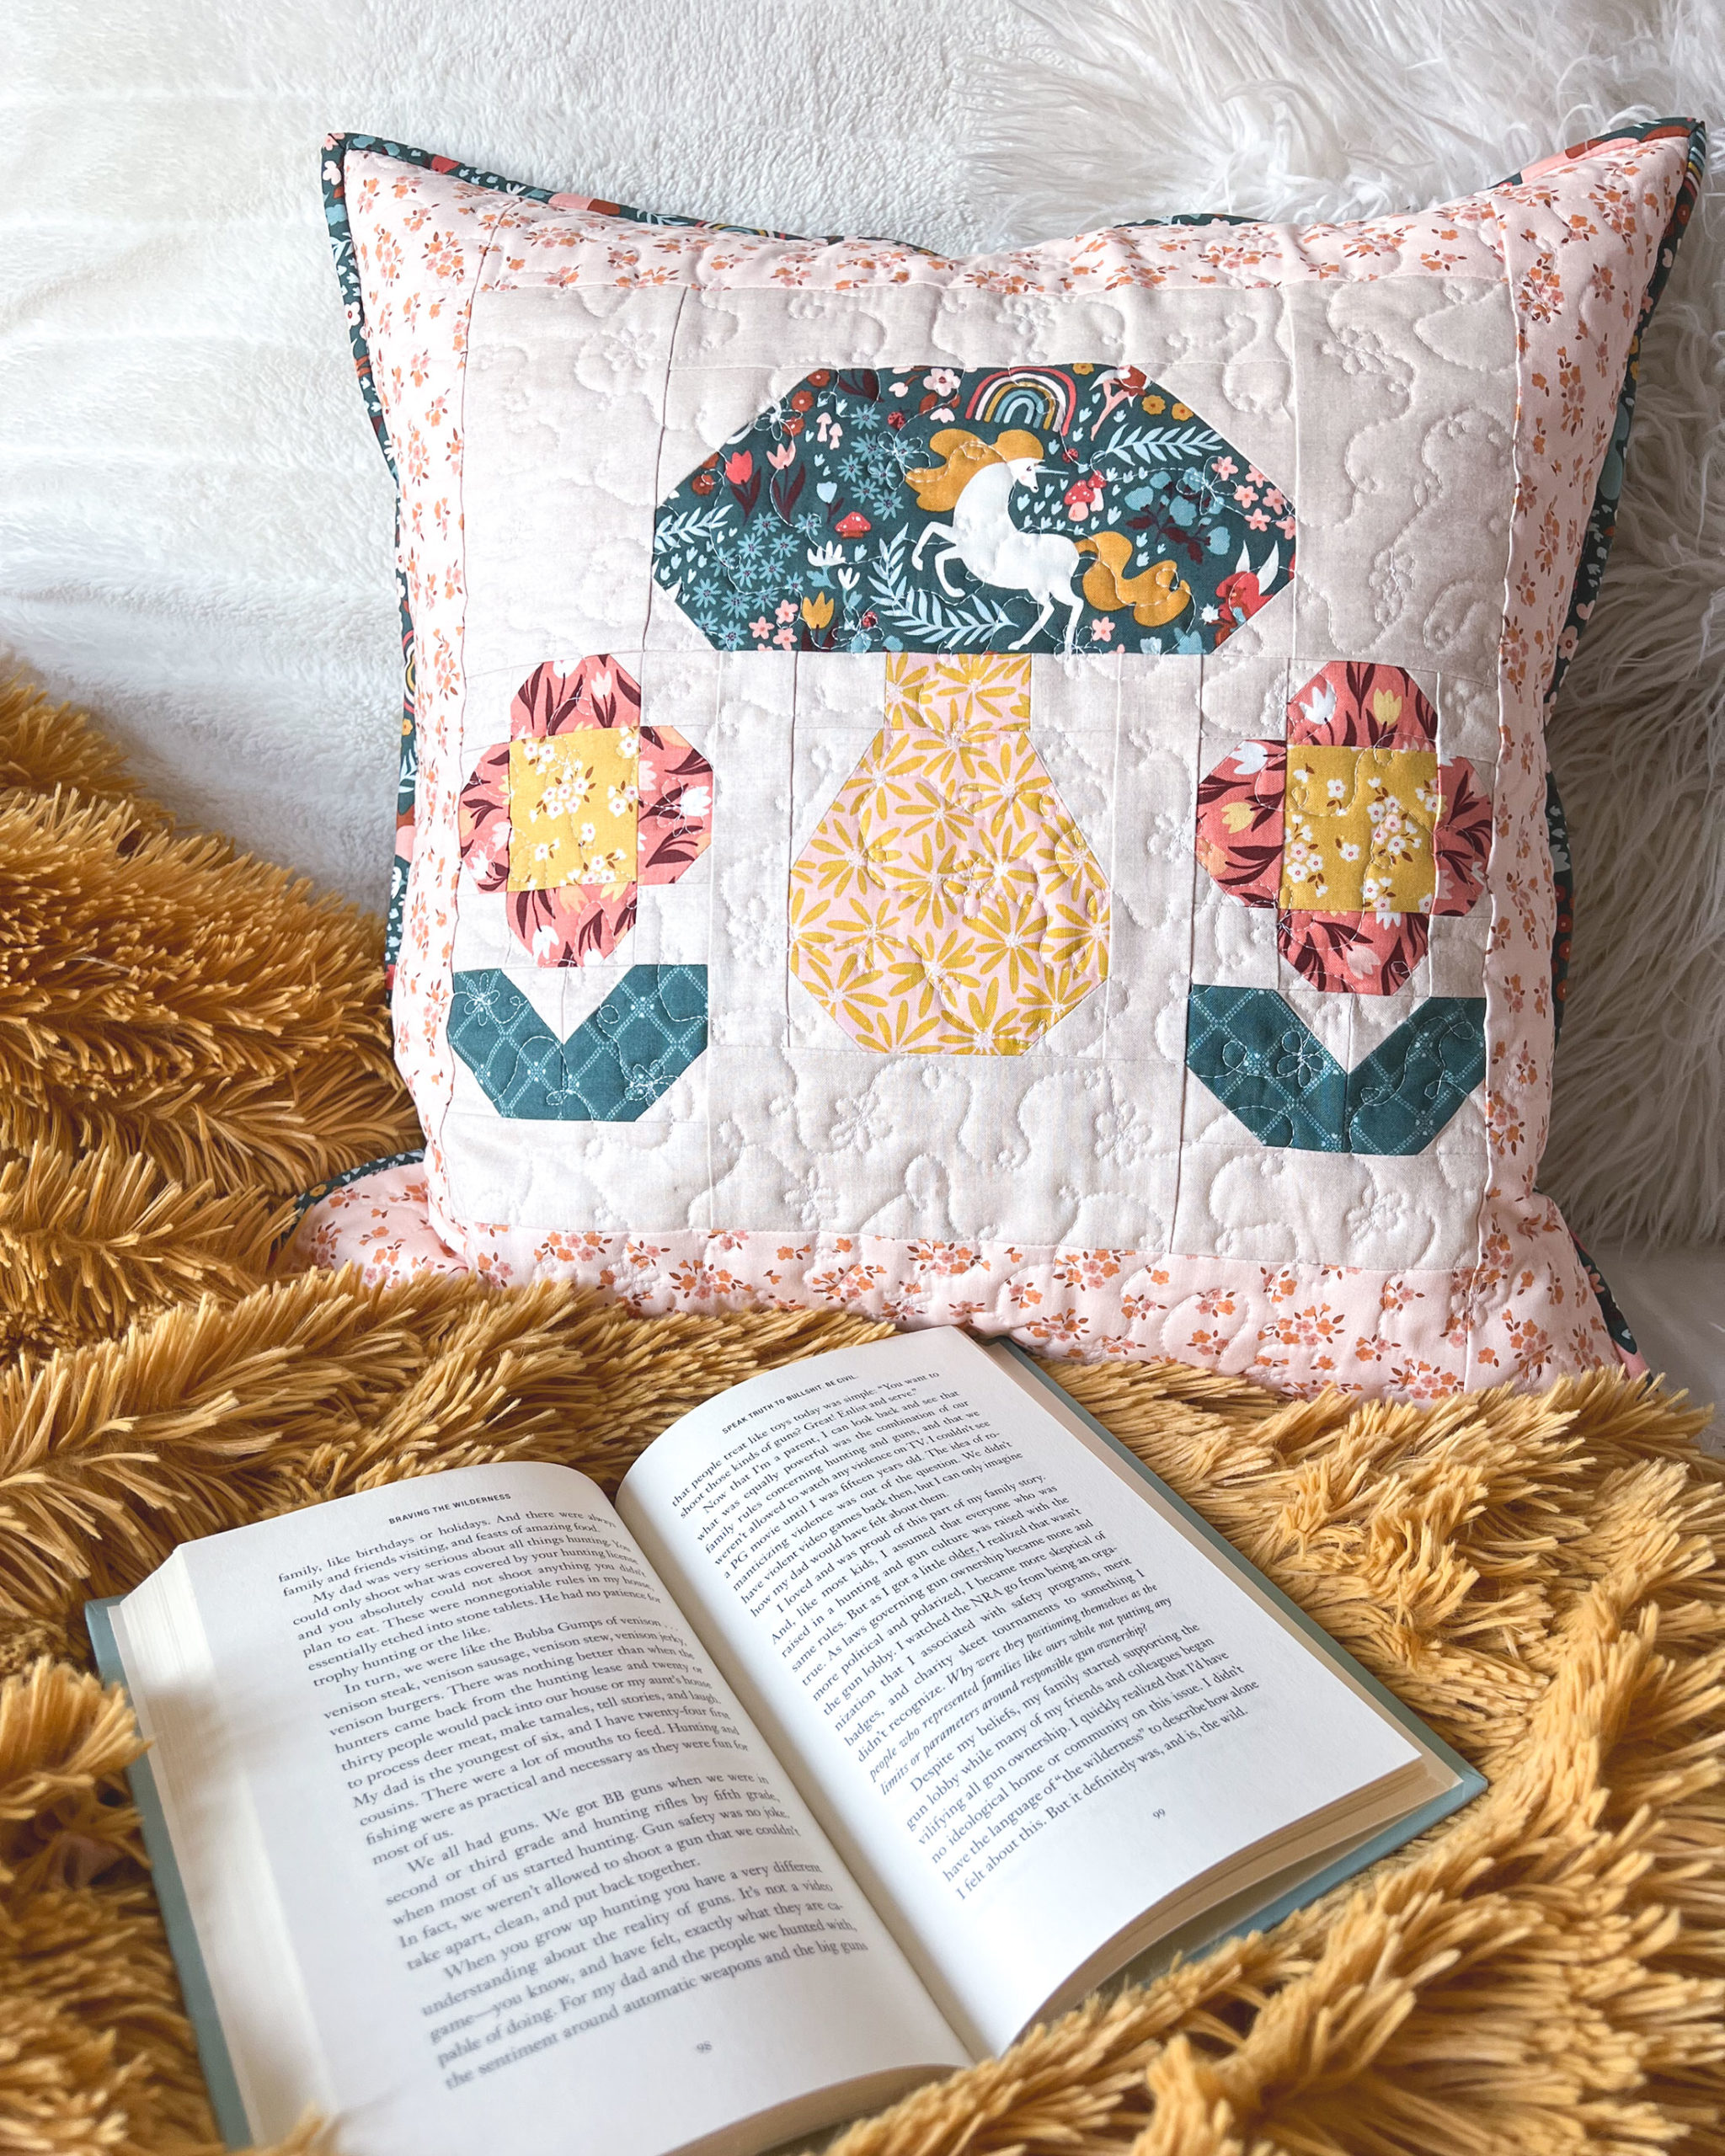
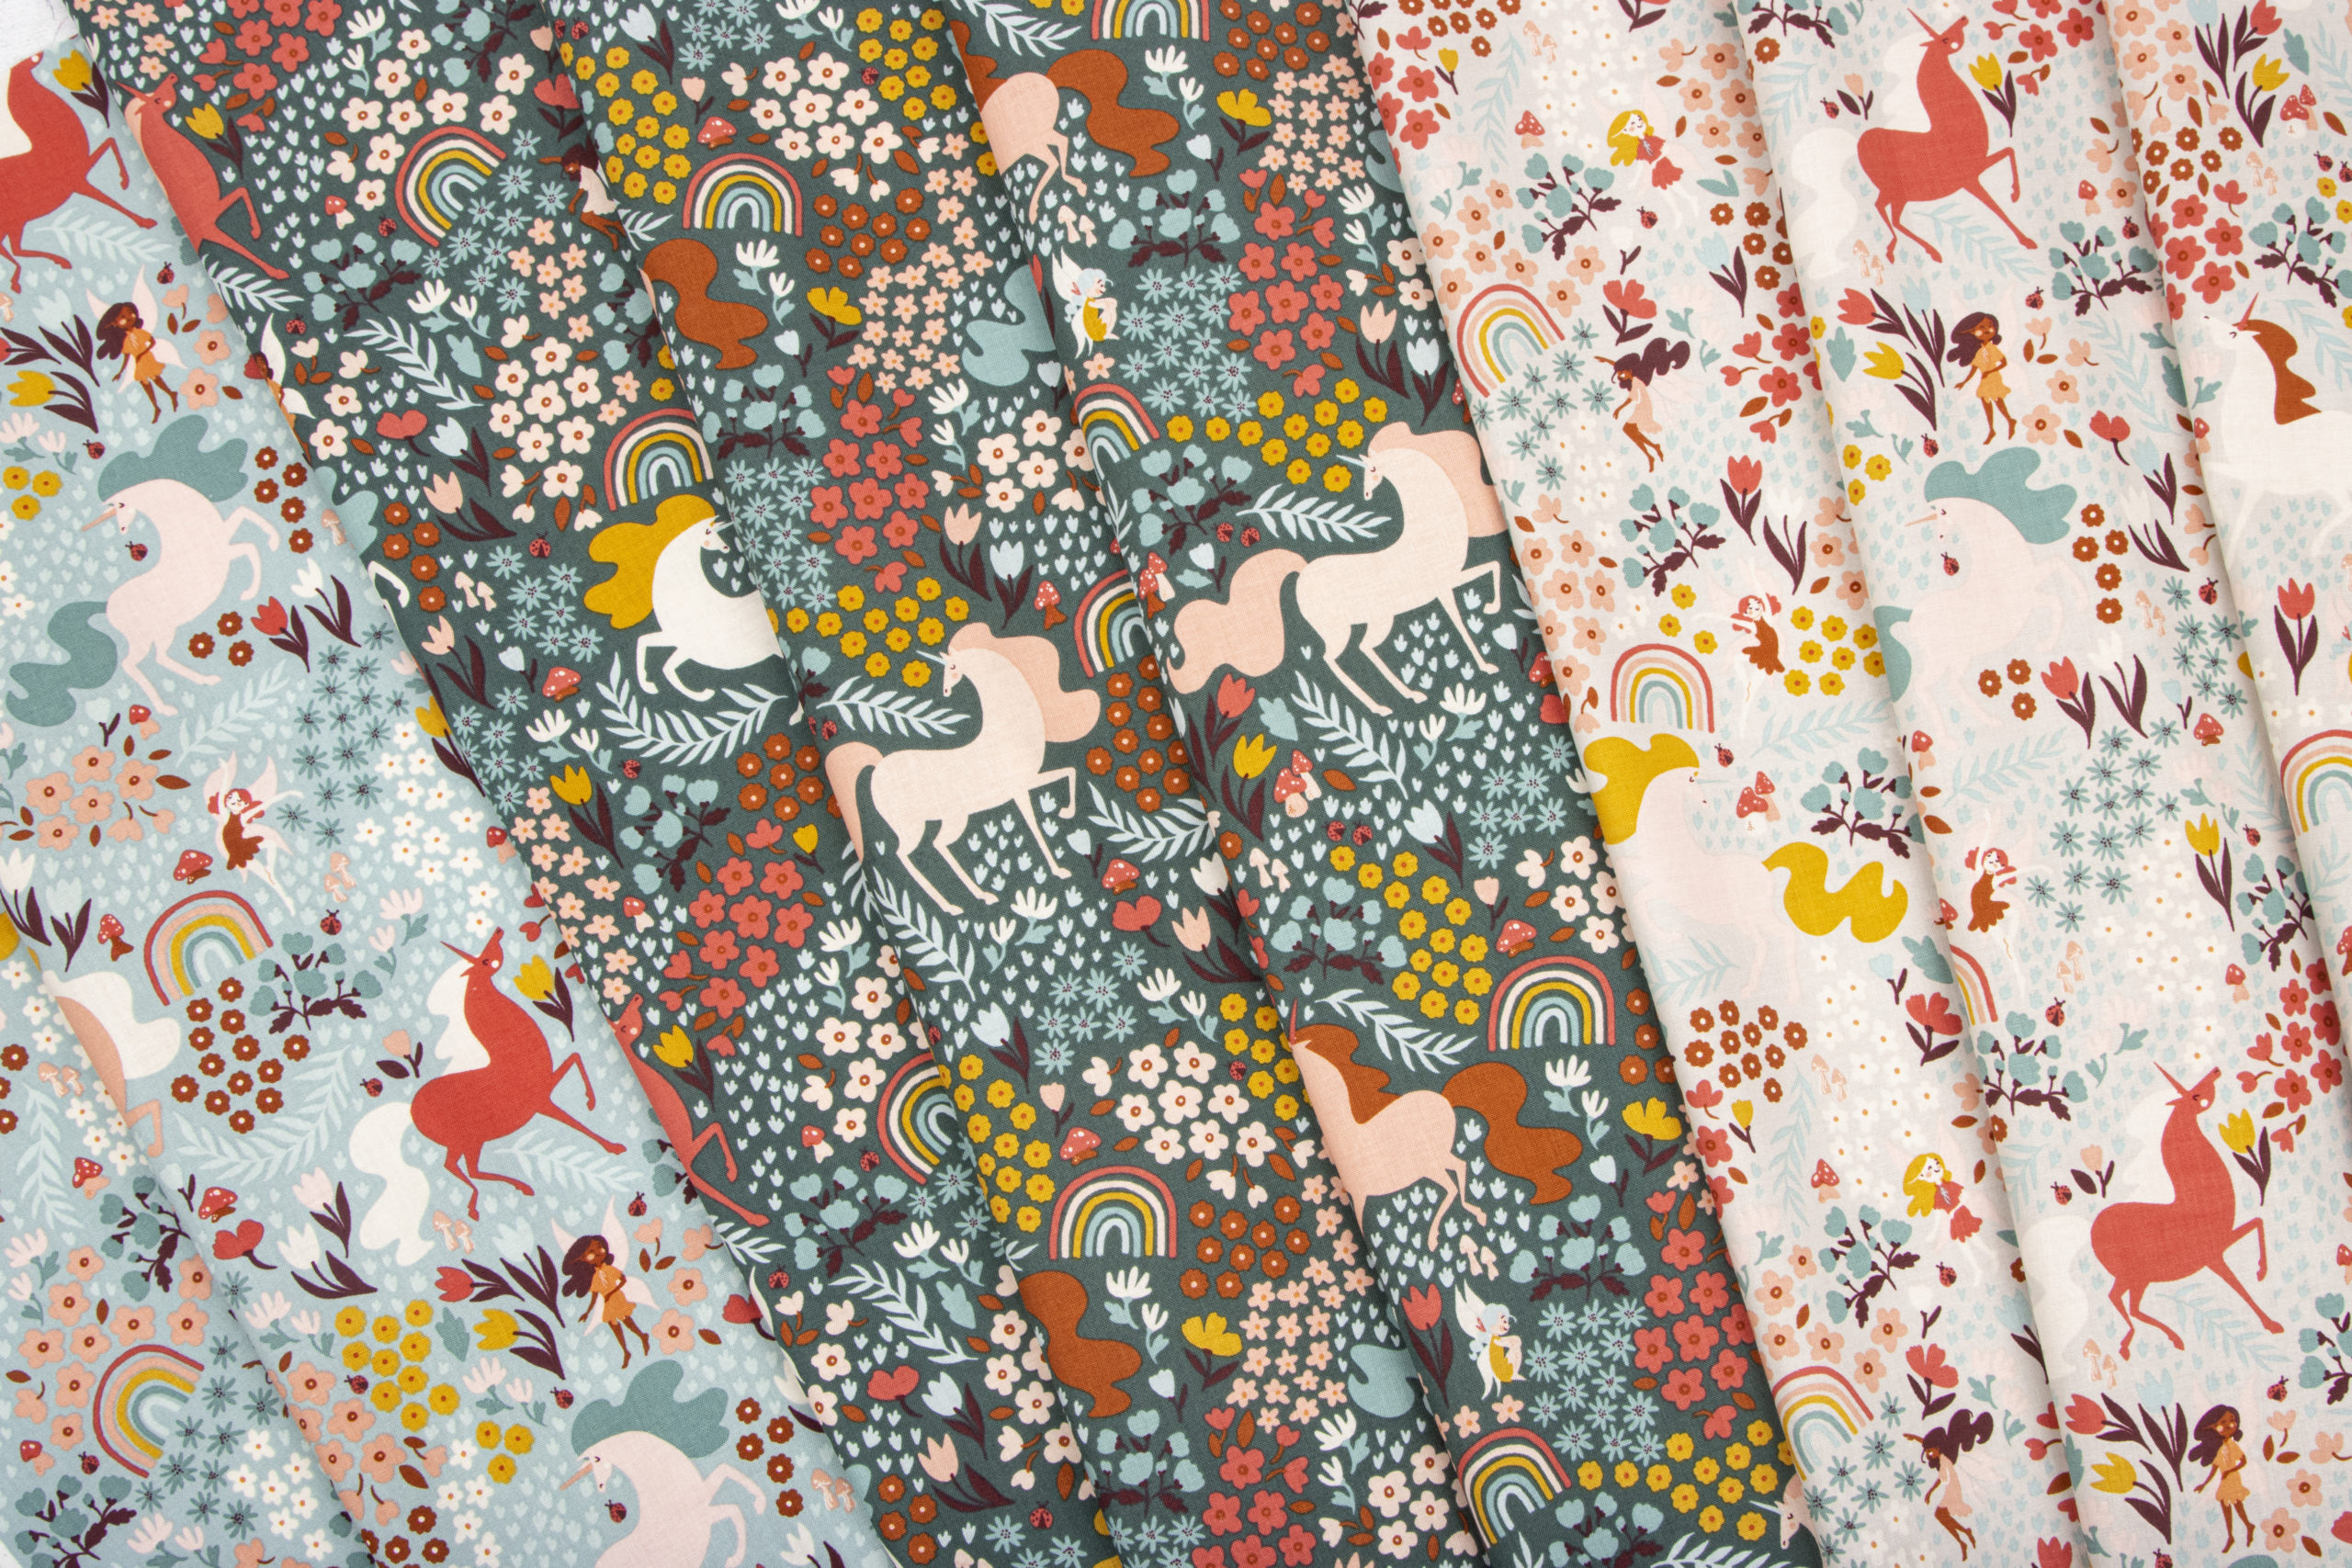
Turn orphan blocks into a beautiful pillow with this super easy hidden zipper pillow back tutorial. This darling mushroom and flower block is from a pattern I am testing, and I couldn’t resist making it up with these darling Fairy Dust fabrics. There are such great colors in this line, and the main print is absolutely gorgeous with unicorn, fairies, rainbows, mushrooms and flowers. Couldn’t be more perfect for this block.
If want to be one of the first to know when this new pattern is available, you can sign up for my newsletter here and get a free needle book pattern as a thank you.
Turn an orphan block into a pillow front
Add borders to your block to get it to your desired pillow size. I like to make it exactly the same size as the pillow form so that it’s a little fuller inside. If desired, add batting and a muslin or fabric backing and quilt the pillow front. Now we’re ready to make our pillow back.
Why use a zipper in your pillow back?
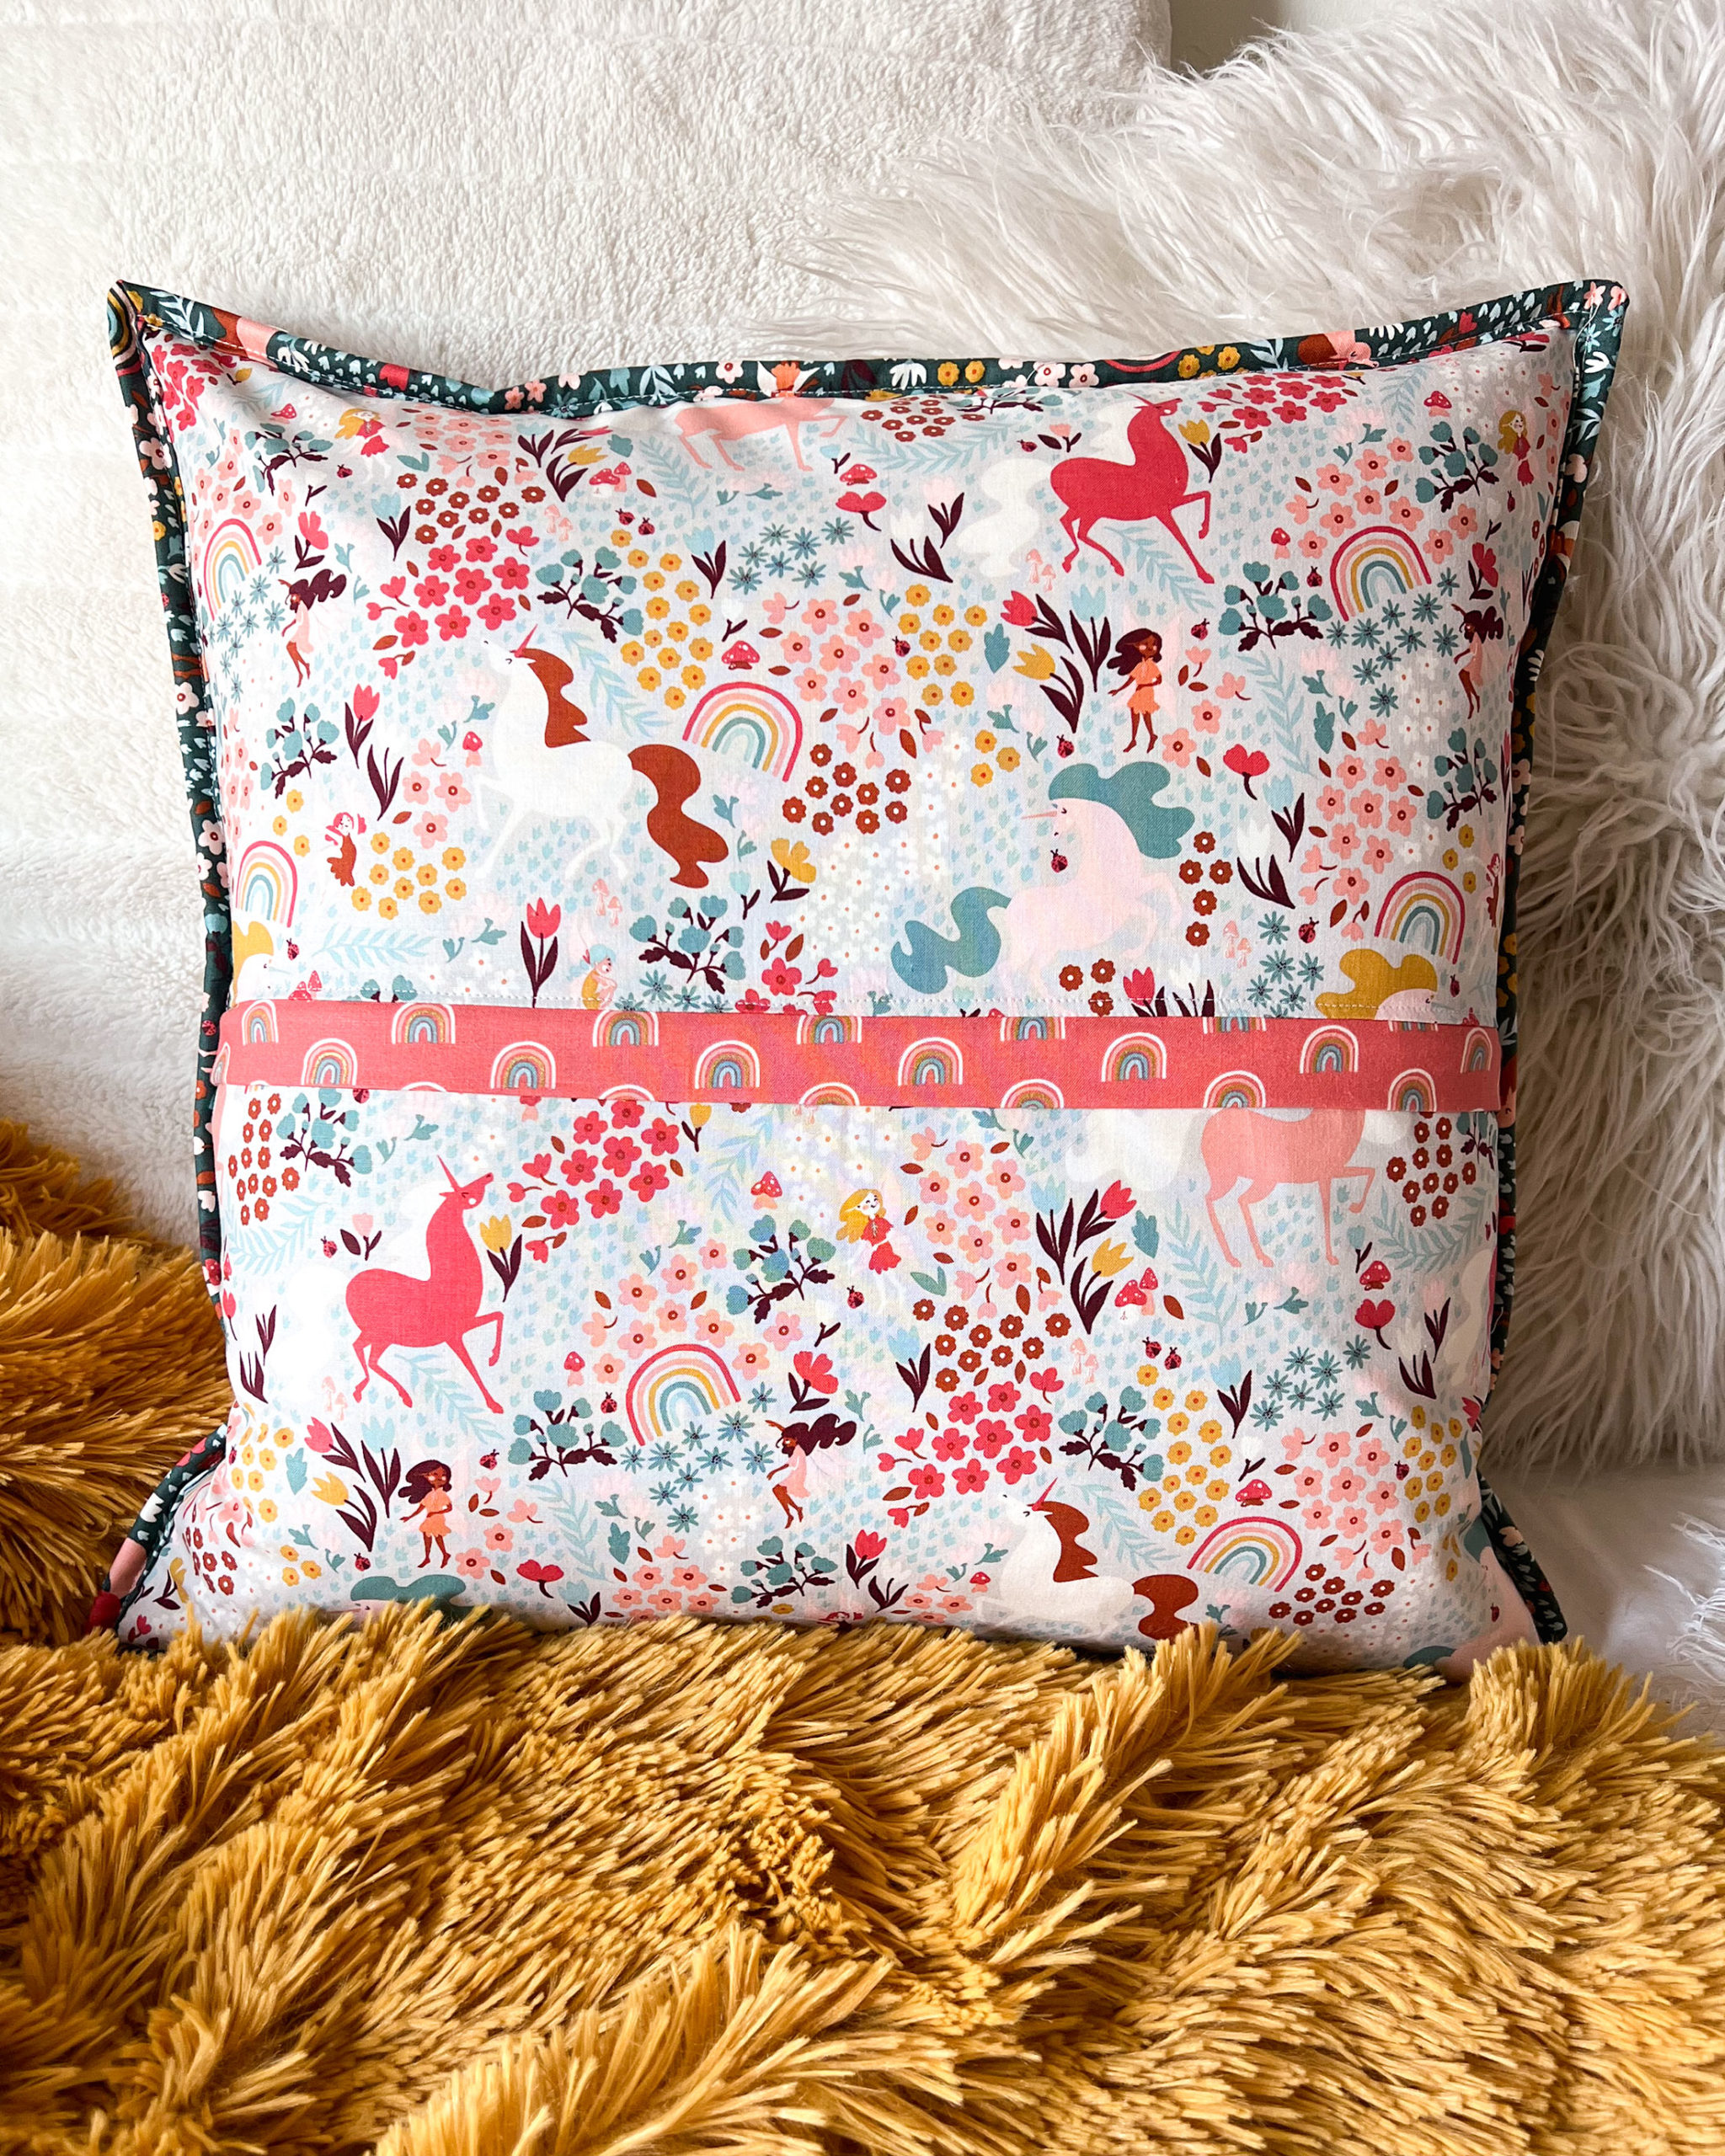
I love using zippers for my pillows because overstuffing a pillow gives you a nice cozy and fluffy pillow. This quick and easy tutorial makes adding a zipper simple and straightforward. Adding a flap to hide the zipper keeps the zipper pull and teeth hidden and creates a nice finish for your pillow back. If you are a more visual learner, I do have a video tutorial for how I add a hidden zipper to a pillow back on my YouTube channel here.
Hidden Zipper Pillow Back Tutorial
Cutting Fabric for the Pillow Back
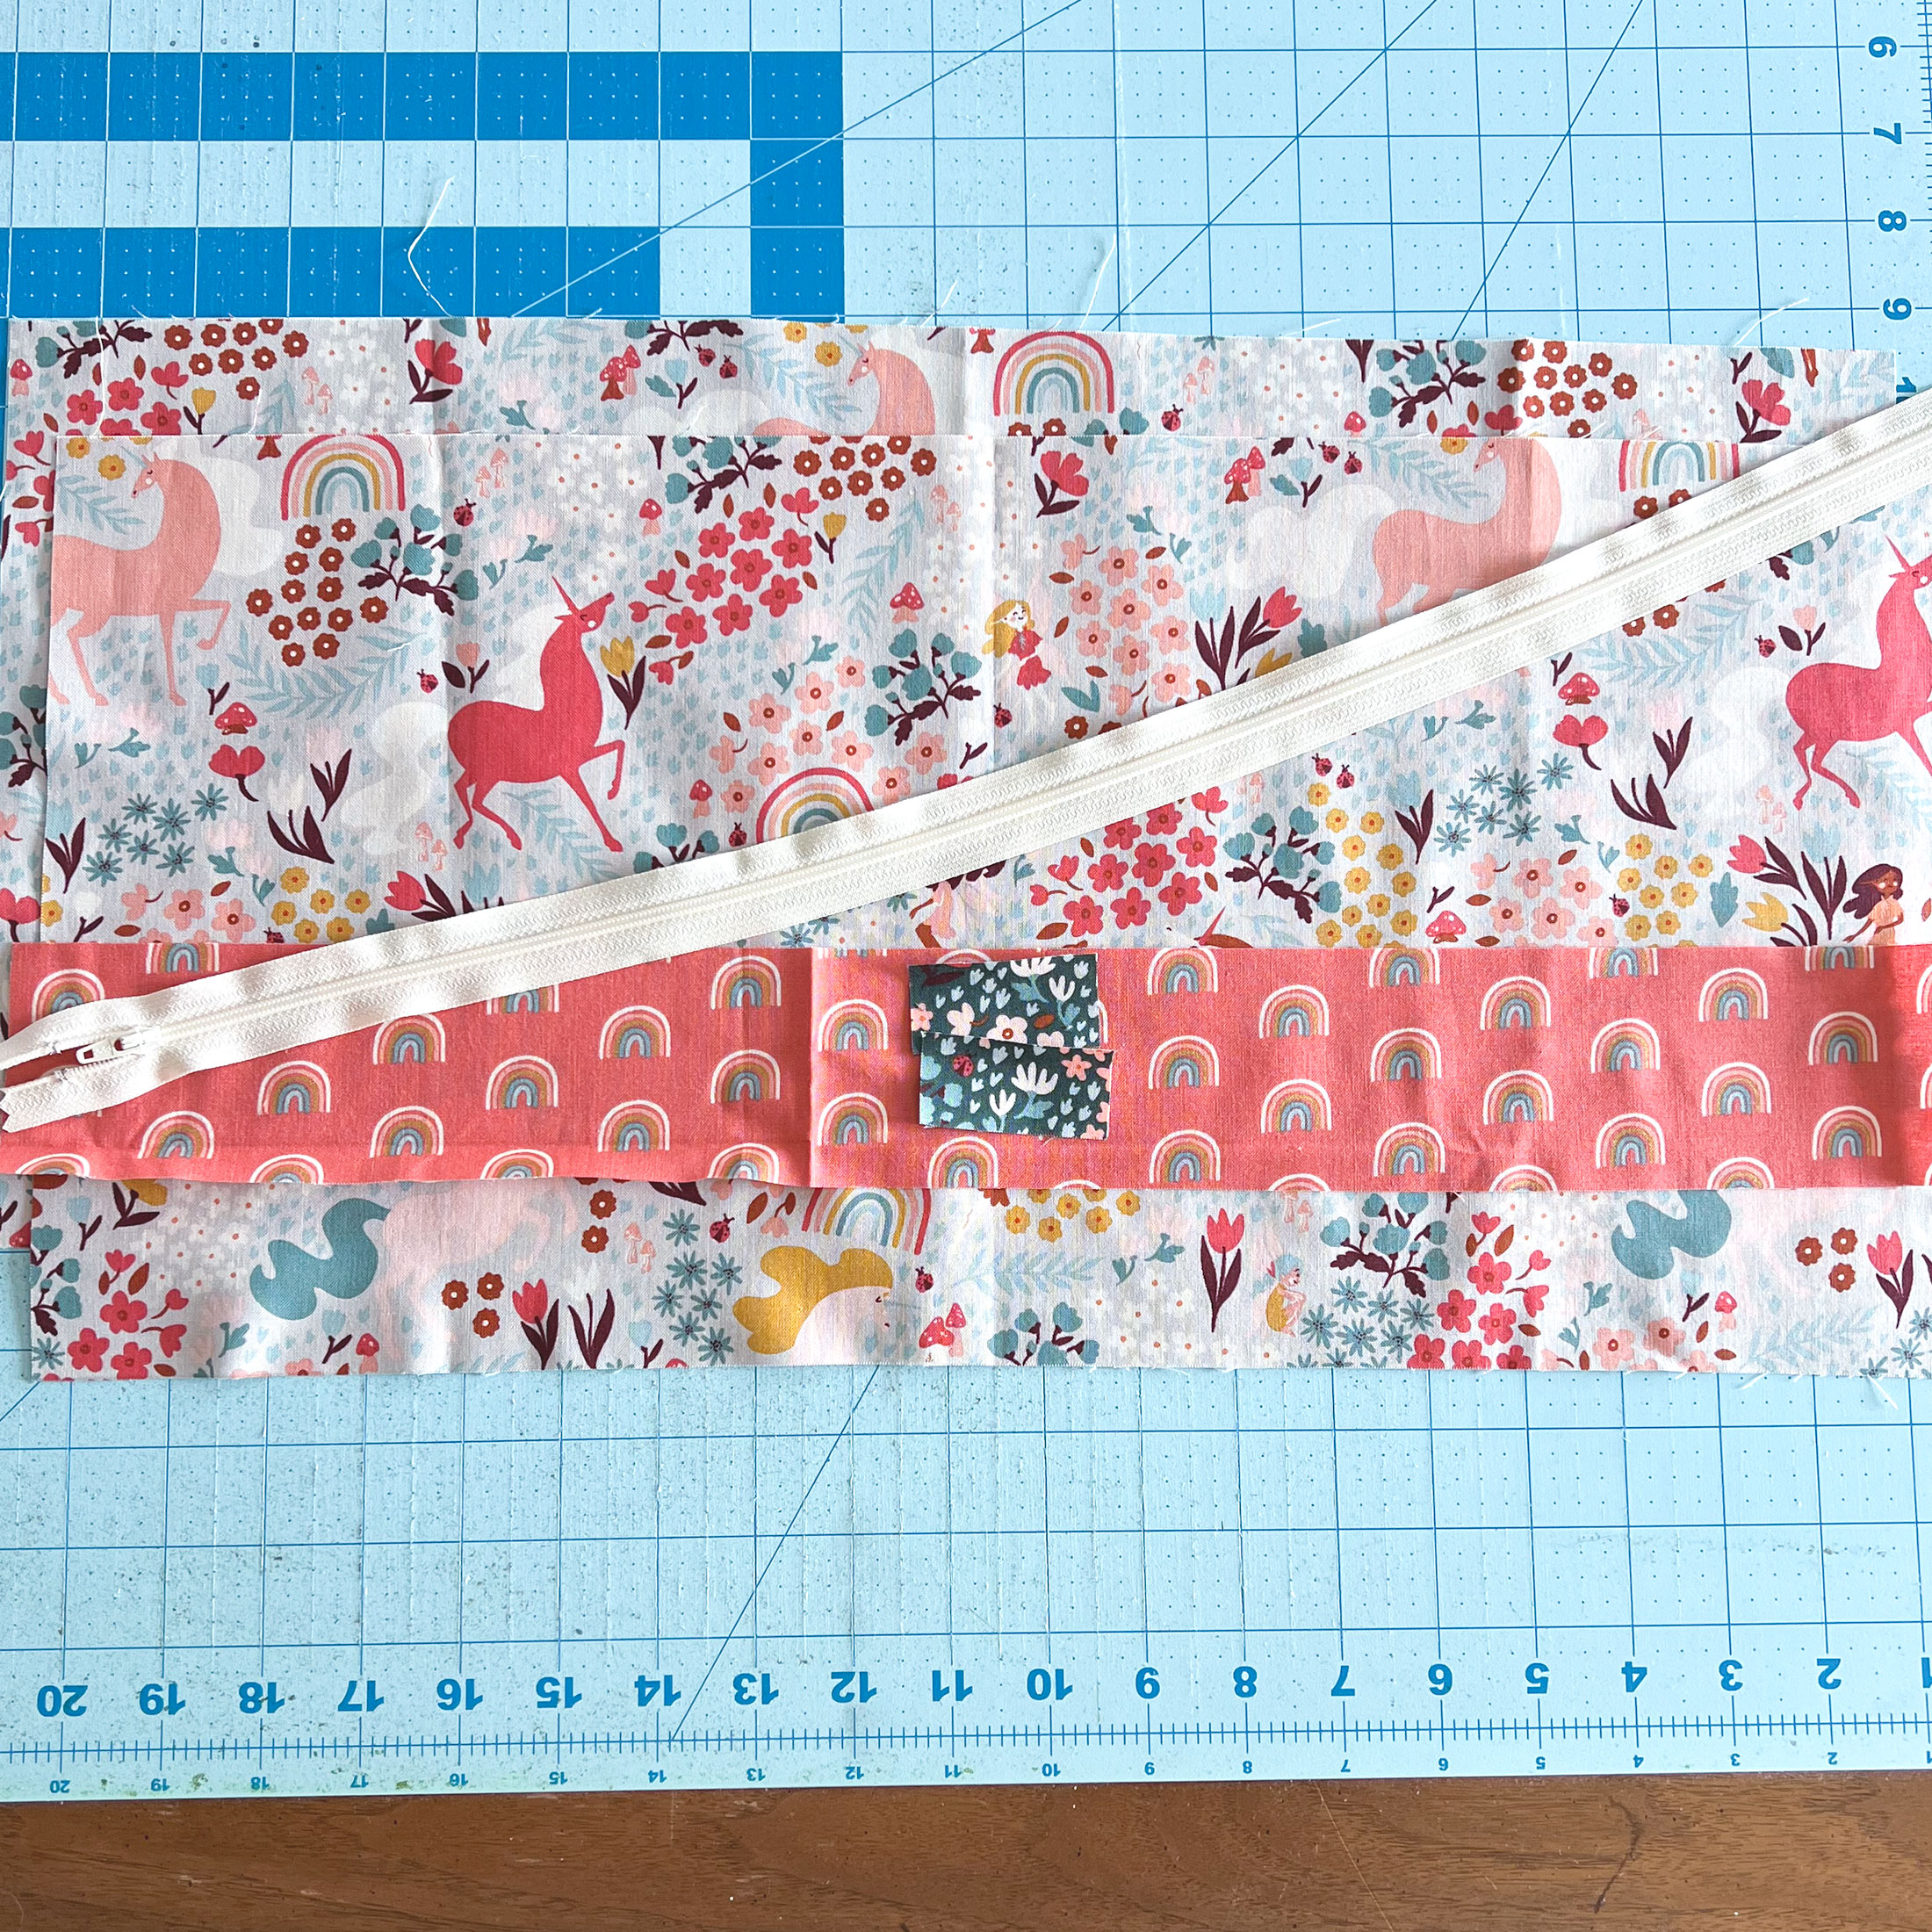
Begin by cutting your pillow back to the same size as your pillow front. Decide where you want the zipper to be and cut a horizontal line at that spot. I usually prefer to put it at the center of the back, or just an inch or two above or below center.
Cut a strip of accent fabric 2 1/2″ high by the width of the pillow.
Last, cut 2 pieces of fabric 1″ high by 2″ wide.
In addition to the fabric you will need a zipper that is at least the width of the pillow – 2″. (for example, if your pillow is 20″ wide, you will need at least an 18″ zipper)
Adding Tabs to the zipper
First Tab 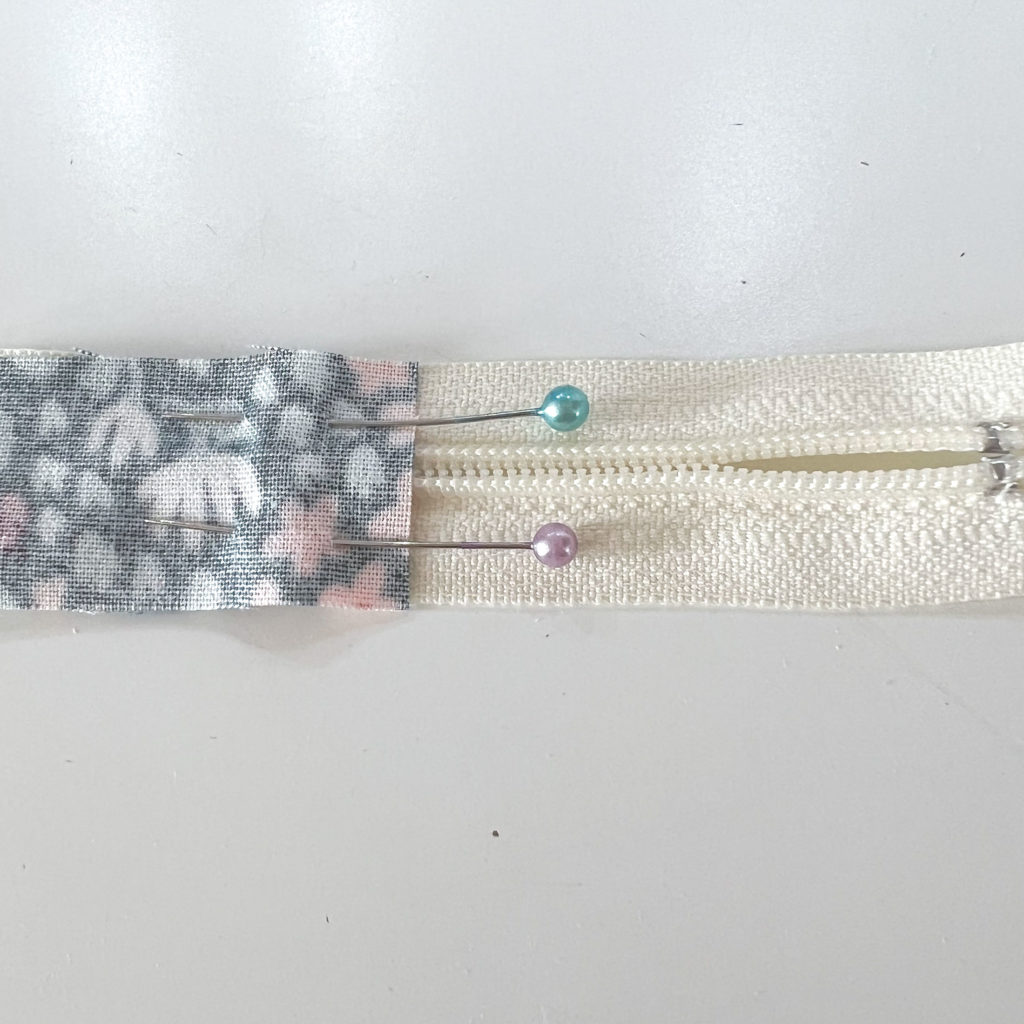
Second Tab
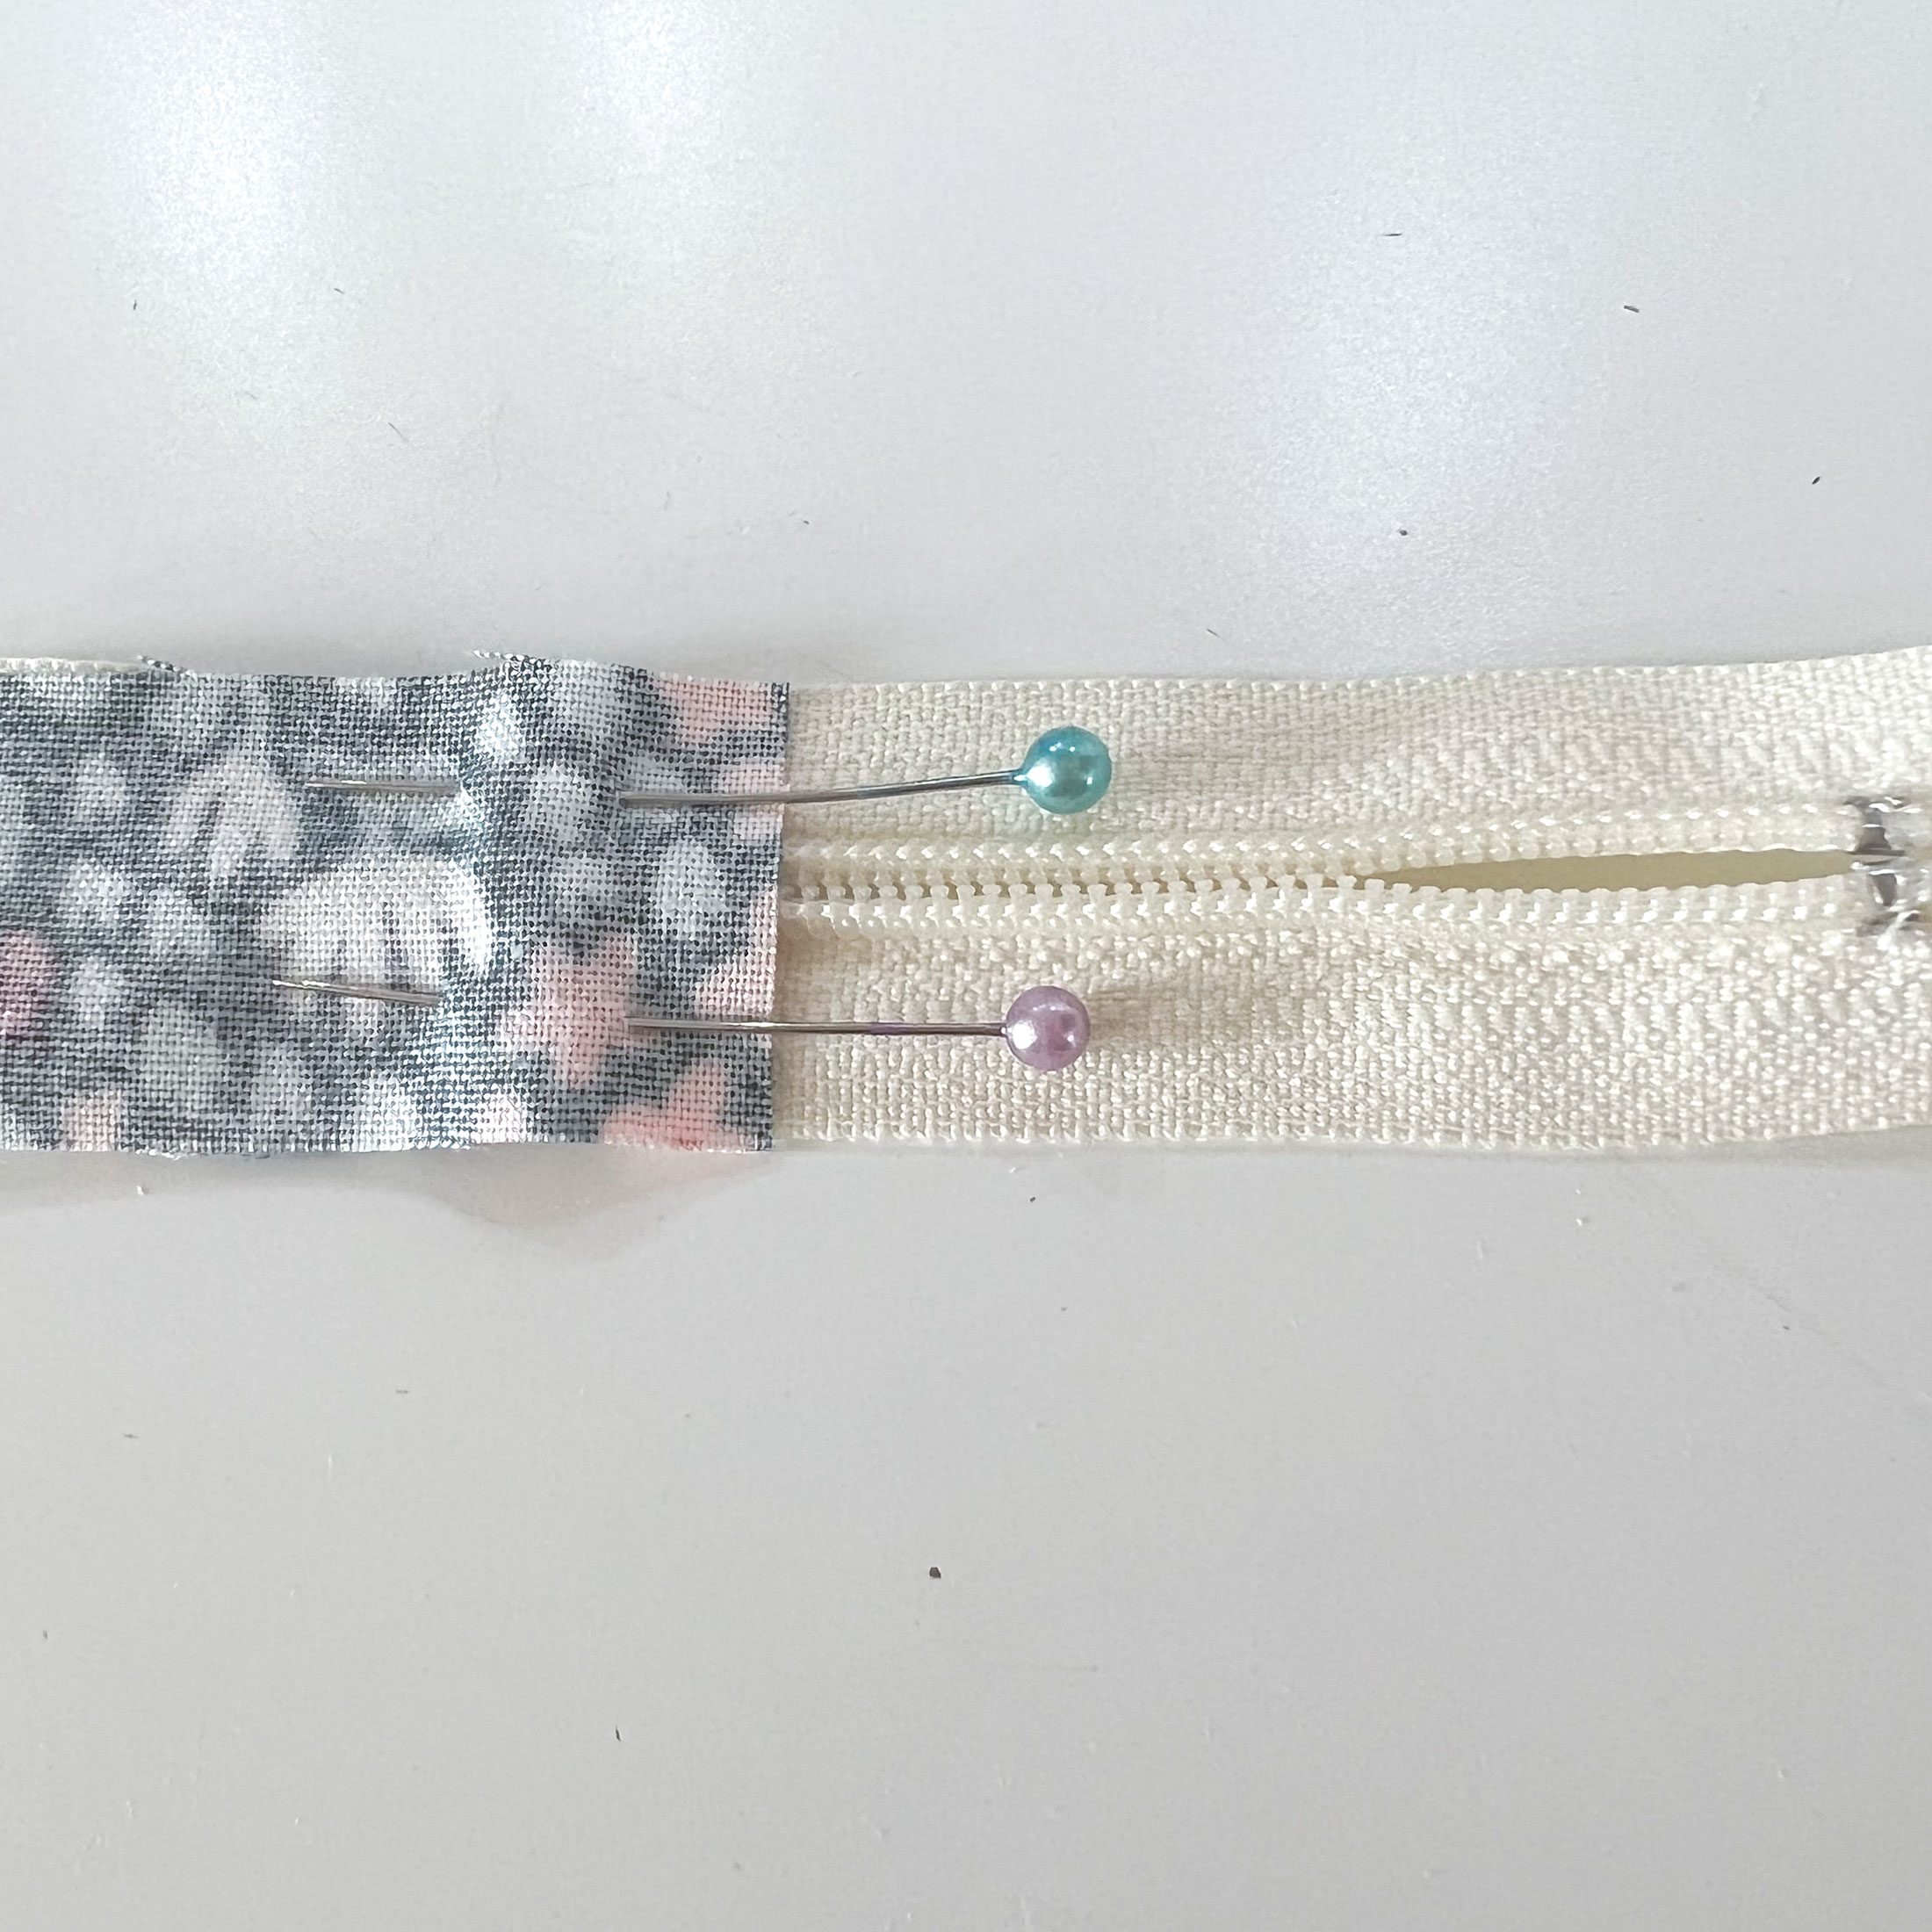
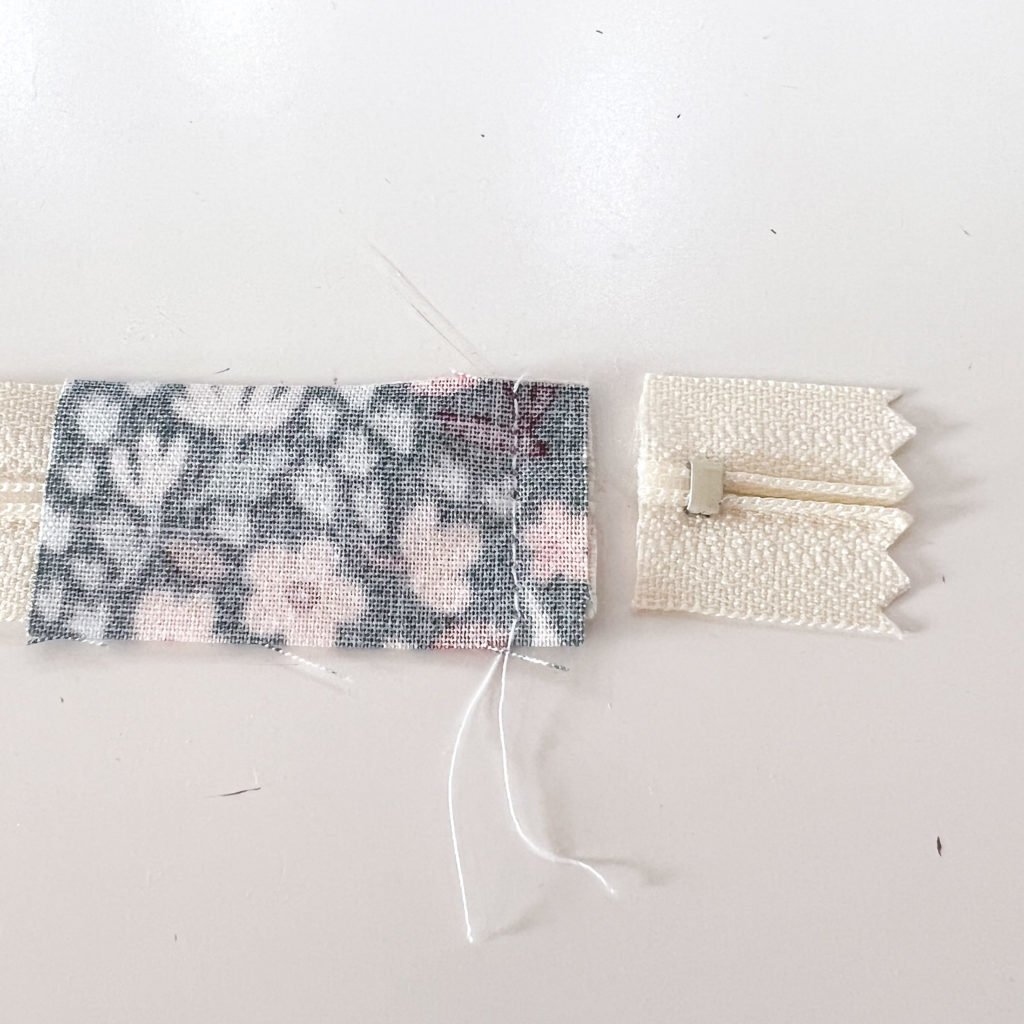
- Take one fabric tab and position it just to the side of the metal tab at the end of the zipper.
- Sew it down using a 1/4″ seam allowance. Back stitch when sewing across the zipper teeth.
- Cut off the metal tab and end of zipper tape.
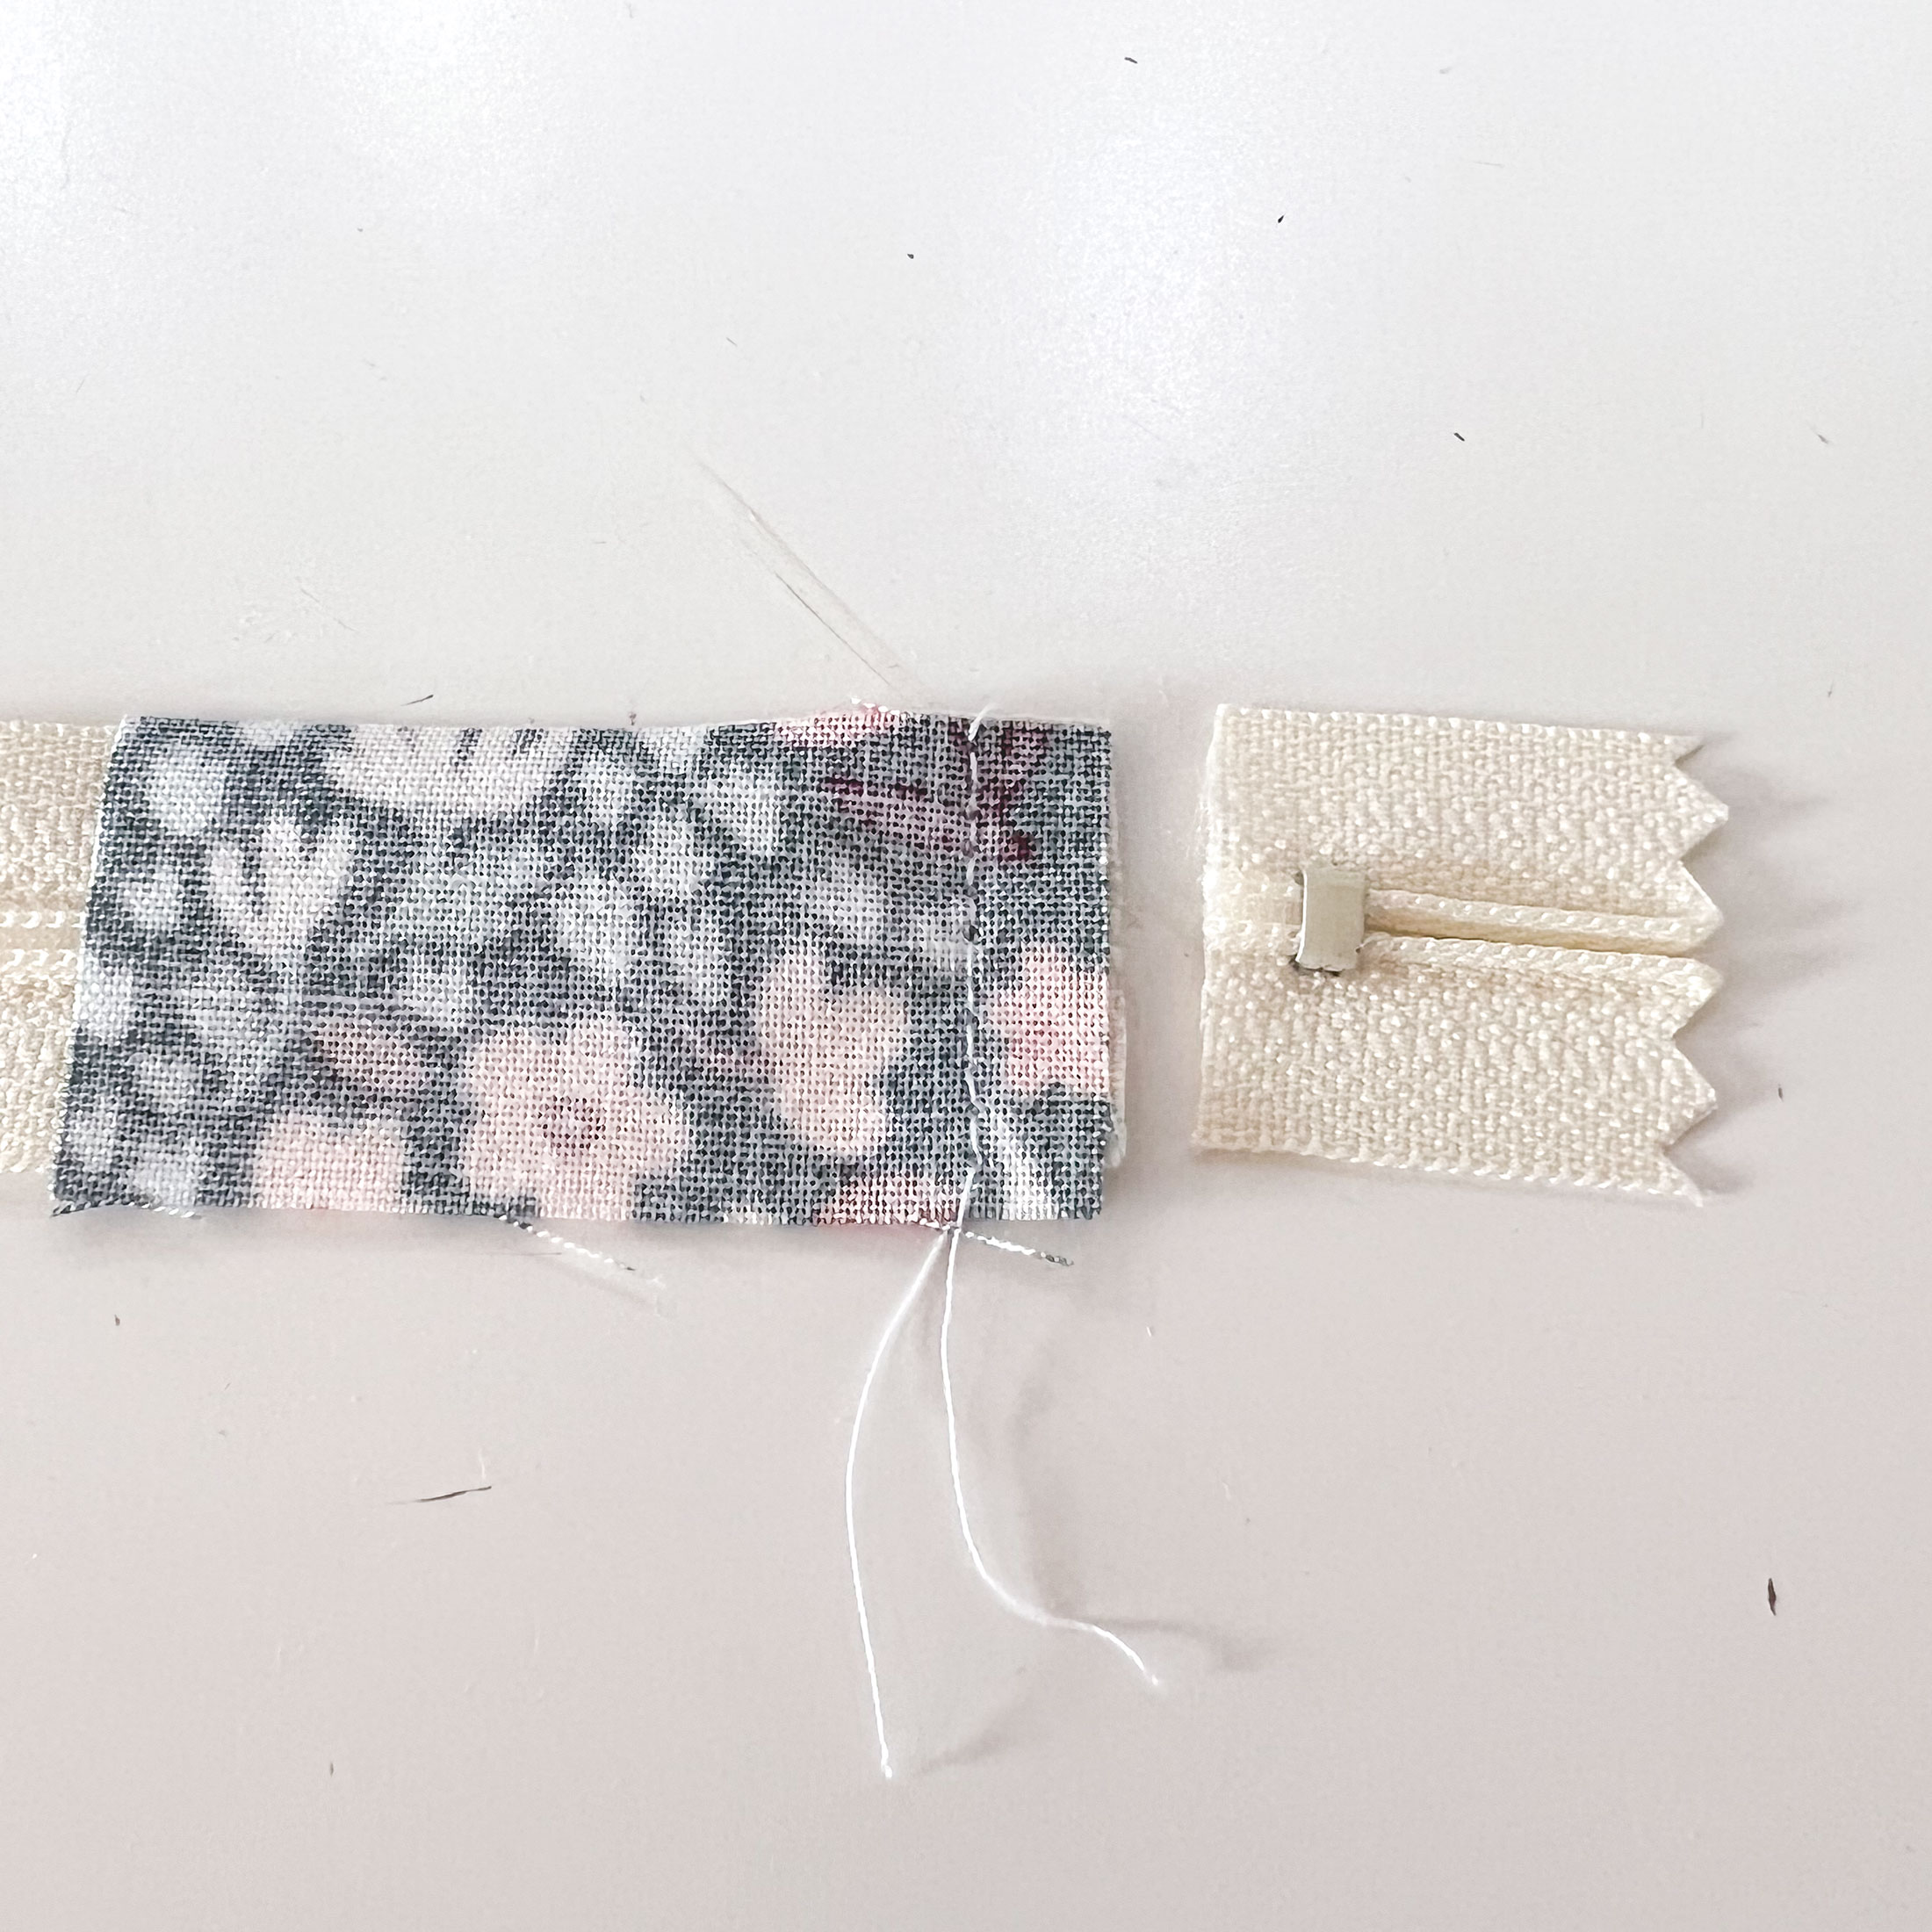
- Press fabric tab away from the zipper tape and top stitch.
- Open the free end of the zipper tape.
- Measure from the first tab Width of Pillow-5″ (for example if the pillow is 20″ wide, measure 15″ from the first tab)
- Place the second fabric tab at this point, with the end of the fabric extending toward the end of the zipper tape. Line up the two free ends of the zipper tape so they are in line with the fabric tab.
- Sew across the end of the fabric tab that is closest to the end of the zipper tape using a 1/4″ seam allowance. Back stitch across the zipper teeth again.
- Trim any excess zipper tape.
- Press fabric away from the zipper and top stitch.
Insert zipper into Pillow Back
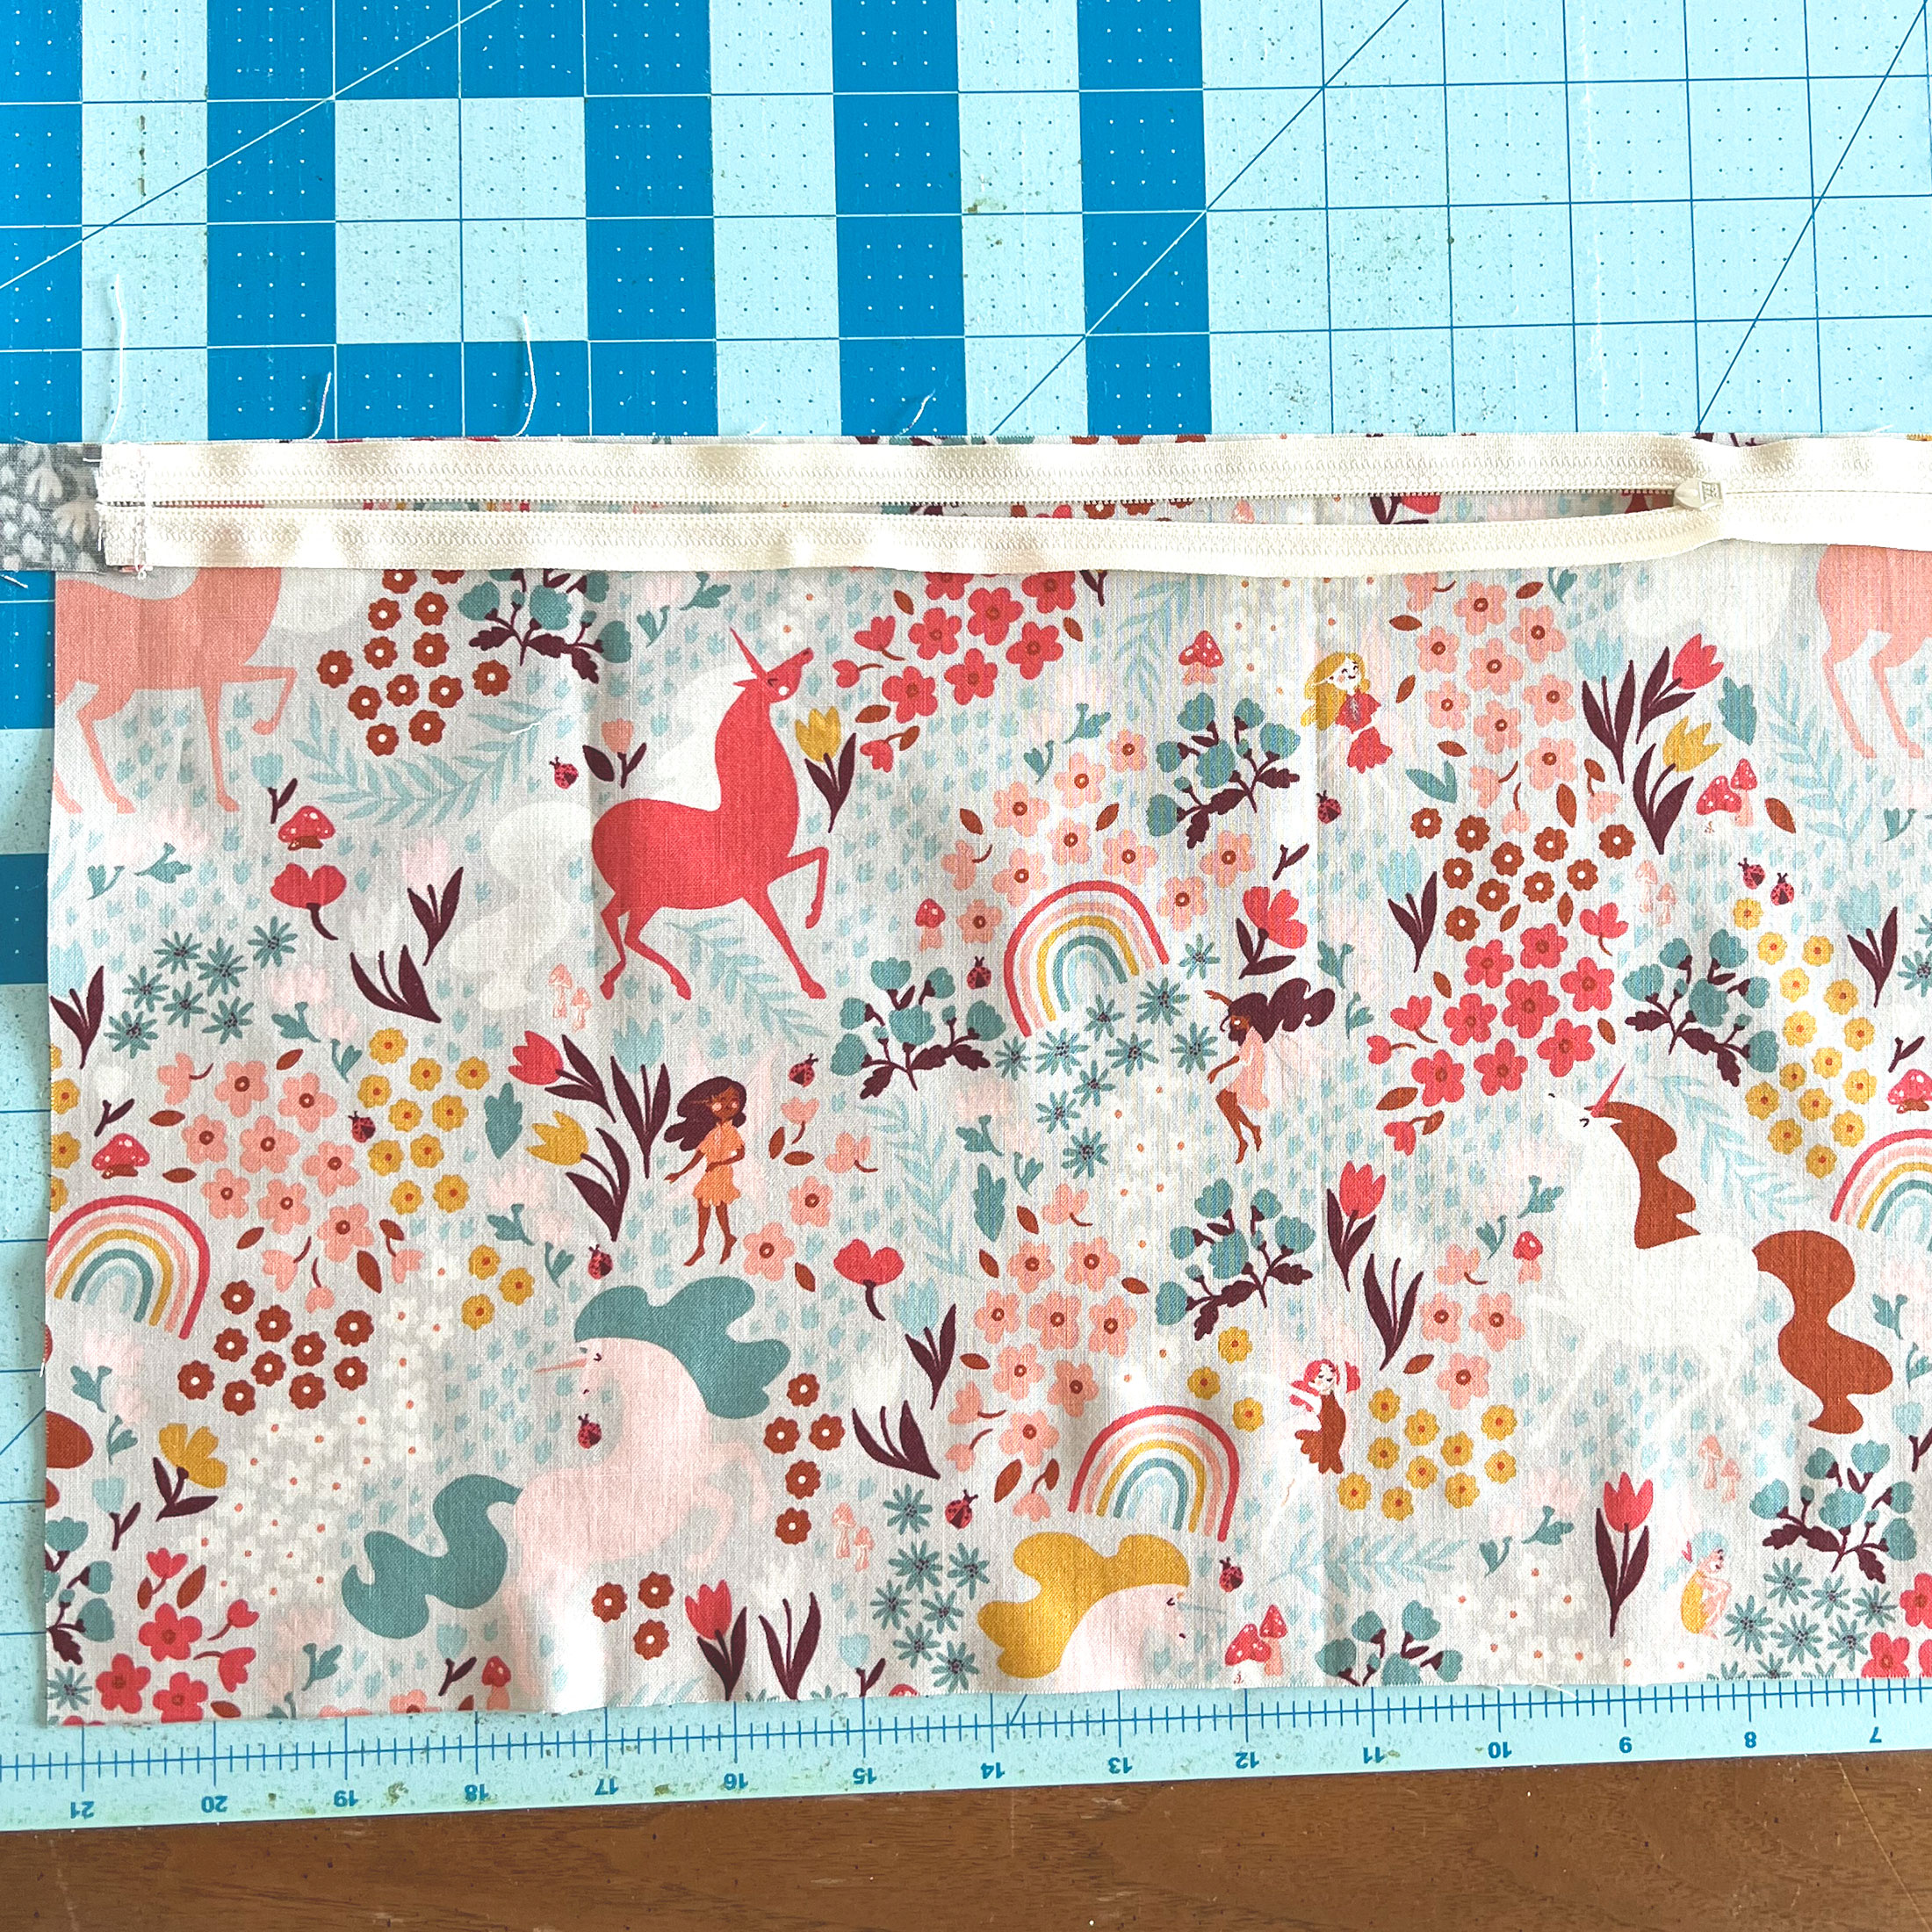
- Place the bottom of the pillow back right side up.
- Put the zipper right side down and line up the bottom of the zipper with the top of the pillow back piece.
- Sew across the zipper using a 1/4″ seam allowance. You may wish to use a zipper foot for this. When you come to the zipper pull, leave the needle in the down position, lift up the presser foot and slide the zipper pull out of the way.
- Press the bottom of the pillow back away from the zipper.
- Top stitch across the seam.
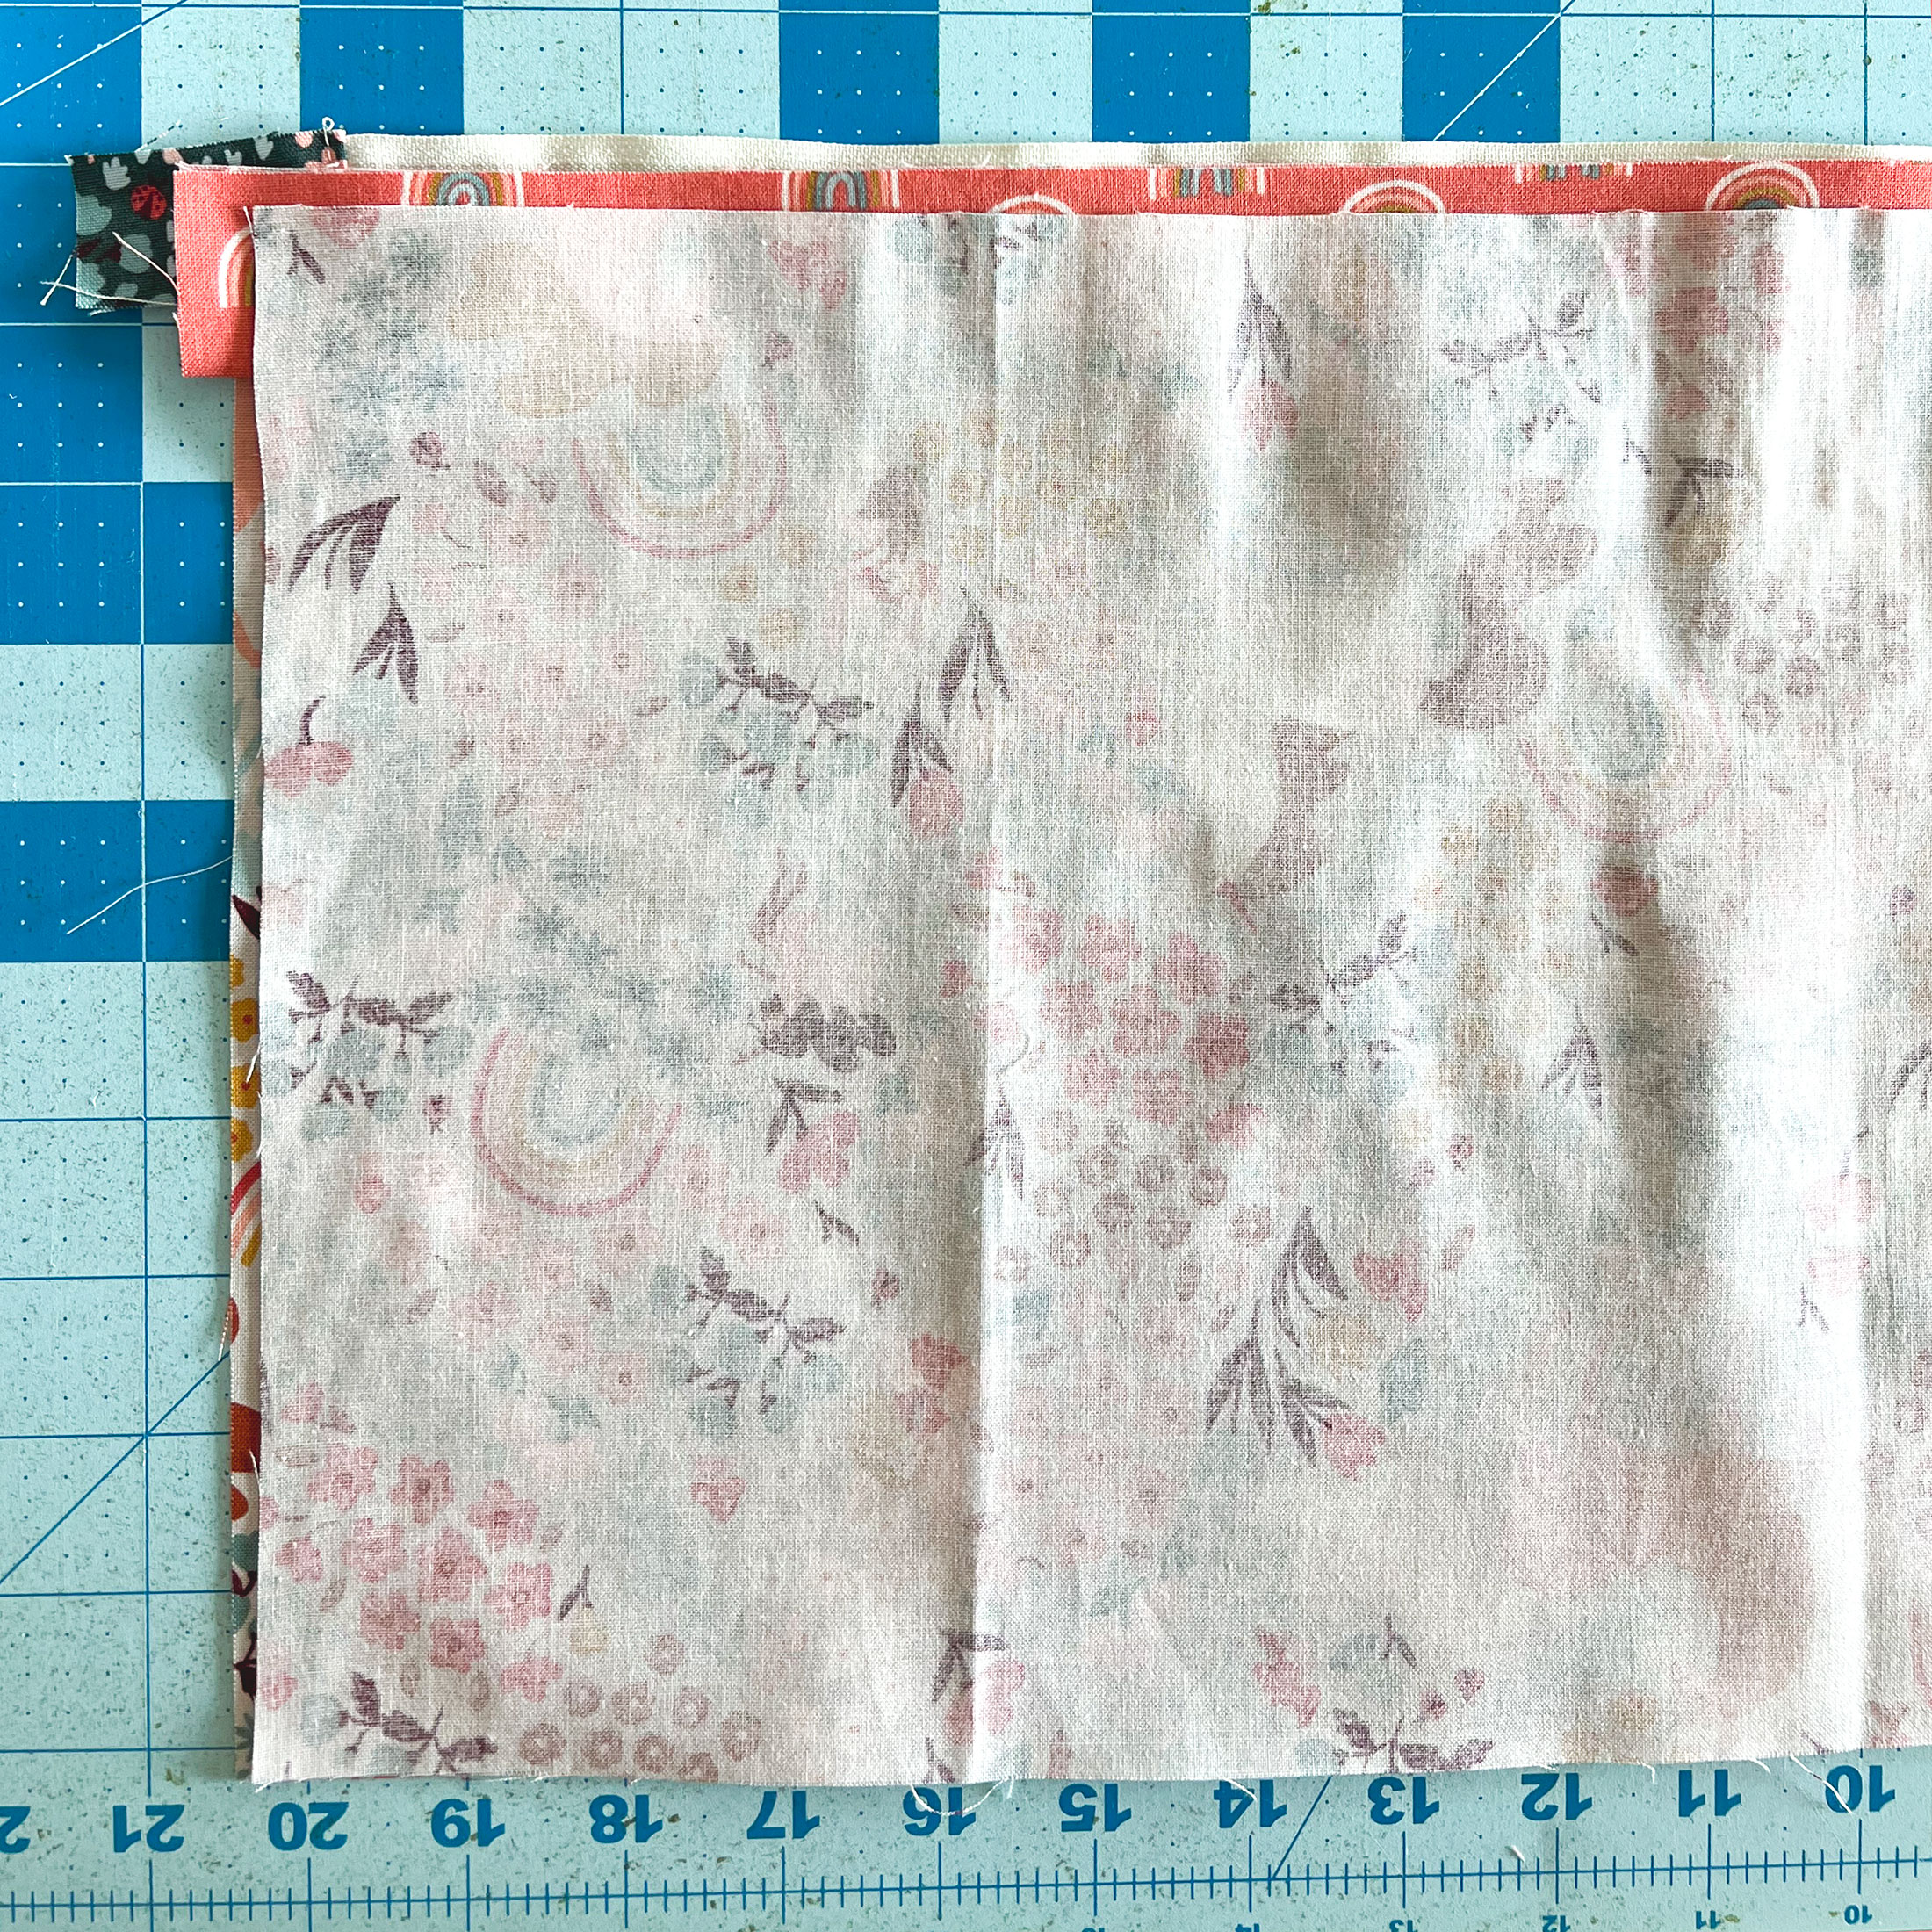
- Press the 2 1/2″ X width of pillow strip in half along the length.
- Line up the raw edges of the strip with the top of the zipper.
- Now place the top of the pillow back right side down on top of the bottom of the pillow back. The BOTTOM of the pillow back top should be lined up with the TOP of the pillow back bottom.
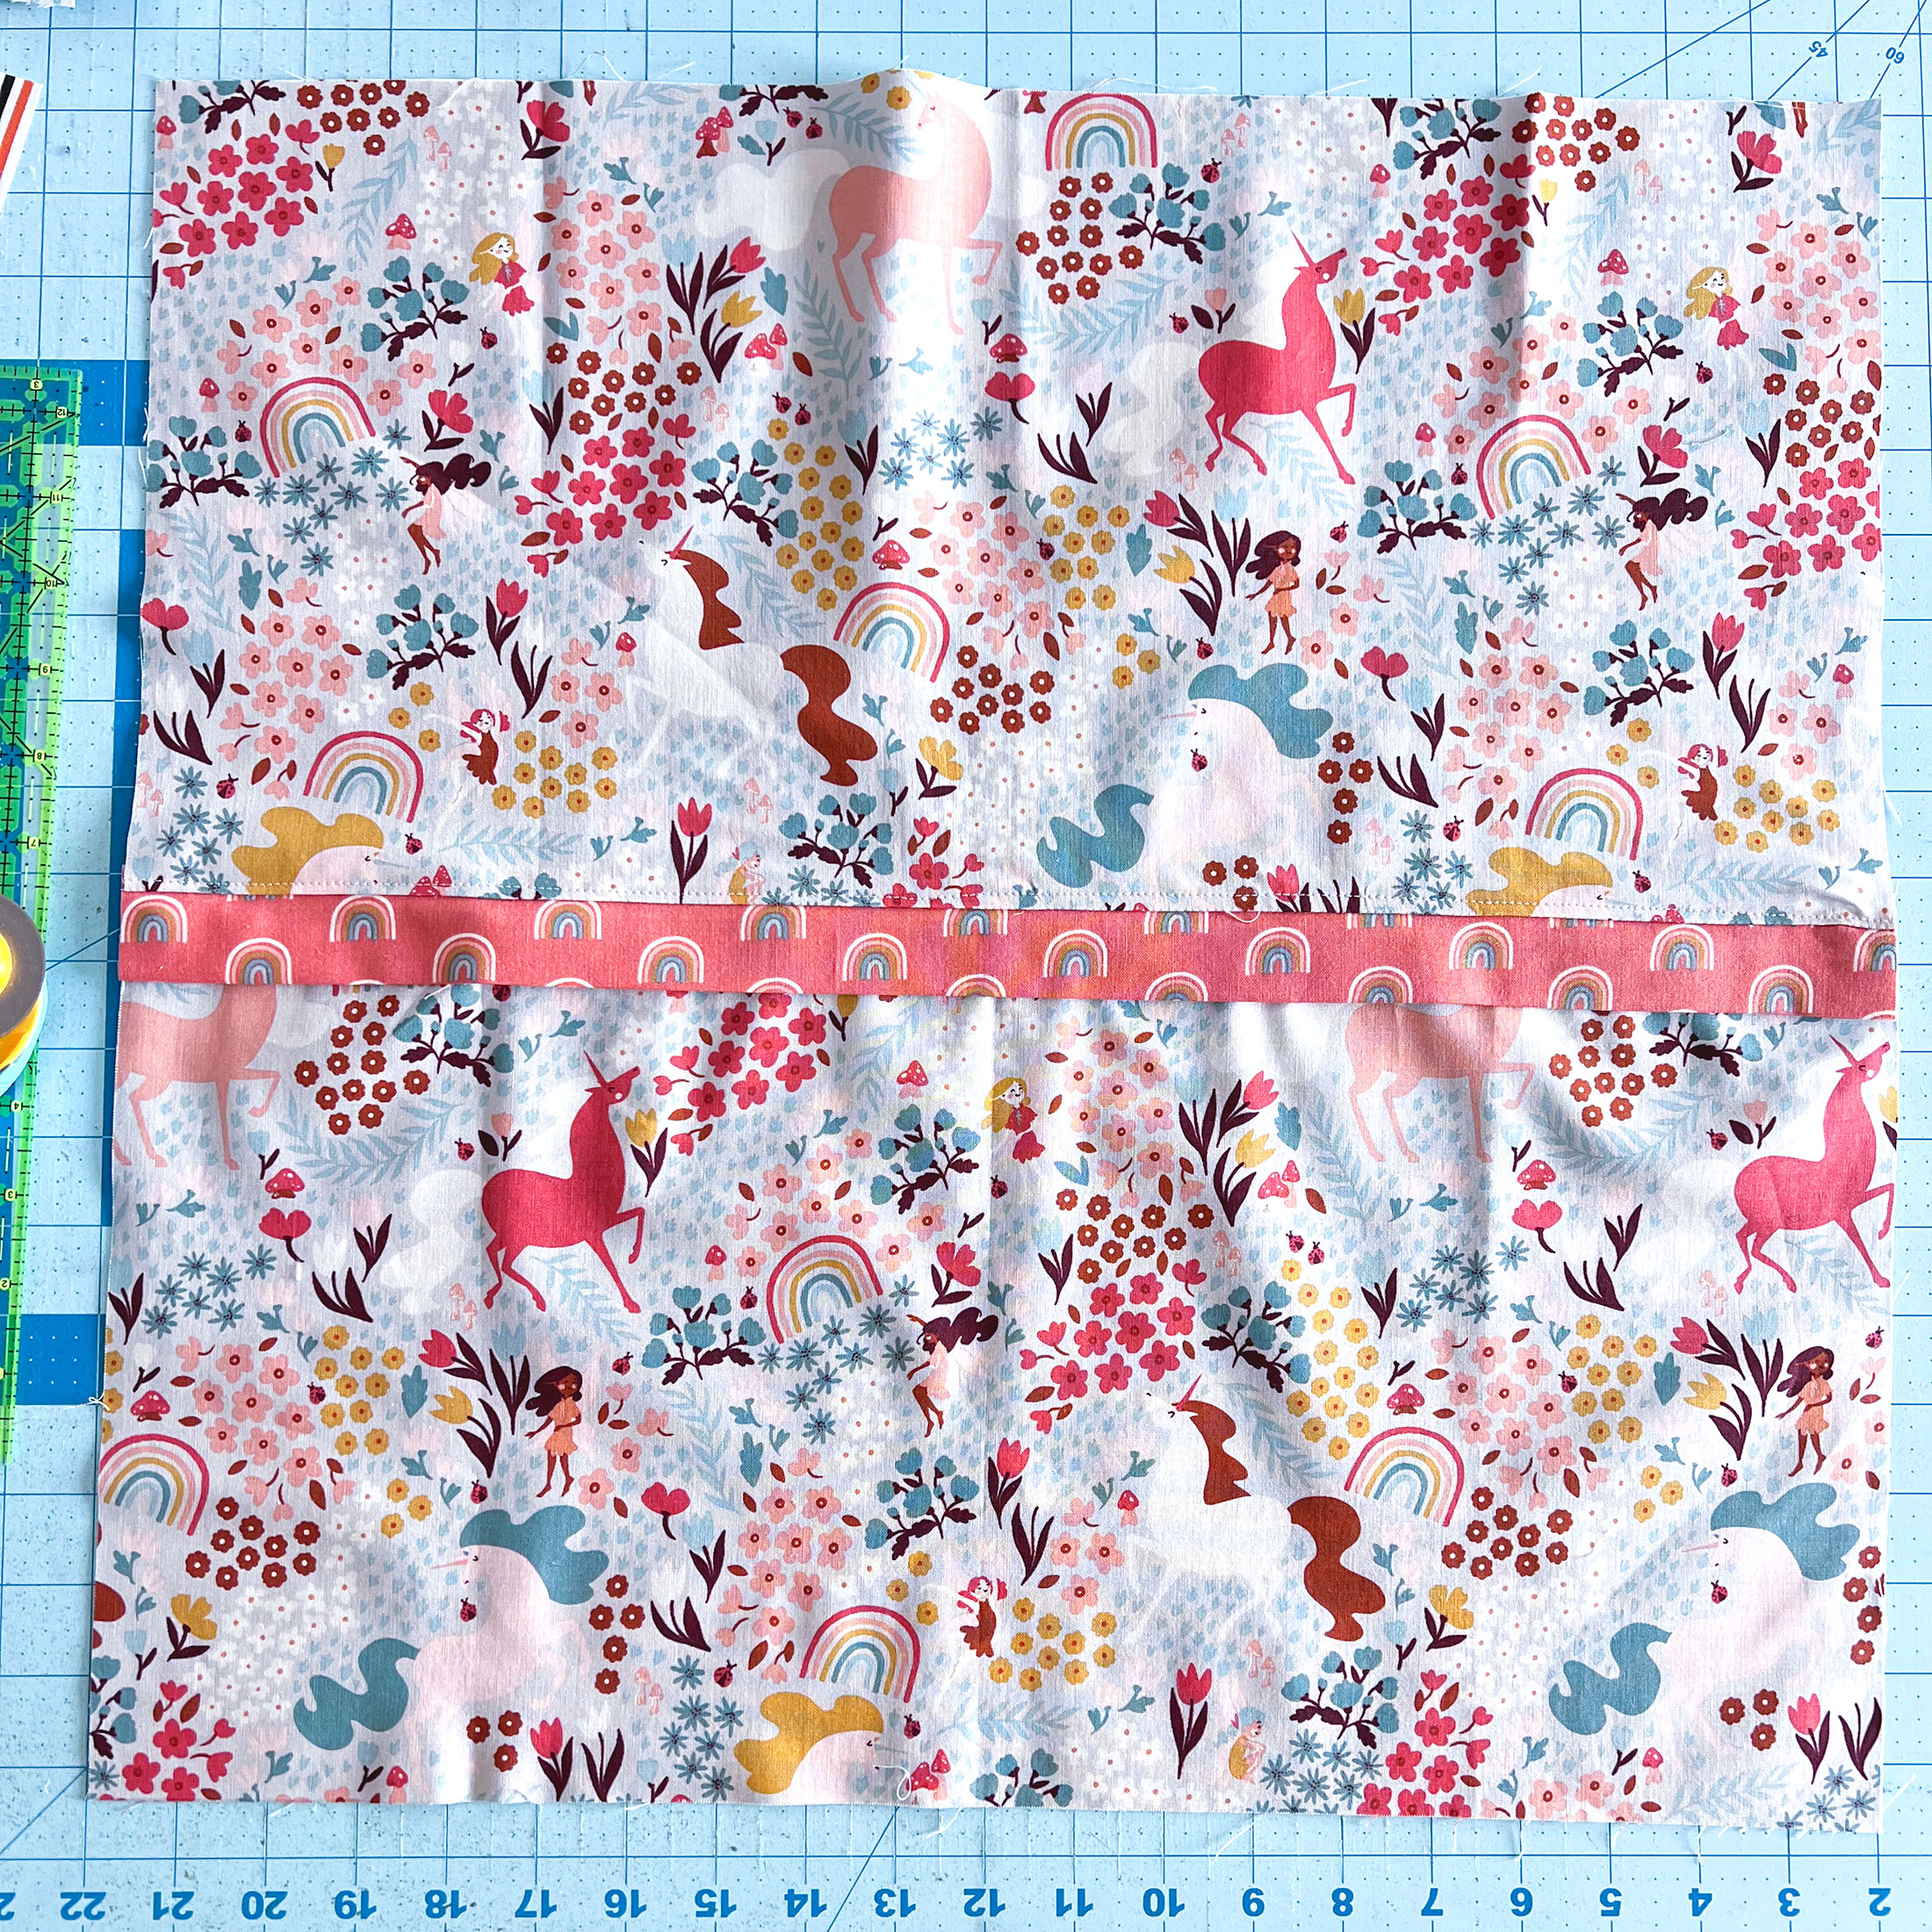
- Sew across the top of the zipper.
- Press just the PILLOW BACK TOP away from the strip and the pillow back bottom.
- Top stitch across the seam.
Finishing your pillow with a Hidden Zipper Pillow back
If you want to finish the pillow with binding (my preferred method) place the pillow back WRONG sides together with the pillow front. Baste around all four sides. Add binding.
To finish the pillow with a turned edge, place the pillow back RIGHT sides together with the pillow front (be sure to open the zipper at least half way first). Sew around all four sides using either a 1/4″ or 1/2″ seam allowance. The 1/2″ seam allowance will make for a firmer pillow. Clip or fold the corners and turn your pillow cover right side out. I find it helpful to press the seams especially if the front of the pillow is quilted.
Insert your pillow form into your pillow cover and enjoy!

For more tutorials, tips and projects- head over to my blog Ameroonie Designs or follow me on Instagram @amerooniedesigns. Happy Sewing!