I LOVE fabric panels! Not only are they time-savers, but they give fabric designers a chance to express themselves in unique ways that don’t always translate well in smaller scale prints.
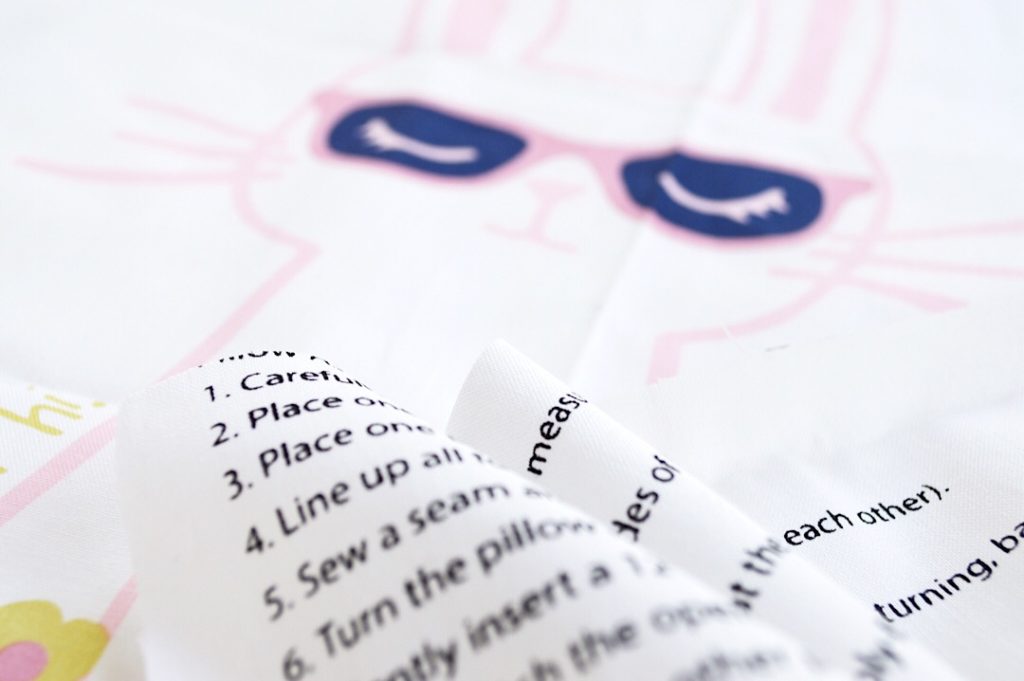
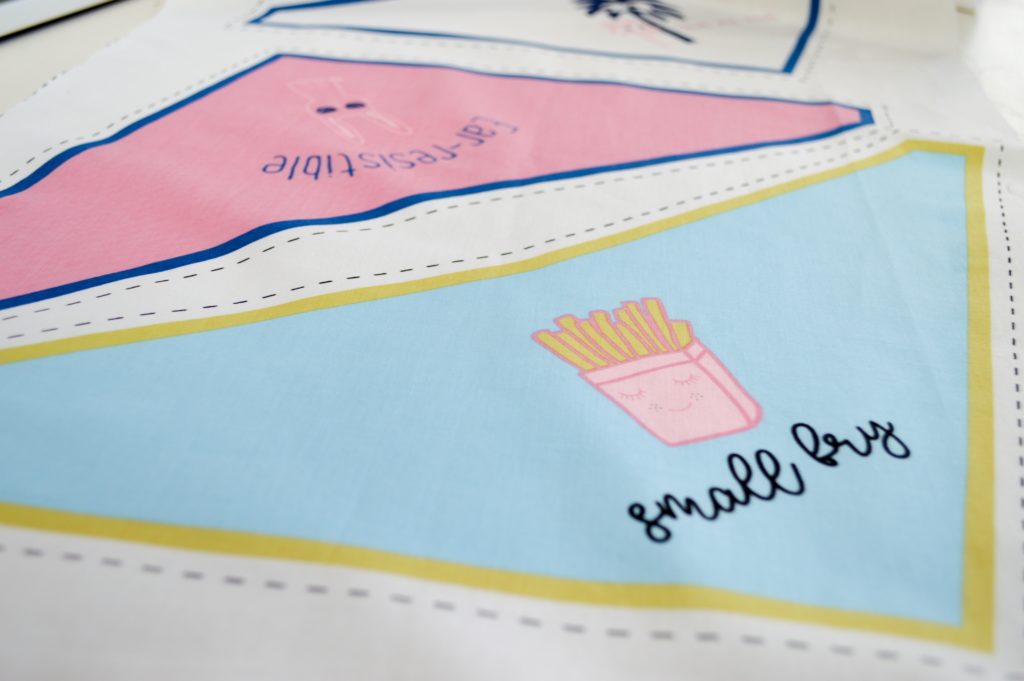
Christopher Thompson’s newest fabric collection, Hello Baby!, has a fabric panel that I was just dying to get my hands on! The 36” x 42” panel contains two pillow tops and several baby bibs, along with easy-to-follow instructions for making both the bibs and the pillows.
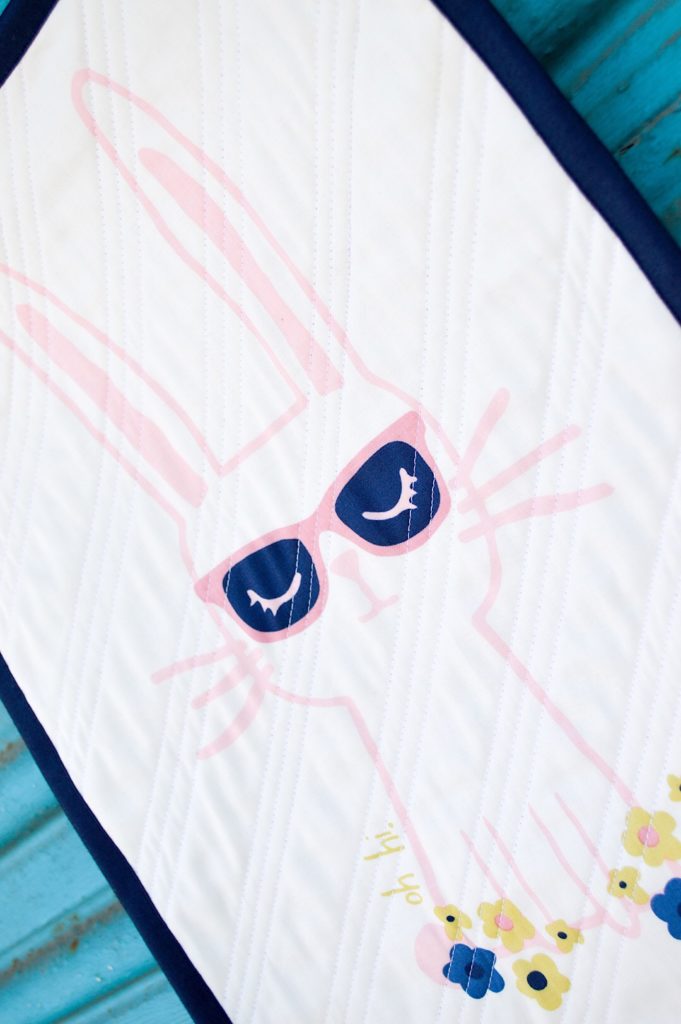
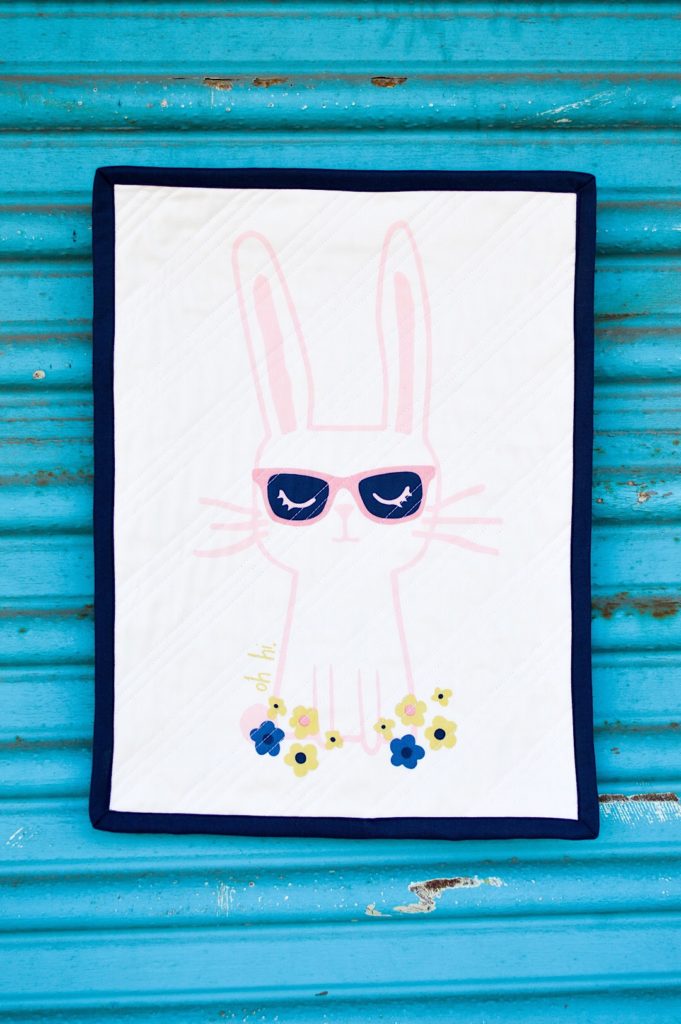
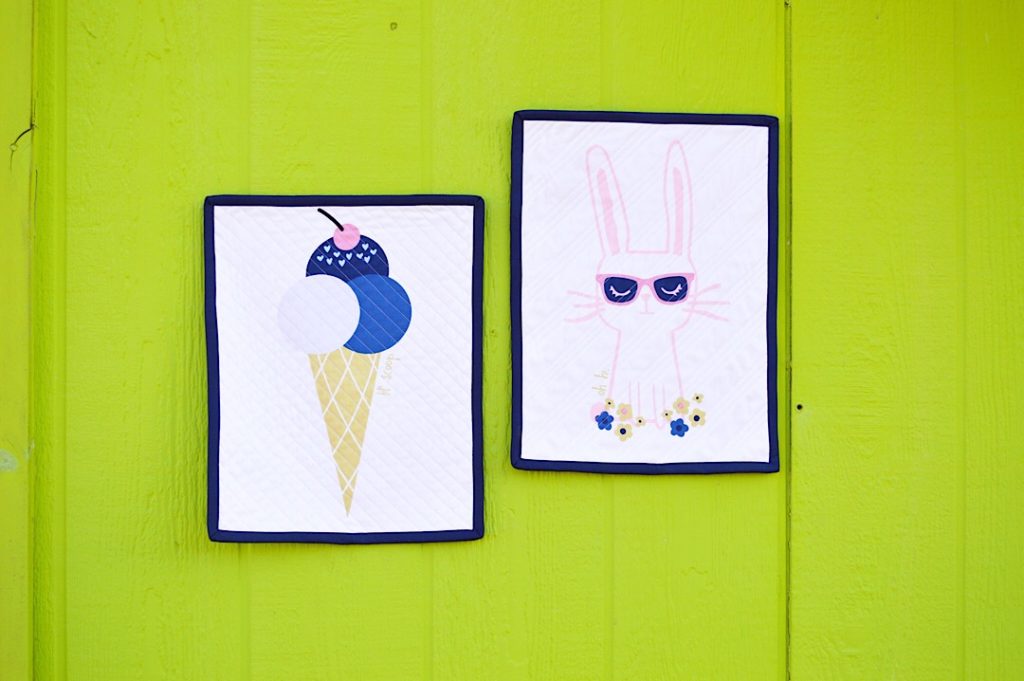
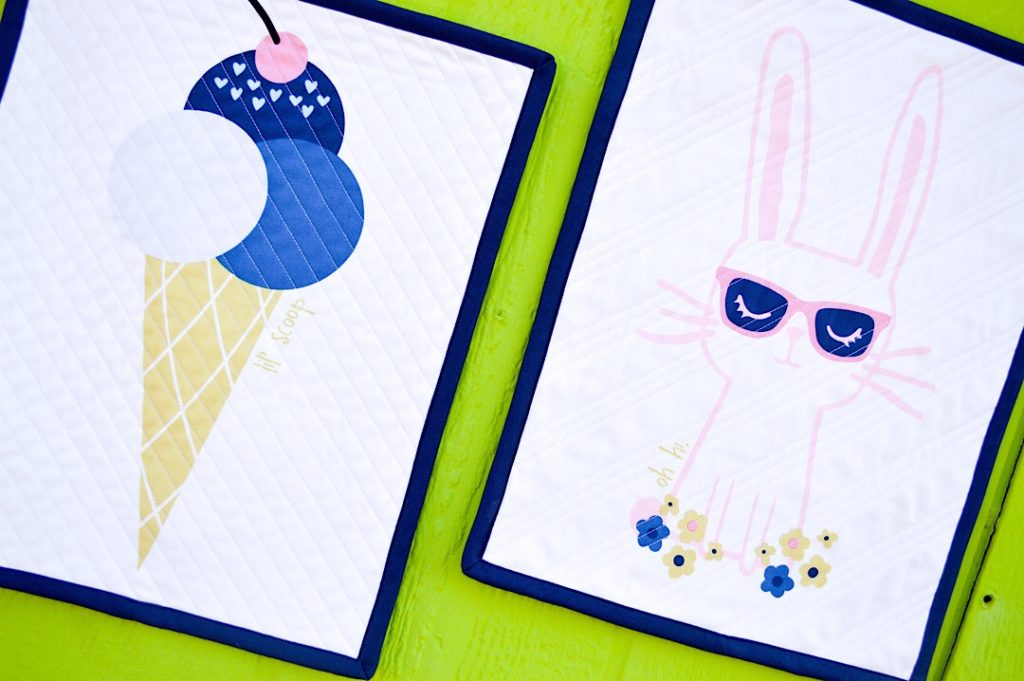
I was immediately smitten with the two totally awesome pillow tops. I mean, seriously, how cool is this sweet & sassy bunny?!
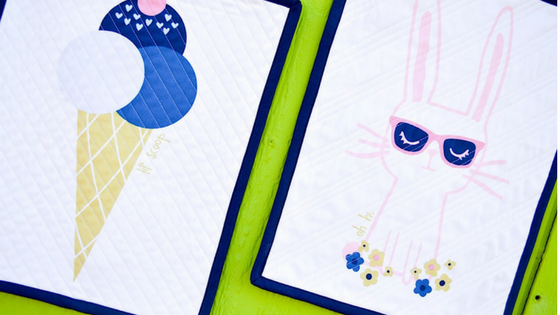
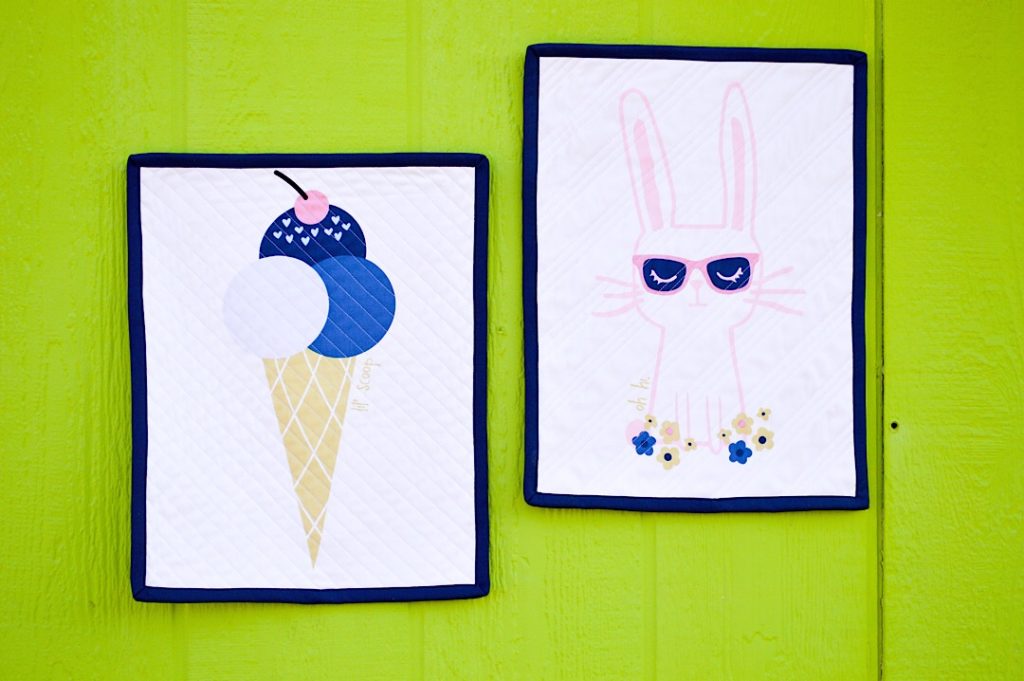
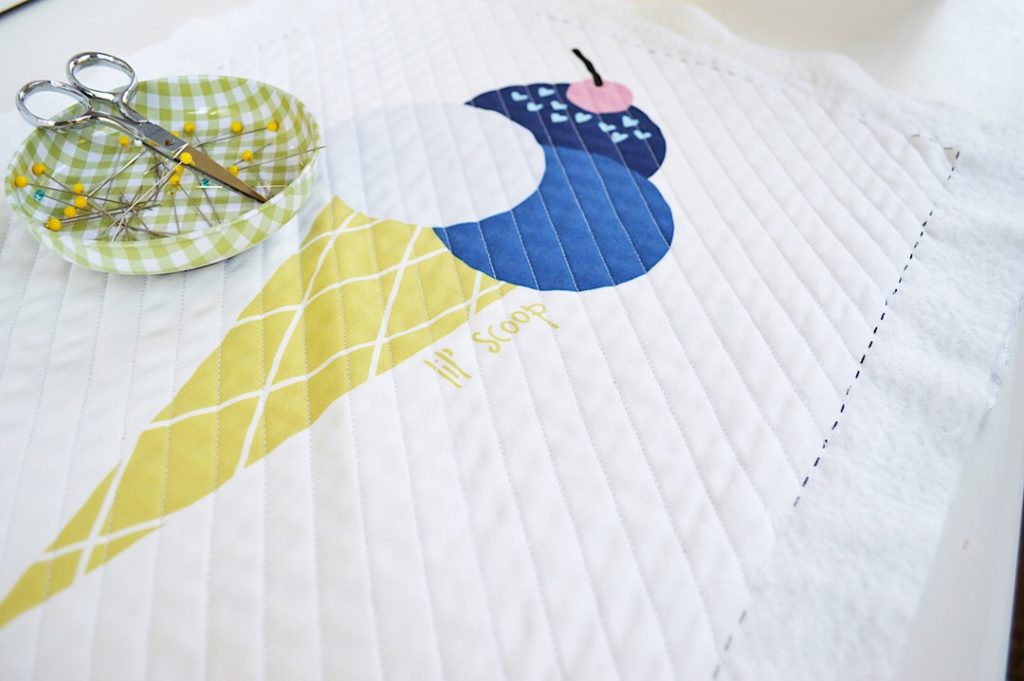
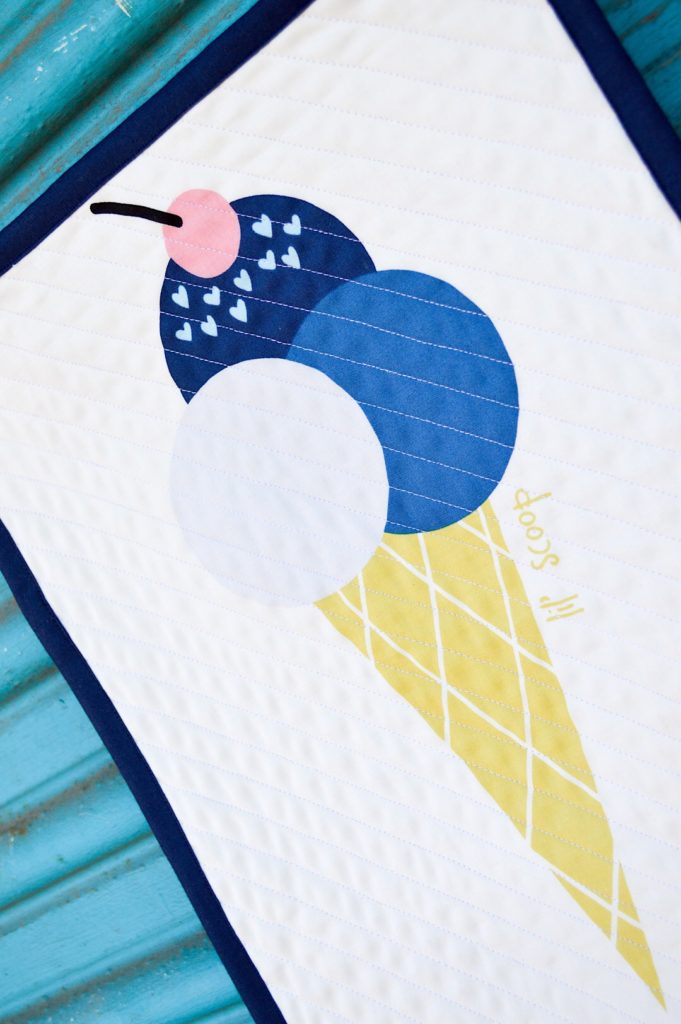
The instructions for making 12” x 16” pillows out of the cute ice cream and bunny panels are included on the larger panel. I opted to turn them into fun little mini quilts that can hang on a wall or be used as a table runner on a bathroom counter or dresser top.
Making these mini quilts could not be easier. Simply cut out the panel along the dotted lines. Make your quilt sandwich (quilt back + batting + panel). Trim edges. Add binding. I used Riley Navy solid from the Confetti Cottons collection for my binding.
- When quilting with straight lines, the fabric does tend to pull a bit. My finished quilt was a little wonky, so when I trimmed the batting, I did also end up squaring it off a bit.
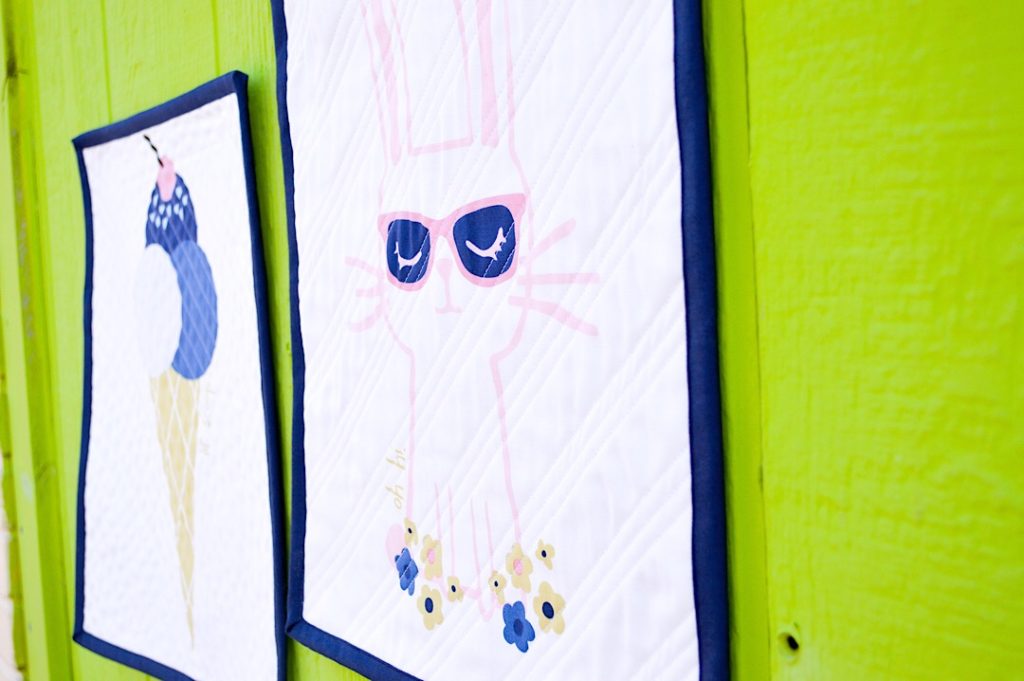
Notice I quilted the two mini quilts differently. I stitched simple diagonal lines spaced about 1/2” apart for the Ice Cream Mini. For the Sassy Bunny, I stitched 3 lines 1/4” apart, and repeated this pattern with a 1” space between each set of 3 lines.
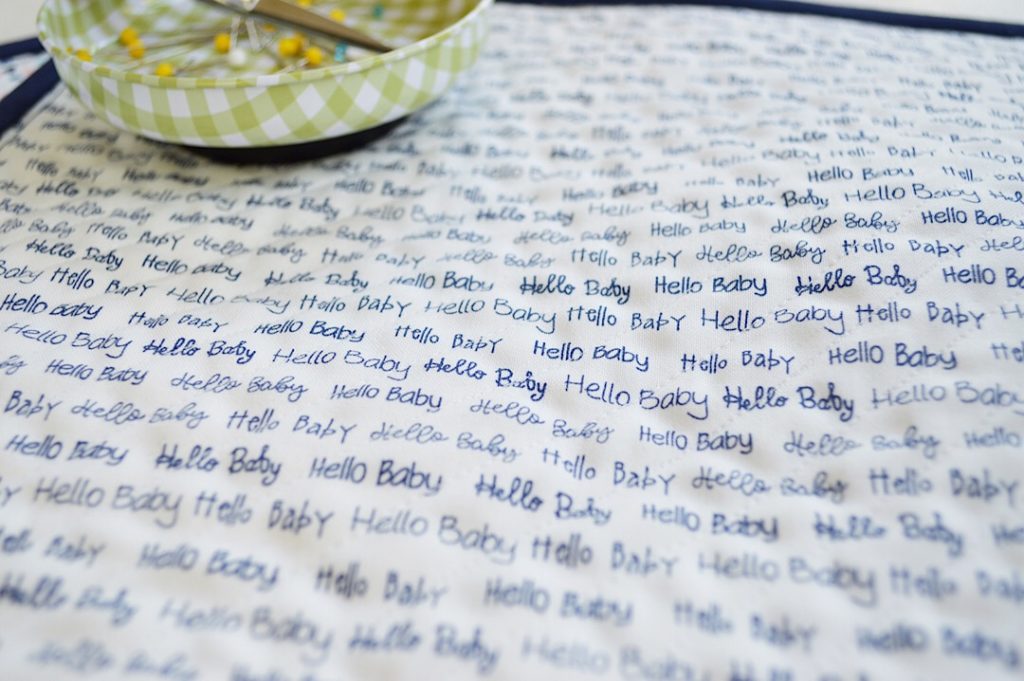
For the back of the ice cream cone mini quilt, I used this totally adorable Hi, Hello! print. Holy cannoli, this is so cute!
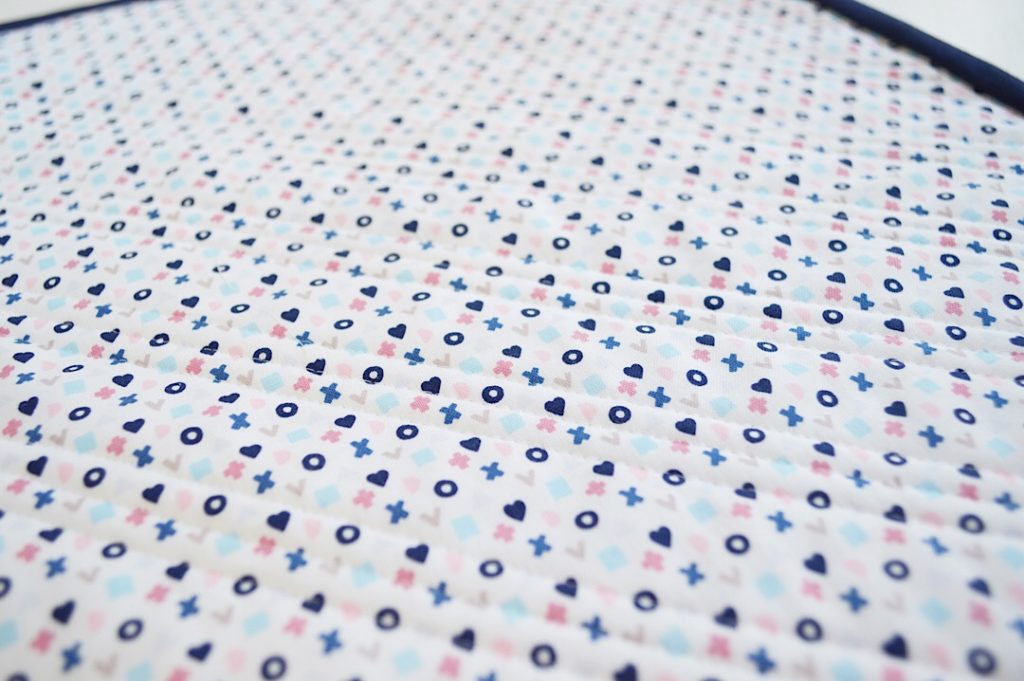
I backed the sassy bunny quilt with this sweet little Shape Up print. The X’s and O’s make me think of hugs & kisses. LOVE it!
It’s that easy, and BAM, you have this FABulous little bit of quilty art for your wall!
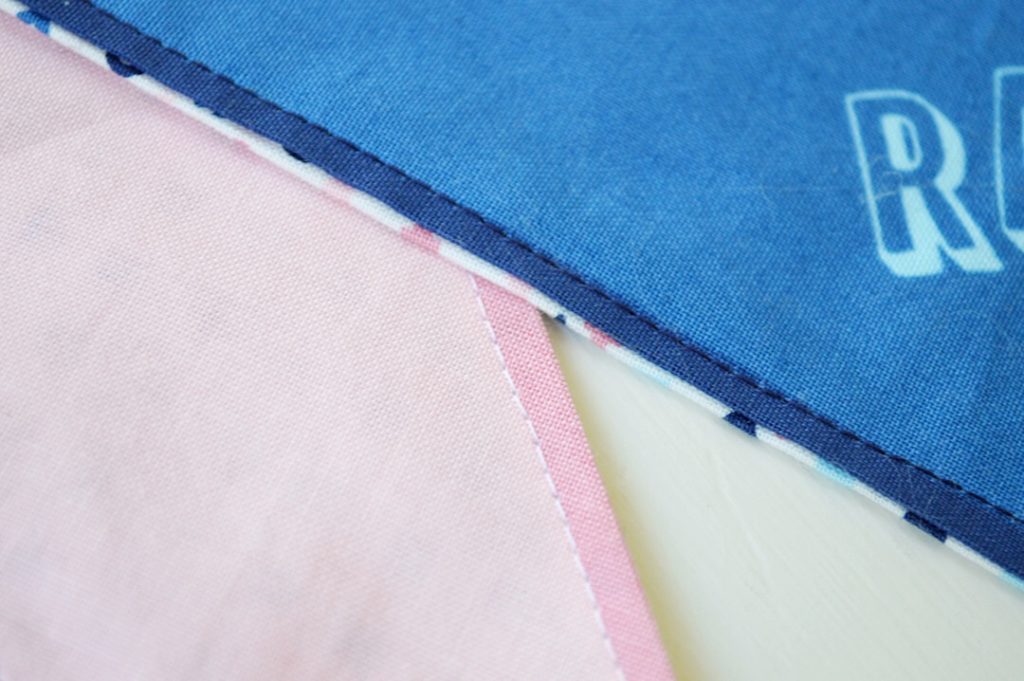
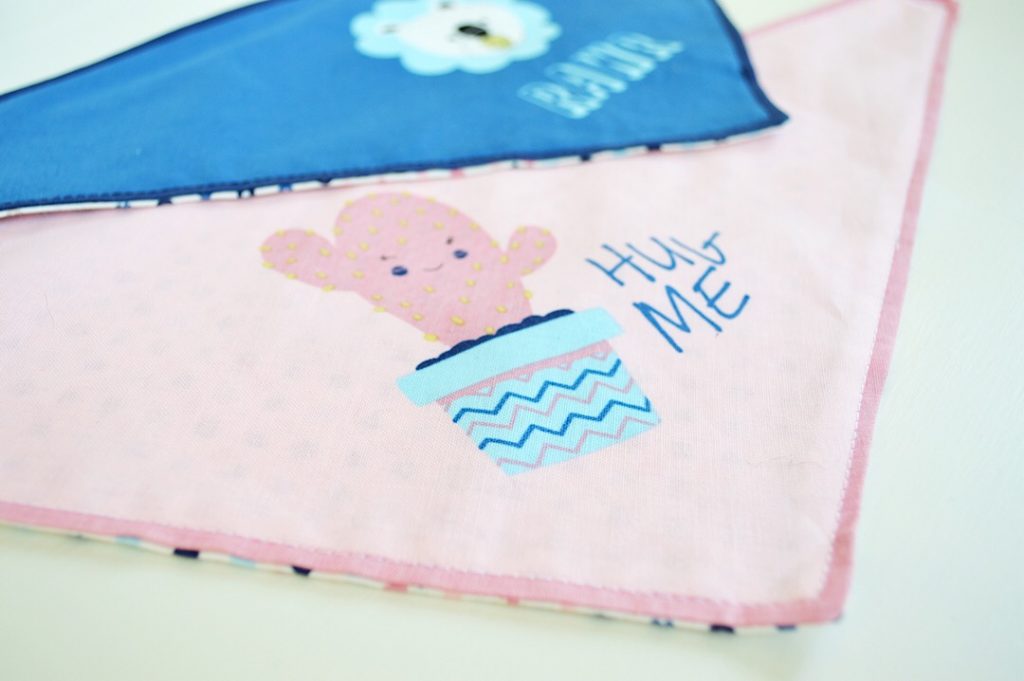
The baby bibs were just as easy to make. You could easily sew two of these together to make a reversible bib. You would simply pin them right sides facing, sew around the edges leaving a 3” opening, clip corners, turn right side out and press. Easy! I opted to follow the instructions (also printed on the fabric panel) and add coordinating fabric for the bib backs.
These are so easy to make. I cut out the bib along the dotted lines. I placed it on the bib backing fabric, right sides facing. Then I stitched right along the edge of the printed bib, leaving a 3” opening for turning. Clip the corners, turn right side out and press. After the bibs are pressed, top stitch around the edges. This gives the bibs a nice, finished look and closes the opening at the same time.
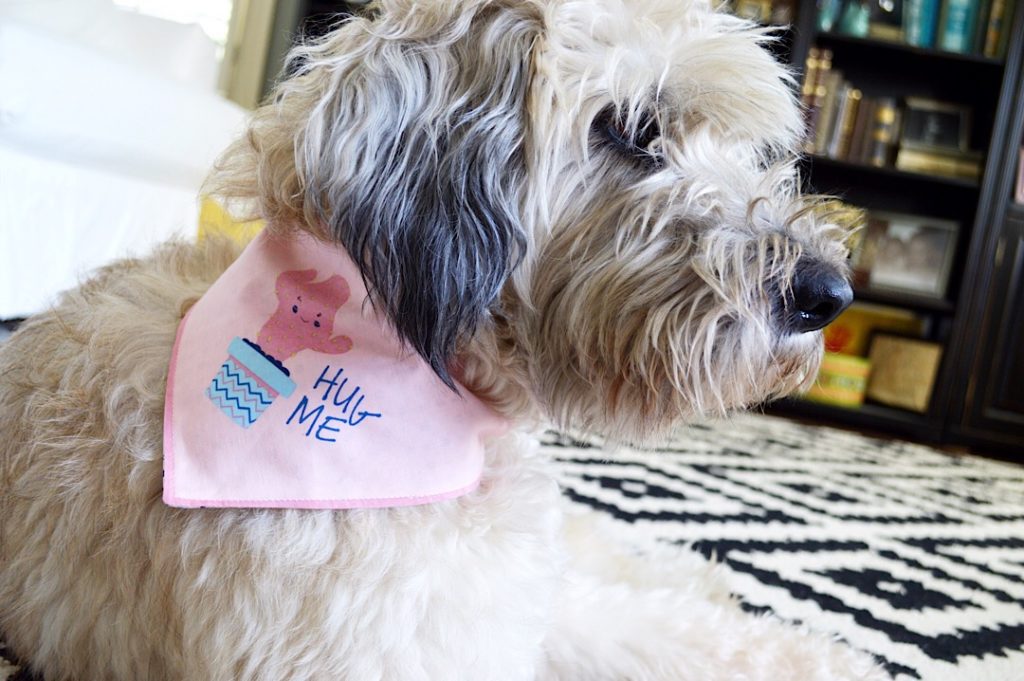
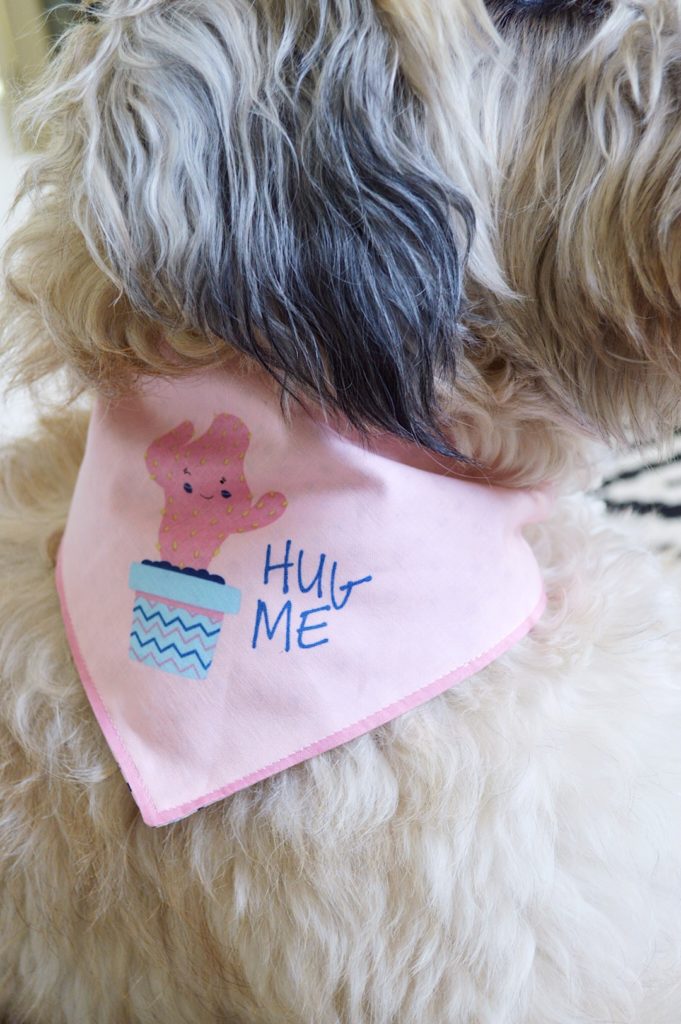
Look how cute!
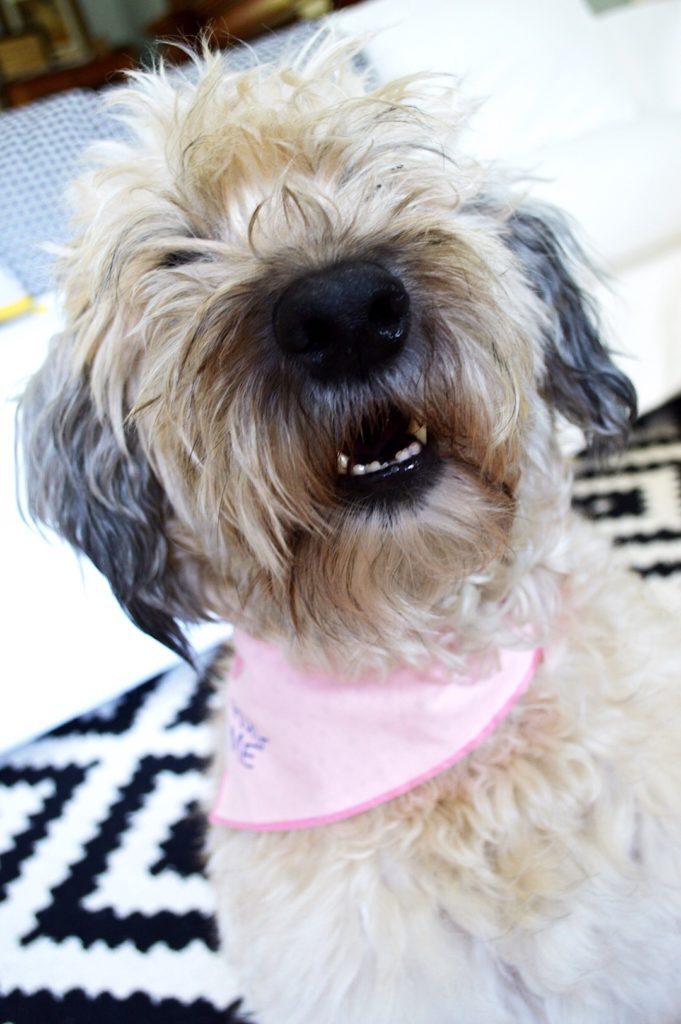
I no longer have babies at home, so I enlisted Sunny,the wonder dog, as my model. After burying her head in a pillow to tell me she didn’t want her picture taken, she finally gave in sat patiently for the camera.
I used little Velcro dots for the closure. You could use ribbon, snaps, a button…so many options here.
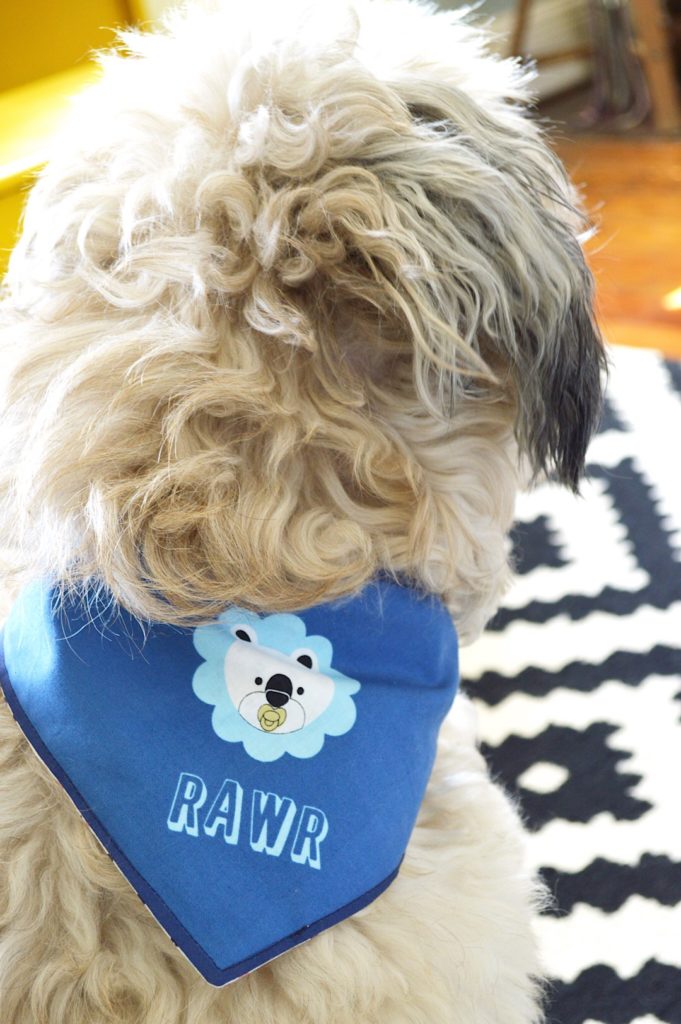
And here she is in blue. CUTE!
Finally, she gave a big smile of approval!
Hello Baby!, by Christopher Thompson, will be available at your local and online quilt shops next month, so grab yours and share your projects with us on Instagram @rileyblakedesigns. View the complete collection HERE.
Happy Quilting!

