This is Holly Clarke from Holly Clarke Design on the blog tour today. In case you don’t know me, you can find out more about me and my work on my website at https://hollyclarkedesign.com and on Instagram at @holdmyseamripper
I love starting off the new year with a blank to-do list – it gives me a great chance to play around with new ideas and see where the creative process takes me. This year I started thinking about orange peel quilts and thinking about how I can turn that classic motif into something new and fresh.
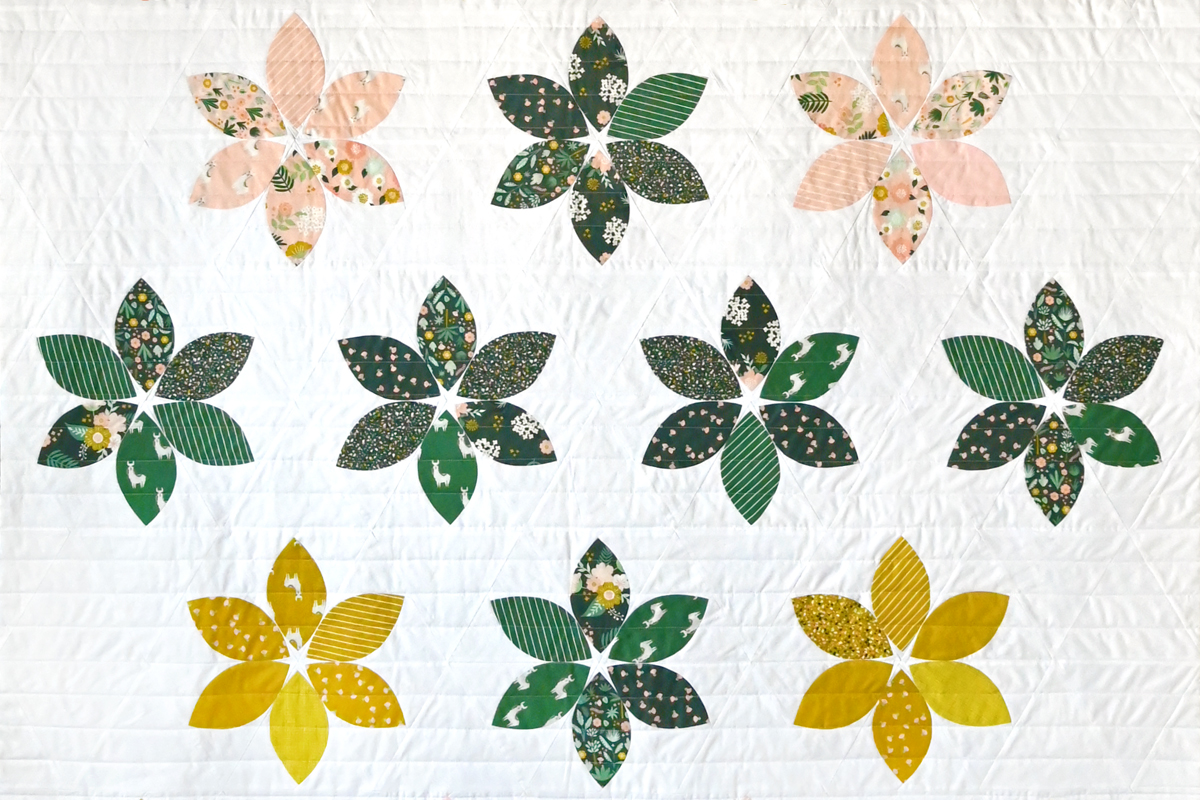
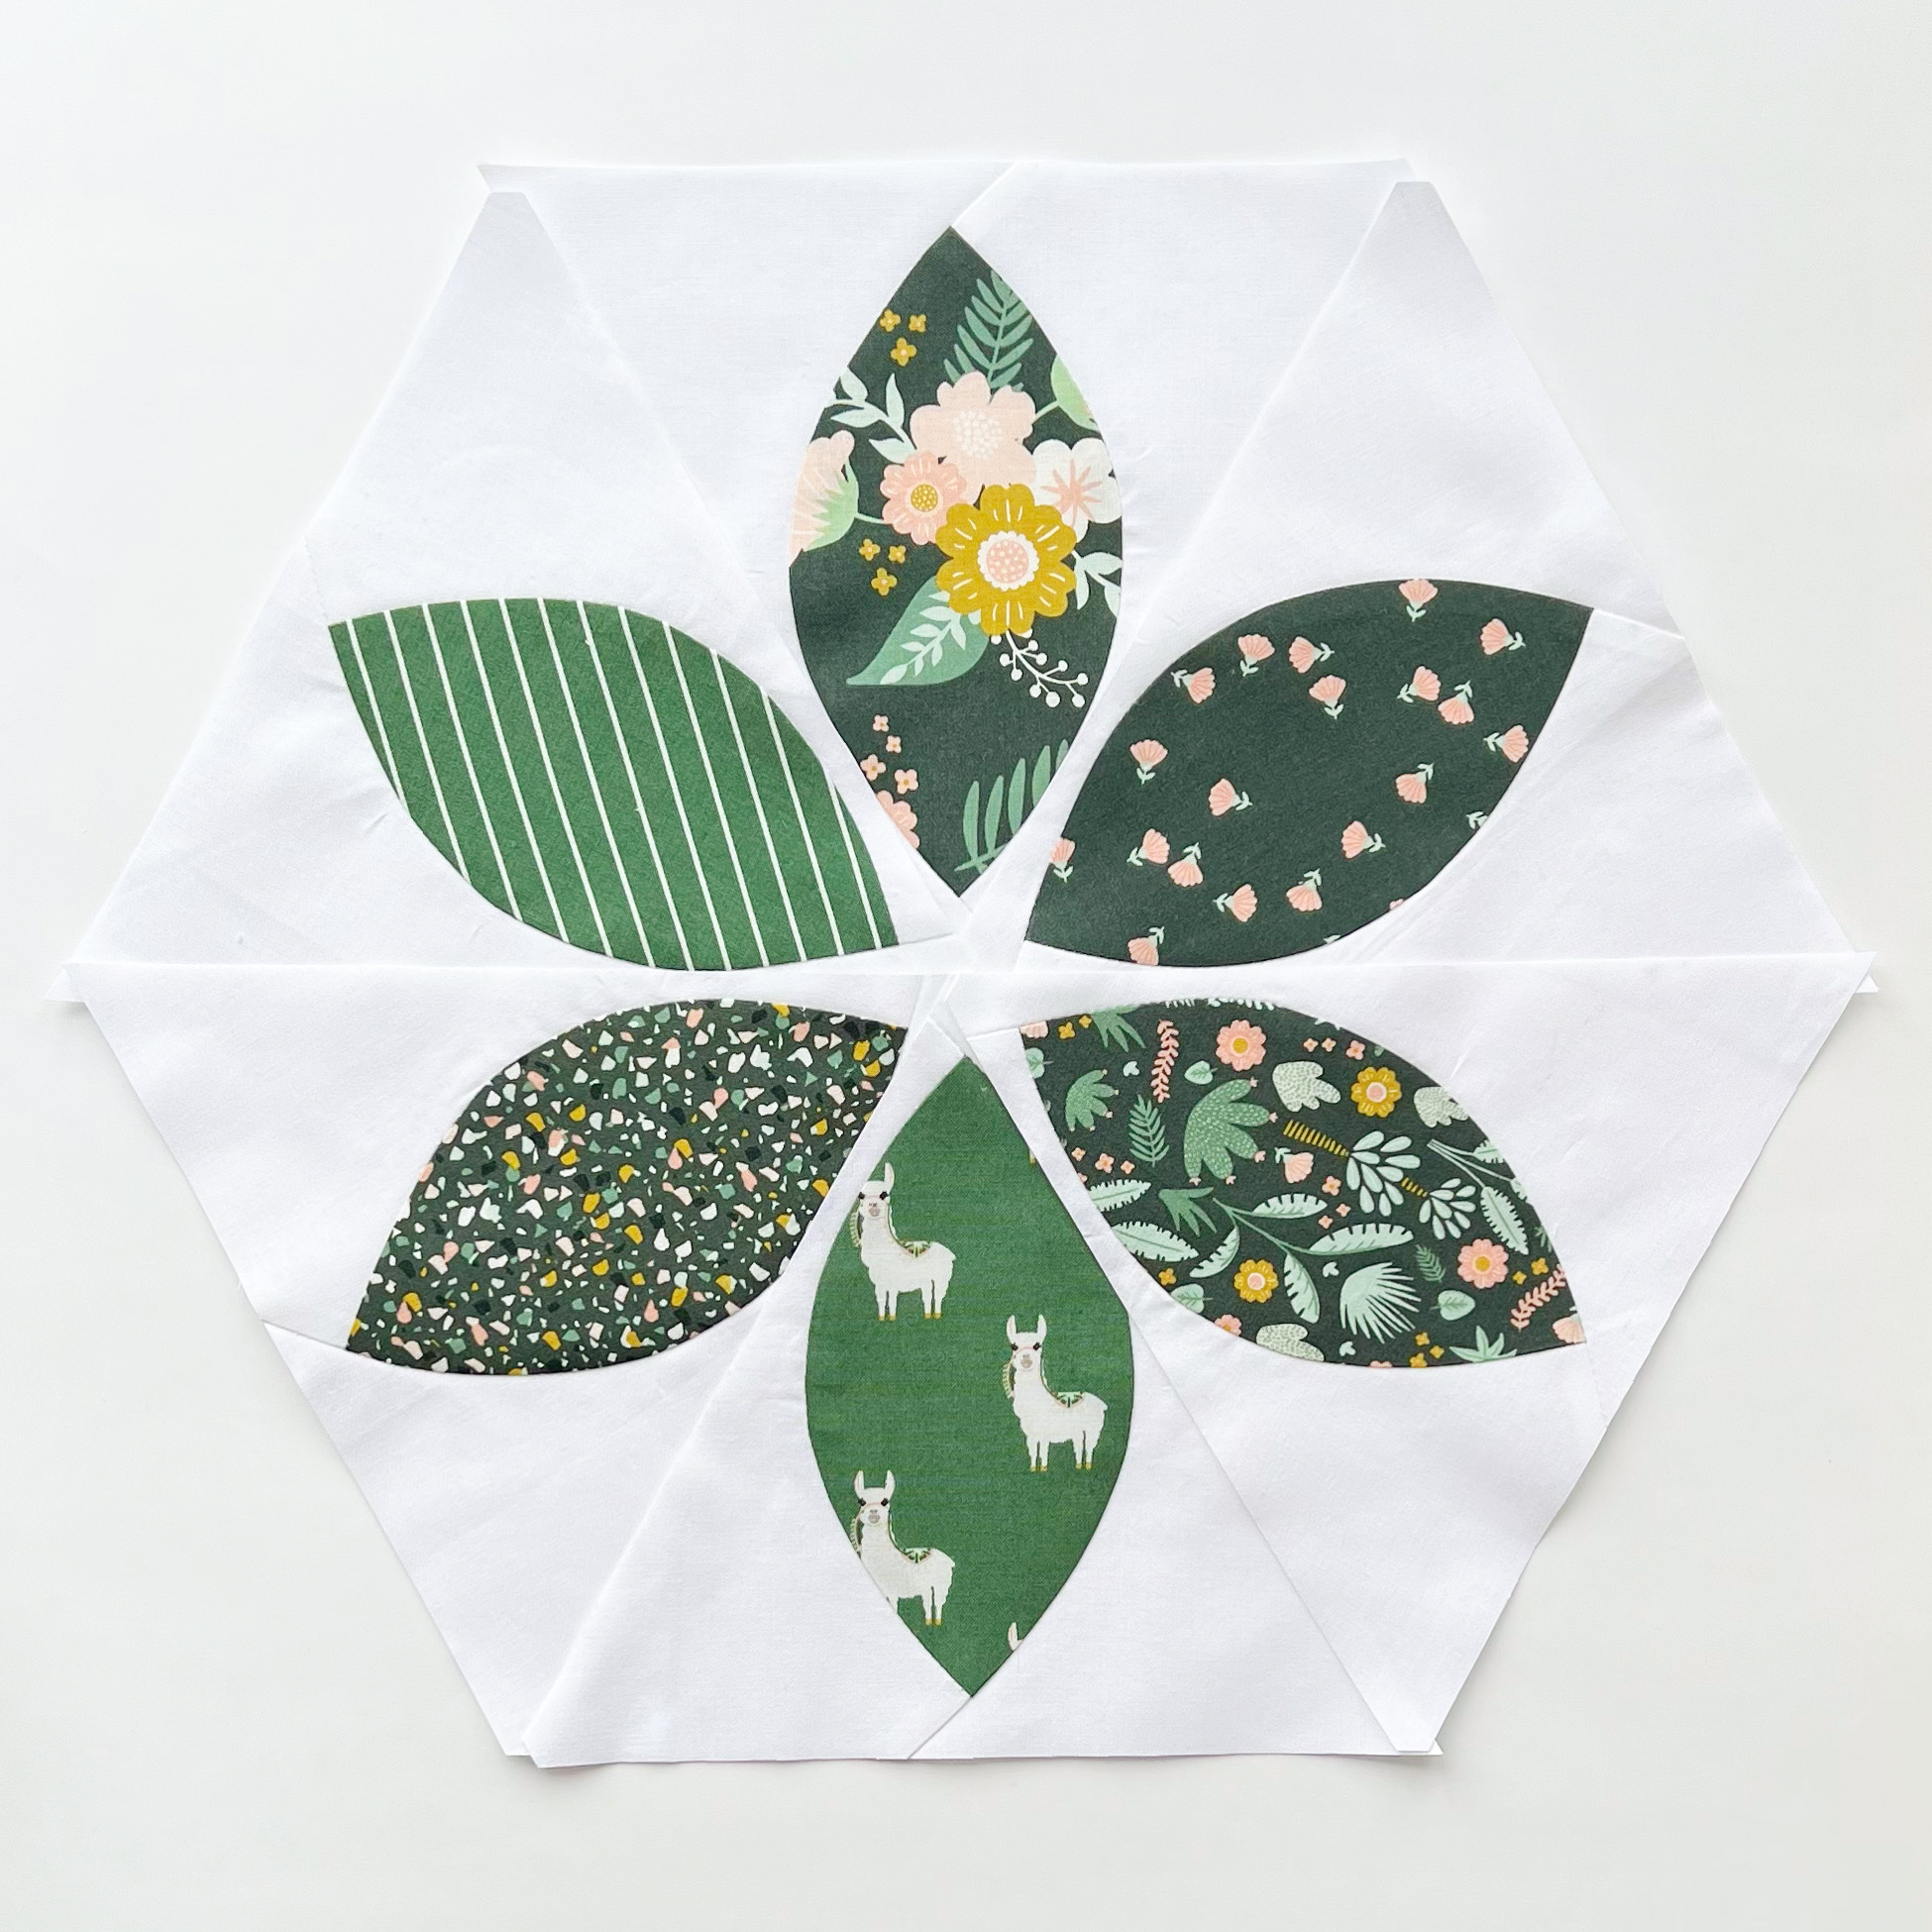
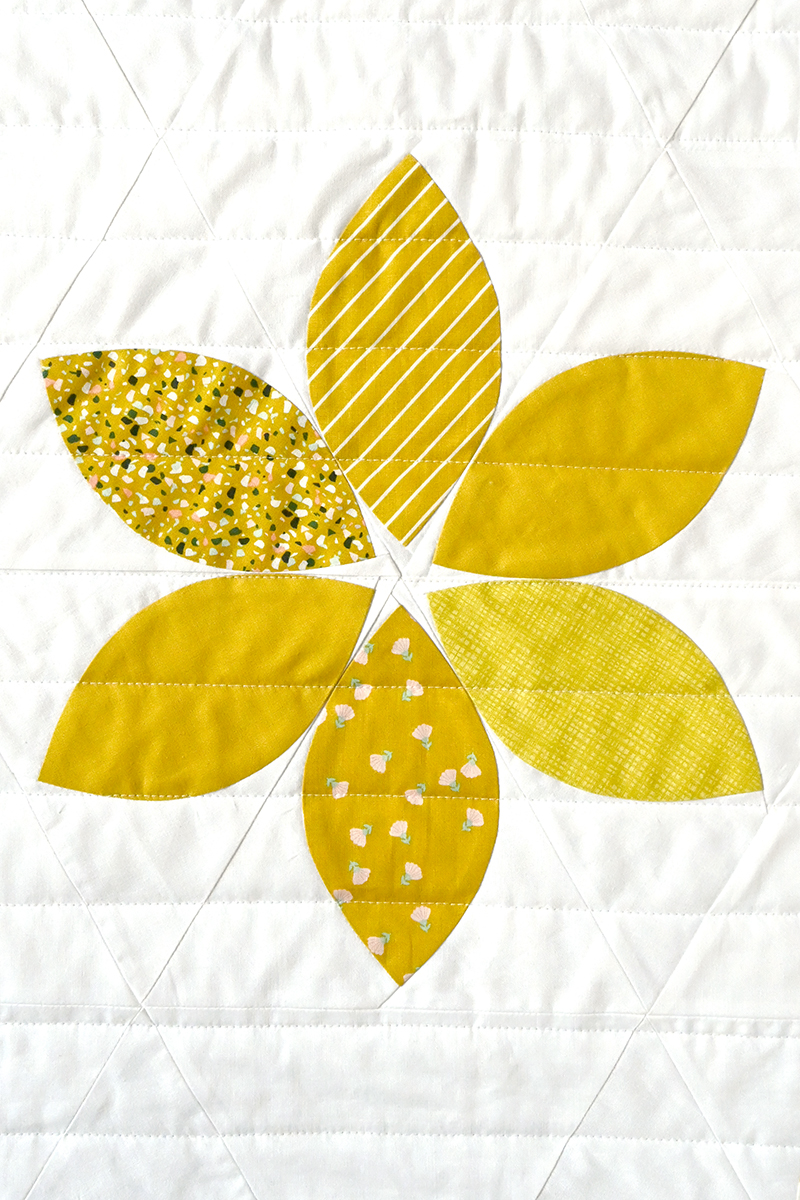
After much trial and error, I came up with the idea of using “orange peel” curves within a hexagon background creating a daisy shaped design. And to my delight, a little star emerged in the centre!
I drafted up some templates and played around with some test blocks until I was satisfied with the shape of the petals, and the construction of the block. Then… time to cut into the GOOD fabric.
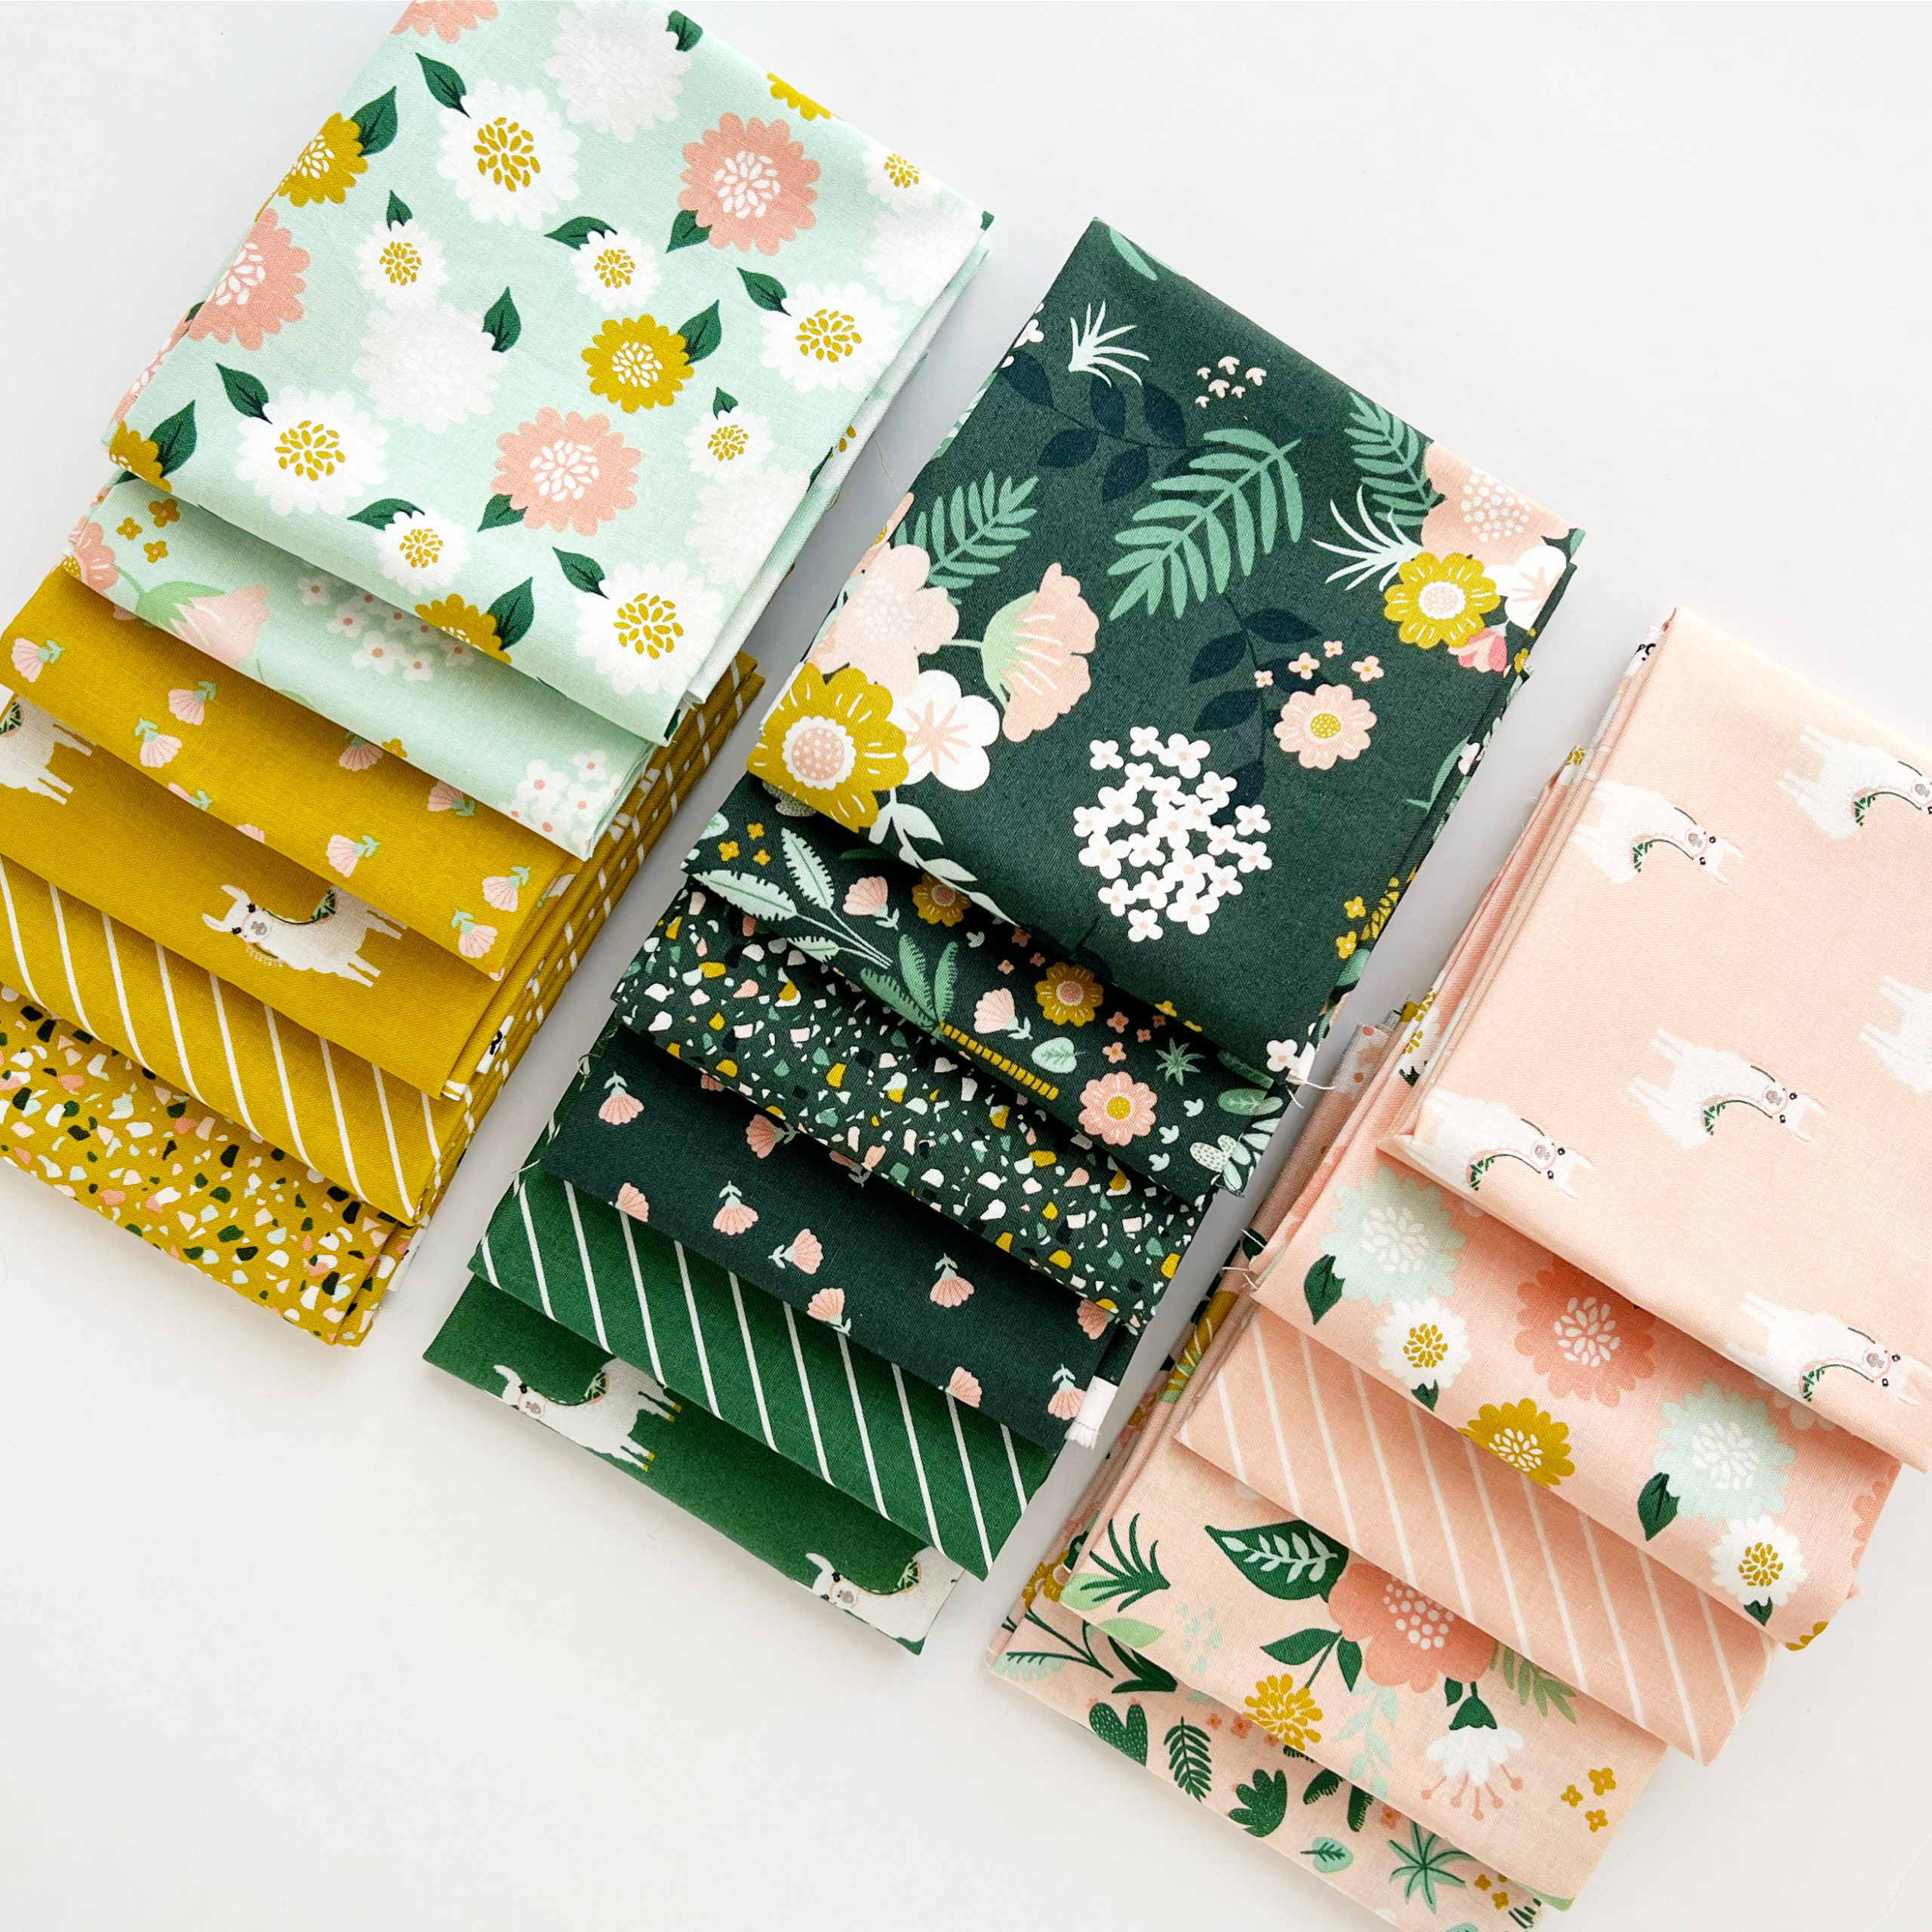
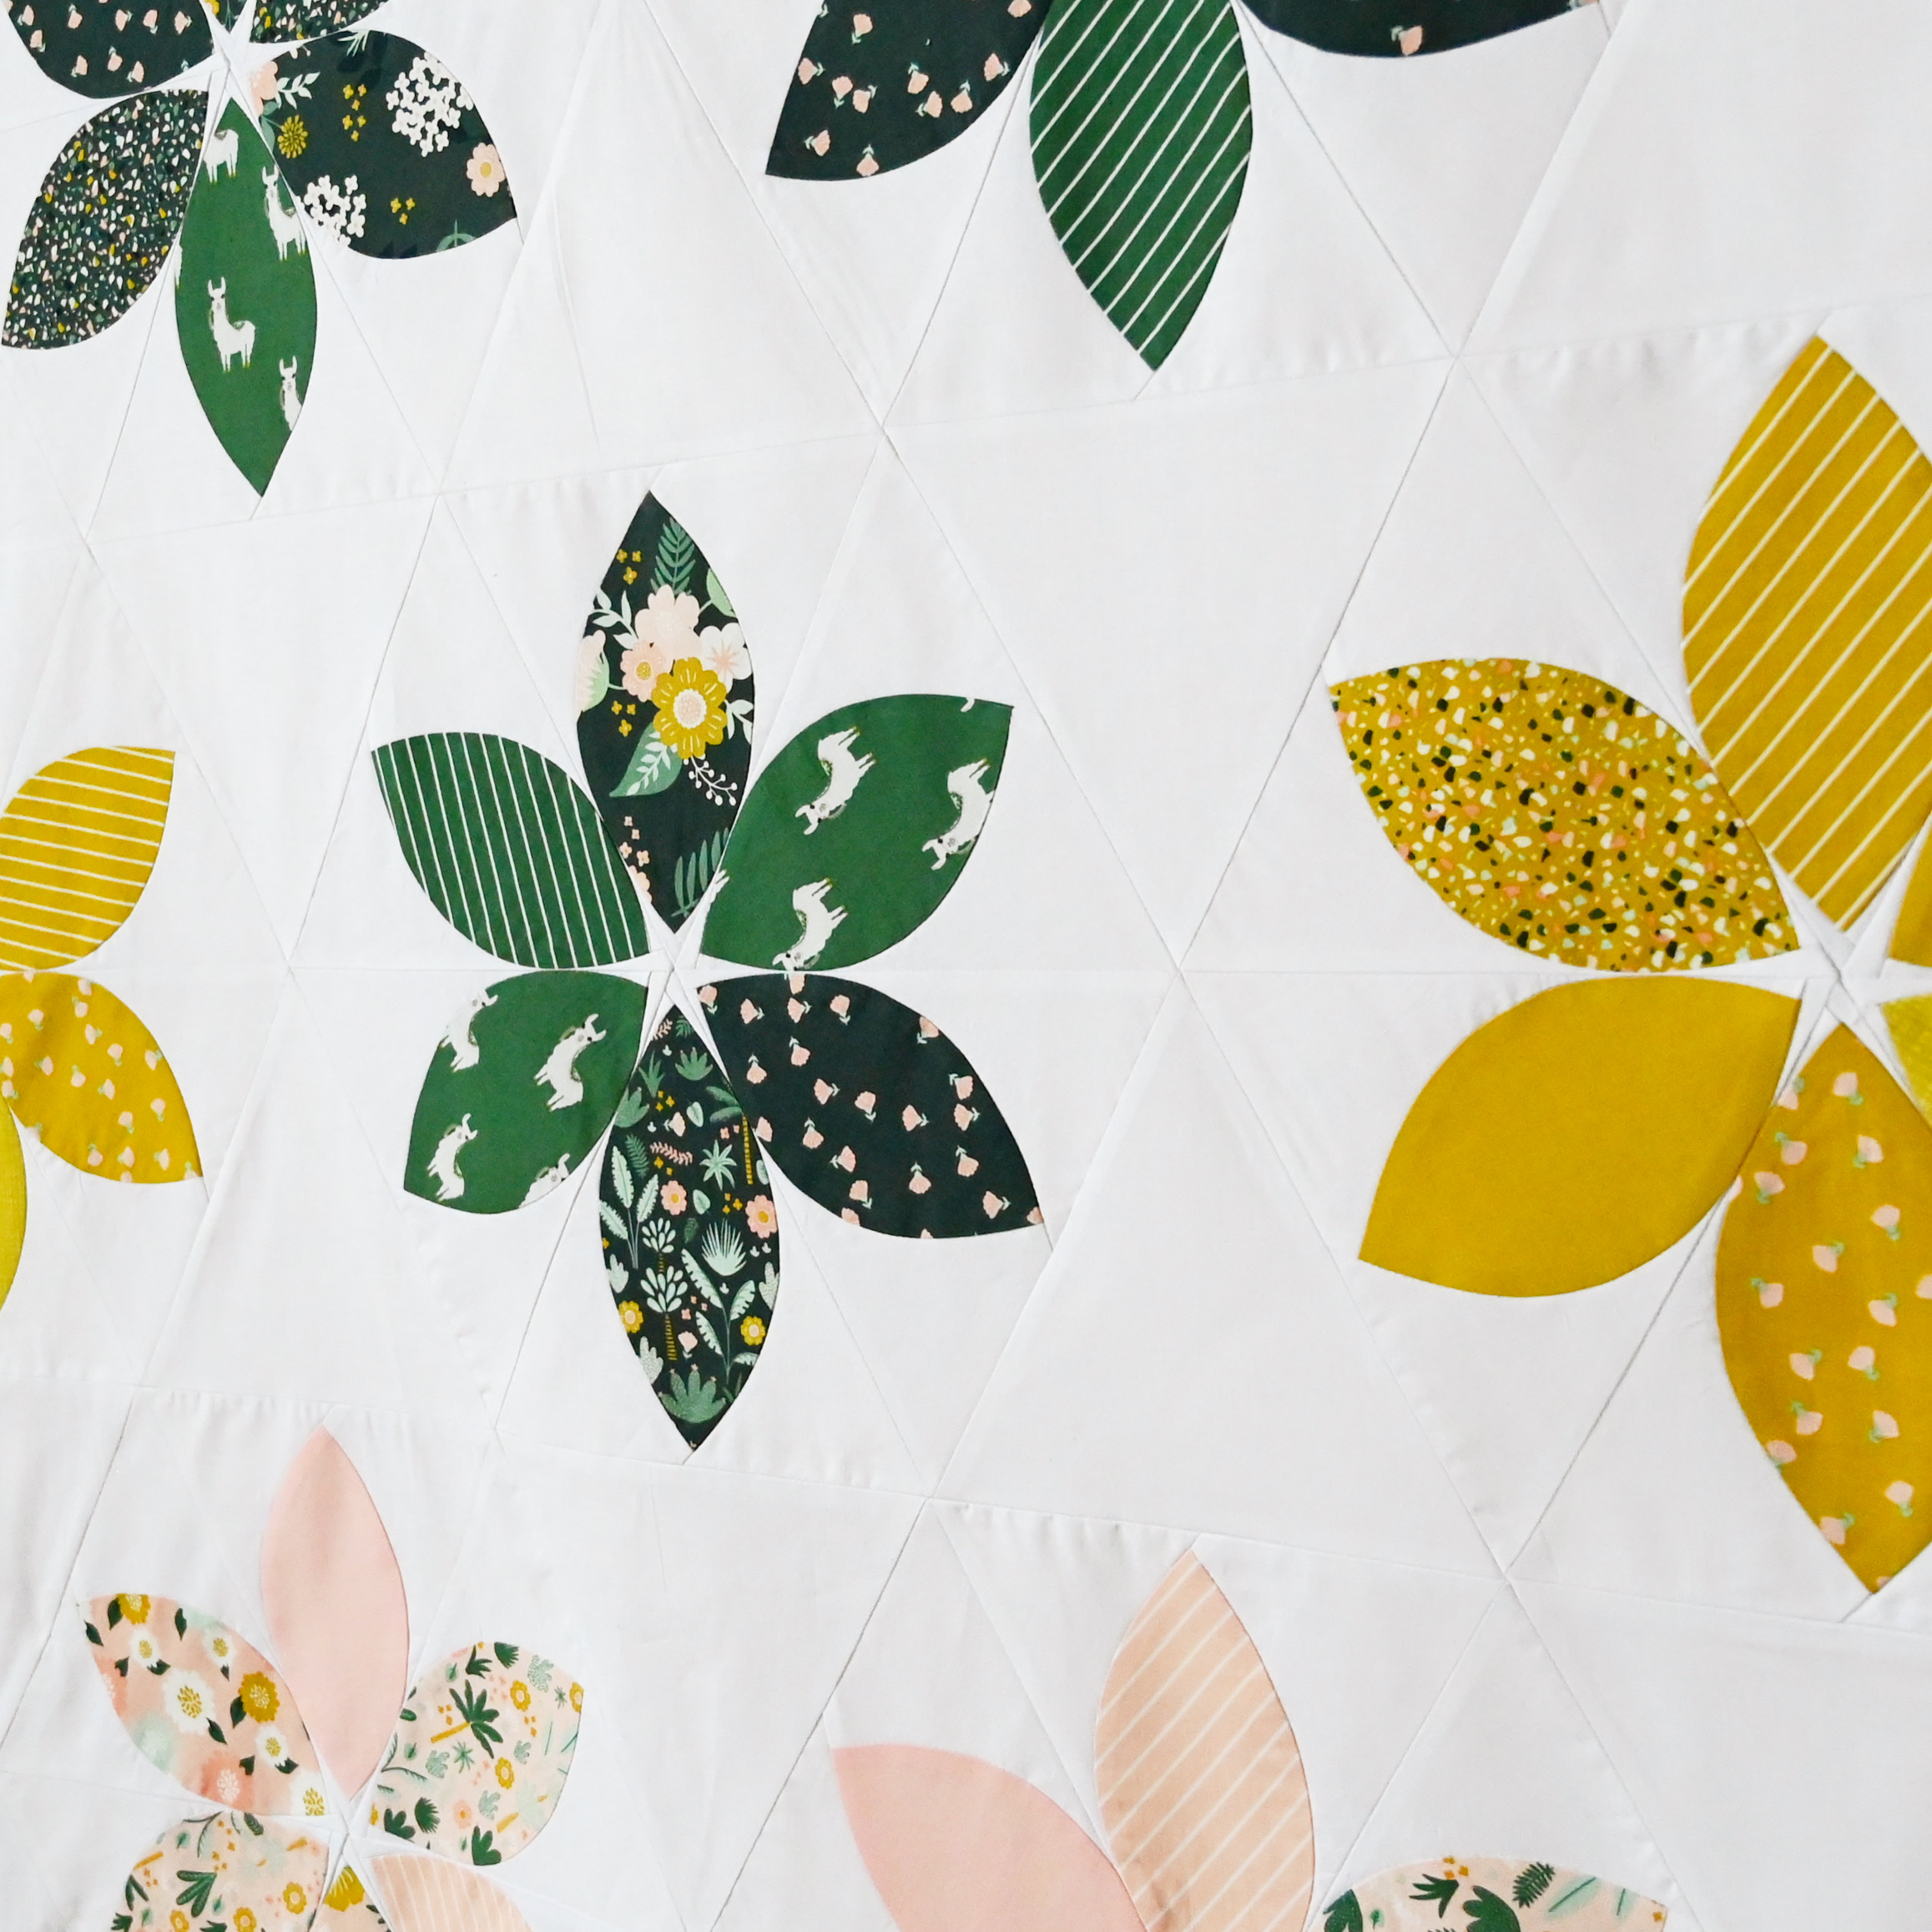
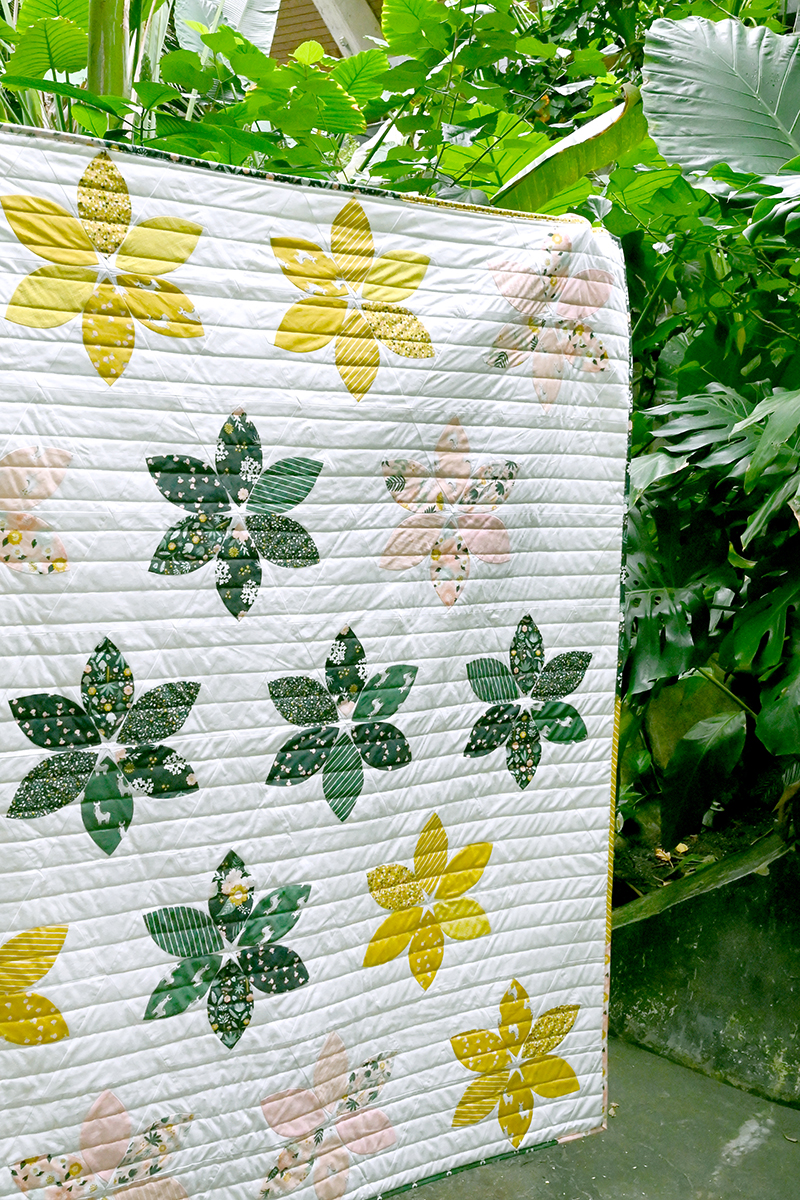
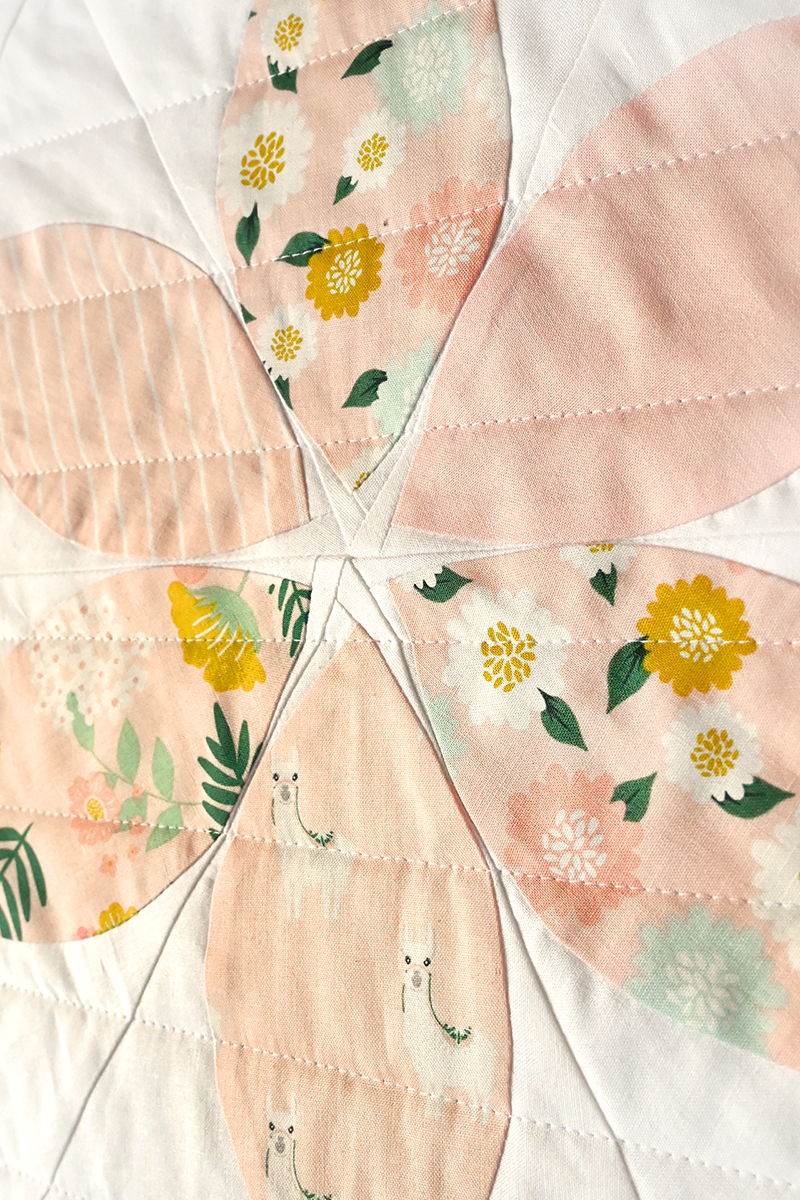
For this quilt I used the exquisite fat quarter bundle of the Hibiscus collection by Simple Simon & Co. As soon as I laid my eyes on these prints I fell in love with the tropical florals in deep shades of green and mint, blush pink, and golden citron. And OMG, alpacas! Those little faces make me smile every time I look at them. For my background fabric I used Confetti Cottons in Riley White.
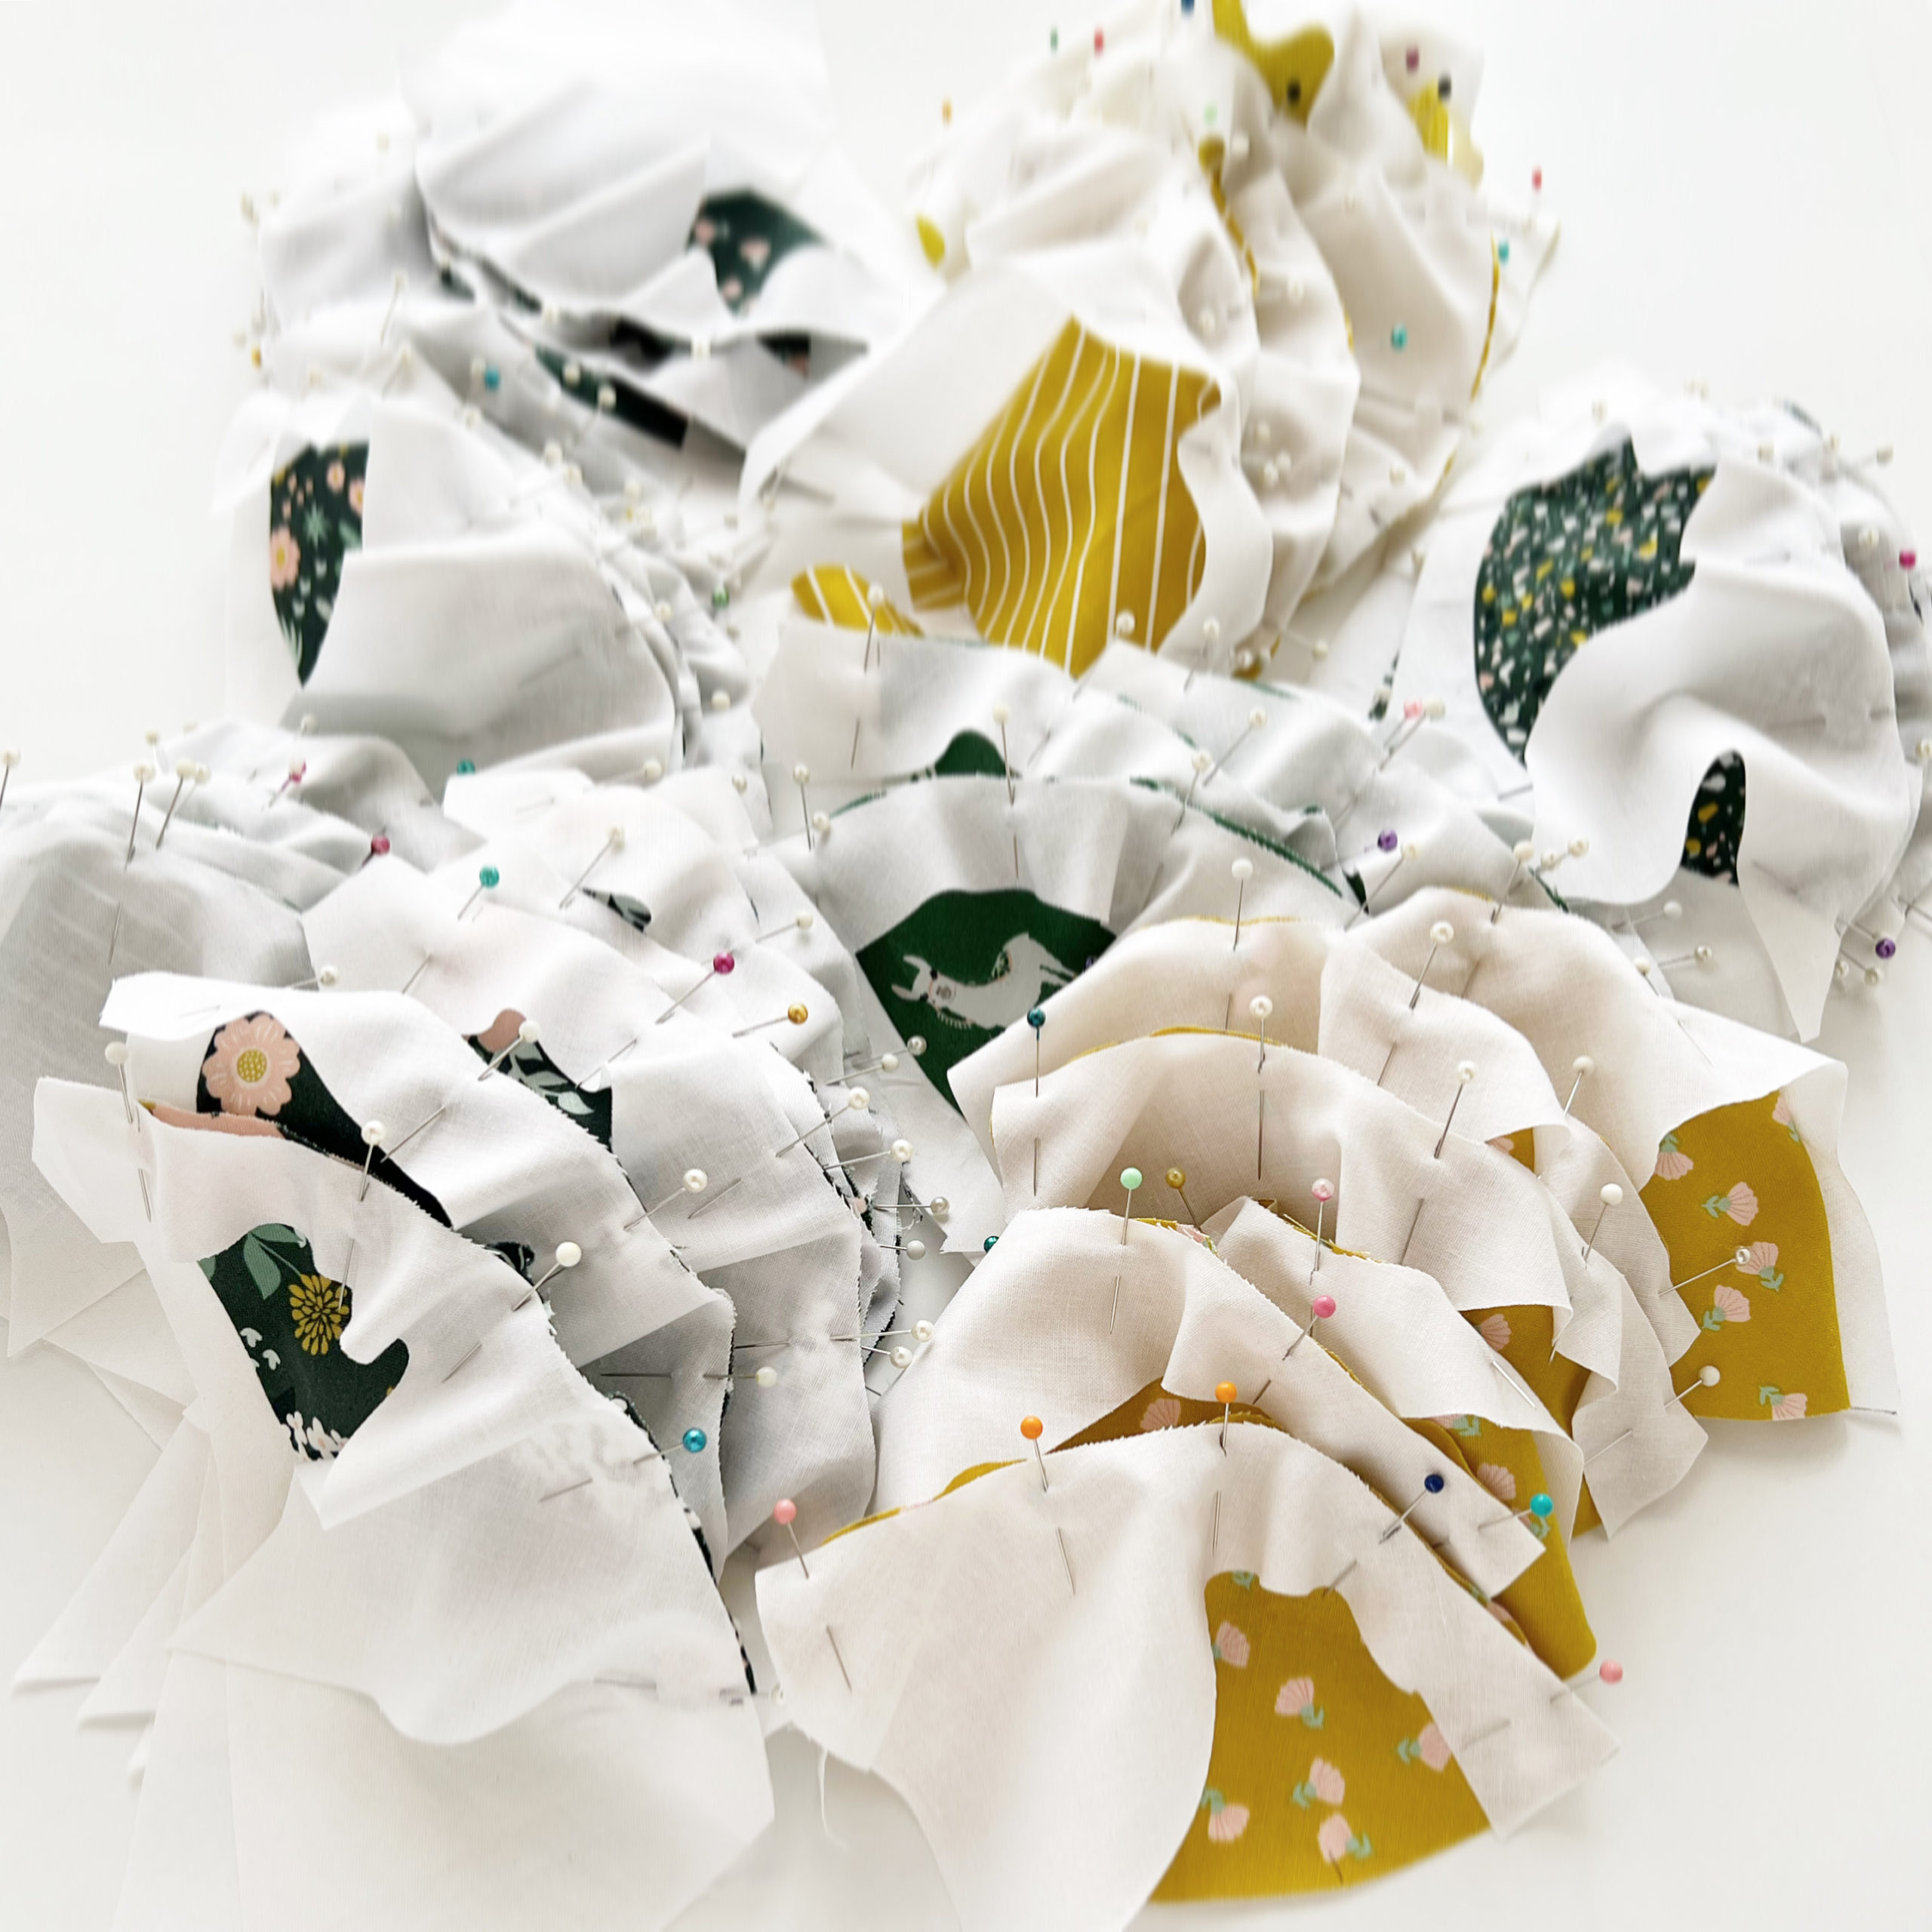
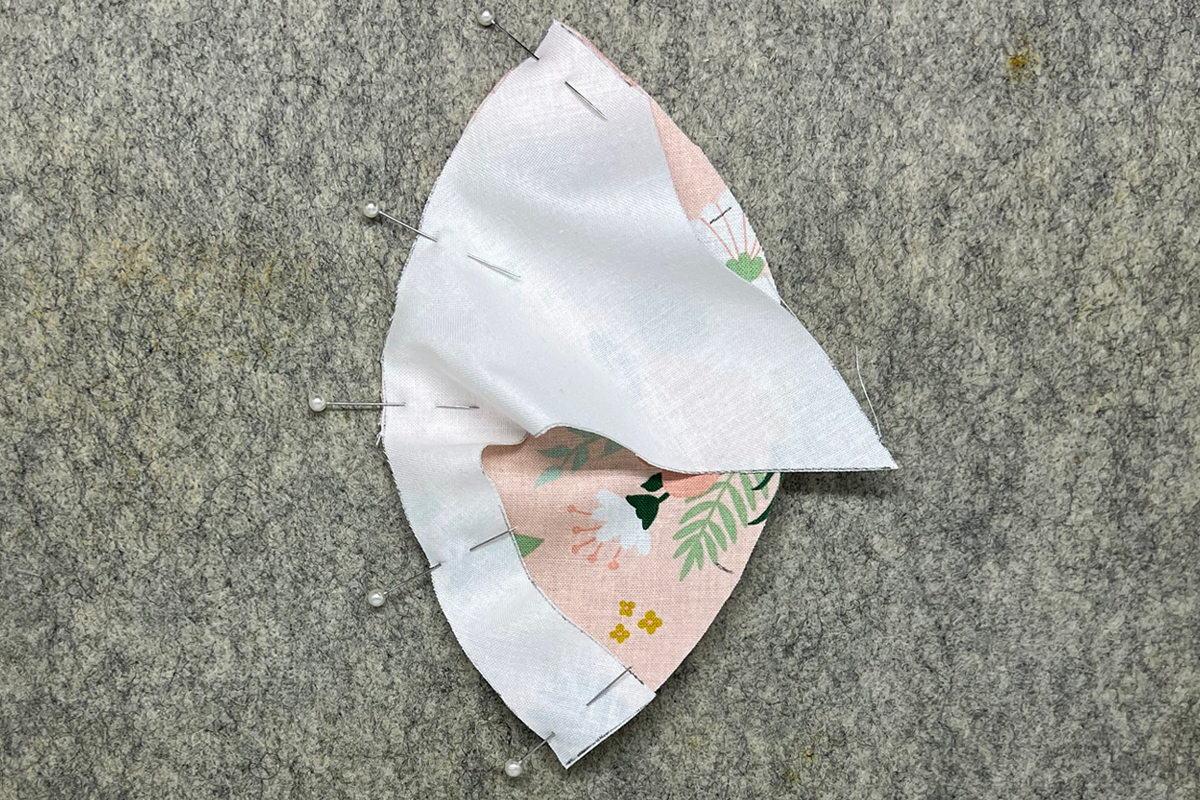
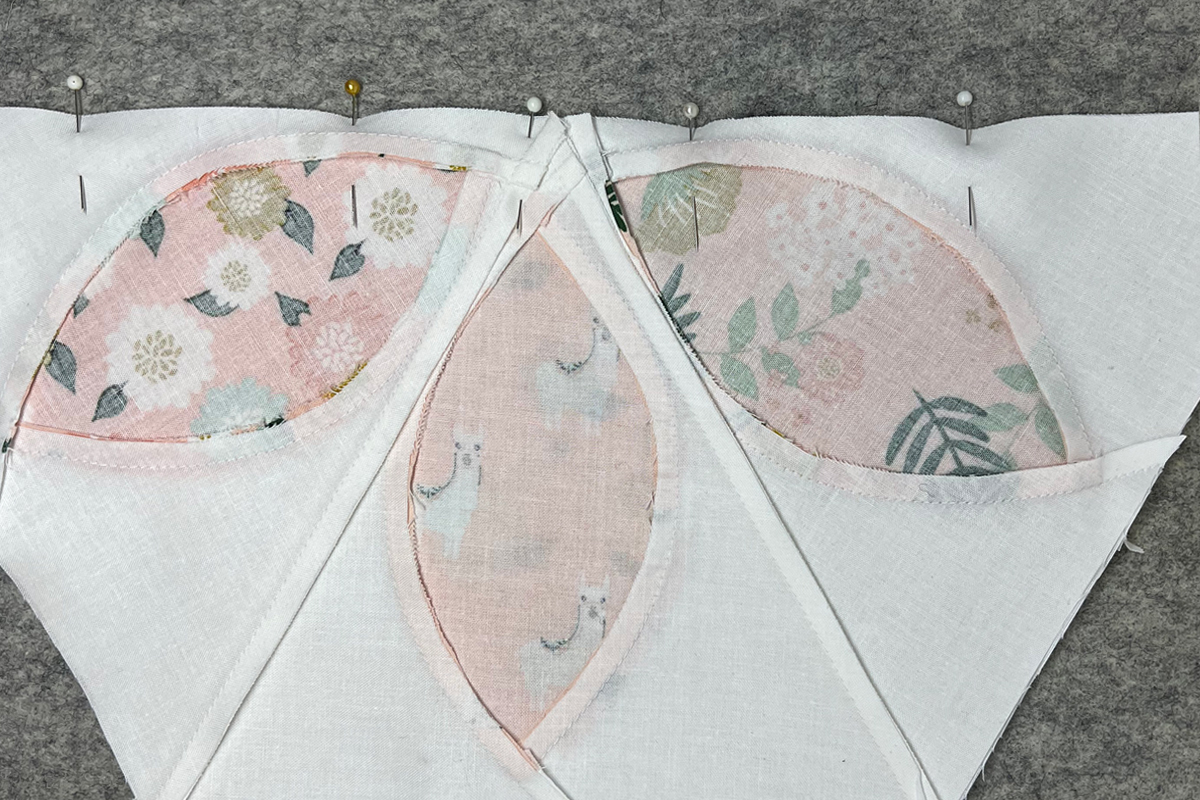
I decided on a quilt layout that included 18 daisies made up of 6 different prints each in 3 colour ways. (I added a few coordinating Confetti Cotton Solids and Texture to fill out my palette.) After cutting out all my petals and background pieces, I got to the boring part … pinning! There’s no way around it, you need to pin these curves to make them fit the seams properly. So, I plopped in front of the Winter Olympics and got to work pinning all of my petals to the background pieces.
Here’s a brief overview of my process to make each block…
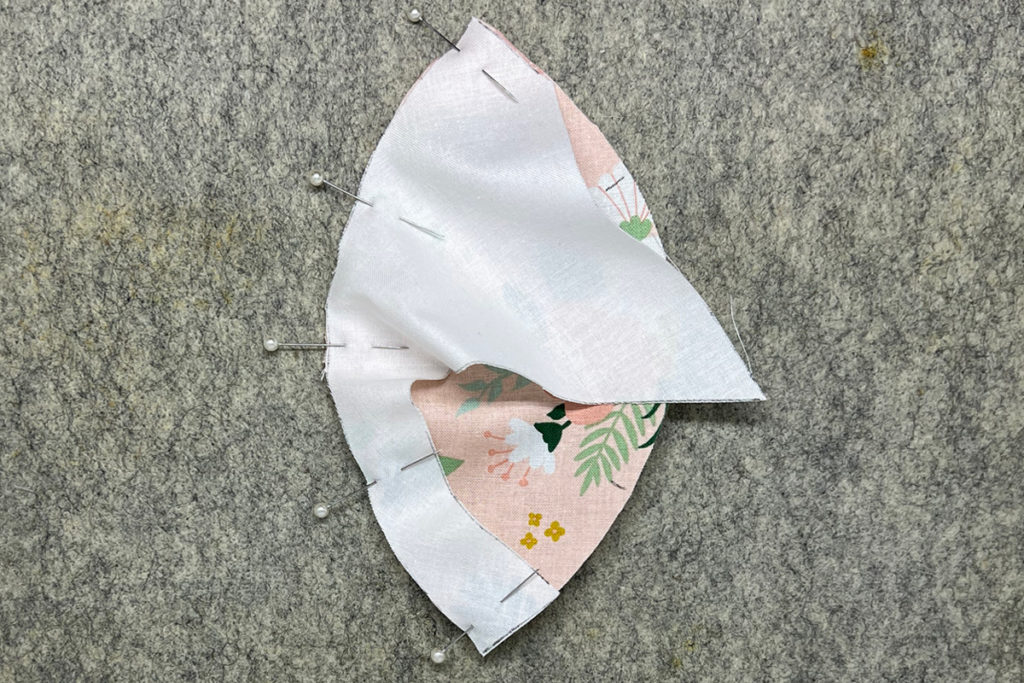
Pin side 1 to petal, sew 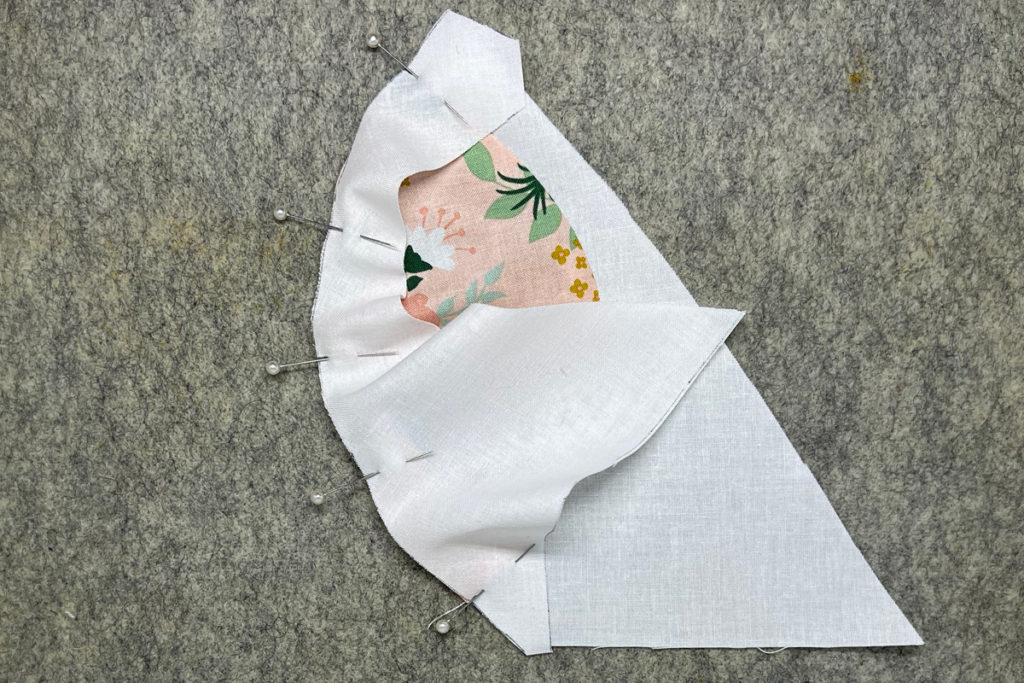
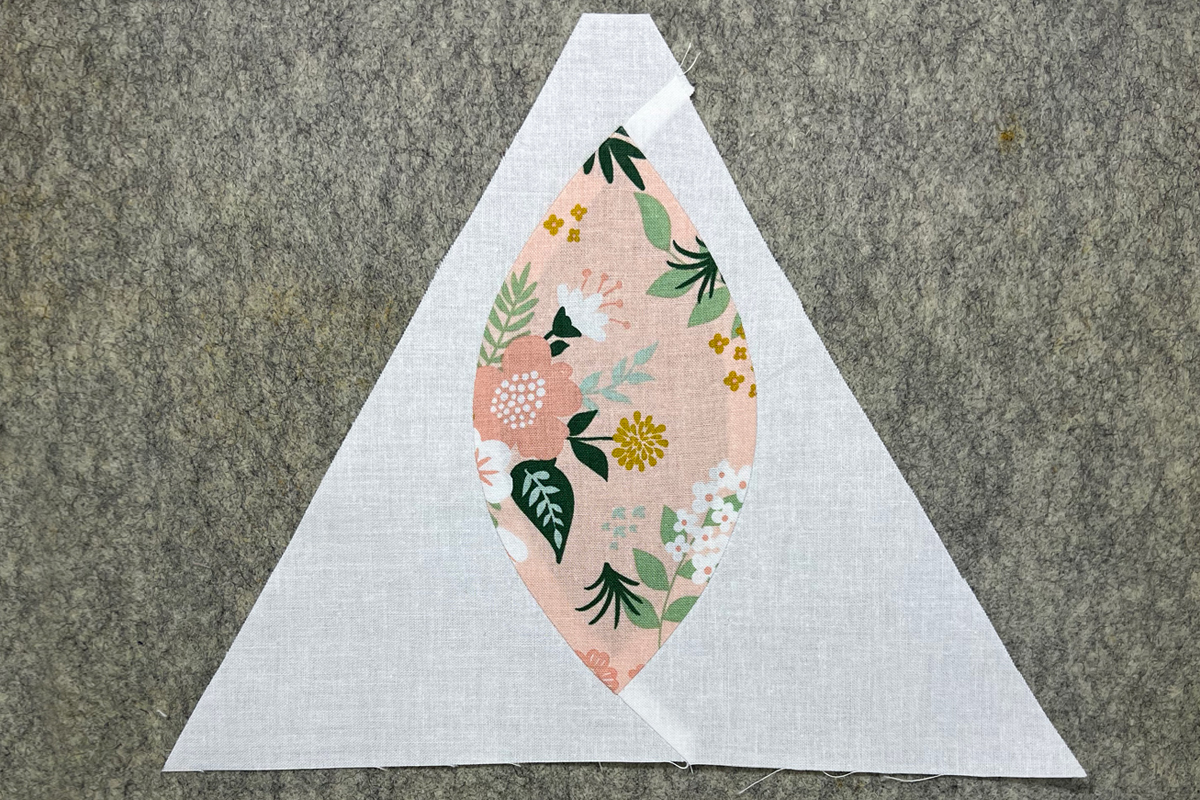
Pin side 2 to petal, sew 
Press curved seams 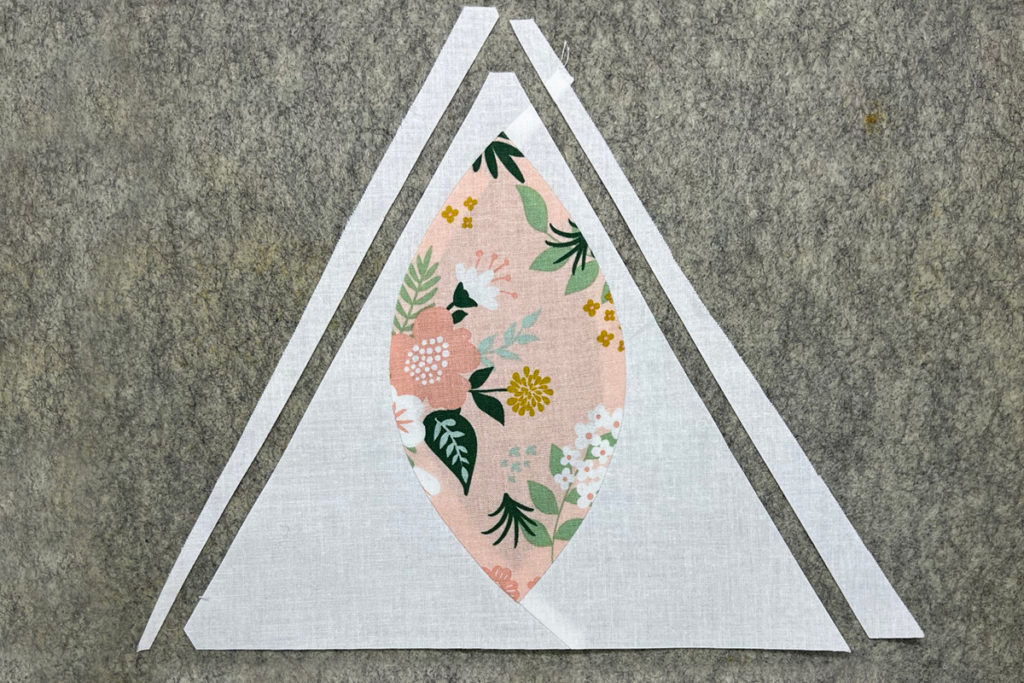
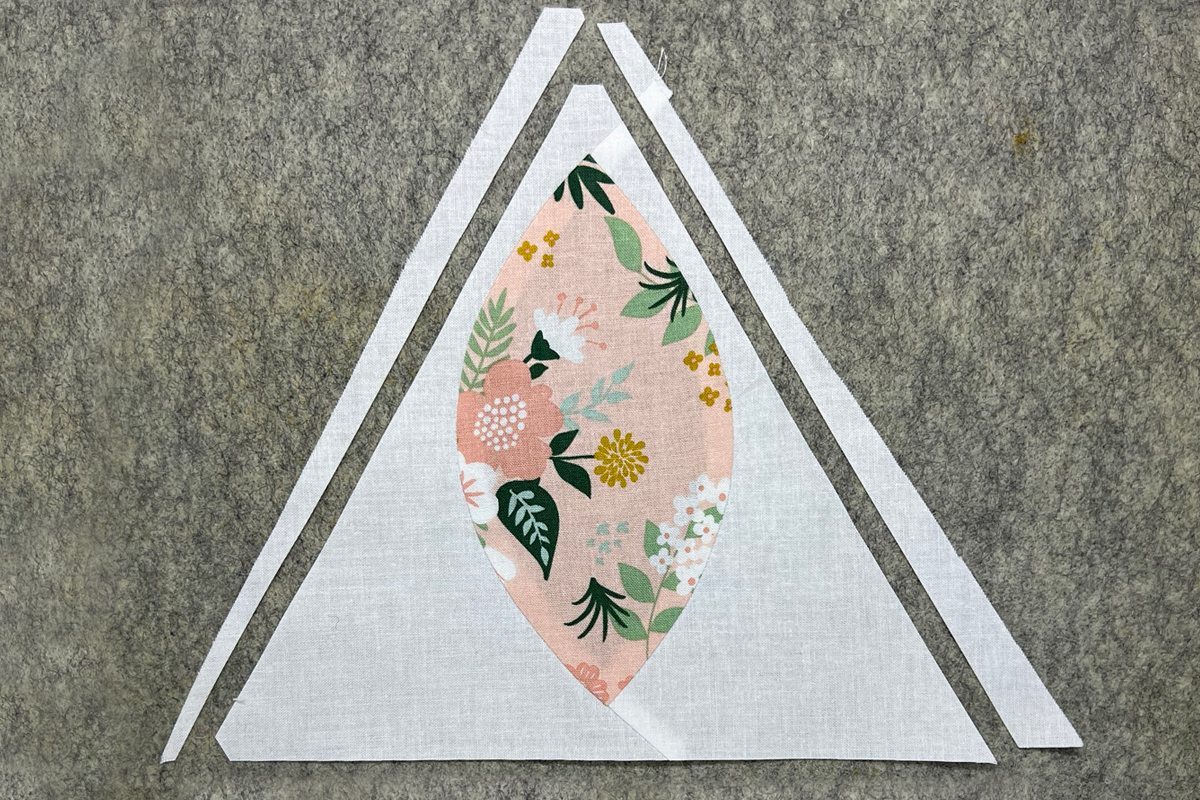
Trim excess 
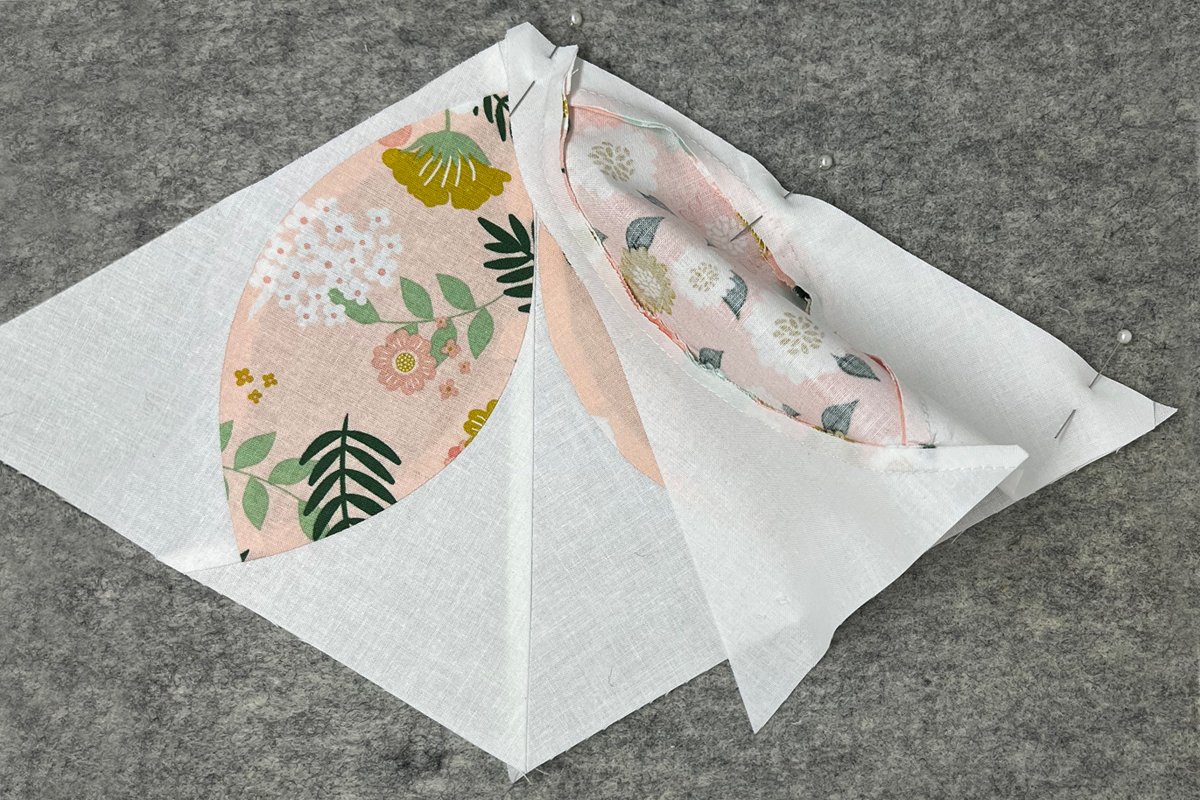
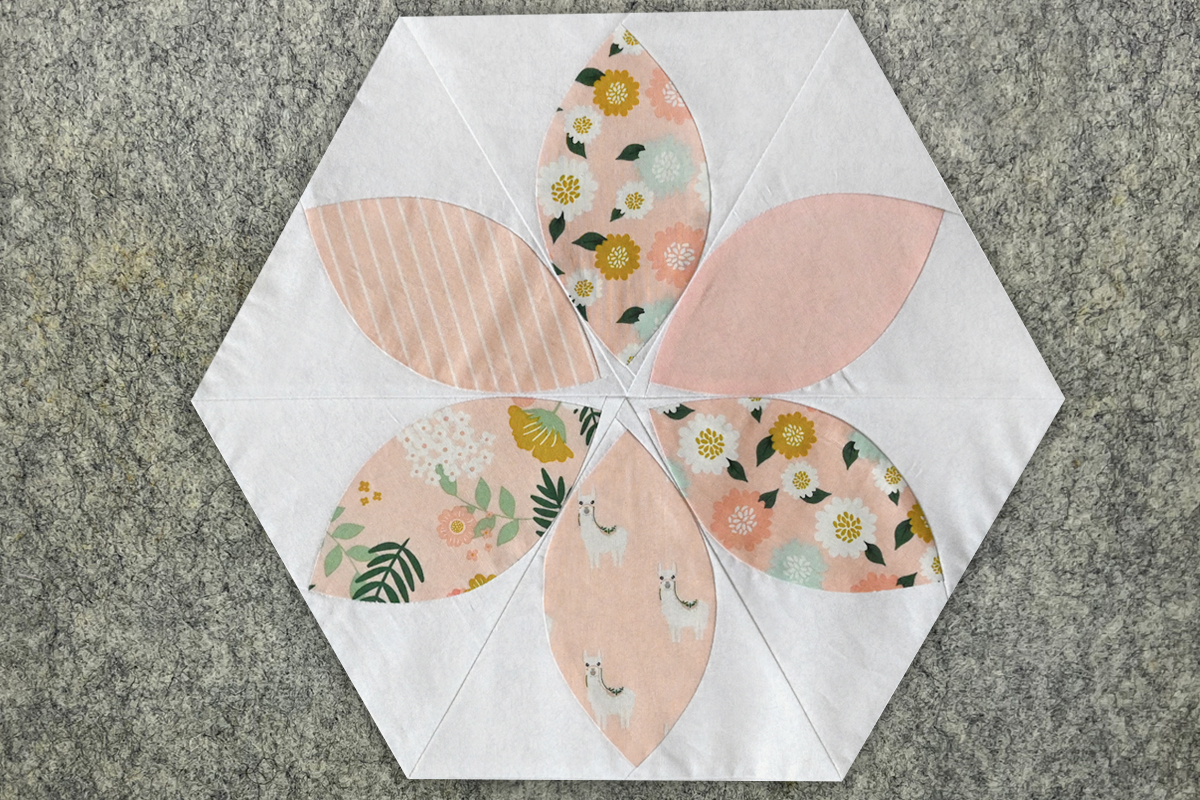
Repeat for a total of 6 triangle units, pin, then sew together 3 units 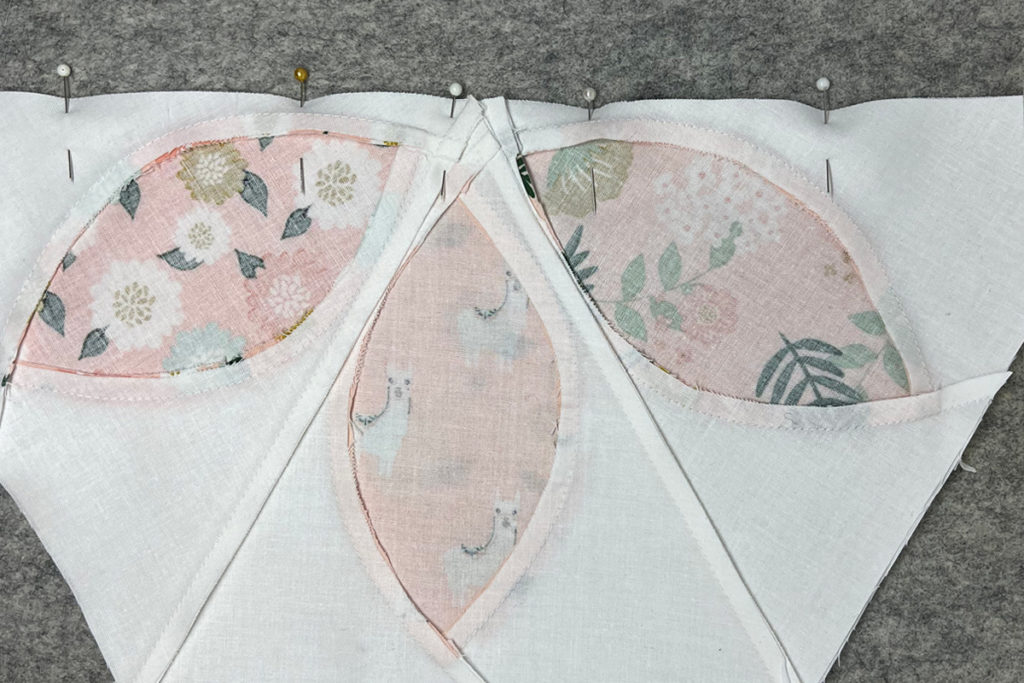
Repeat so you have 2 half-hexie units, sew together the two half 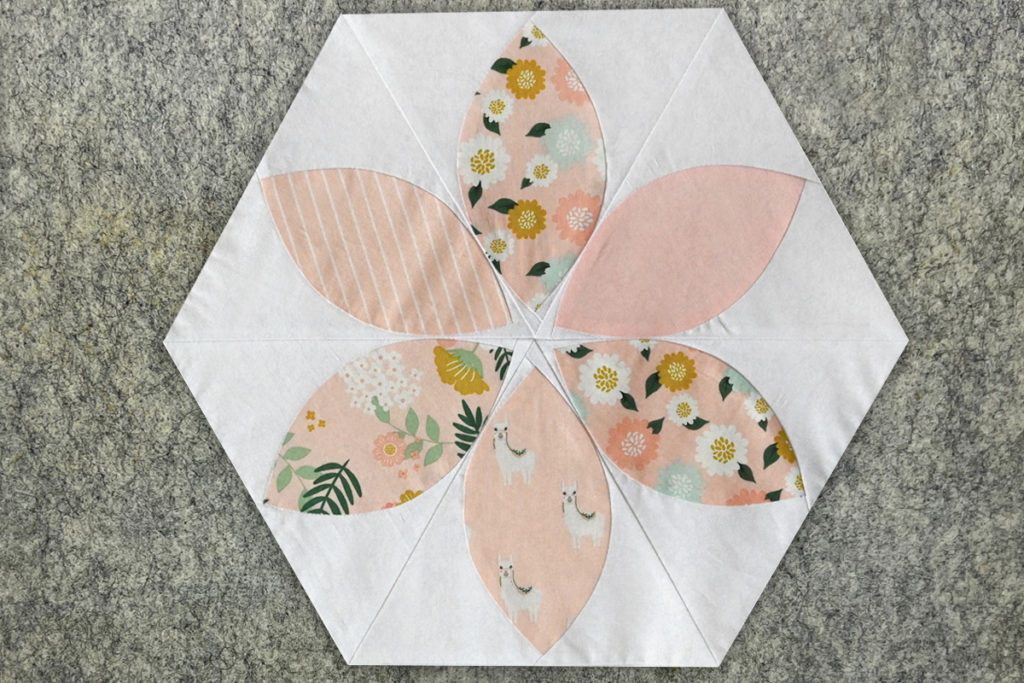
Give everything a good press and voila, the Daisy Star block is finished!

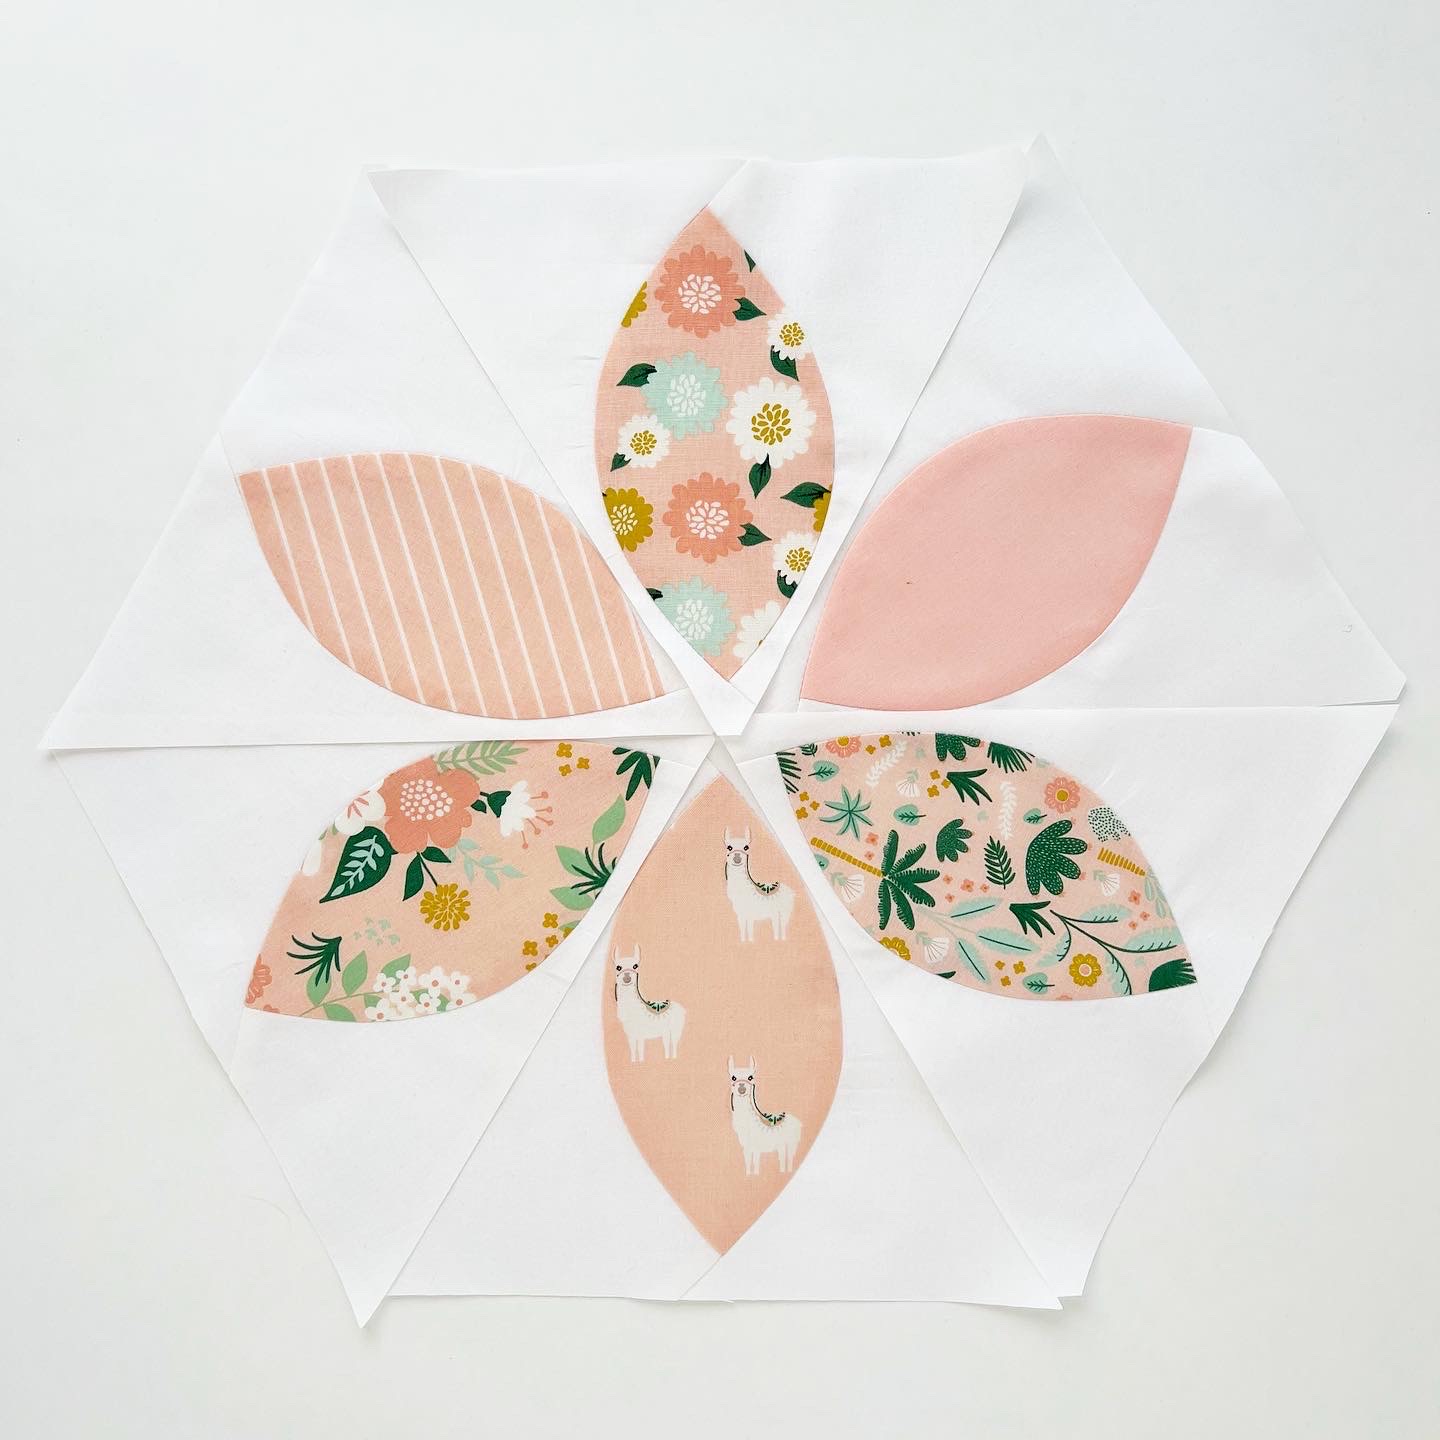
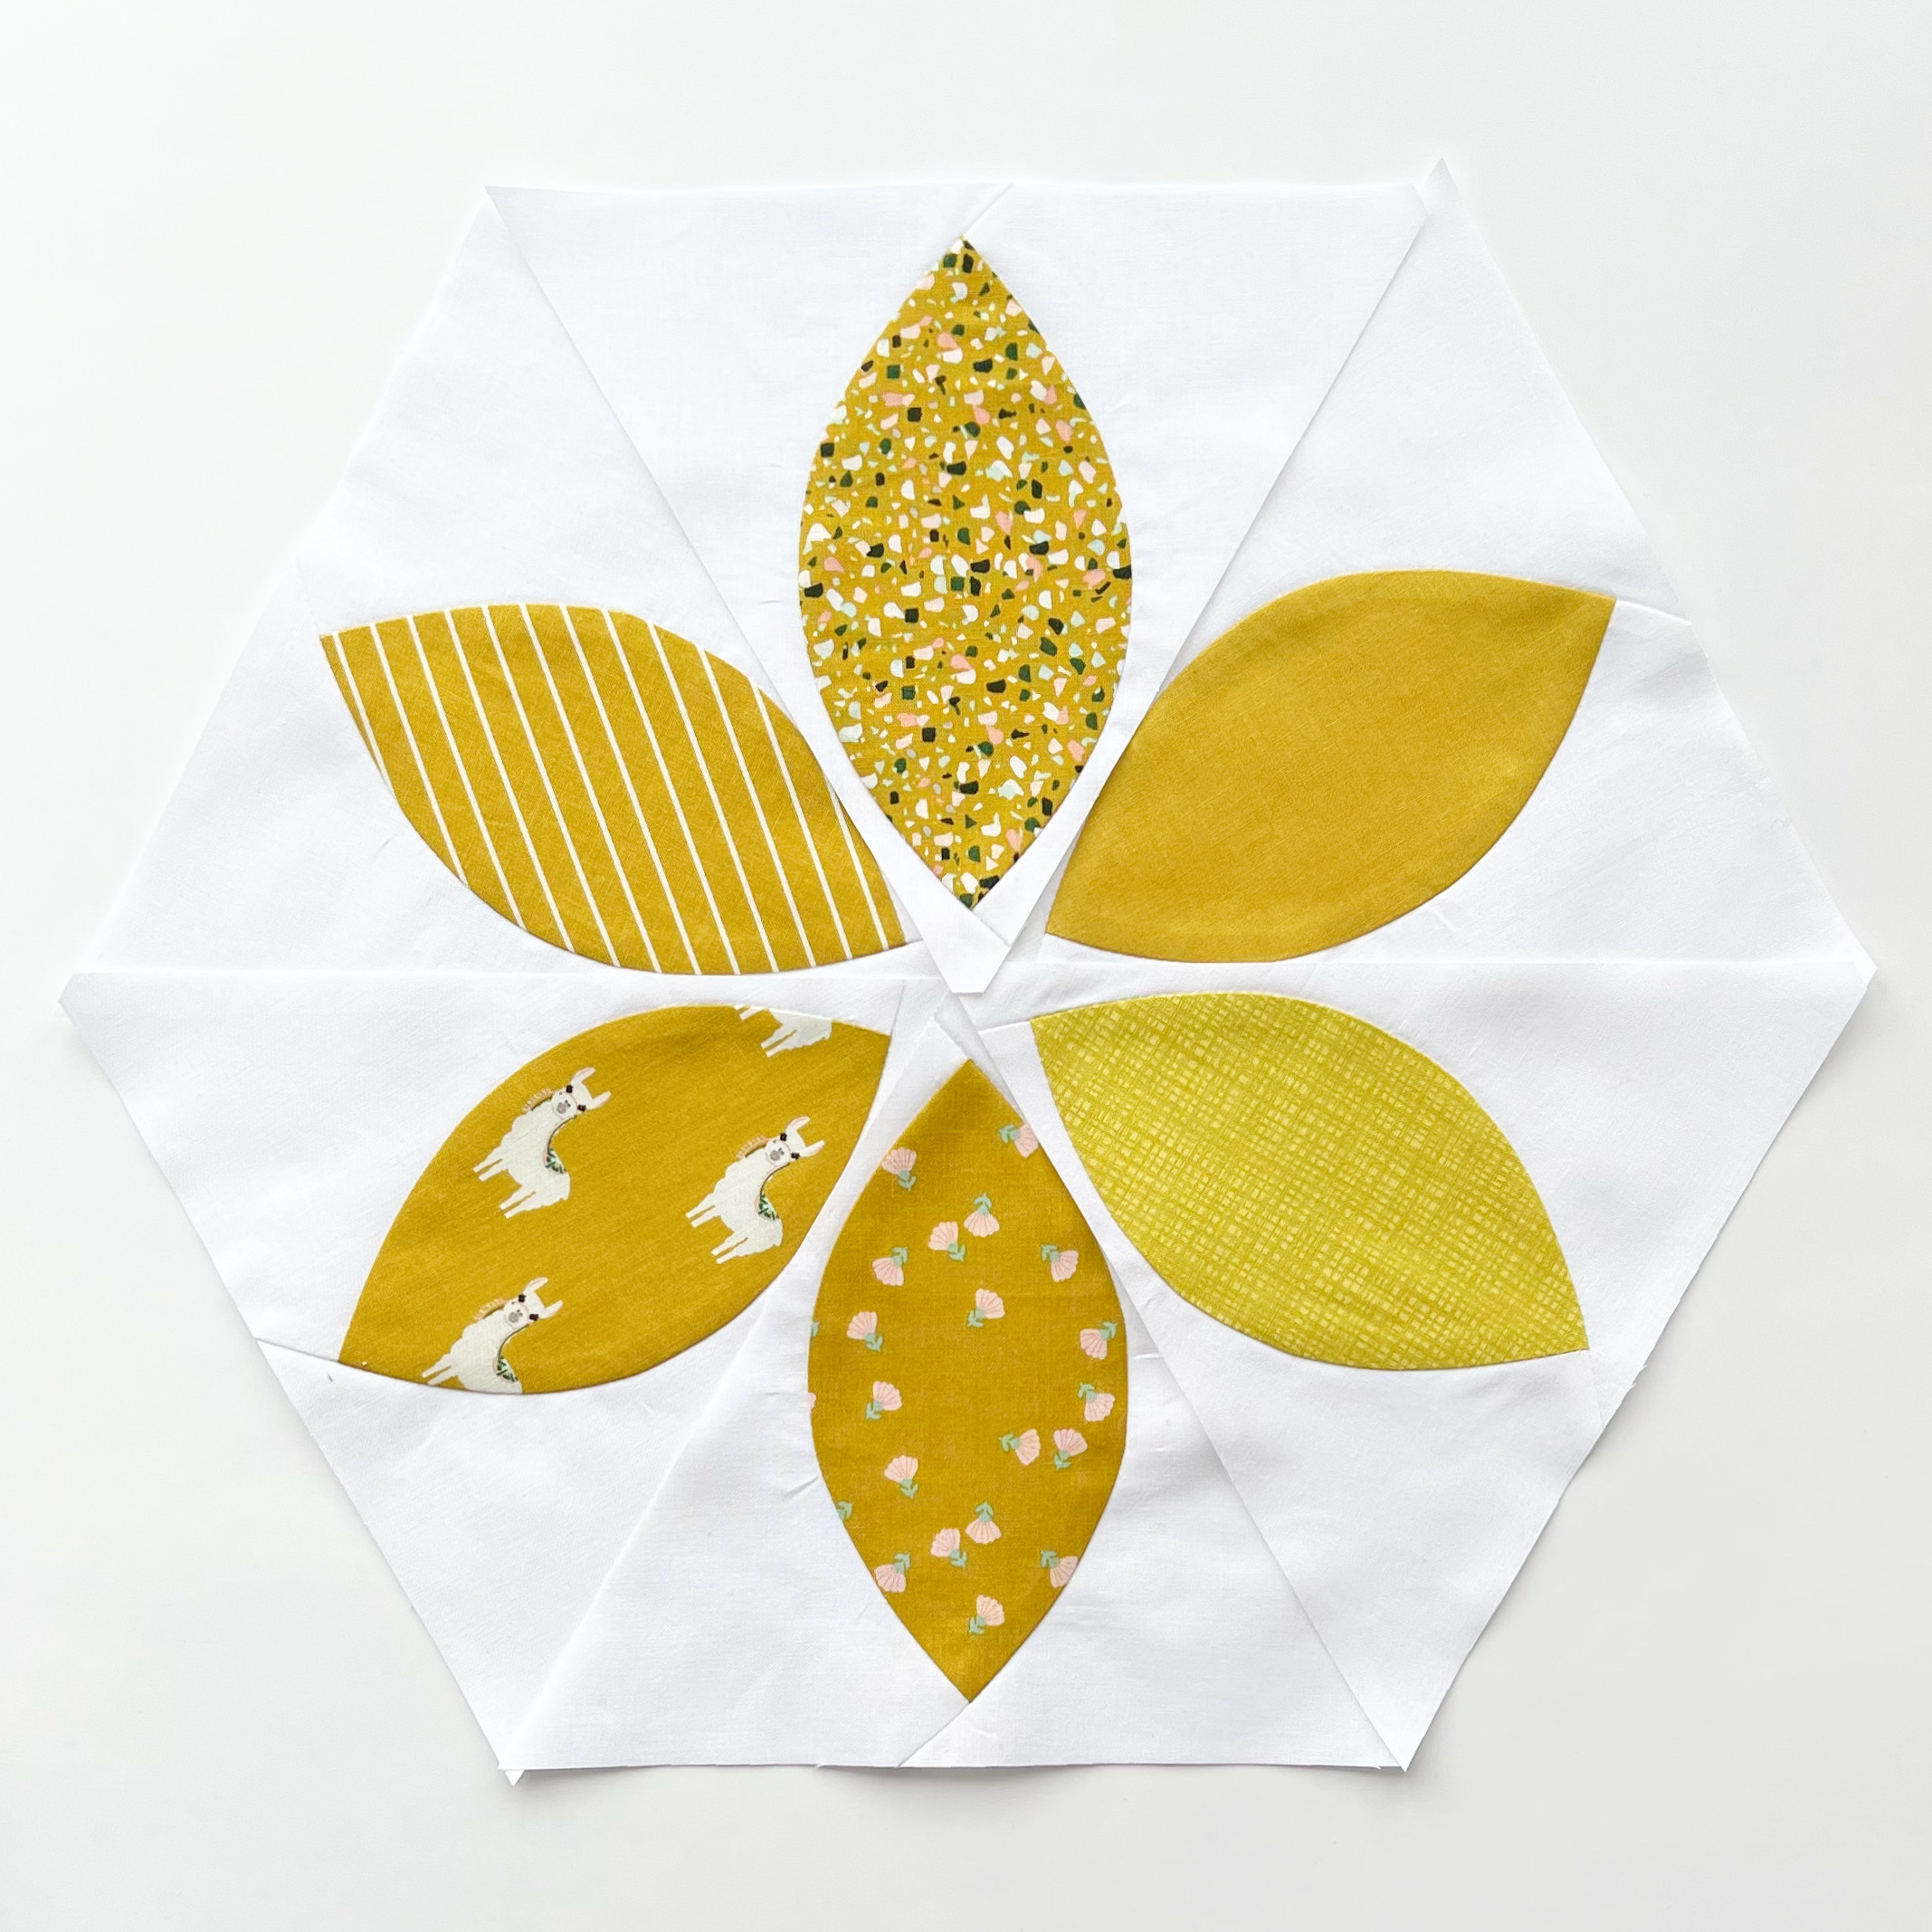
Here are some WIP photos as I was trying to decide on my petal layouts:
I made all 18 blocks and then “set” them with some plain white triangles for a staggered layout. I worked in diagonal “rows” so I didn’t have to sew any Y-seams. 🙂
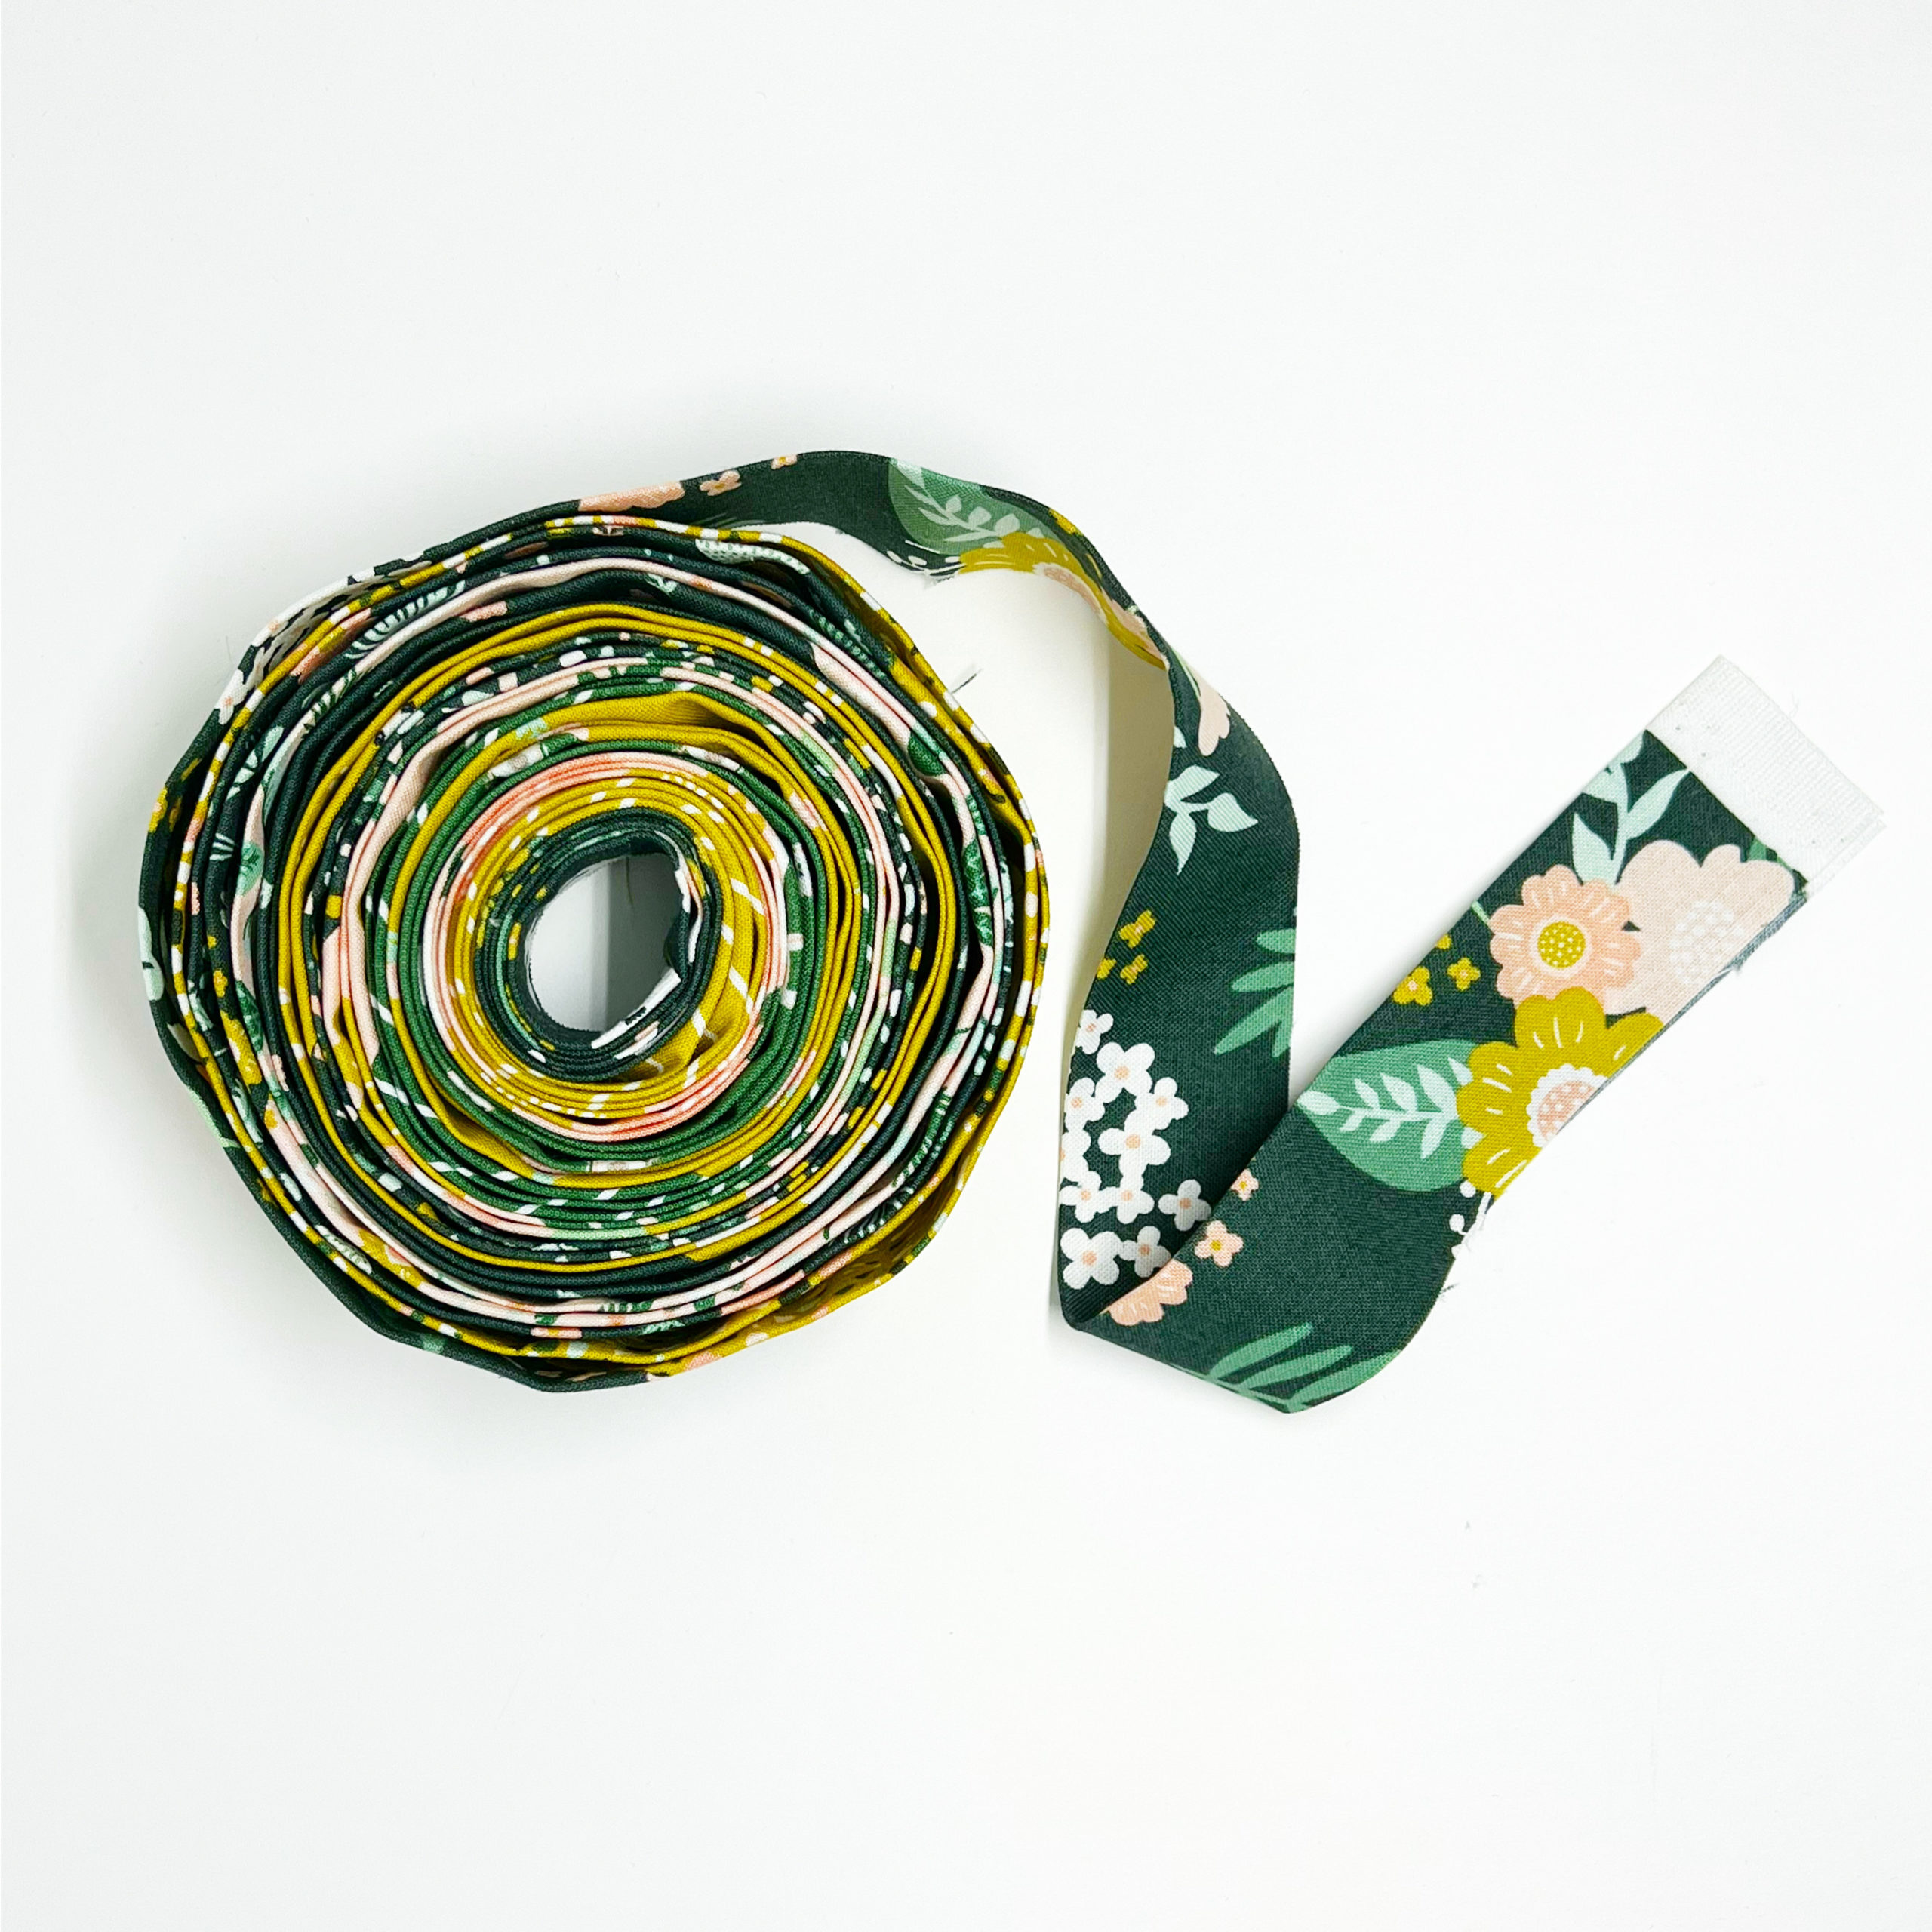
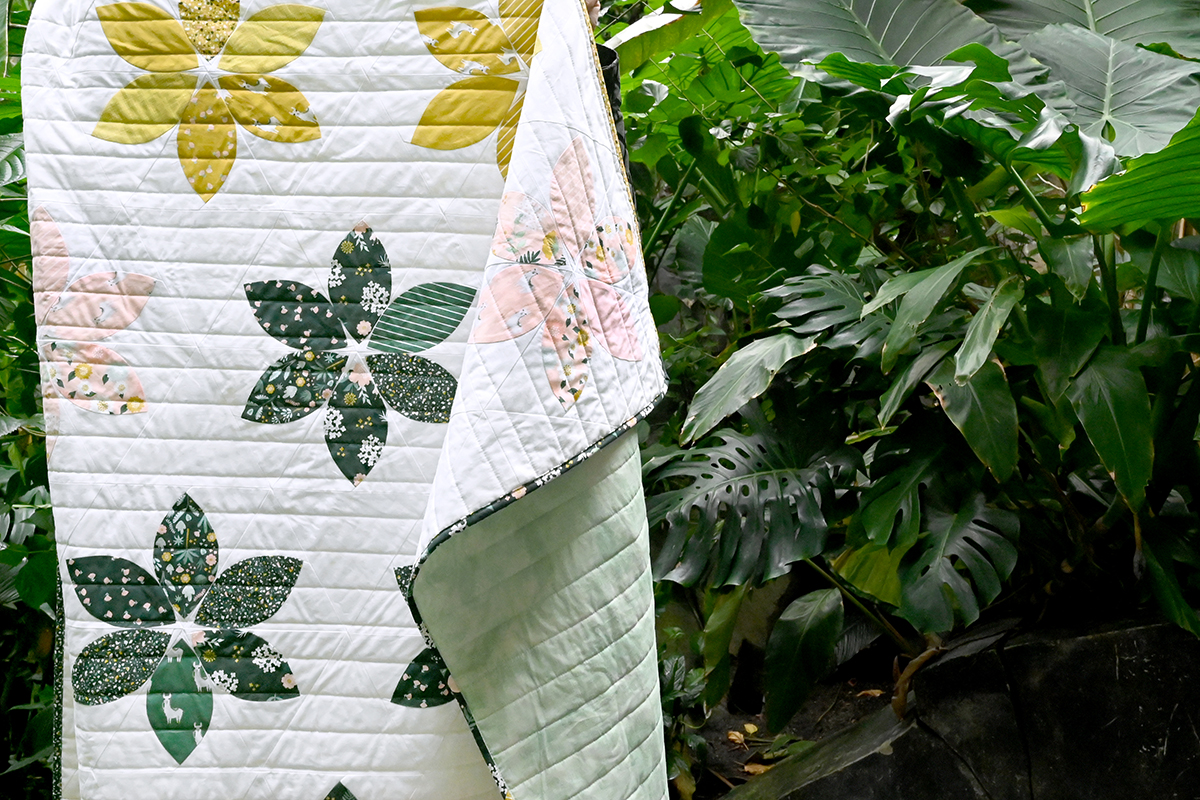
Once my quilt top was complete, I was torn about what to use for the binding. Since I had left-over fabric from each of the fat quarters I used in the quilt, I decided to use one strip of each of the prints for my binding, giving it a fun scrappy look.
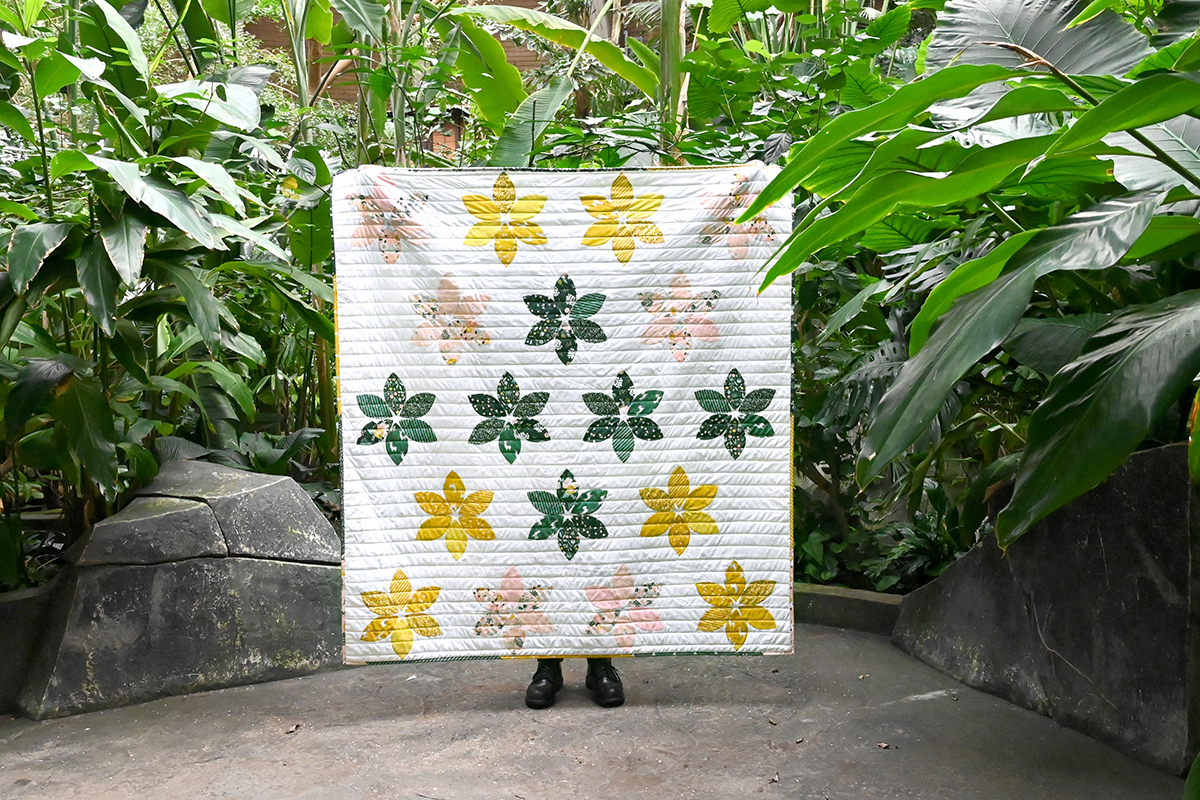
I deliberated for a while over how to lay out my 18 blocks. I ultimately decided on grouping the green blocks together in the centre since they are quite a bit darker in value to the gold and pink blocks. The dark green draws your eye in more so I didn’t want to fight with that, but rather use it as a feature. I quilted straight even lines, spaced about 1.75″ apart to keep it simple and not detract from all the playful movement in the daisies.


Hey quilters! The Daisy Star Quilt Pattern is now available for purchase. You can click here to purchase the pattern.
To make your own Daisy Star block you can hop over to my website to purchase the template. The template comes with instructions on how to make single block. It would make a great cushion, bag, or back of a jean jacket! Or use it to make multiple blocks to sew in to a full quilt… hexagon blocks are so fun to play with because there are so many ways to combine them into fun layouts.
Thank you for reading my blog post. I hope you enjoyed reading about my process.