High Adventure 2 is the newest fabric line by the talented Designs by Dani. This woodsy collection features teepees, arrows, geometric designs, woodgrain, and of course elk, moose and bears!
I am lucky enough to live on the Carolina coast, just minutes from the ocean, but surprisingly, my backyard is connected a woodland forest. In fact, here are a couple forest friends that showed up just today…


Aren’t they cute? Dani’s High Adventure fabric collection has a cozy, woodsy, mountain feel to it that reminds me not only of my own Carolina woods, but also of growing up in the western U.S. with five Boy Scouting brothers.


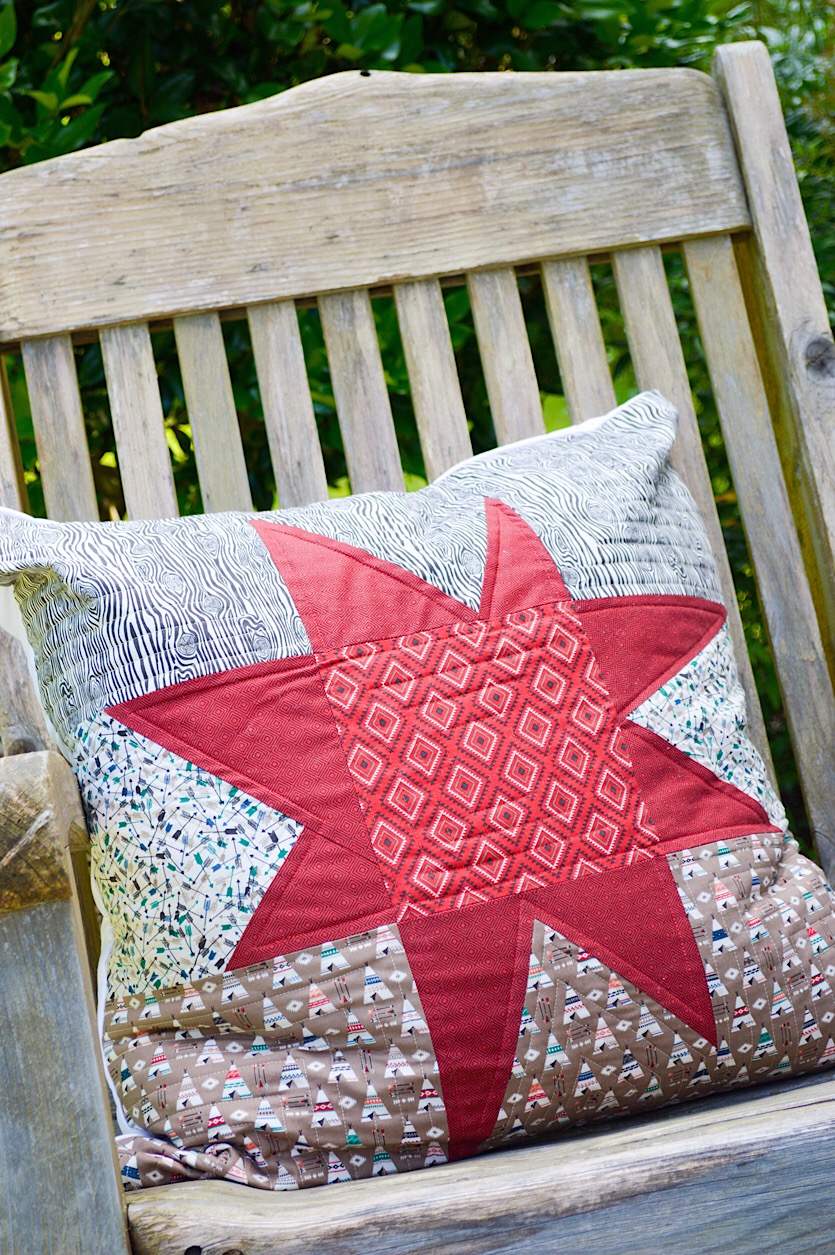
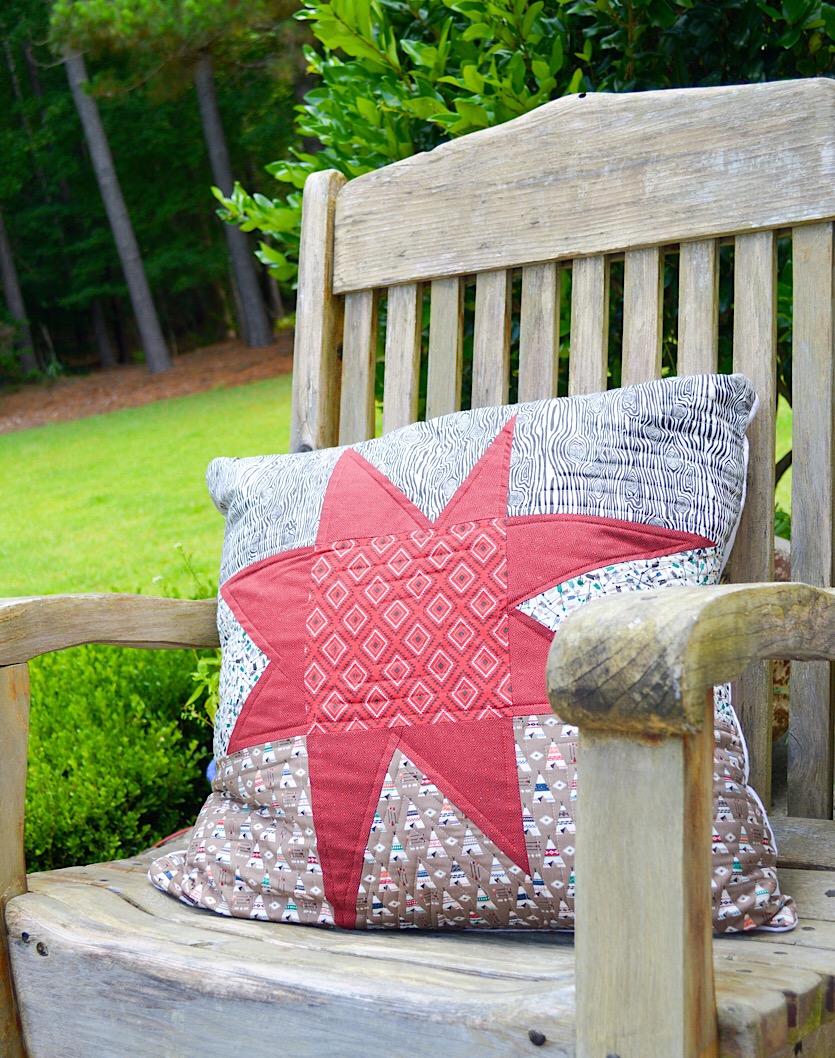
Going with the cozy vibe of this collection, I decided to make an oversized, super soft feather pillow, perfect for family movie nights or just curling up with a good book. This pillow uses a 28” down pillow insert, which is easy to find online.

I started with these six prints, but realized only when I finished the pillow that I didn’t end up using the Tan Adventures 2 Main print, so I am setting that fun print aside for a future project.
For this 28” pillow, you will need:
- 1/3 yard Red Adventure 2 Aztec
- 1/3 yard Red Adventure 2 Diamonds
- 1/3 yard Tan Adventure 2 Teepee
- 1/3 yard Cream Adventure 2 Arrow
- 1/3 yard Cream Adventure 2 Woodgrain
- enough quilt batting for front and back of pillow
- fabric for pillow back – about 1 yard
Begin by cutting:
- 2 – 10” squares Cream Woodgrain
- 1 – 8” x 10” rectangle Cream Woodgrain **make sure the wood grain is oriented vertically.
- 2 – 8” x 10” rectangles Cream Arrows
- 2 – 10” squares Tan Teepee
- 1 – 8” x 10” rectangle Tan Teepee **make sure the teepee print is oriented vertically
- 1 – 8” square Red Aztec
- 4 – 12” x 12” squares Red Diamonds
Cut the 12” Red Diamonds squares in half diagonally, or you can cut them diagonally a little off center. Either way is perfectly fine.
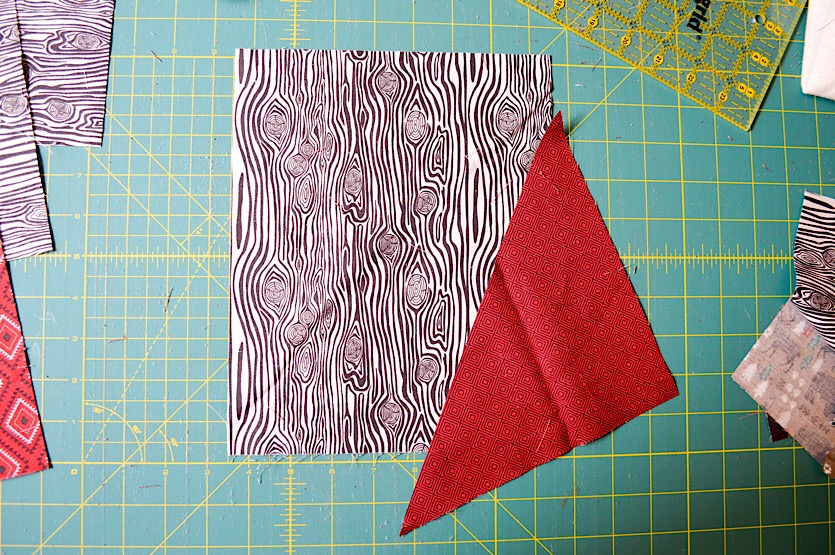
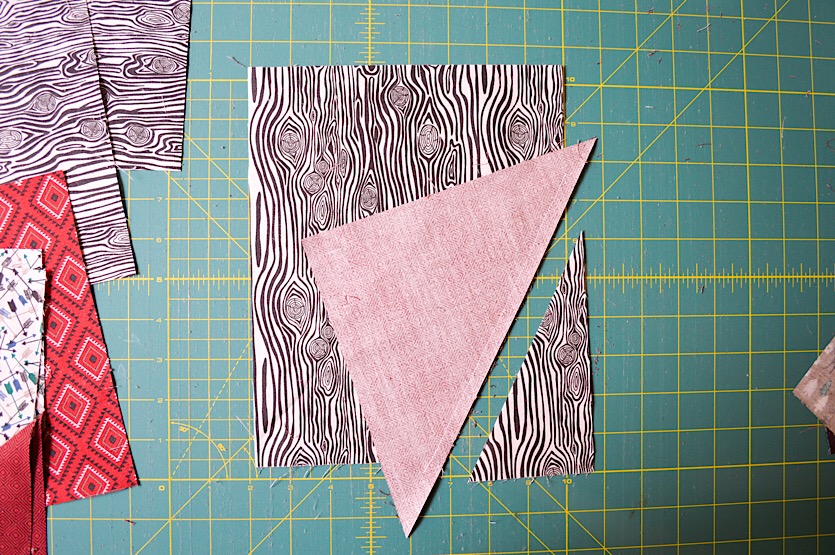
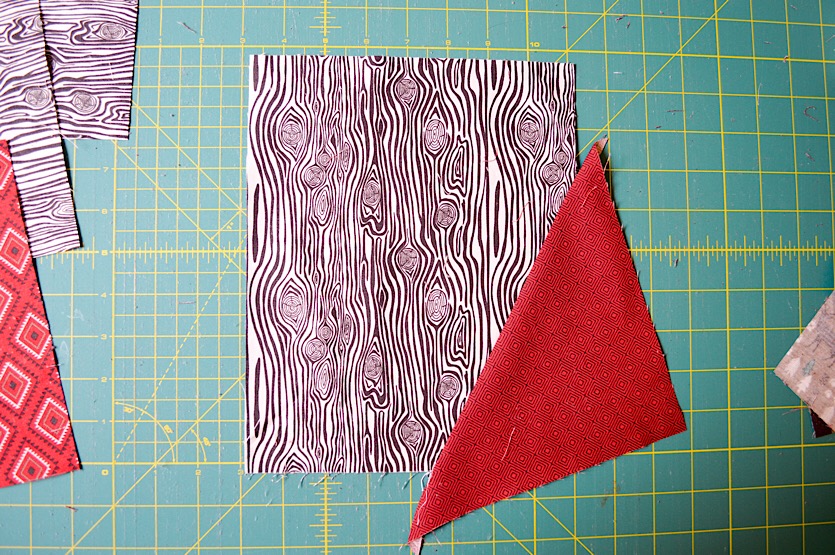
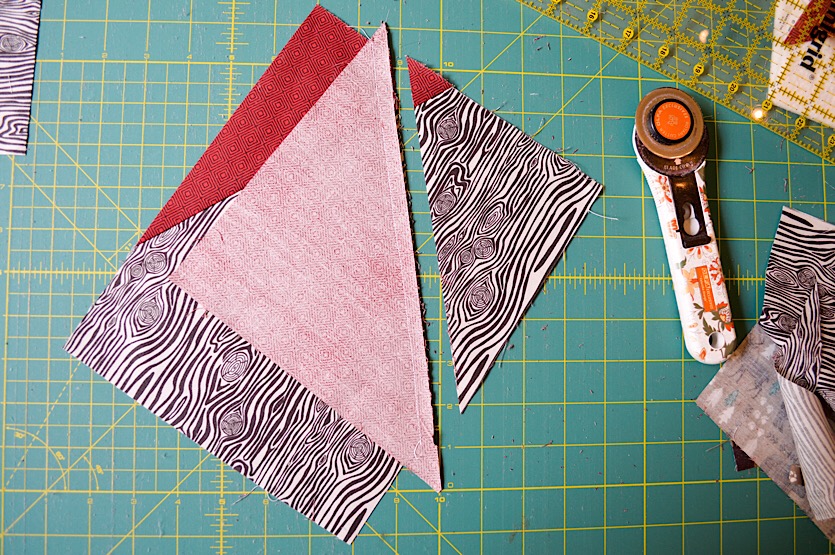
Arrange a Red Diamond triangle on one of the 8” x 10” rectangles. I like to place it a little off center. You’ll want to make sure the red fabric can cover the corner of the rectangle piece.

Once you have it where you like it, flip it over and pin into place.
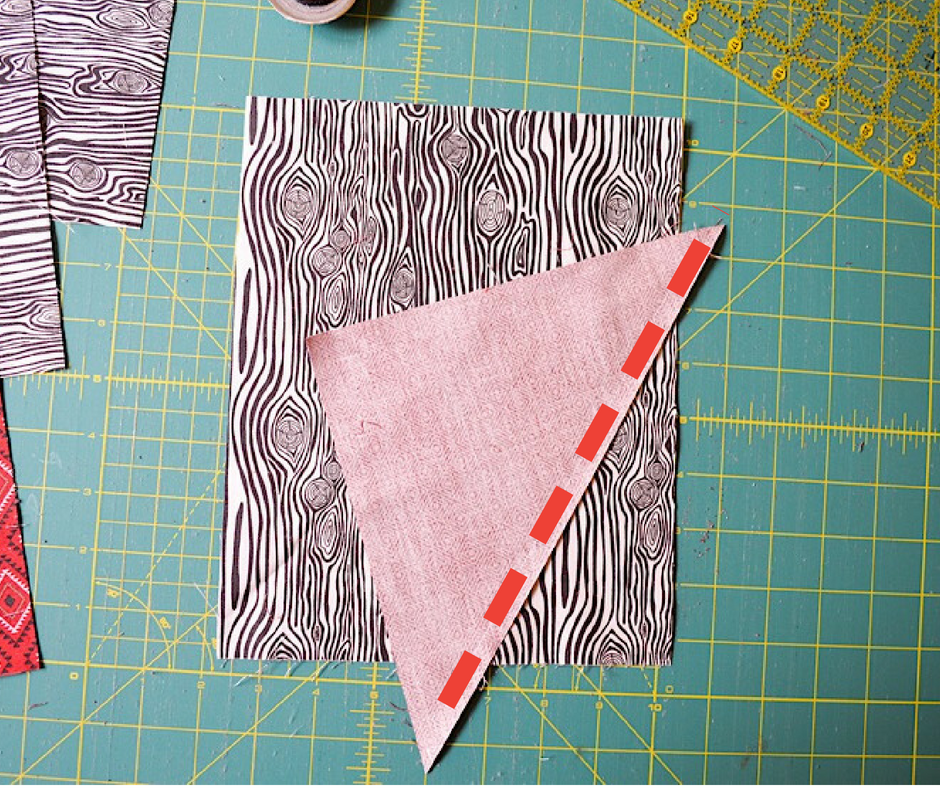
Stitch in place using a 1/4” seam allowance.
Using a rotary cutter, measure 1/4” from your seam and trim off the excess corner fabric.
Fold back and press.
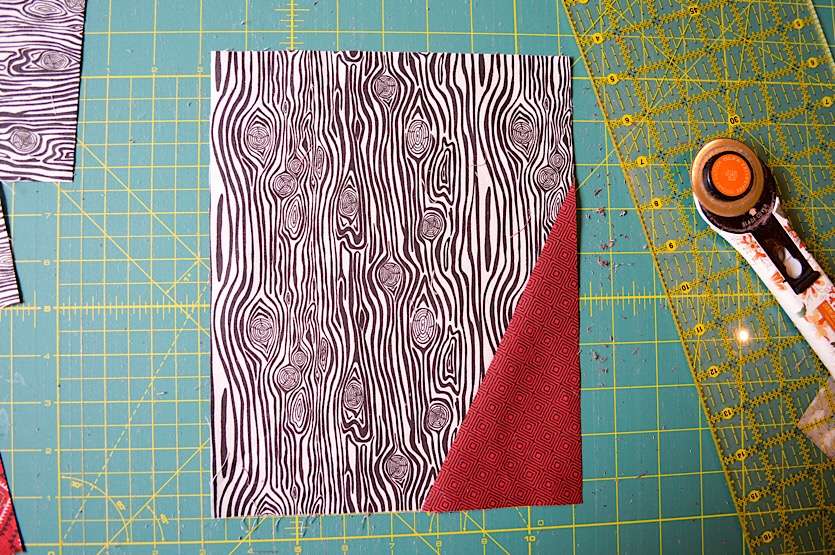
Trim corners flush with woodgrain edges.
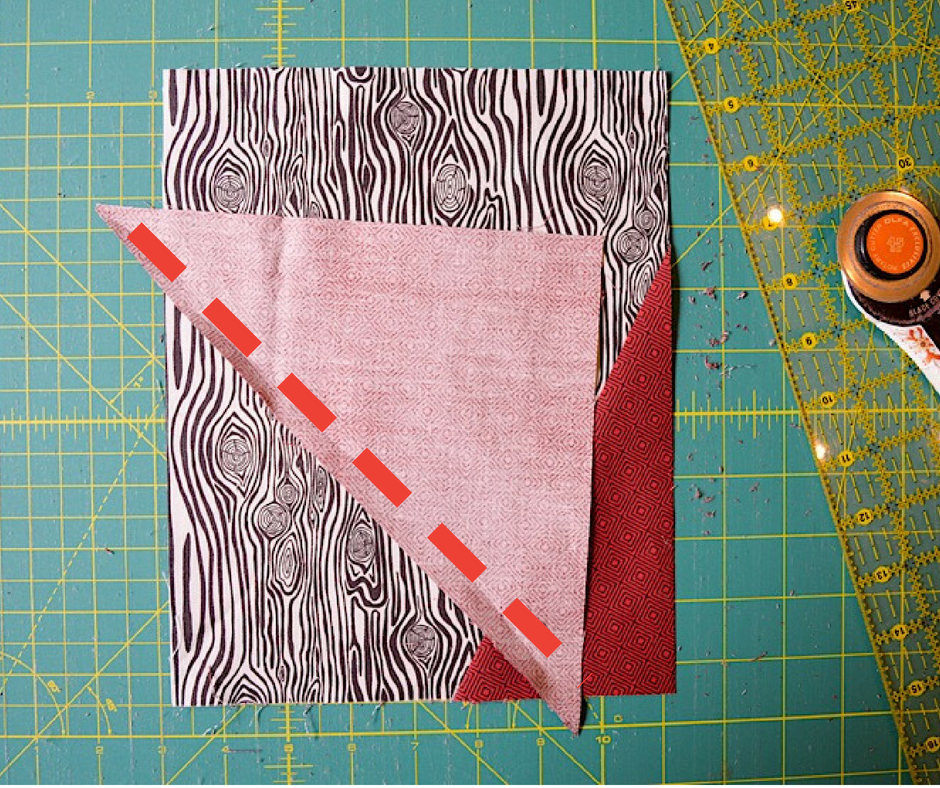
Repeating the process to create the second star tip, position another triangle piece where you want it (making sure the corner of the wood grain is covered), flip the fabric over, and stitch in place 1/4” from triangle edge. **Note: In order to achieve the uneven points for the”wonky” look, position your triangle higher or lower than the first triangle so the angles end up asymmetrical.
Using your ruler and rotary cutter, measure 1/4” from your seam and trim off the woodgrain corner.

Fold back the triangle and press. Trim edges so they are flush with the woodgrain. Your finished rectangle should measure 8” x 10”. Repeat these steps on the remaining three 8” x 10” rectangles. When making your Tan Teepee block, remember that the Teepees are directional and will be on the bottom row of the pillow, so you will want to sew the triangles at the “top” of the block.
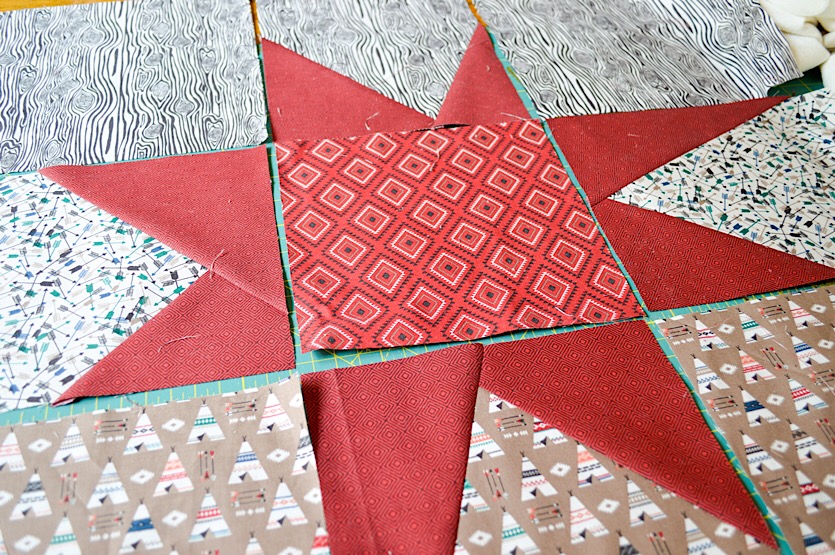
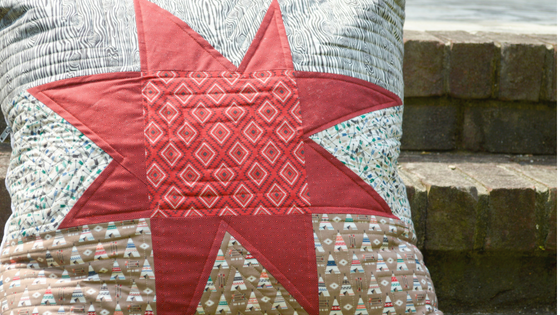
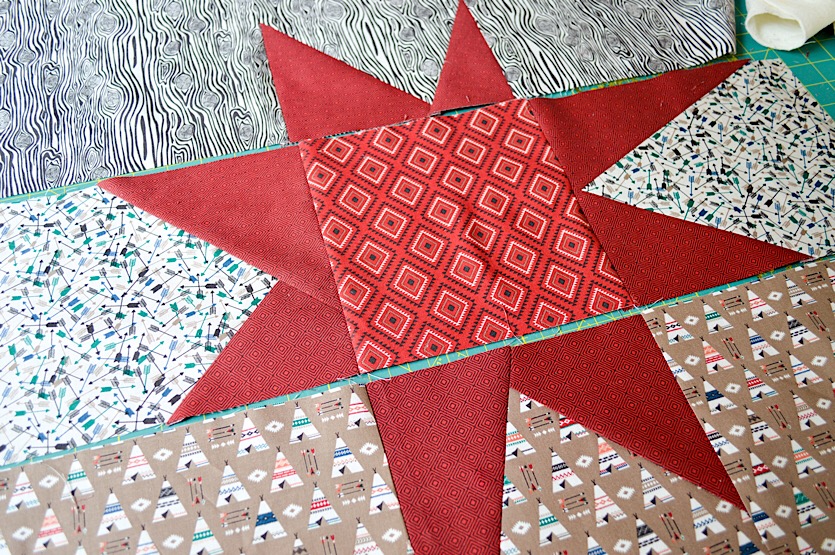
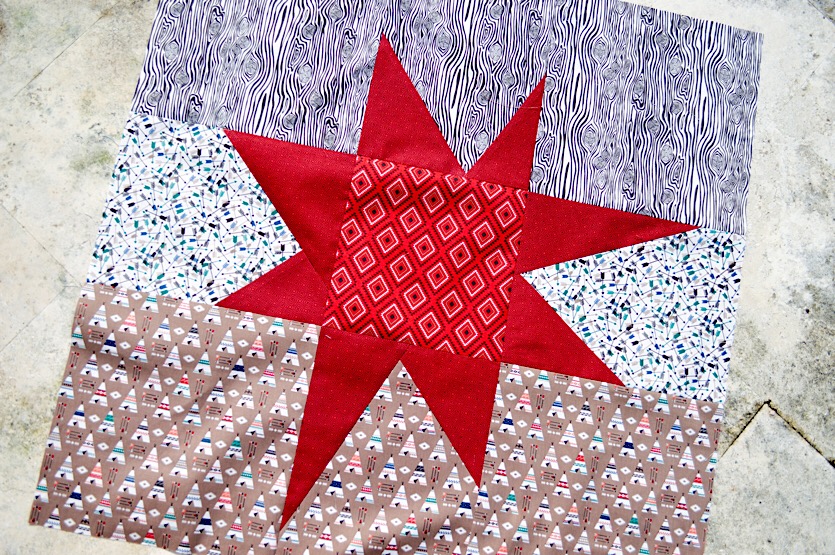
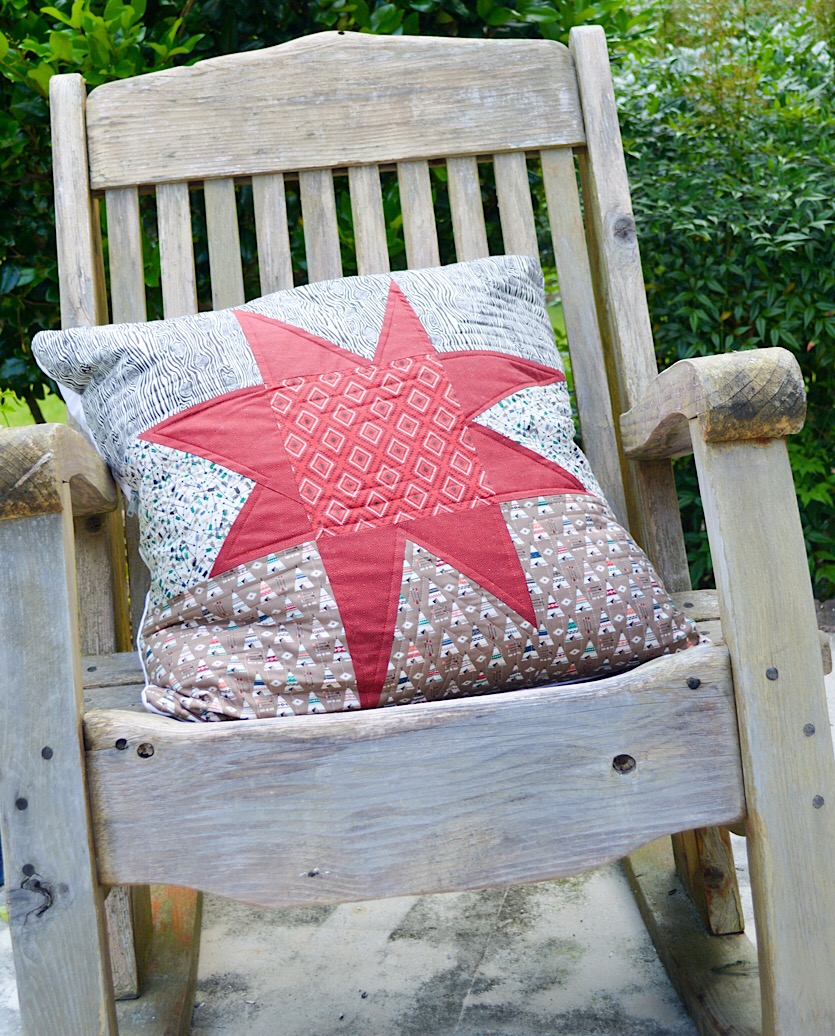
When your star point blocks are all finished, arrange all of the blocks as shown above. The 10” blocks make up the four corners with the star point blocks in between them. The center block is your 8” x 8” Red Aztec square.
Sew the blocks together in rows using a 1/4” seam allowance. Press the seams of the top and bottom rows toward the outside. Press the seams of the middle row toward the center square.
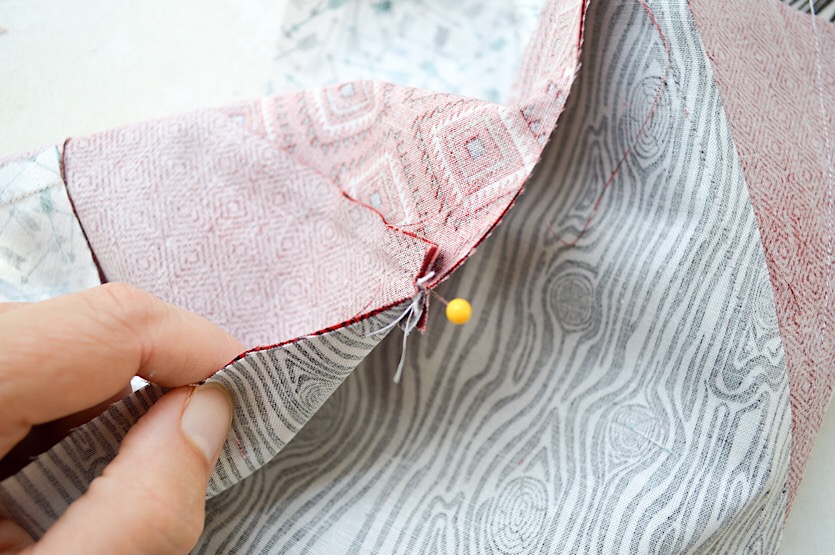
Now pin your first two rows together, matching up the seams so that they butt up against each other as shown in the photo above. Stitch rows together using a 1/4” seam allowance. Open seams and press. Repeat for second and third row.
Now your pillow top is complete. I always quilt my pillow tops to give them extra structure and stability. To quilt the pillow top, simply back it with quilt batting and machine quilt with any design you prefer.
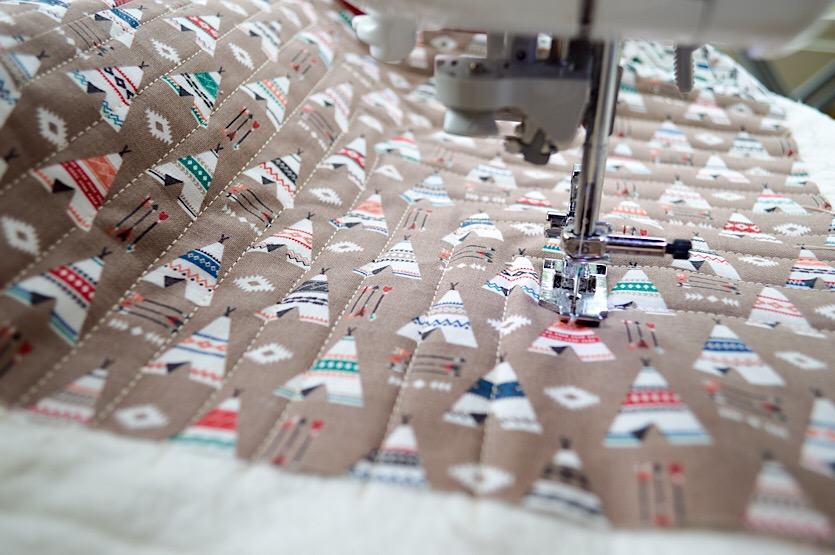
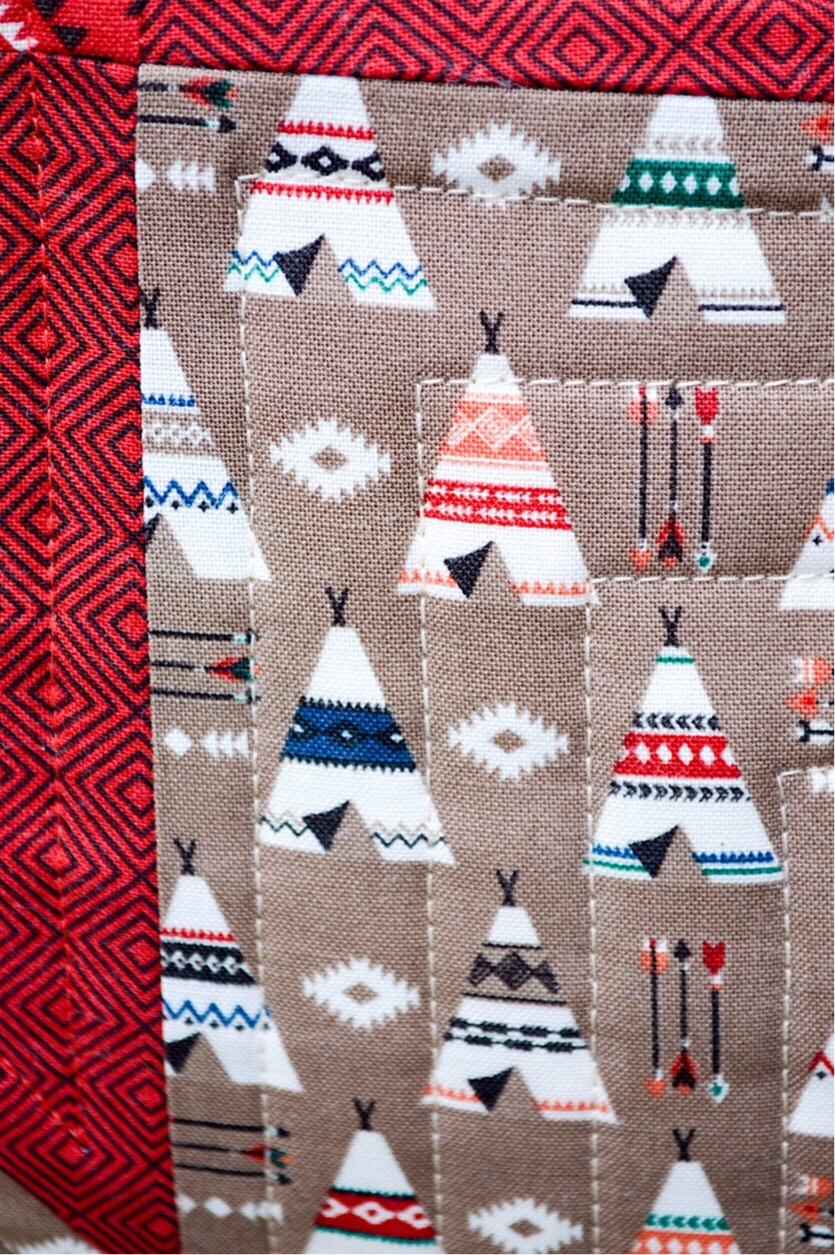
I opted to straight line quilt each block following the block shape.
For the corner blocks, I went with an “L” shape.
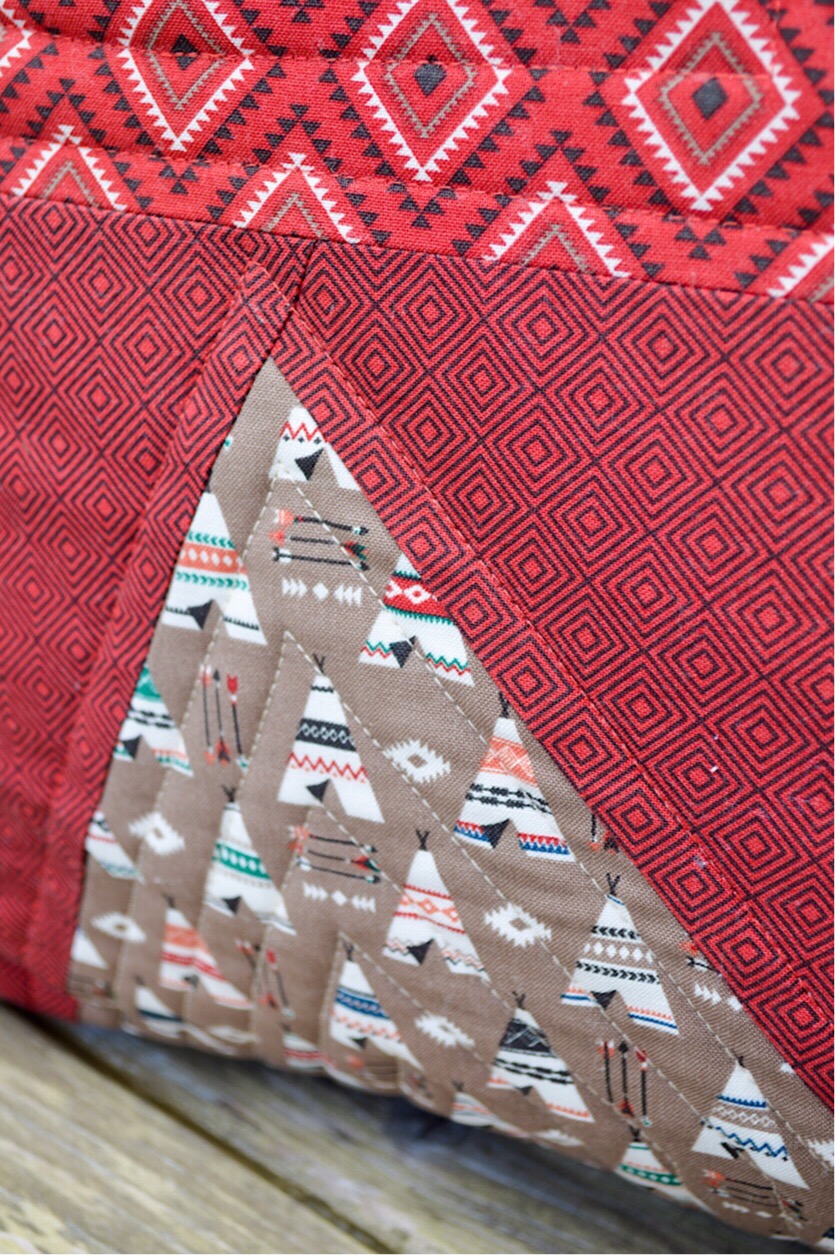
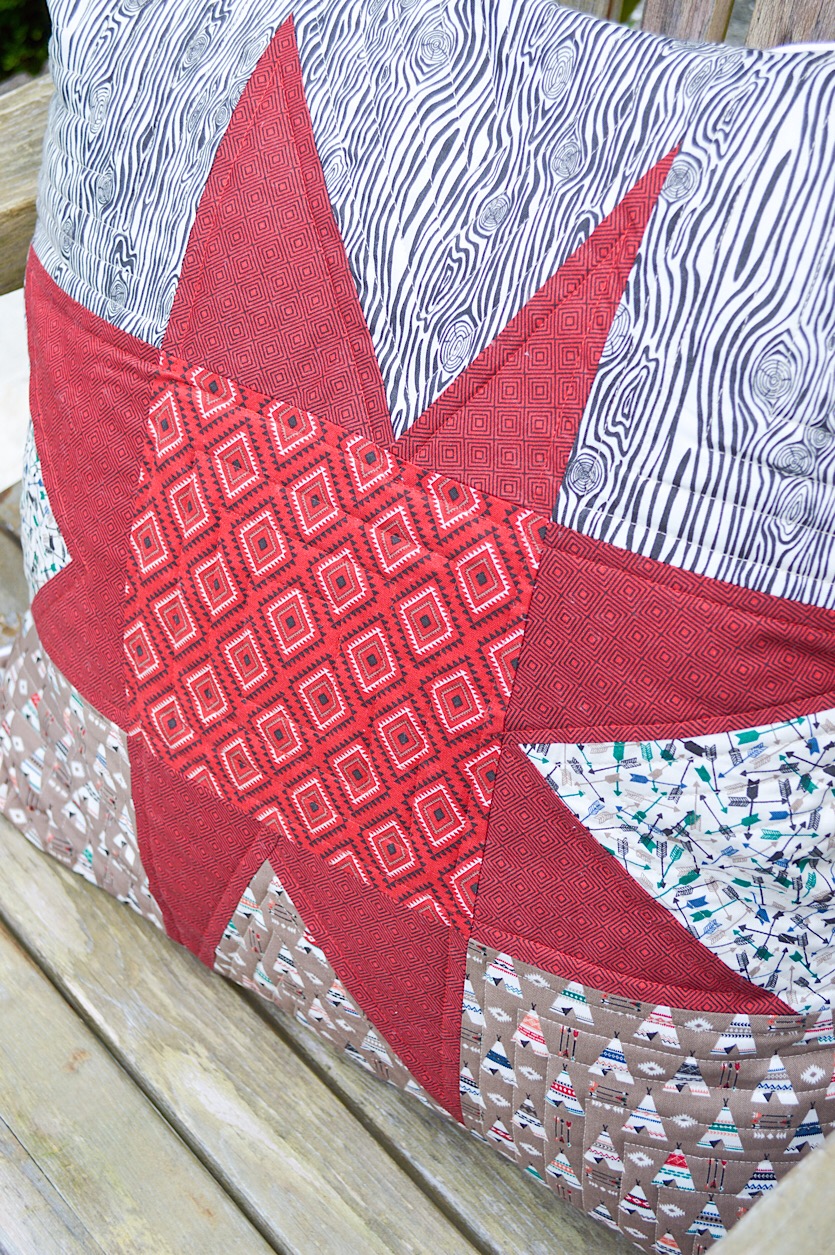
For the star point blocks, I followed the shape of the points when quilting the background fabric. On the red star points, I simply stitched around the perimeter 1/4” from the edge. I quilted some basic squares in the center block.

Now, make your quilted pillow back. To do so, simply cut 2 pieces the width of the pillow front, but have them overlap by about 6”. For example, cut two 22” x 28” rectangles. Back them with batting and quilt them. Fold over one of the 28” ends 1/4” and press. Fold it roughly 1/4” again and top stitch.
With the right side of the pillow top facing up, pin one of the back pieces to the upper edge of the pillow top, matching raw edges. The stitched 28” edge should be at the center of the pillow, wrong side facing up.
Now pin the bottom pillow back to the lower half of the pillow top. The finished edge will overlap the top portion of the pillow back by about 6”. Stitch around the edges using a 1/2” seam allowance. Trim corners. Turn right side out. Stuff with your pillow insert. Enjoy!
High Adventure 2 is available now at your favorite local and online quilt shops.
Be sure to share your High Adventure 2 projects with us on Instagram using #rileyblakedesigns.
Happy Quilting!