It’s Jamie again from Sew Brainy Designs and I’m back with my 2022 Make it Modern Pillows series! This year I’m bringing you some fresh and bold modern quilt blocks that were designed specifically to be 18″ pillows! They are quick and easy, plus they’re a good way to bust your scrap stash or show off that designer RBD fabric that you love!
In case you missed it, March’s pillow was a stained glass-style design! You can get that tutorial below!
April’s pillow uses Flying Geese to make bold arrow shapes!
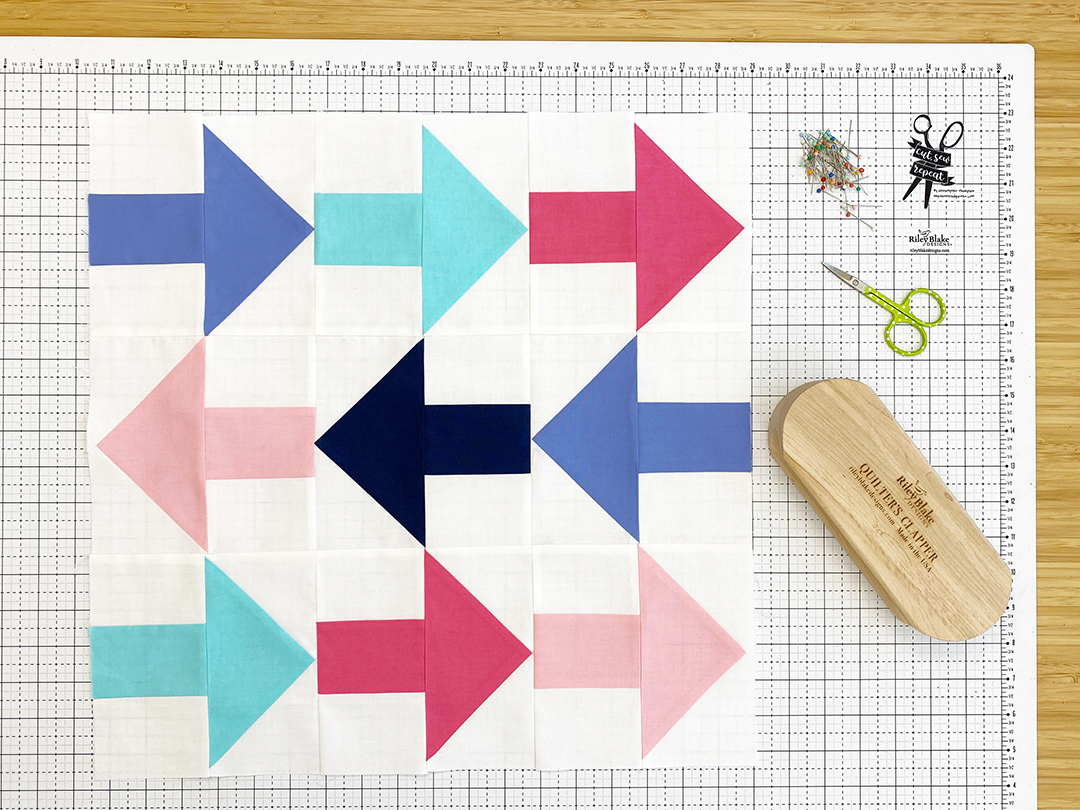
Blues and pinks are always a great combo!
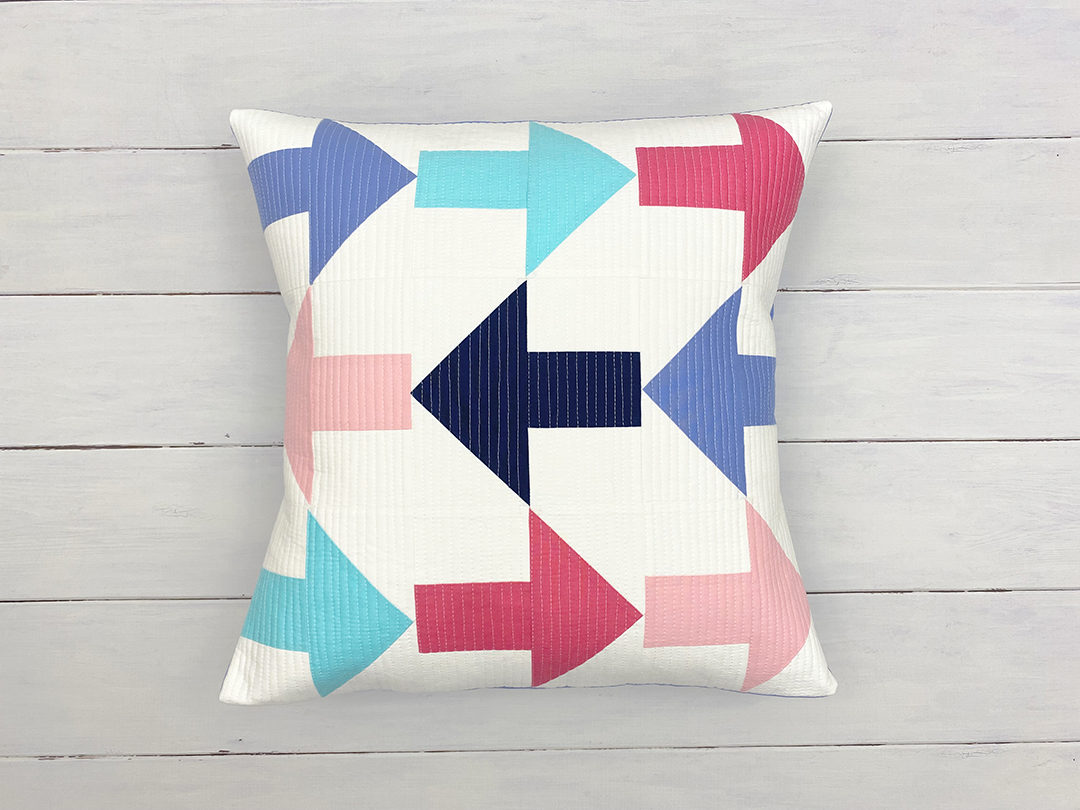
The arrows definitely pack a punch!
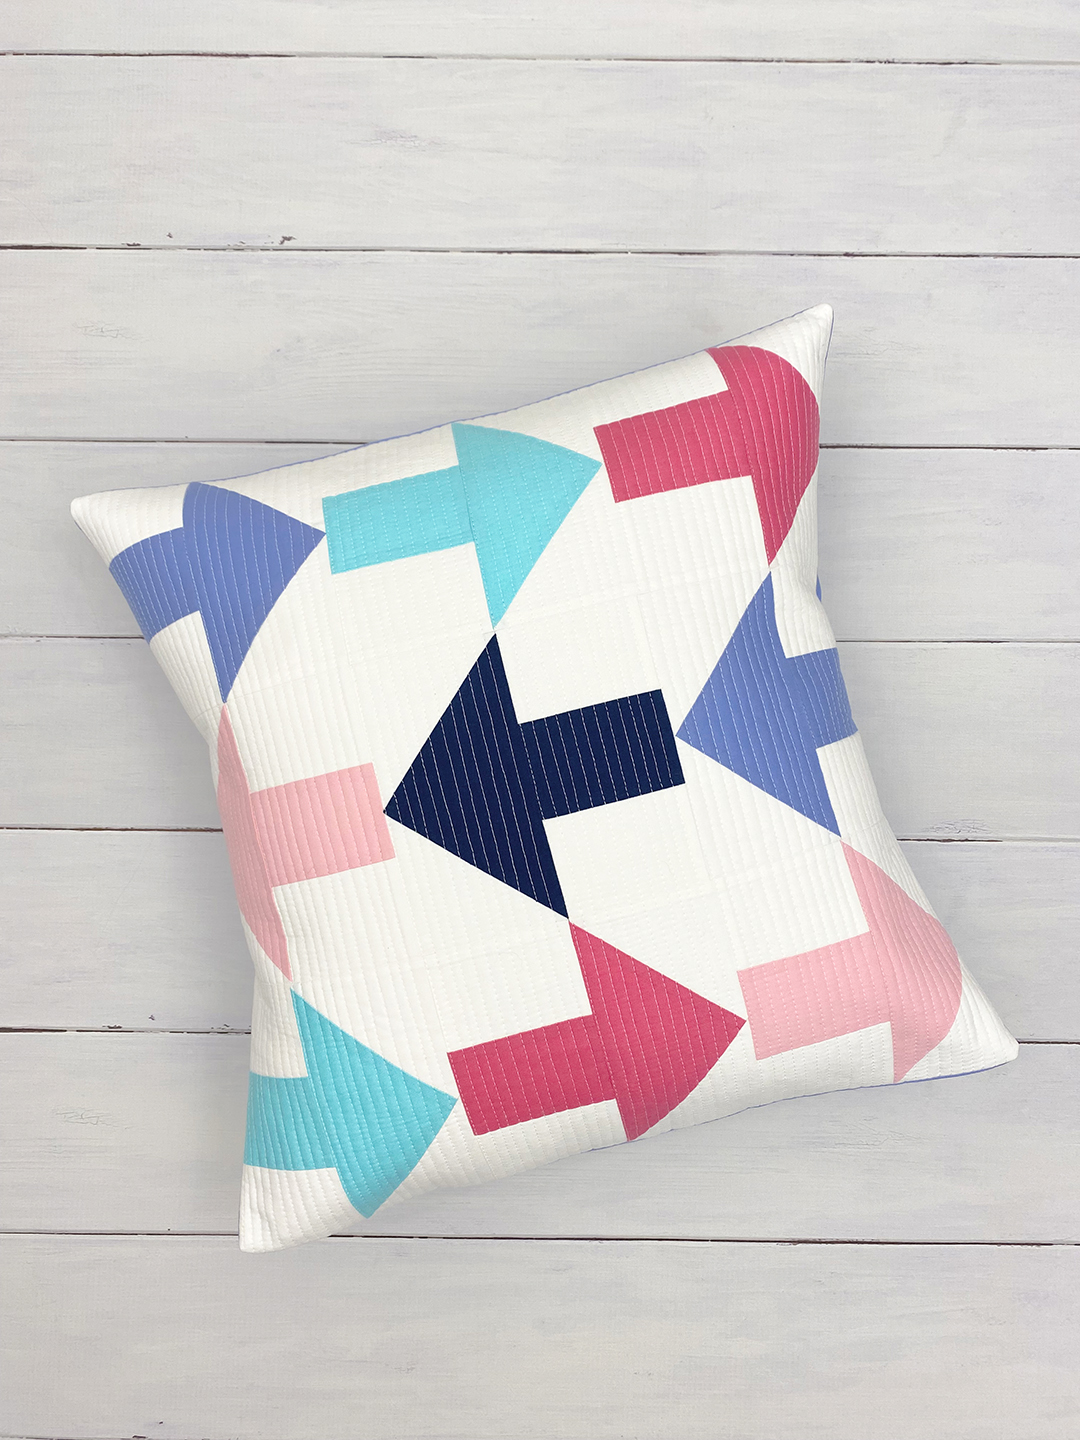
Again, my usual matchstick quilting design using Aurifil 50wt. white thread. It definitely pops on these solids!
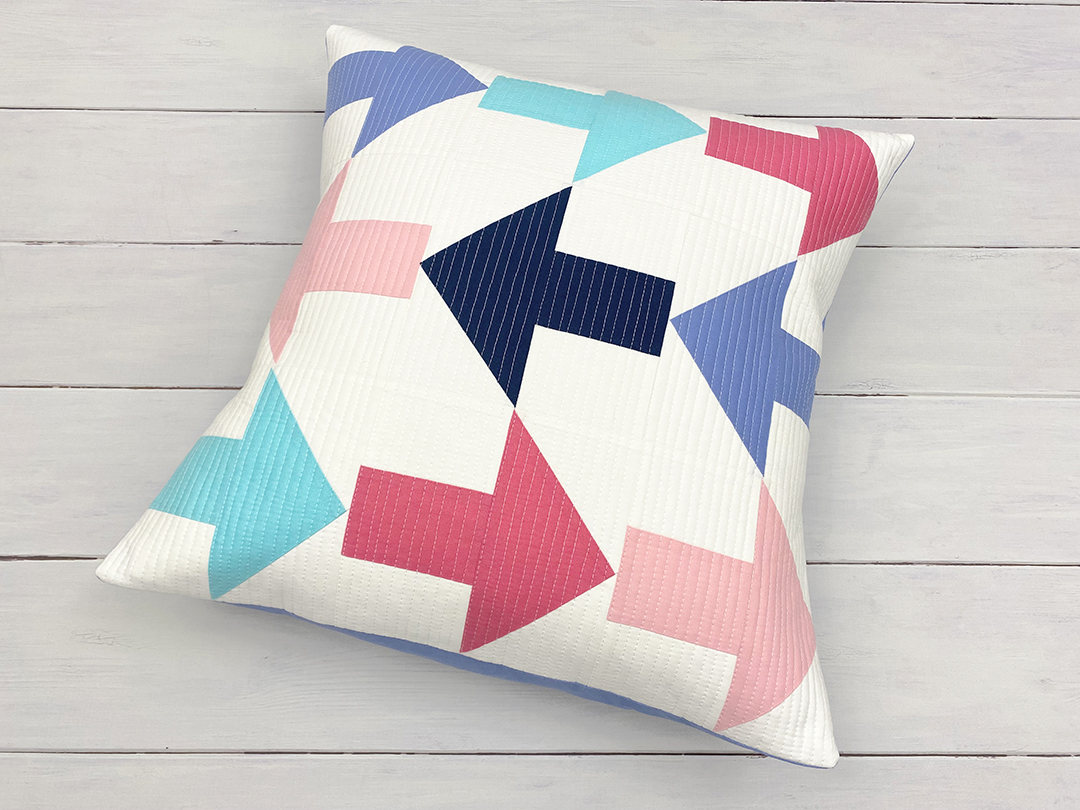
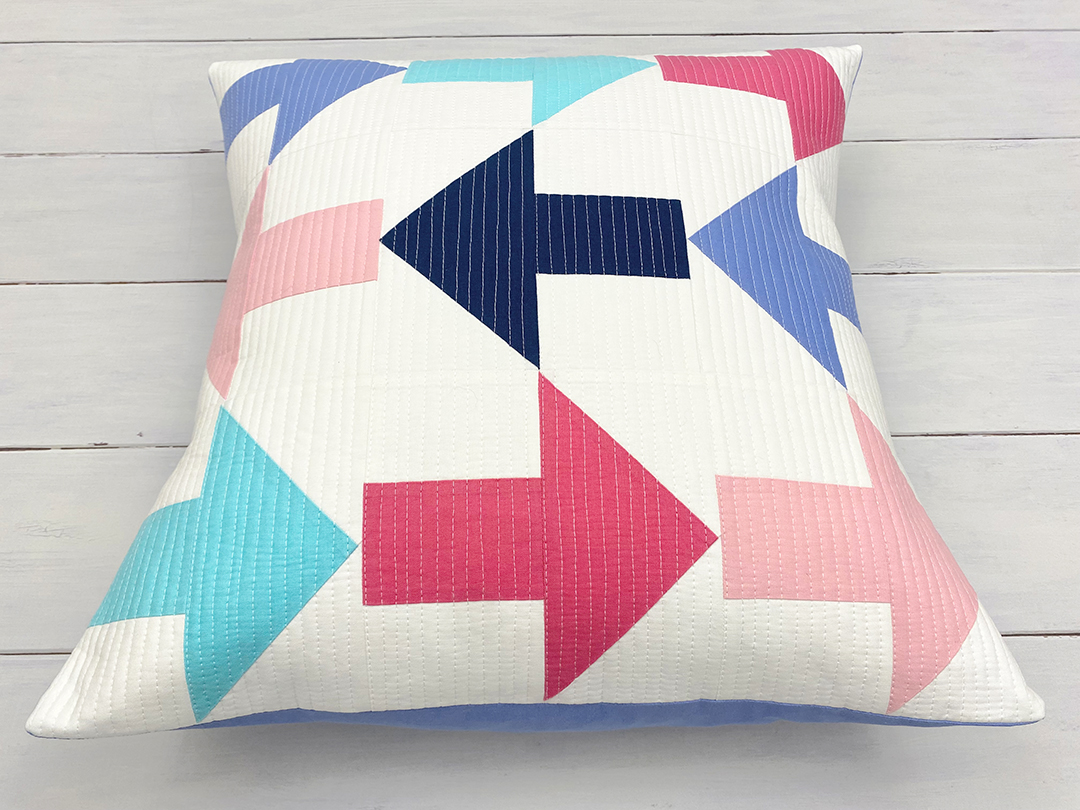

This month’s pillow features Confetti Cotton Solids. There are soooooo many colors in their solids lines. It’s always so hard to choose which ones! The colors I used (in order from left to right) were Petunia, Tickled Pink, Scuba, Periwinkle, and Oxford Blue.
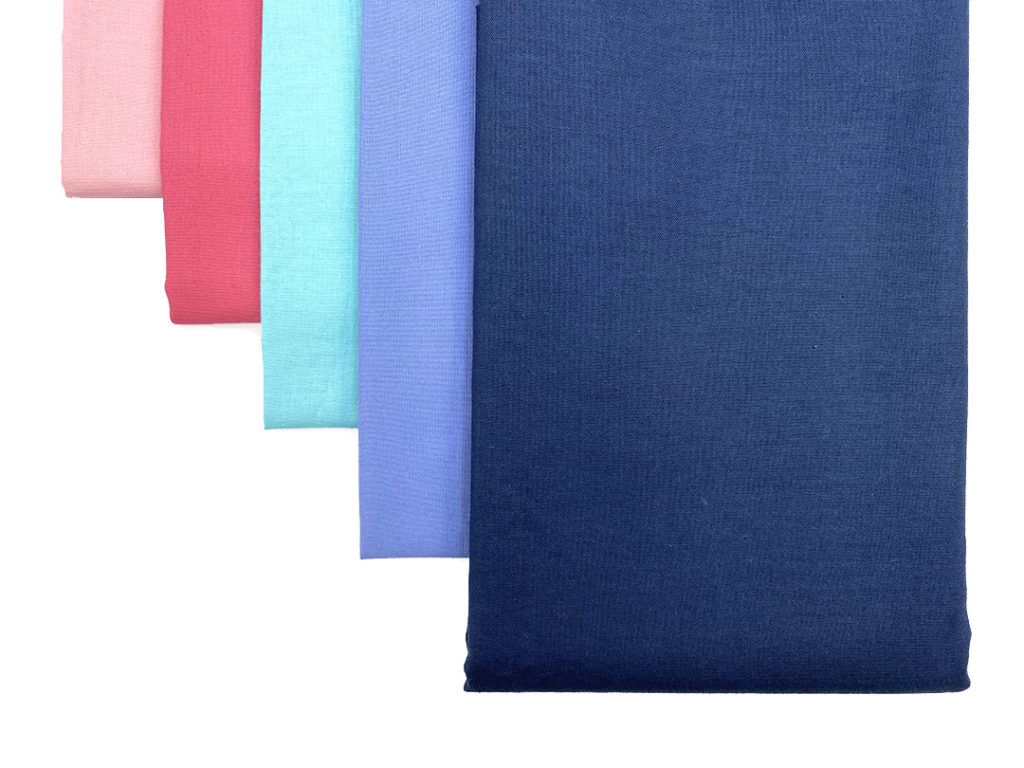
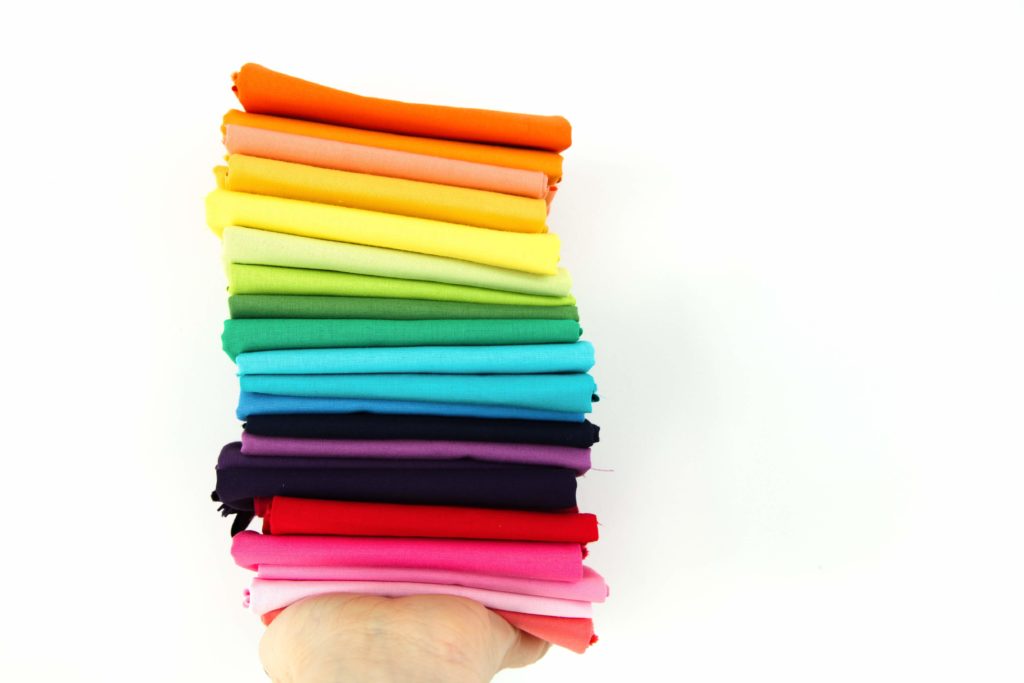
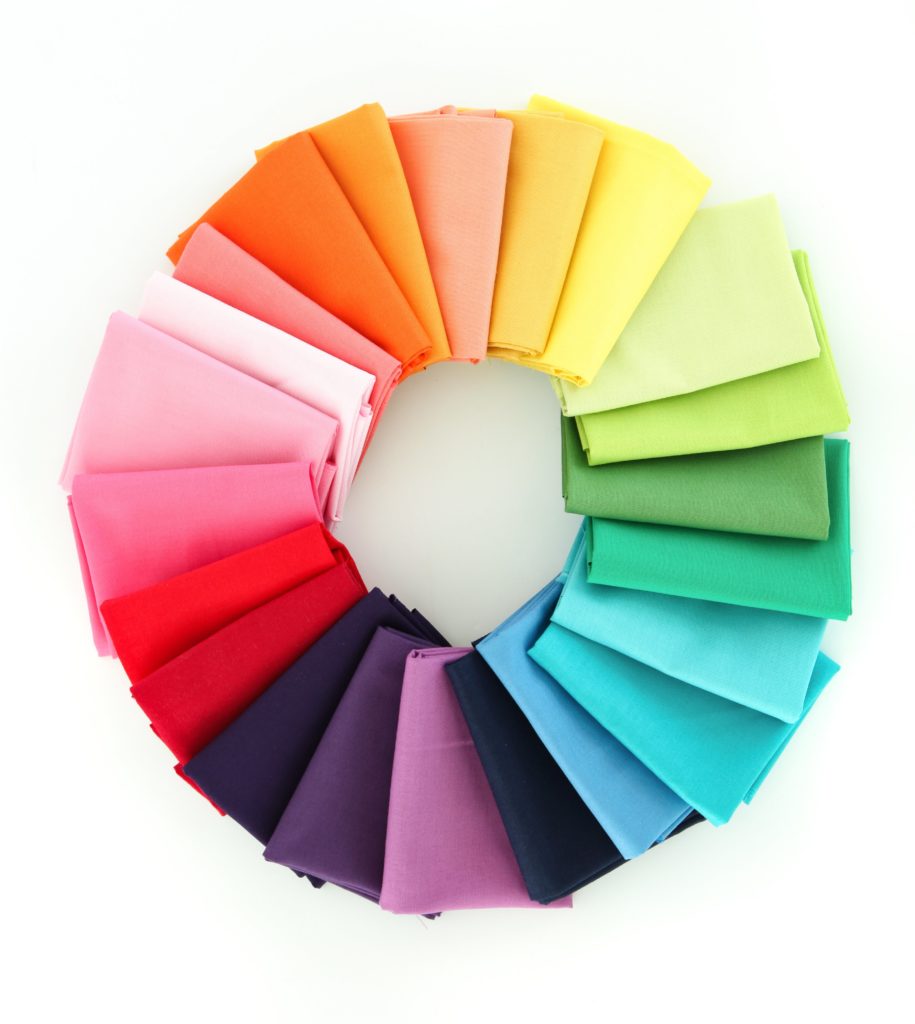
And there are new colors of solids coming out all the time!
Now let’s make a pillow!
April Pillow Tutorial
Pattern Notes
- Please read through all instructions before beginning.
- Seam allowances are 1/4″ unless specified.
- WOF = Width of Fabric; pattern assumes yardage is a minimum of 42″
- RST = Right sides together
- Press all seams open (or in preferred direction) unless specified.
Material Requirements
For the block (pillow top):
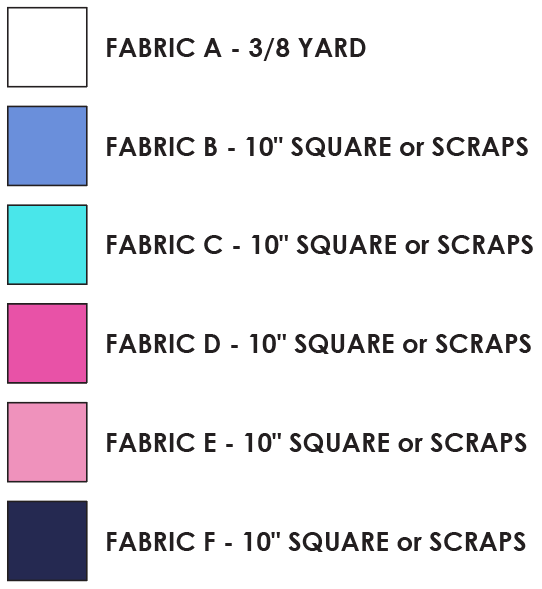
This pattern uses (1) background fabric [FABRIC A] and (5) accent fabrics [FABRICS B-F]. Below are the requirements to make ONE 18″ block.
For the pillow body:
- (1) 22-24″ square piece of muslin or other fabric (for quilting the top)
- (1) 22-24″ square piece of batting (for quilting the top)
- (2) 13″ × 18½” pieces of backing fabric (for the pillow envelope)
- (1) 20″ pillow form (my favorite one to use is the FJÄDRAR from IKEA!)
Cutting Directions
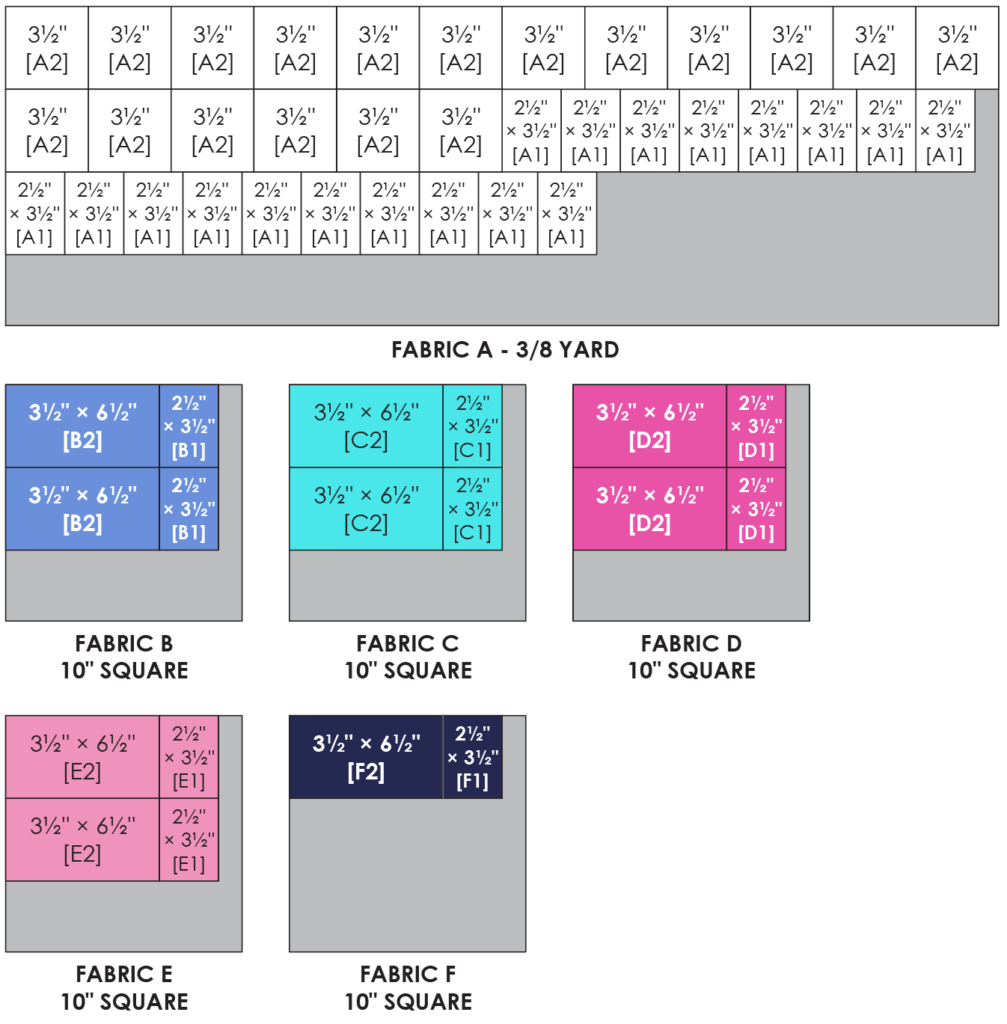
Cut the fabric below in the specified order and label each cut with the letter/number in the [bracket].
From FABRIC A, cut:
- (3) 3½” × WOF strips, subcut:
- (18) 3½” squares [A2]
- (18) 2½” × 3½” rectangles [A1]
From FABRIC B, C, D, and E, cut:
- (2) 3½” × 6½” rectangles [B2, C2, D2, E2]
- (2) 2½” × 3½” rectangles [B1, C1, D1, E1]
From FABRIC F, cut:
- (1) 3½” × 6½” rectangle [F2]
- (1) 2½” × 3½” rectangle [F1]
Piecing Directions
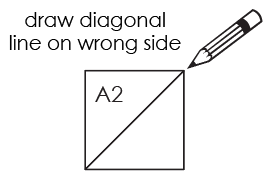
- Prepare all (18) A2 squares by using a fabric marking tool to draw a line diagonally on the wrong side from one corner to the opposite corner.
2. Using (2) A2 squares and (1) B2 rectangle, you will make a flying geese unit using the stitch and flip method.
Pair (1) A2 RST to the top left corner of B2 as shown below. Stitch on the diagonal line, trim 1/4″ on the outside of the seam, flip triangle outward, and press seam.

3. Pair (1) A2 RST to the top right corner of the unit as shown below. Stitch on the diagonal line, trim 1/4″ on the outside of the seam, flip triangle outward, and press seam. Trim to 3½″ × 6½” if needed.

4. Repeat STEPS 2-3 with the other A2 squares and B2/C2/D2/E2/F2 rectangles to yield a total of NINE flying geese units. Each of these will be the top half of one arrow block.
5. Lay out (2) A1 and (1) B1 rectangle as shown below. Sew the three pieces together on the long sides and press seams.

6. Repeat STEP 5 with the remaining A1 and B1/C1/D1/E1/F1 rectangles to yield a total of NINE stripe units. Each of these will be the bottom half of one arrow block.
7. Layout (1) arrow block top and (1) arrow block bottom for FABRIC B as shown below. Sew together on the long side and press seam. Trim block to 6½” square if needed.
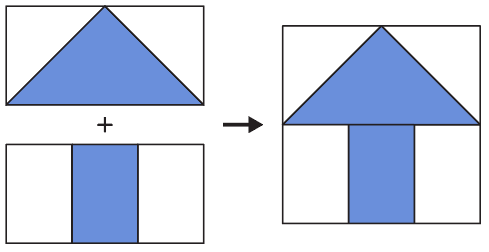
8. Repeat STEP 7 with all remaining flying geese and stripe units to yield a total of NINE arrow blocks.
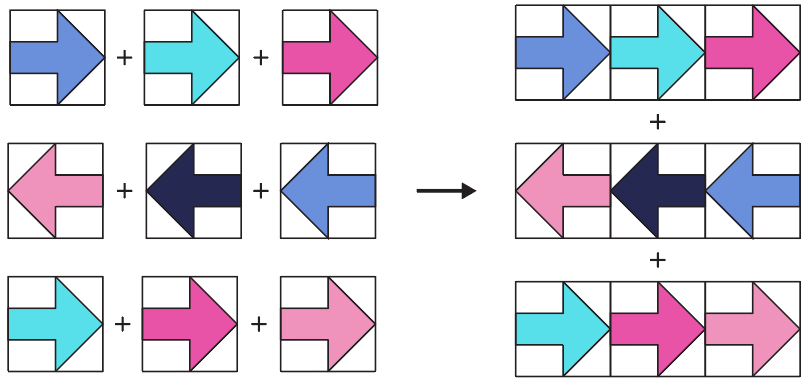
9. Lay out all NINE arrow blocks as shown below. Sew the THREE blocks in each row together. Press seams open.
10. Sew the THREE rows together. Press seams open.
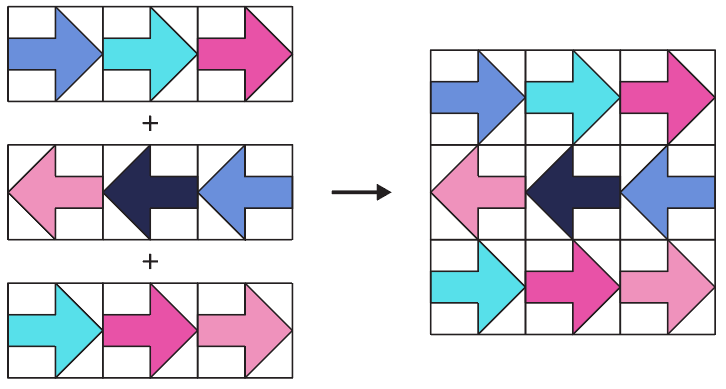
Your block is now complete!

11. Layer the completed block on top of the 22-24″ batting and muslin squares and quilt the pillow top as desired. When you are done, trim the block to 18½”.
Note – if you add dense quilting like I did, your top may shrink a bit in size. Just trim it to the largest square that you can. You can trim the width of envelope backing fabric a bit in the next step if needed in order to match your actual top size.
12. Create a finished edge on the long side of each of the (2) 13″ × 18½” pieces of envelope backing by folding 1/2″ of fabric over the wrong side TWICE. Stitch a seam near the edge to secure it.
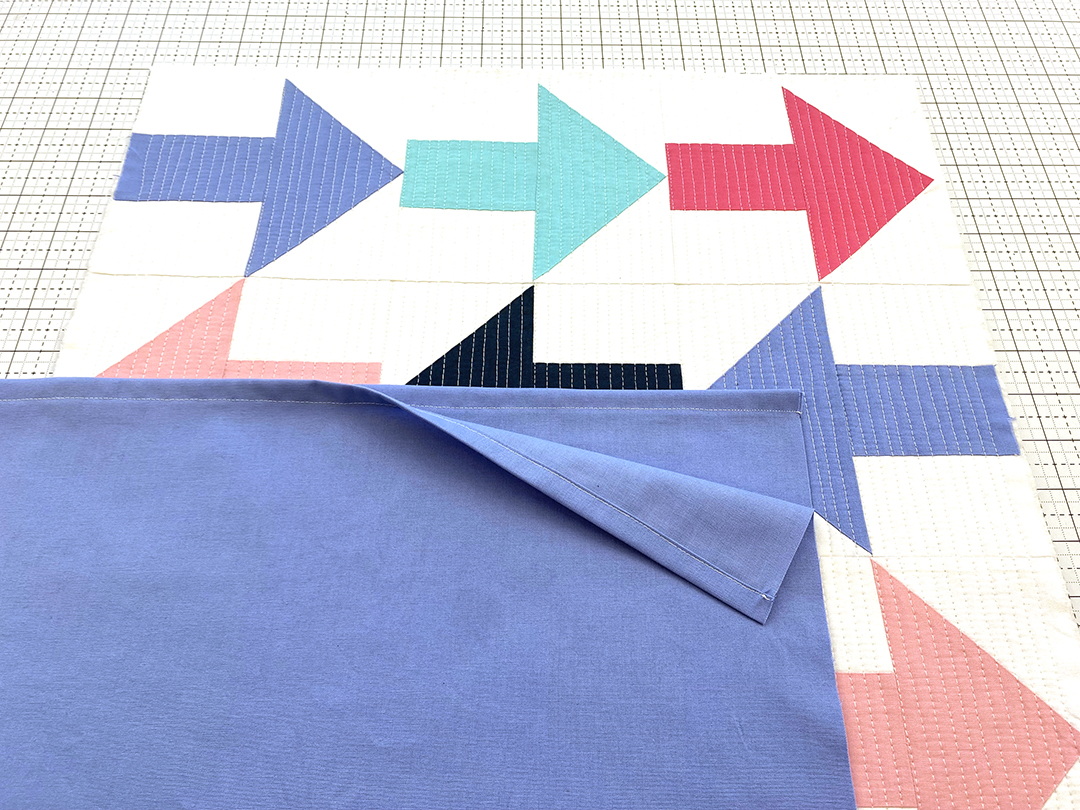
13. With the square top facing up, layer the envelope pieces RST on top of it as shown below and sew a 3/8″ seam around the edge of the pillow top.

14. Trim the edges of the corners a bit to reduce bulk. Turn the pillow case inside out and insert your pillow form. Your pillow is now done! Enjoy your fun modern make!
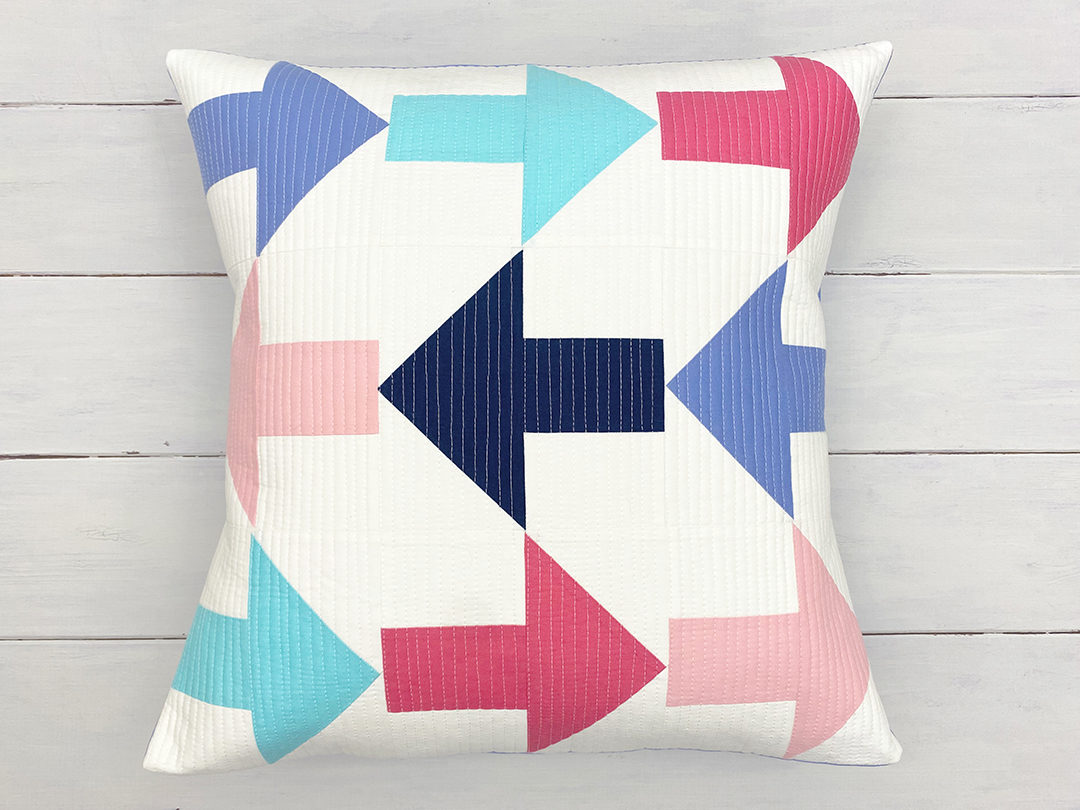
I can’t wait to see all the beautiful pillows everyone makes! They can be very addicting! Be sure to share them on social media! #makeitmodernpillows #iloverileyblake #sewbrainydesigns.
I’m also working on a 5-color version of all my blocks to make a sampler quilt. You can check out that post HERE on my blog. I’ll see you in May with some Sparker fabric and a fun plaid design!
Until later, happy quilting!
Jamie


One Comment
Pingback:
February 19, 2023 at 12:28 pm