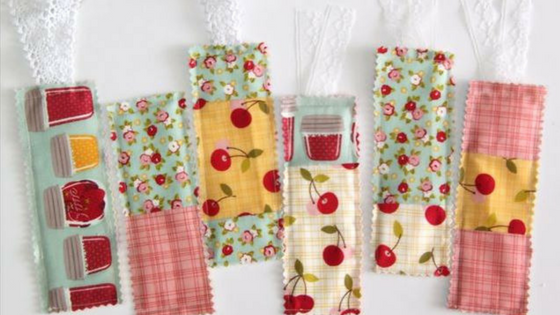
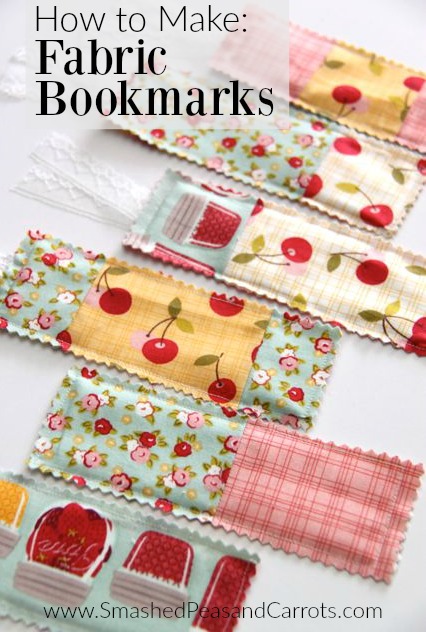
Hi! It’s Maggie from Smashed Peas and Carrots again! Today I wanted to share a quick and easy tutorial for how to make your own Fabric Bookmarks. I typically have at least 3 books on my nightstand at any time that I am reading through and lately I have been asking myself why I don’t have cuter bookmarks. Usually I grab any scrap paper or receipt I find laying around and use that well, no more! Starting now, I am going to have pretty bookmarks that make me happy to find my page again 🙂
Here is what you’ll need to make your own Fabric Bookmarks:
- Scrap fabric measuring 2 1/4″ x 6″ per bookmark
- Card stock scraps measuring 1 1/2″ x 5 1/4″
- Lace trim measuring around 5 inches
- Coordinating thread
This project is a great scrap buster and you can use any colors or fabric lines (and mixing and matching fabric patterns makes them even prettier in my opinion!) I am currently in loooove with the Farm Girl line of cottons from Riley Blake Fabrics, I mean how cute are these designs!!
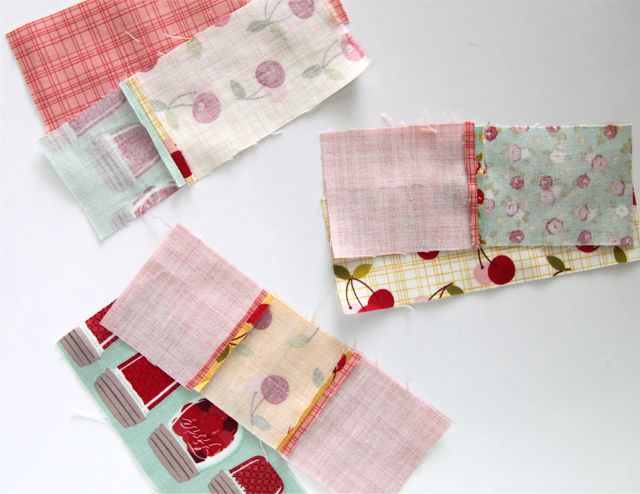
I cut the back of each bookmark as one single fabric measuring 2 1/4″ x 6″ and then used smaller pieces and sewed them together using a 1/4 inch seam allowance to measure 2 1/4″ x 6″ for the front side.

Next I use a pair of pinking shears and trimmed the top edge of both the front and back fabrics.

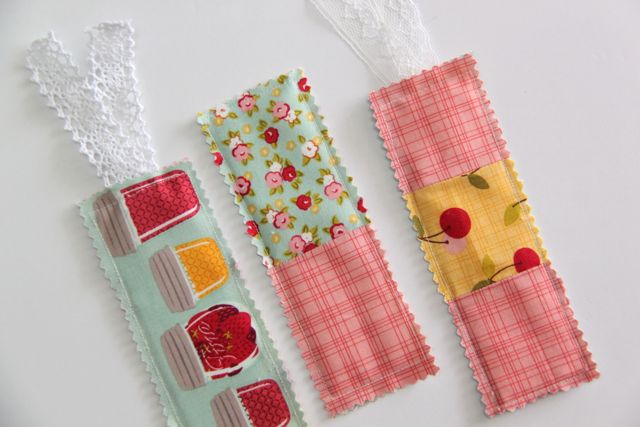
Then I placed a small piece of trim that I folded into a “v” shape at the top wrong side of the back fabric and placed the front side fabric on top (wrong sides together!) Using a 1/4 inch seam allowance, I started sewing the pieces of fabric together starting at the bottom of one long side and working my way around the book mark to the bottom of the other long side, leaving the bottom open.
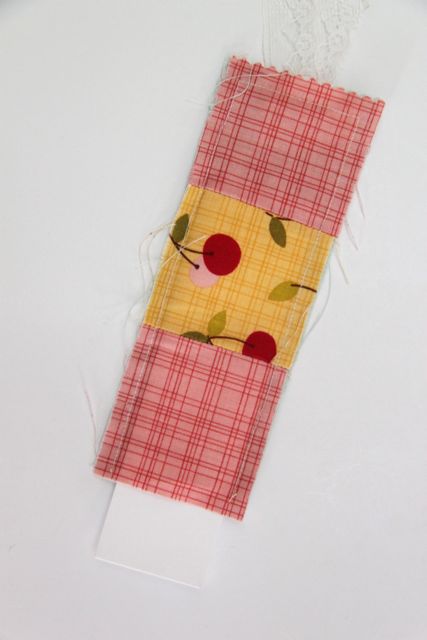
With the bottom side open, I slid the piece of scrapbook paper inside and the sewed the opening shut using a 1/4 inch seam allowance.
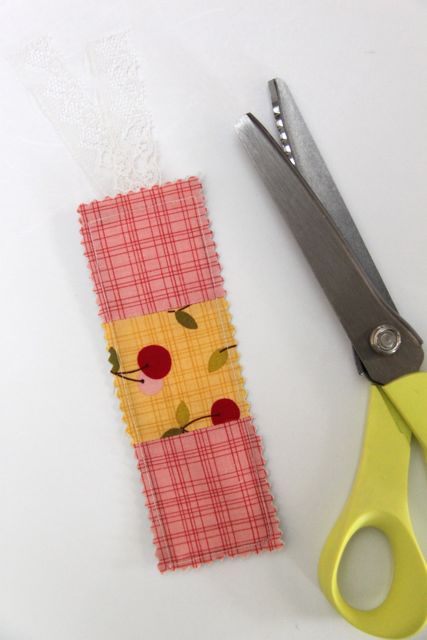
Finally, using my pinking shears, I trimmed the remaining 3 sides of the finished bookmark carefully as not to cut into any of the seams.
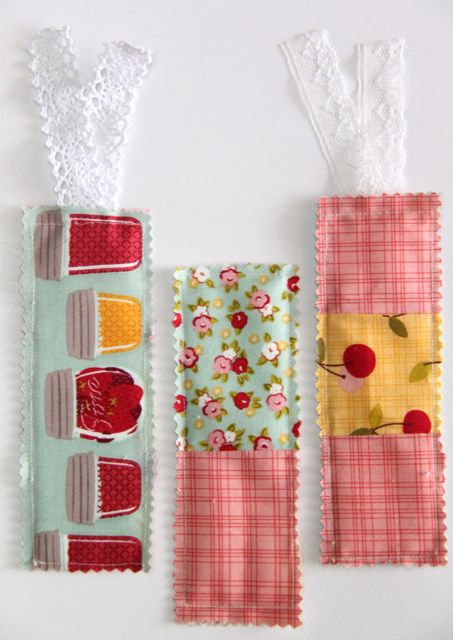
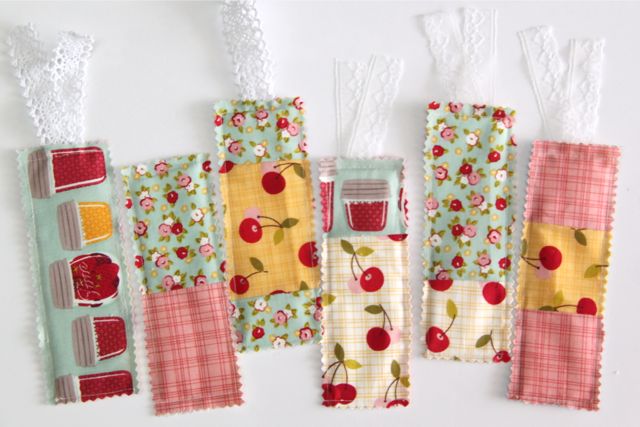
And there you go! Pretty little bookmarks all ready to use in my big pile of books!
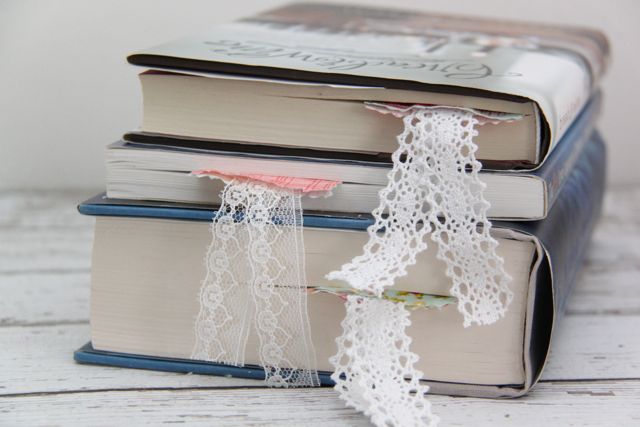
I hope you enjoyed this tutorial and have fun making a whole bunch of bookmarks for all the readers in your life! Please stop by Smashed Peas and Carrots to find more DIY, sewing and craft tutorials, and lots of yummy recipes too!