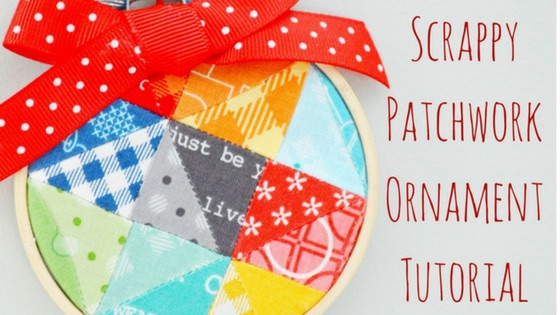
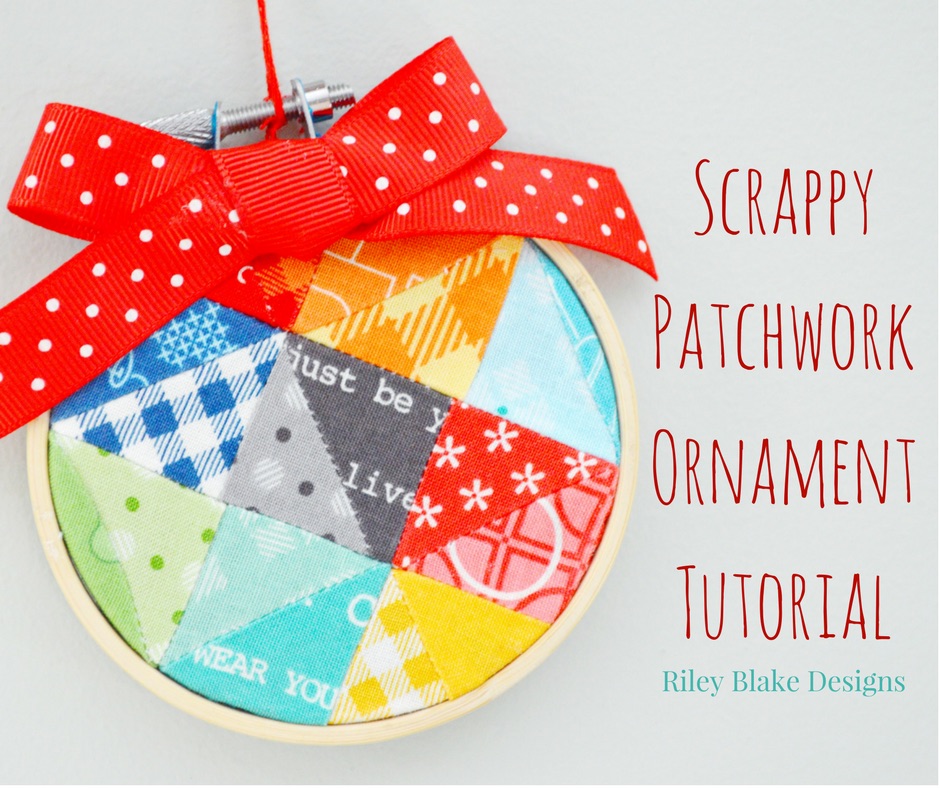
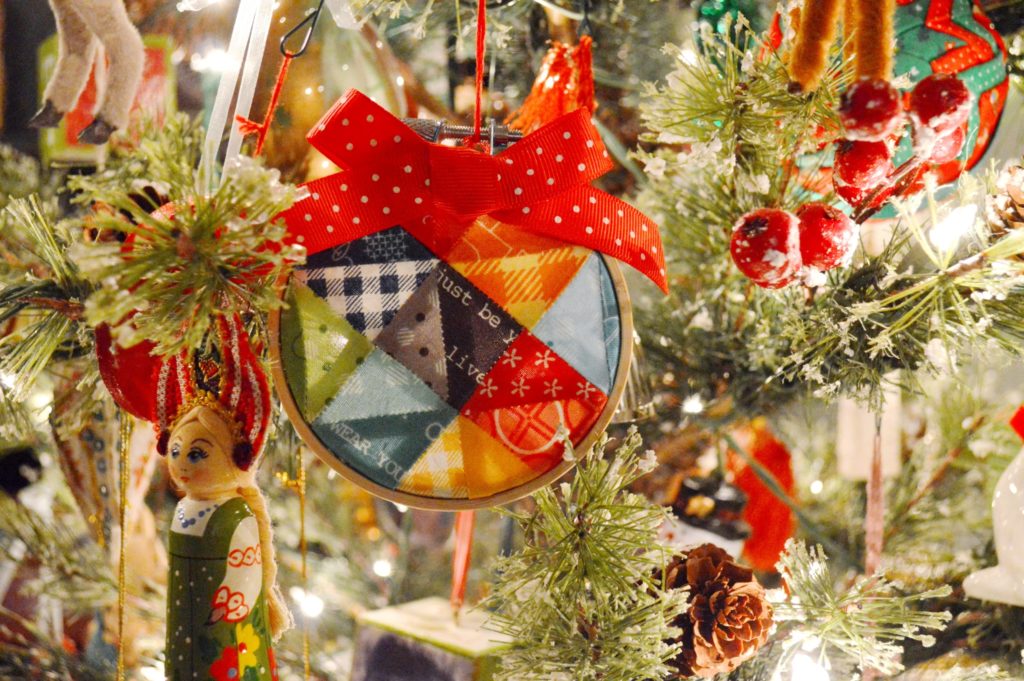
Need ideas to use up those itty bitty fabric scraps you can’t bear to part with? This scrappy little Patchwork Ornament will showcase your favorite little bits of fabric in what will easily become a favorite keepsake.
To make this oranament, you will need:
* 1 – 3” Embroidery hoop
* Tacky Glue
* Approx. 10” length ribbon of choice
* Fabric scraps 2” or larger – for this ornament, I used scraps from Lori Holt’s Bee Happy fabric line.
To begin, cut out 18 – 2” squares of assorted fabric scraps.
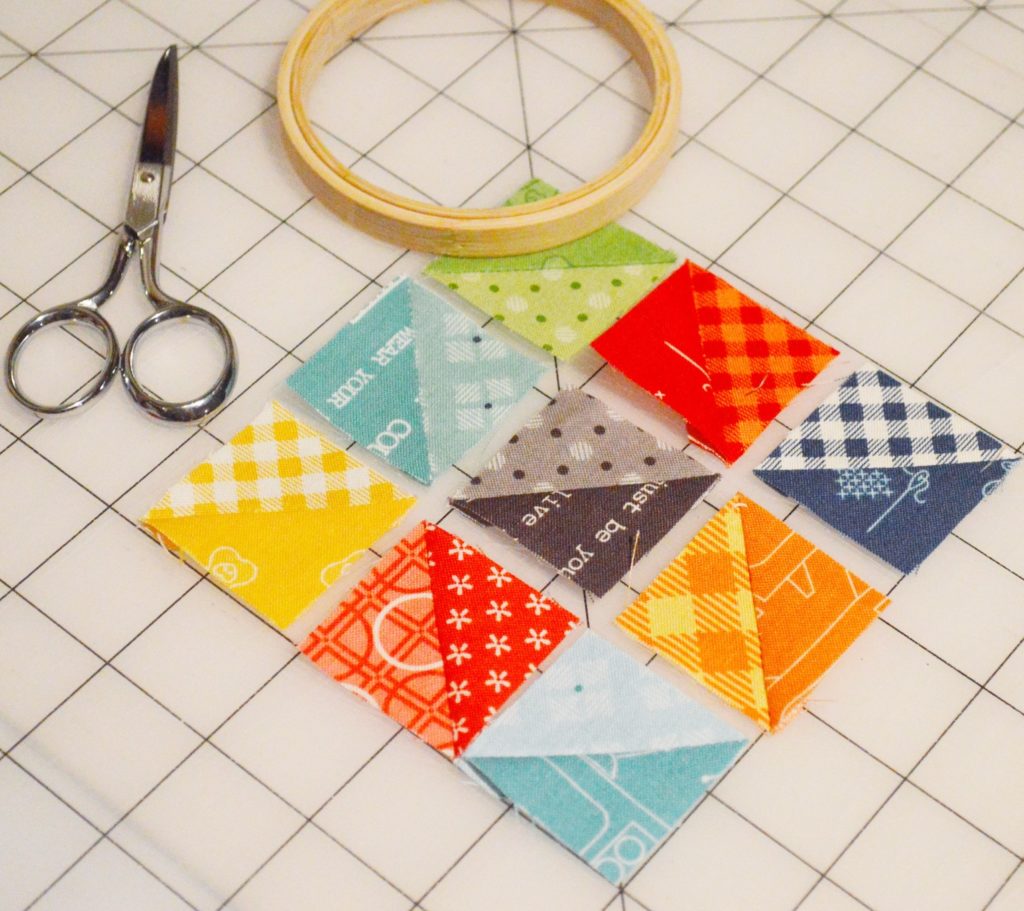
Pair the squares according to your preference and sew into half square triangles. There are lots of tutorials for half square triangles floating around the web. I recommend THIS TUTORIAL by Riley Blake designer, Amy Smart. After you have made your squares, press the seams and square up the blocks so they measure 1 1/2”. Arrange them in 3 rows of 3 in any order you prefer.
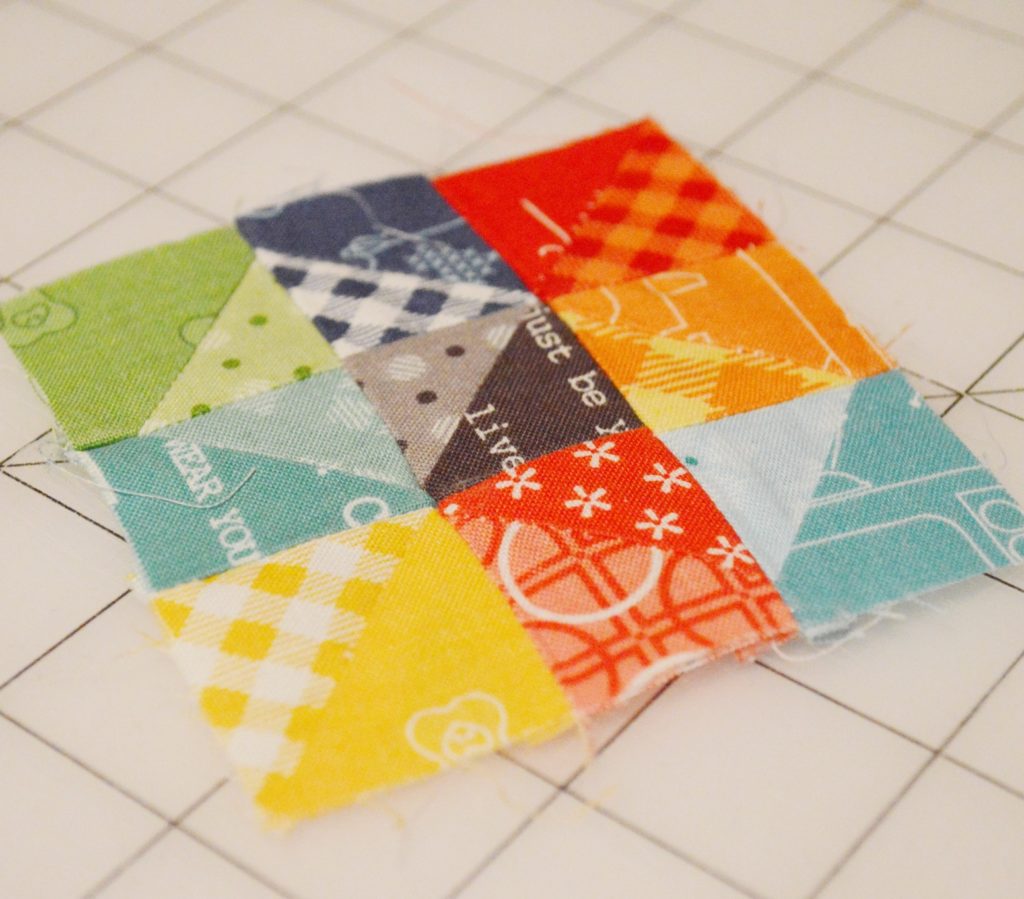
Sew the rows together using a 1/4” seam allowance. Press the seams in each row in alternating directions. For example, in the top row, press the seams toward the right. Press toward the left in the middle row, and press to the right again in the bottom row. With right sides facing, butt the opposite seams up against each other. This helps reduce bulk, which is especially important when working with tiny blocks like this one.
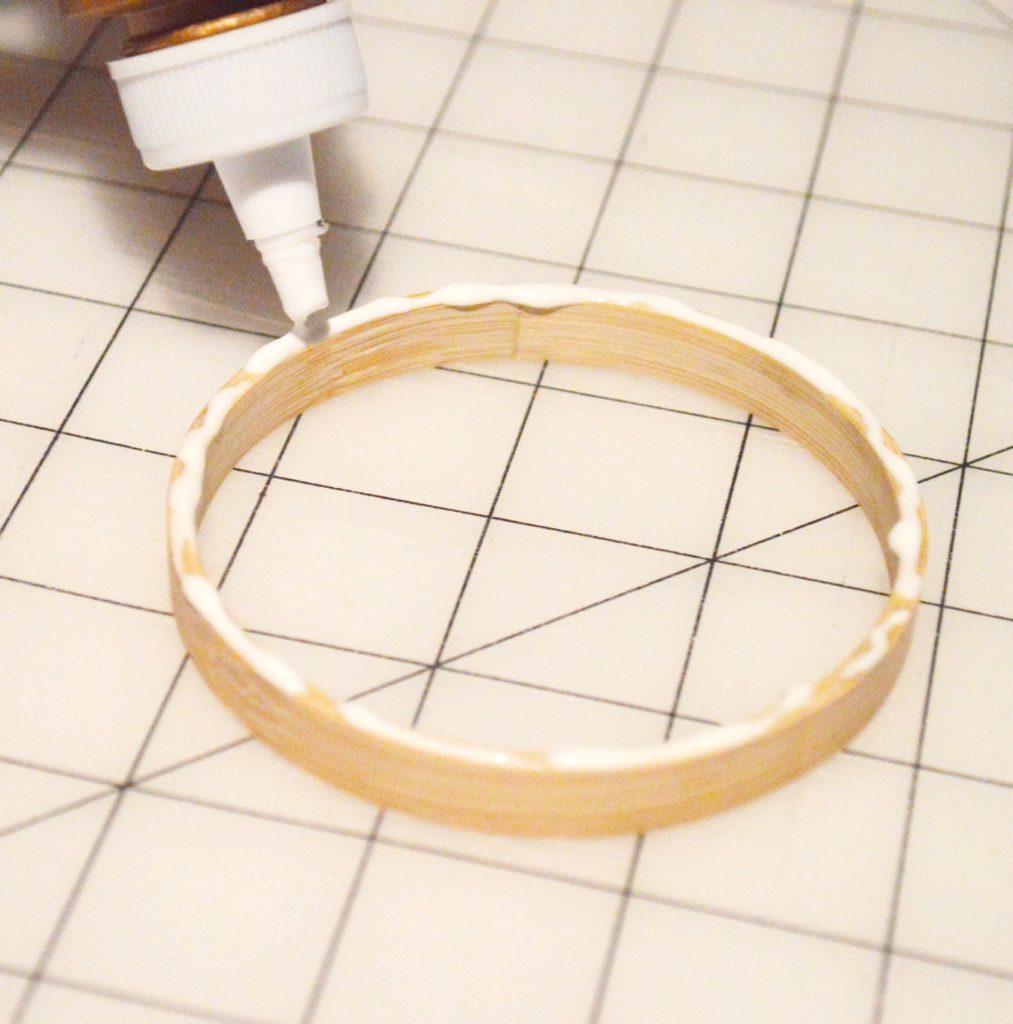
Now take your tacky glue or craft glue and place a ribbon of glue around one side of your inner embroidery hoop.
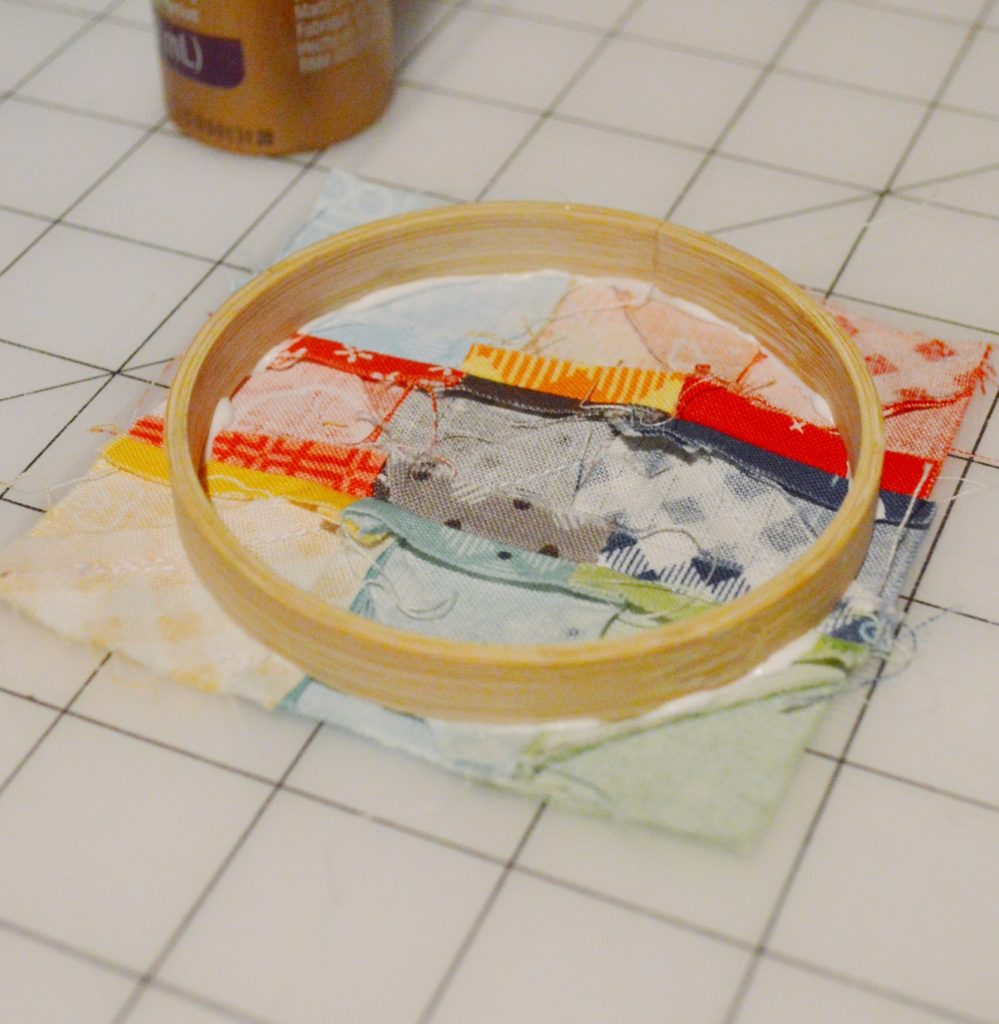
Place the inner hoop, glue side down, on the wrong side of your fabric block.
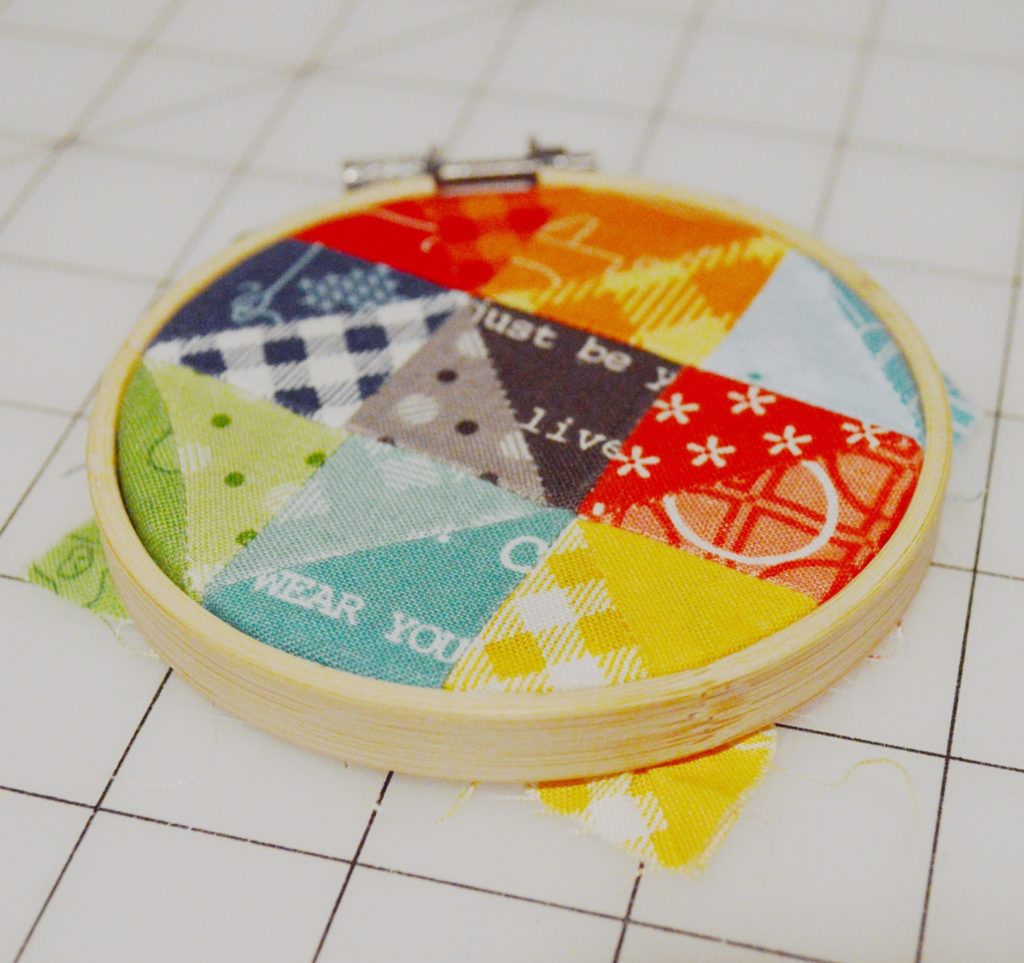
Now turn it over and attach the outer hoop, tightening the metal clamp. At this point, I like to gently pull on the edges of my fabric block so that it is nice and taut. Notice the little corner edges poking out from the bottom. You can hide these by applying some more glue to the wrong side of the corners and glue them down to the under side of the hoop.
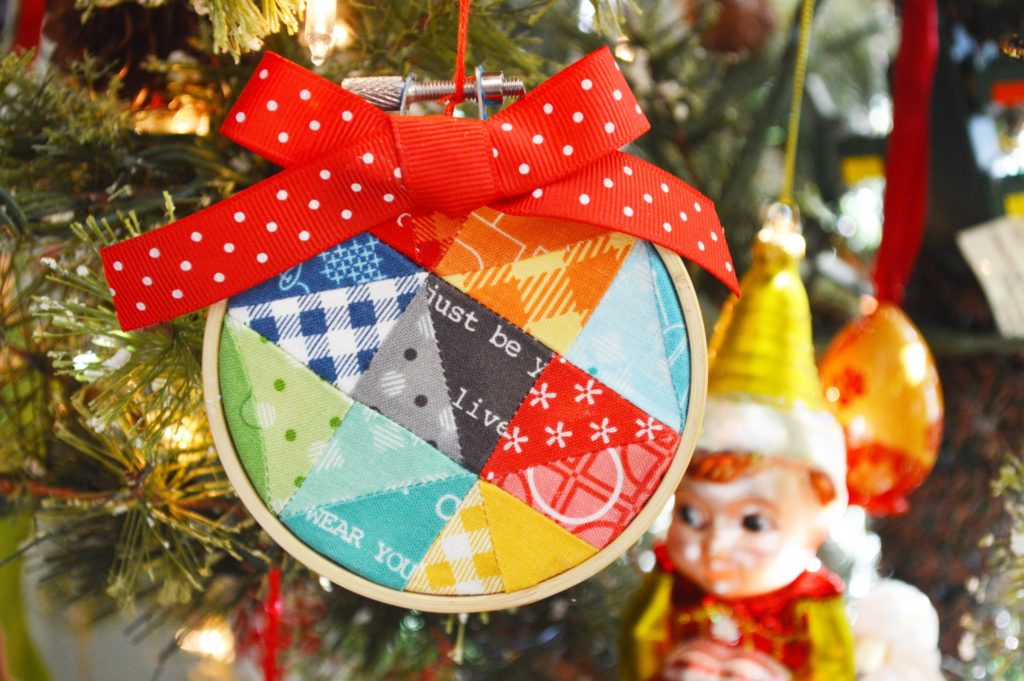
Now all that is left is to glue a little ribbon to the top and either attach more of the same ribbon or a piece of string to the metal screw clamp and your ornament is ready to enjoy! This is how the ornament looks during daylight.
And this is how it looks at night with the tree lit up. Notice the lovely stained glass effect. I love the look of the lights shining through the fabric. If you prefer an opaque look, just add batting to the back of your block. You could even add some hand or machine quilting to it.
And that’s all there is to it! Happy sewing!


One Comment
Pingback:
December 1, 2020 at 4:55 pm