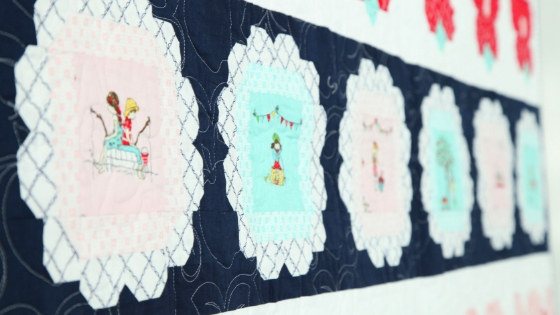
It is Week 2 of the Sweet & Simple Row-by-Row Sew Along and it’s time to make the adorable Scalloped Circle Block! Don’t let this block intimidate you. It’s actually super easy!
If you are just joining us, be sure to read this POST for all of the information you’ll need to get started. This charming quilt was designed by the talented Gracie Larson of Burlap and Blossom Patterns. You can find Gracie on Instagram @burlapandblossompatterns.
You will be making 6 of the Scalloped Circle Block to create the 2nd row of the Sweet & Simple quilt.
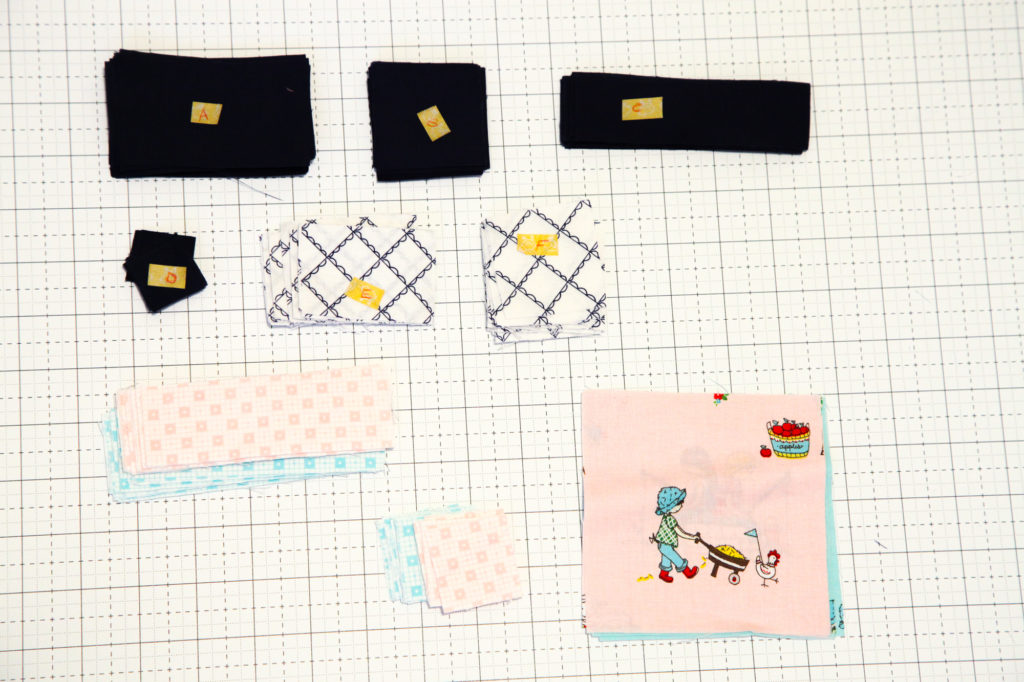
Before you get started piecing this block, make sure to clearly label the different cuts. Lay them out in order so you can easily find them as you work.
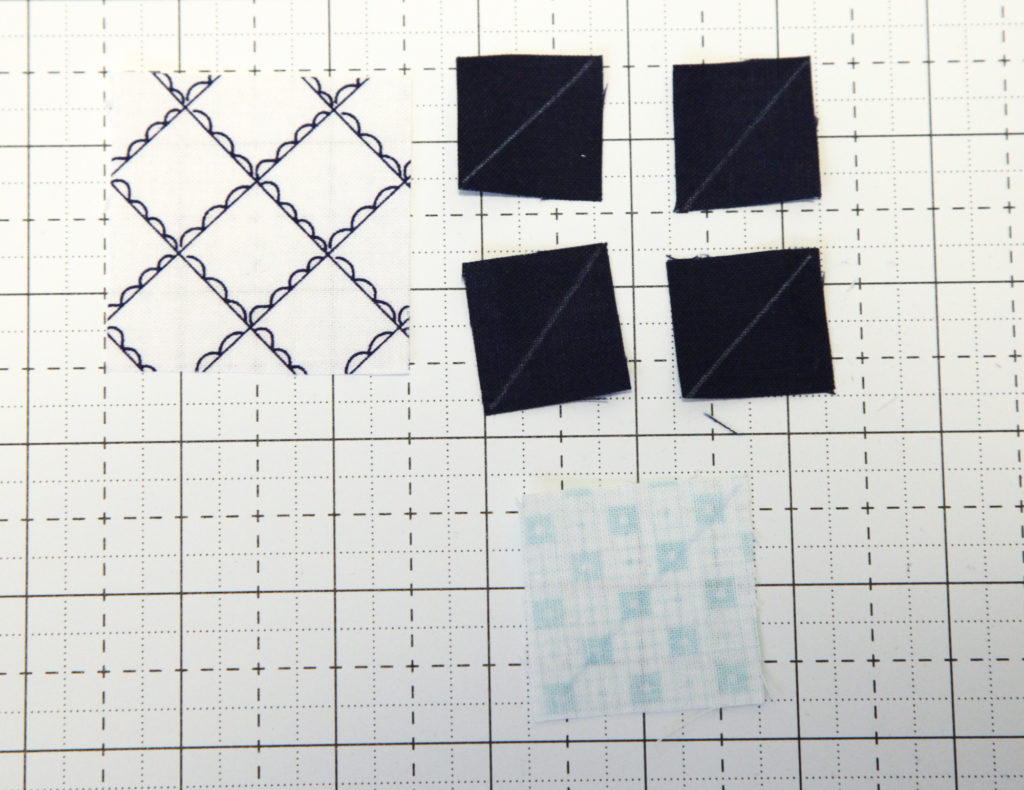
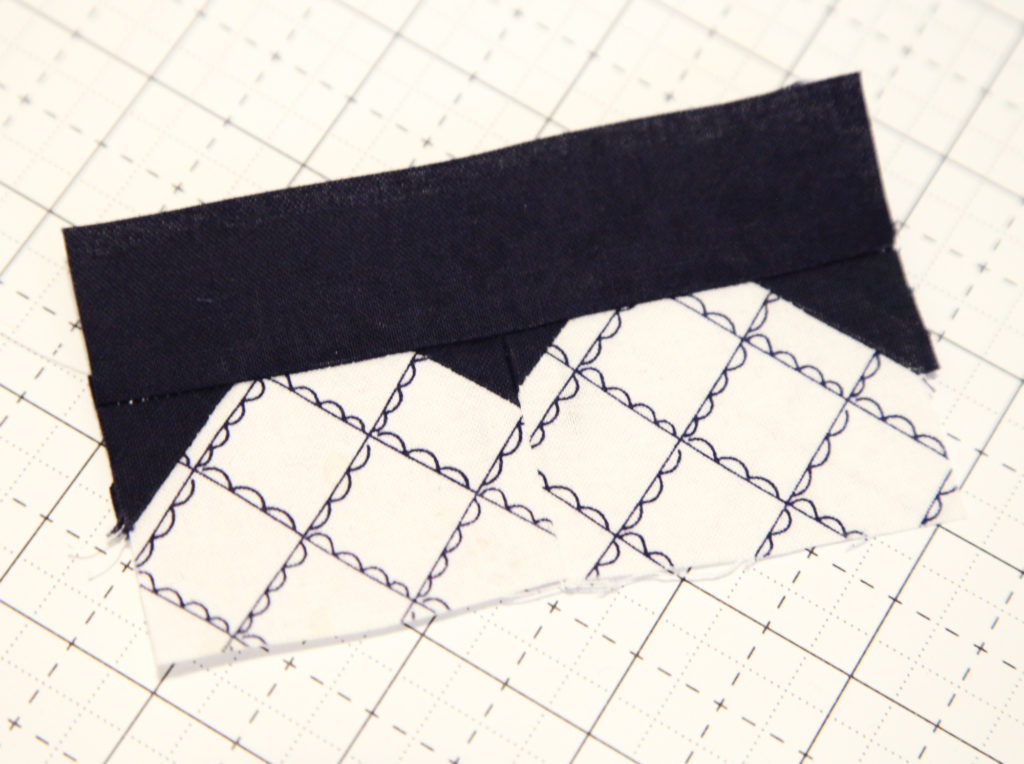
Draw a diagonal line on the wrong side of the D pieces.

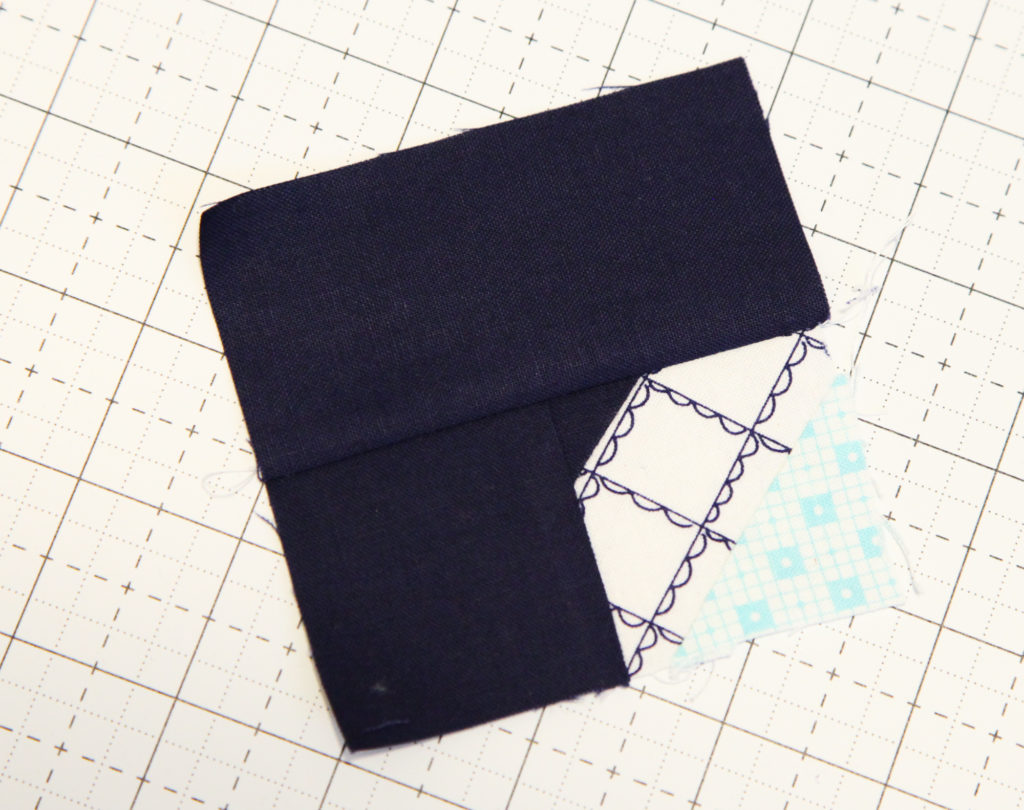
With the right sides facing, layer a D piece on the top left corner of an F piece. Stitch on the drawn line.
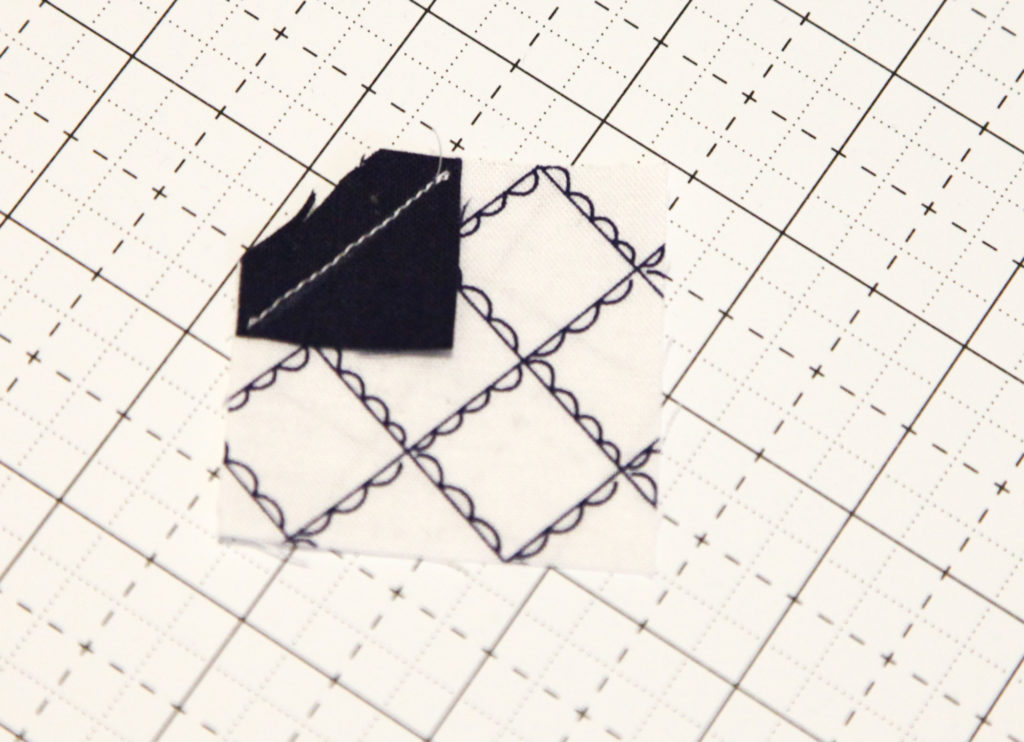
Trim 1/4″ away from the seam and press.
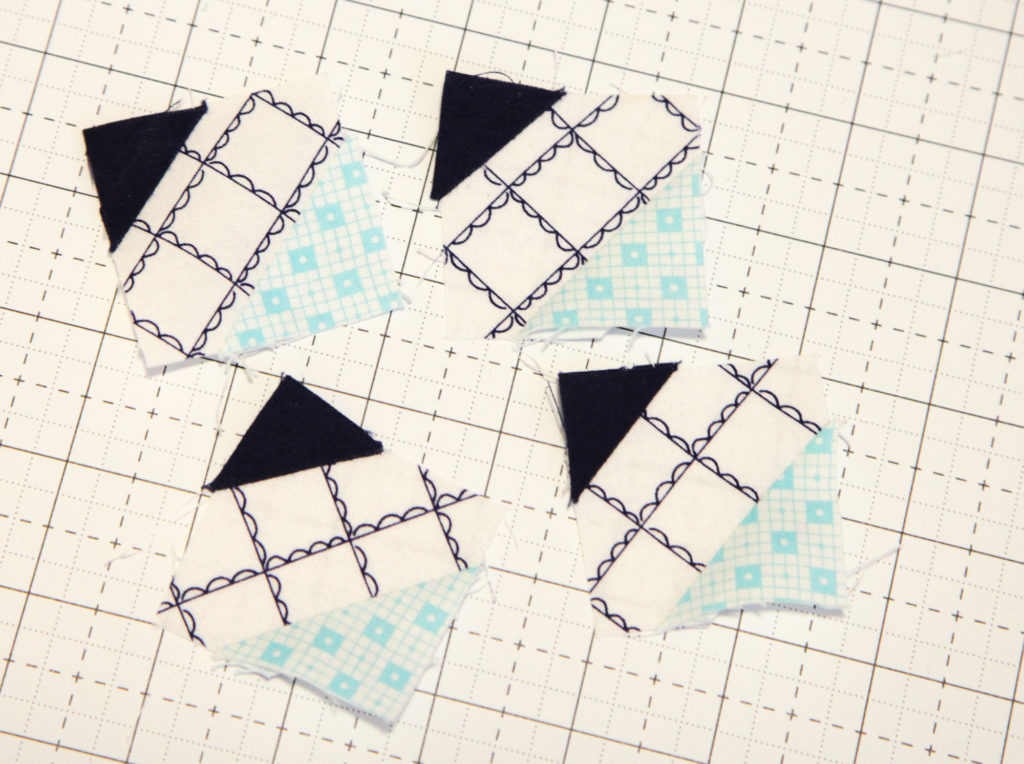
In the same manner, mark the H pieces. With the right sides facing, layer an H piece on the bottom right corner of the F piece. Stitch on the drawn line and trim 1/4″ away from the seam and press.
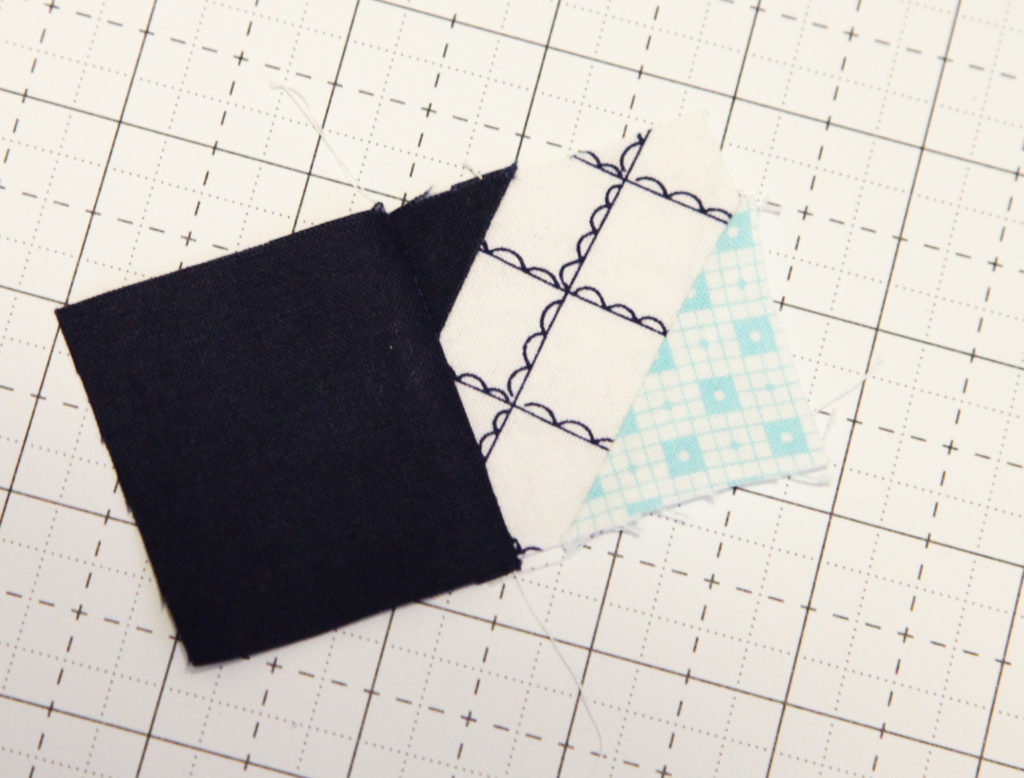
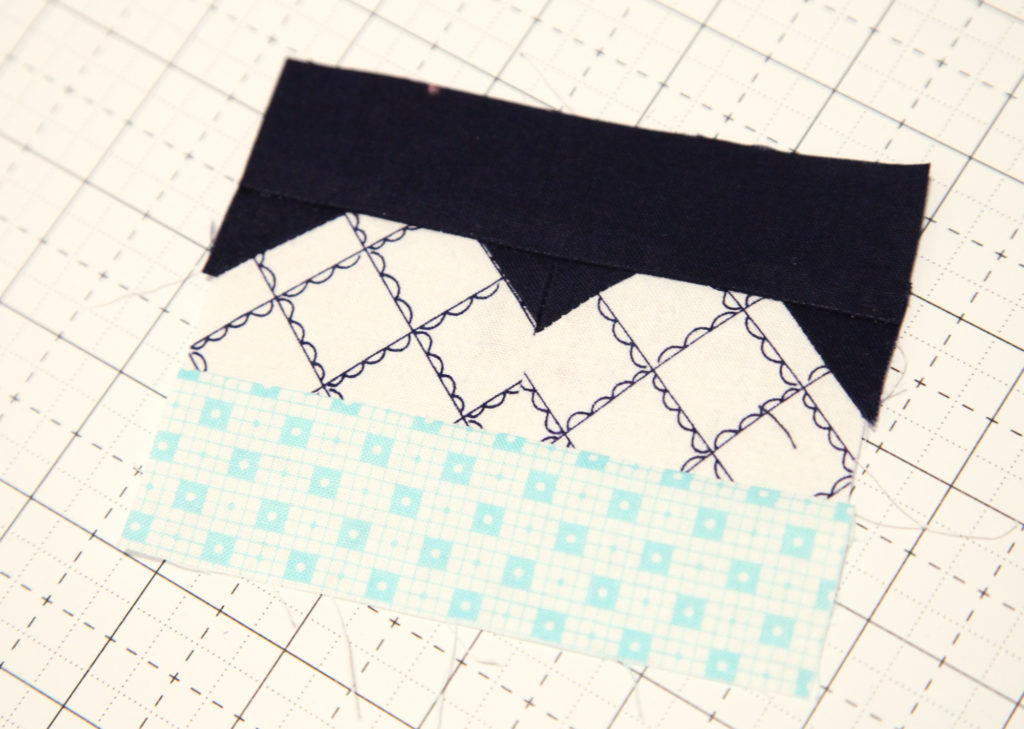
Join a B piece to the left side of an F piece. Press.
Join an A piece to the top of the F piece to form an F unit. Press. Make 4.
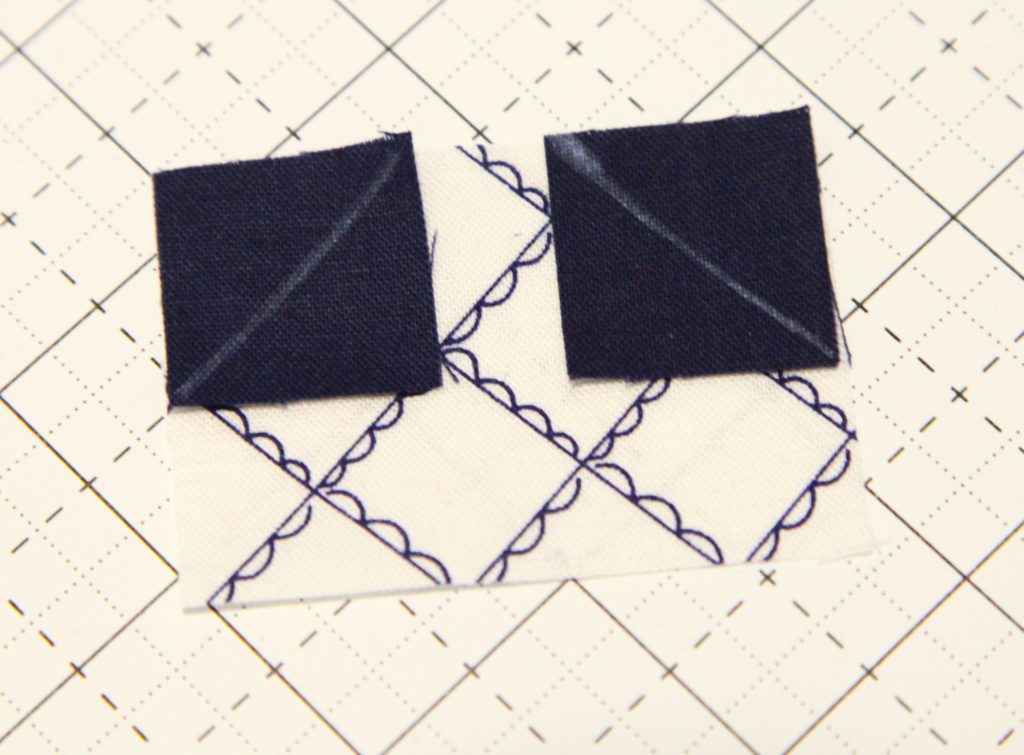
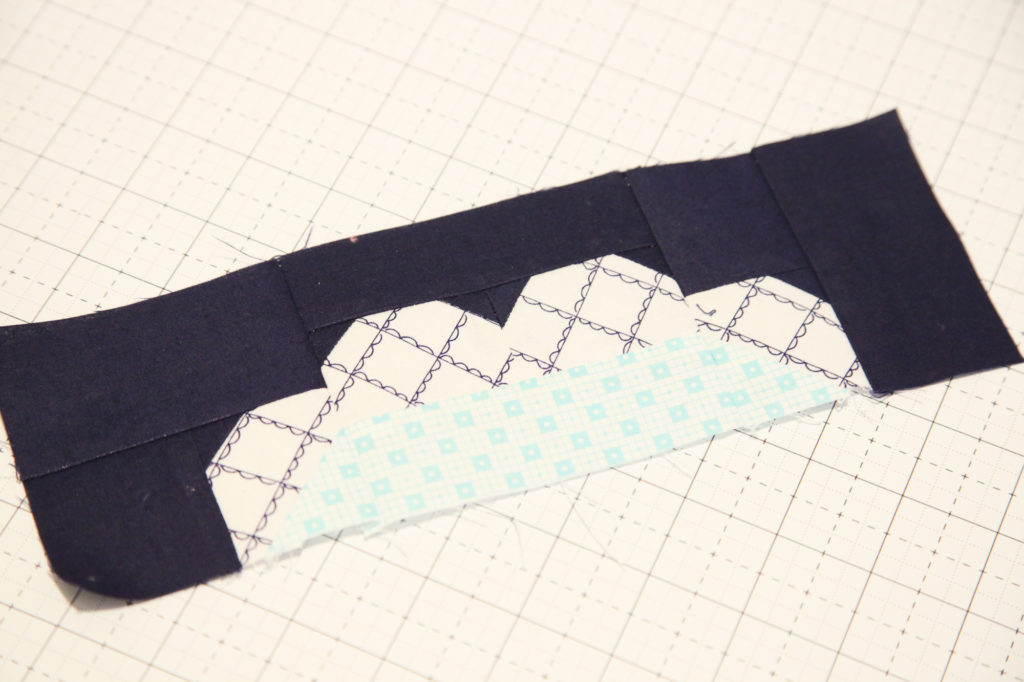
With the right sides facing, layer a D piece on the top left corner of an E piece. Stitch on the drawn line and trim away from the seam and press.
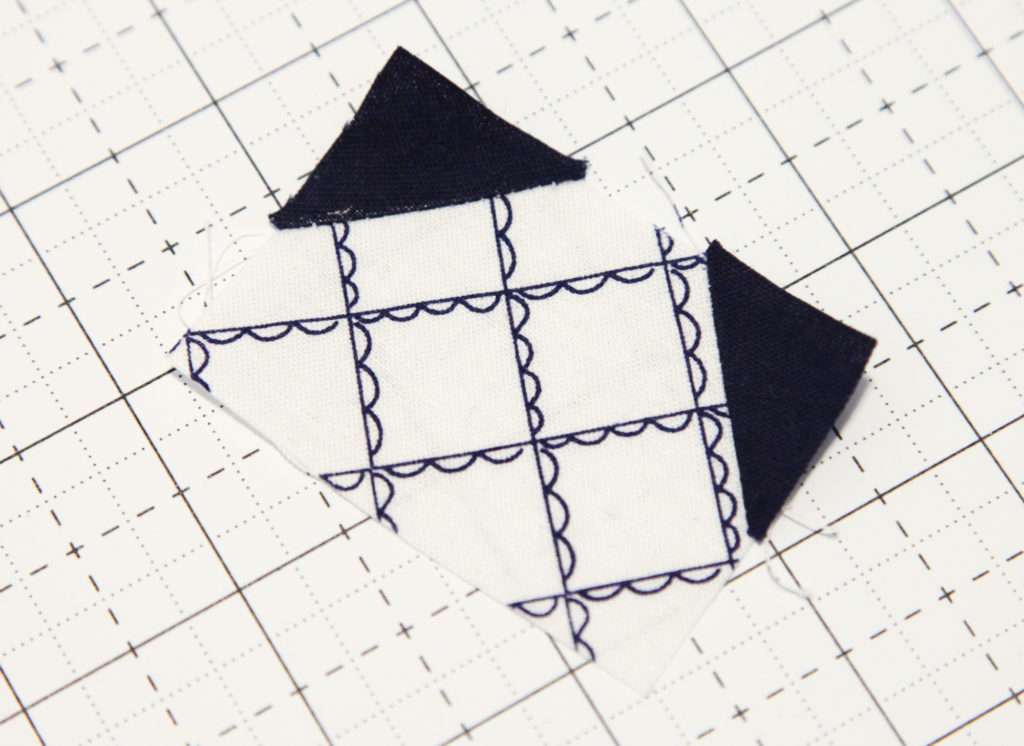
Repeat on the top right corner of the E piece. Make 8.
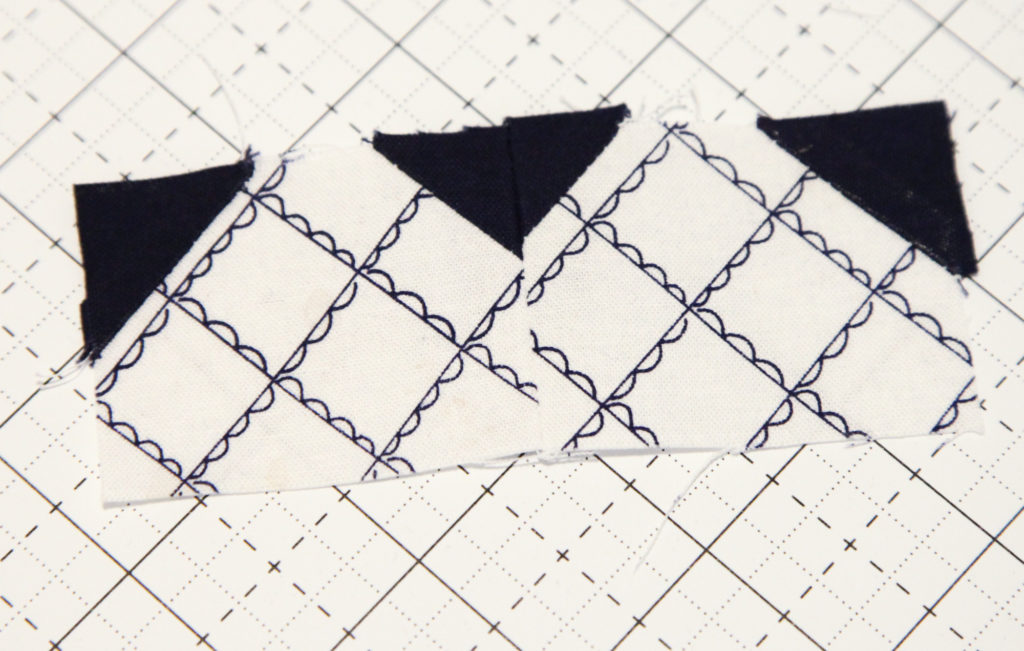
Join two E pieces together to form the E unit. Press.
Join a C piece to the top of the E unit. Press.
Join a G piece to the bottom of the E unit. Press. Make 4.
Join an F unit to the left and right sides of an E unit, so that the H pieces match the G piece, to form a side unit. Press. Make 2.
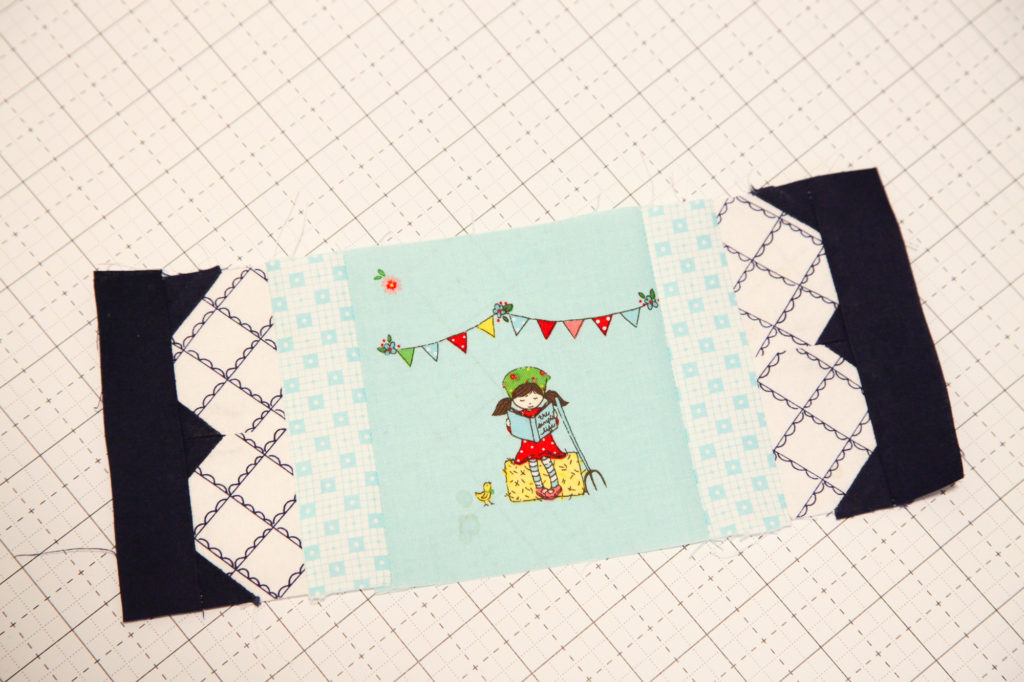
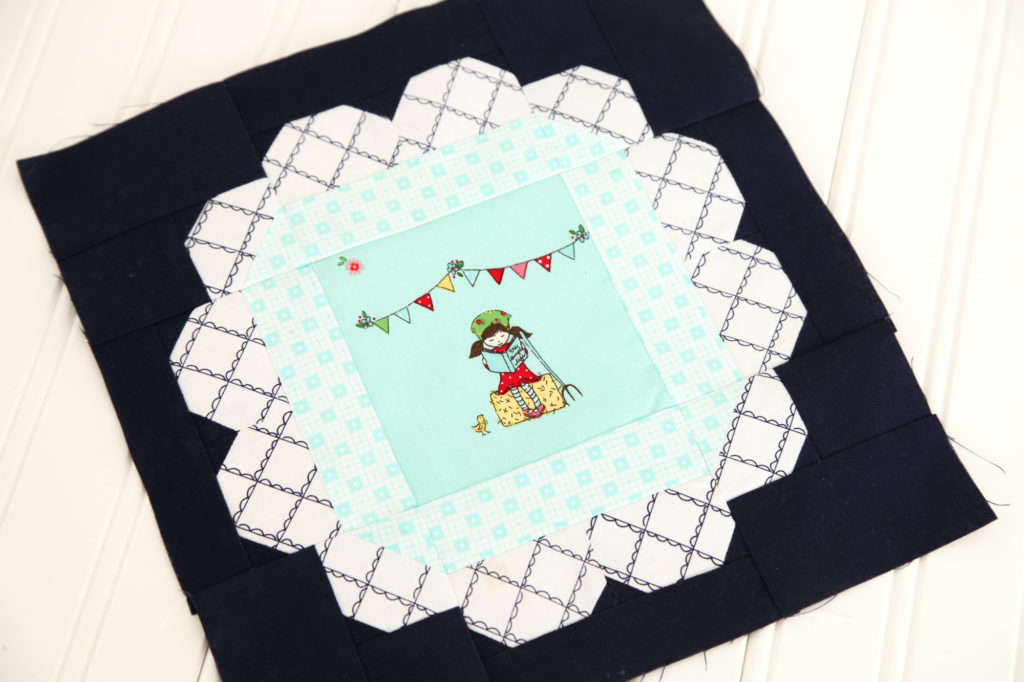
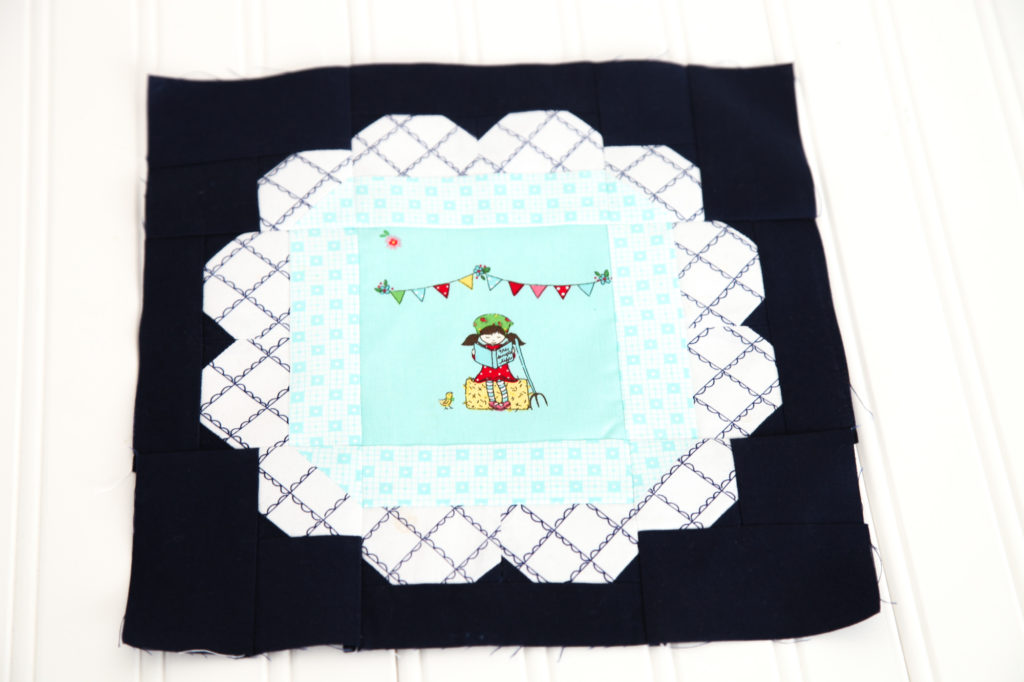
Join an E unit to the left and right sides of an I piece, so that the G pieces match the I piece, to form the center unit. Join a side unit to the top and bottom of the center unit, matching the G piece to the I piece to form the finished block.
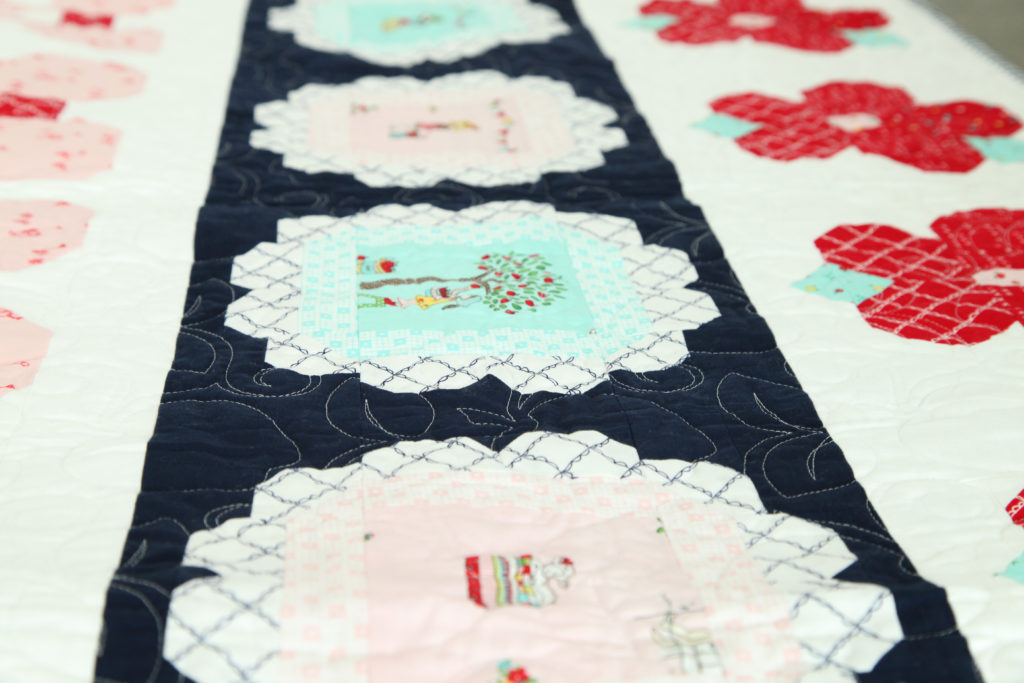
Make 3 pink blocks and 3 aqua blocks and join them into a row to form the scalloped circles row (row 2).
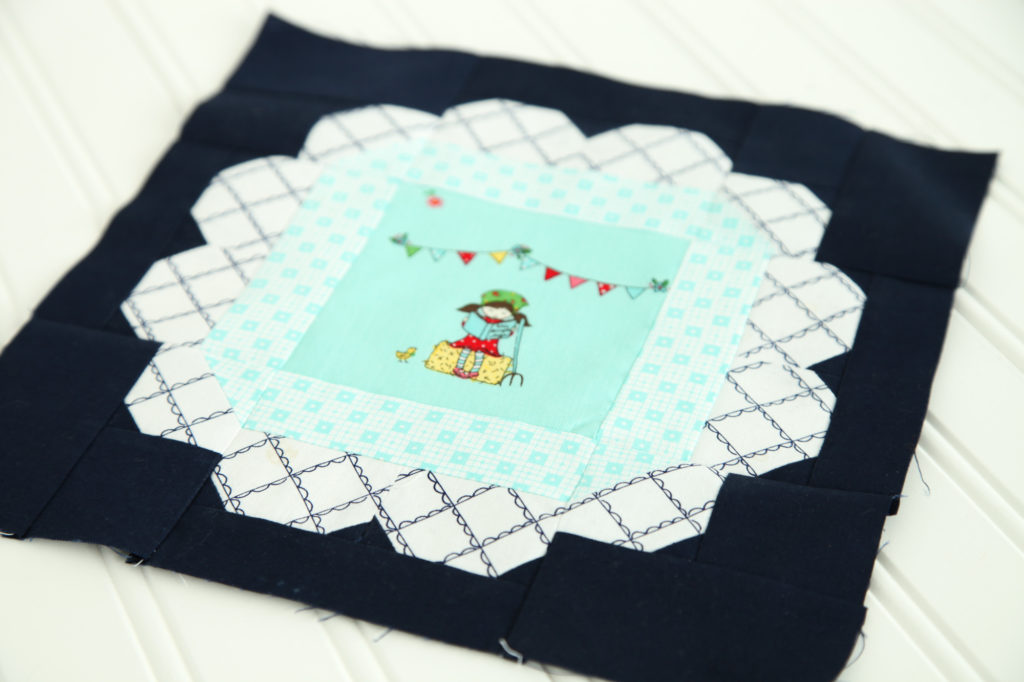
This block is so much fun because you get to fussy cut the cute little scenes from the main print of Tasha Noel’s Simple Goodness fabric collection.
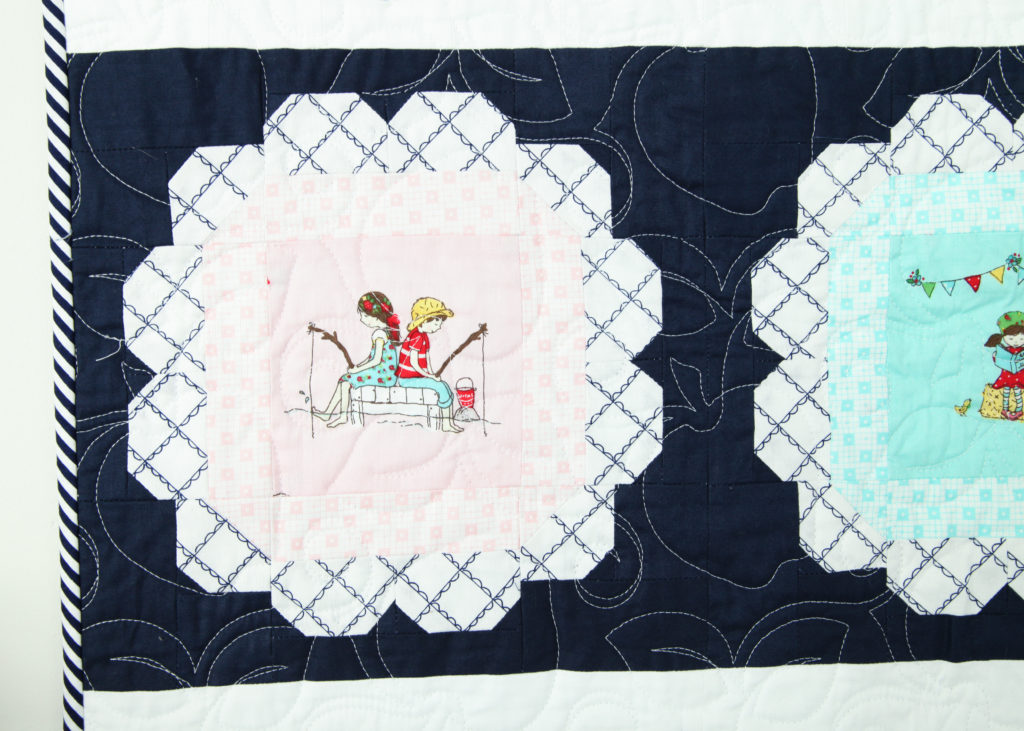
Here is one of the cute pink blocks.
We want to see your progress! Be sure to share your blocks with us on Instagram using #rileyblakedesigns #iloverileyblake #fabricismyfun, and tag us @rileyblakedesigns.
Happy Quilting!