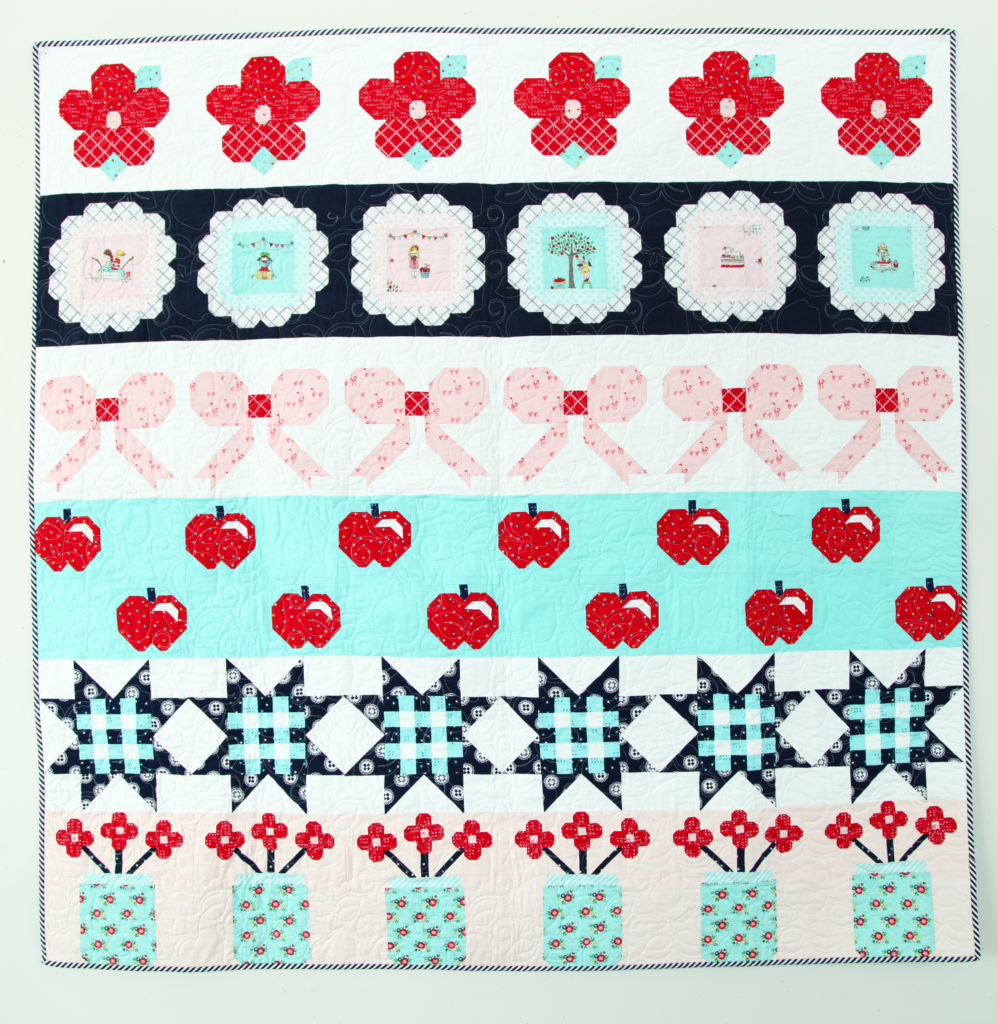
It’s Week 5 of the Sweet & Simple Sew Along, and we are excited to get started on the Gingham Star Block! The Sweet & Simple quilt, designed by Burlap & Blossom Patterns, features six rows of the cutest blocks you’ve ever seen! Fabric is from Tasha Noel’s newest collection, Simple Goodness.
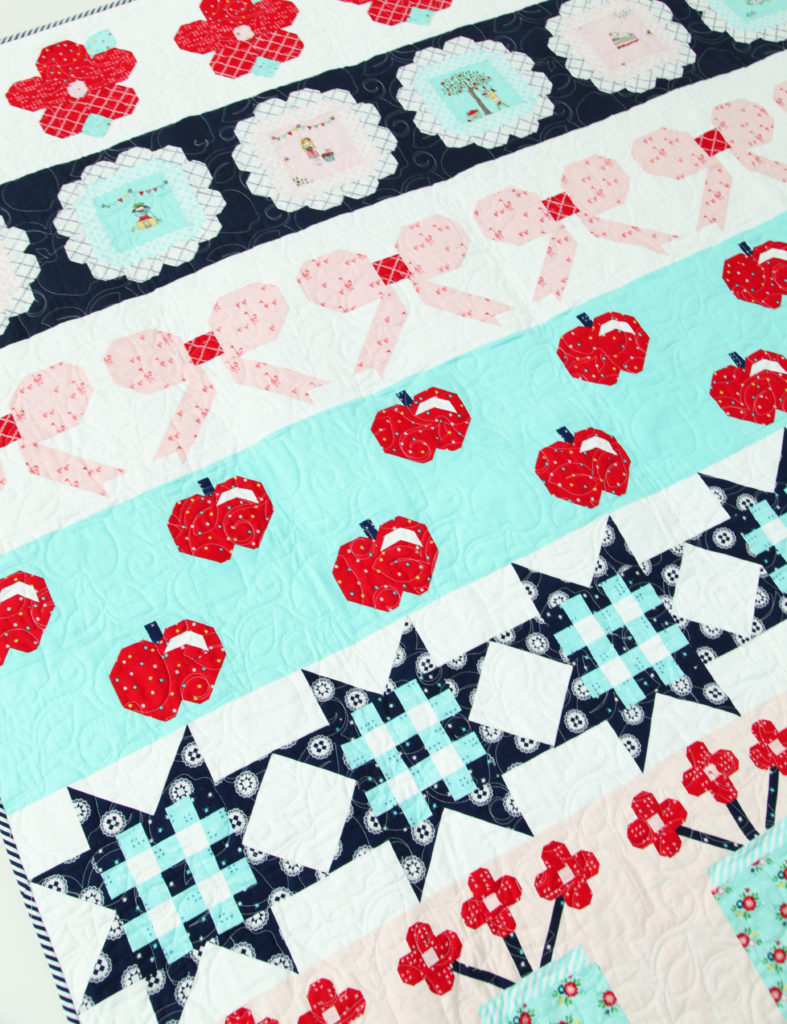
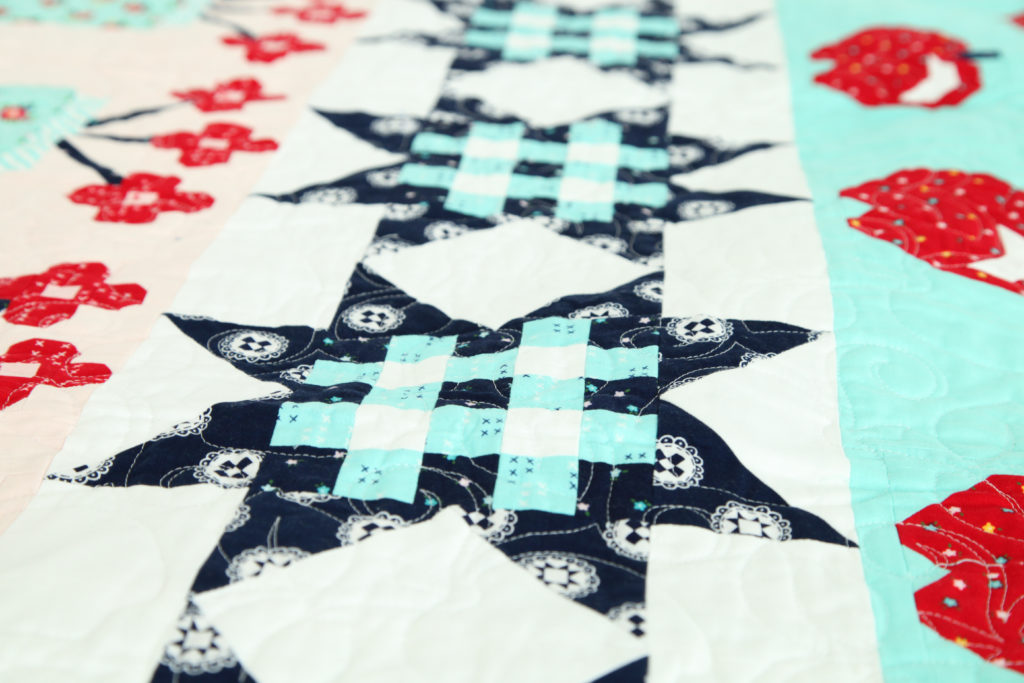
We have already finished our Flower, Scalloped Circle, Bow, and Apple rows, and the Gingham Star Block will make up Row 5 of this fun quilt.
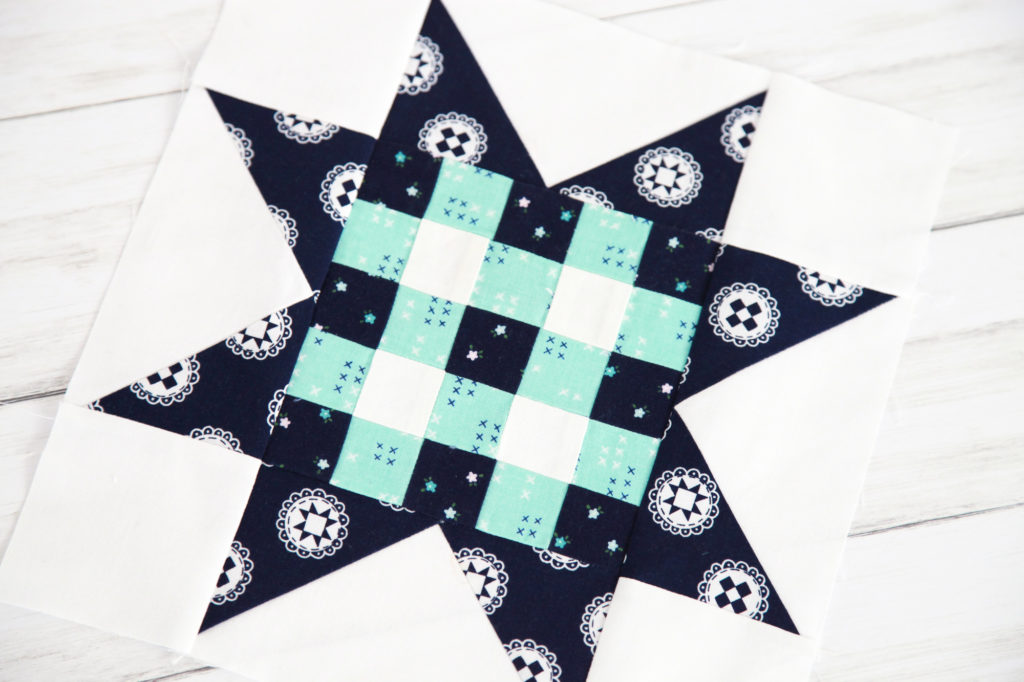
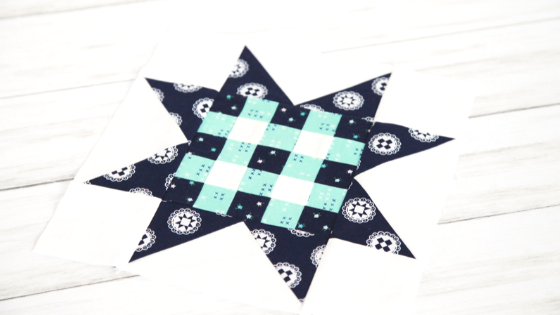
The Gingham Star block is as cute as it is fun to make. The blue and white color scheme is lovely. I think it would be fun to create a whole quilt using this block!
Let’s get started! Before you begin, as always, make sure to clearly label your cut pieces. I promise this will save you headaches and aggravation later on!
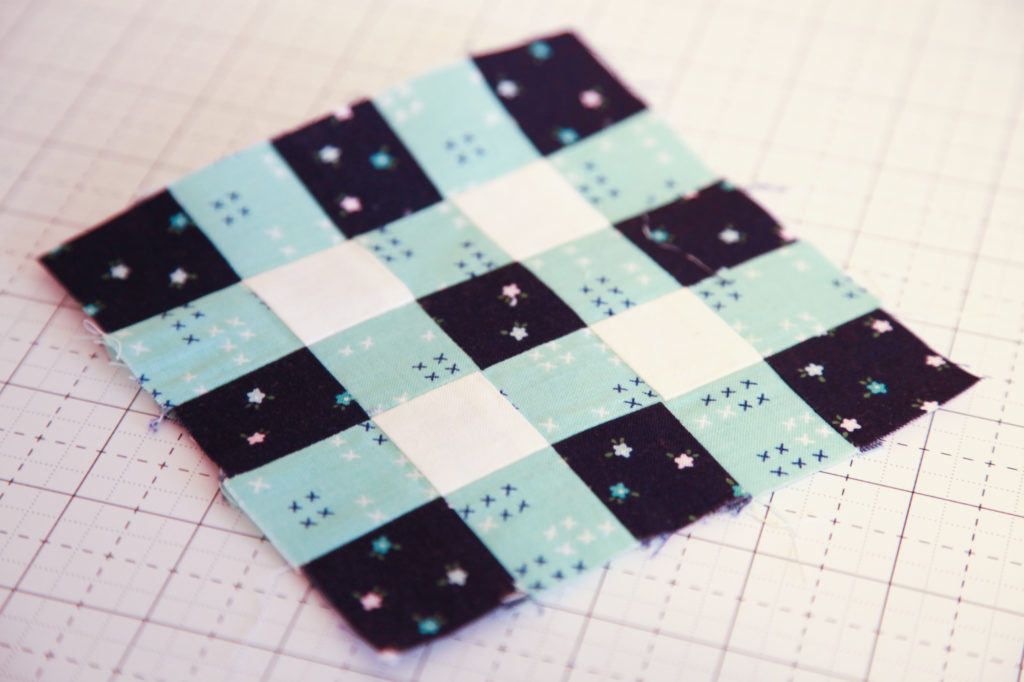
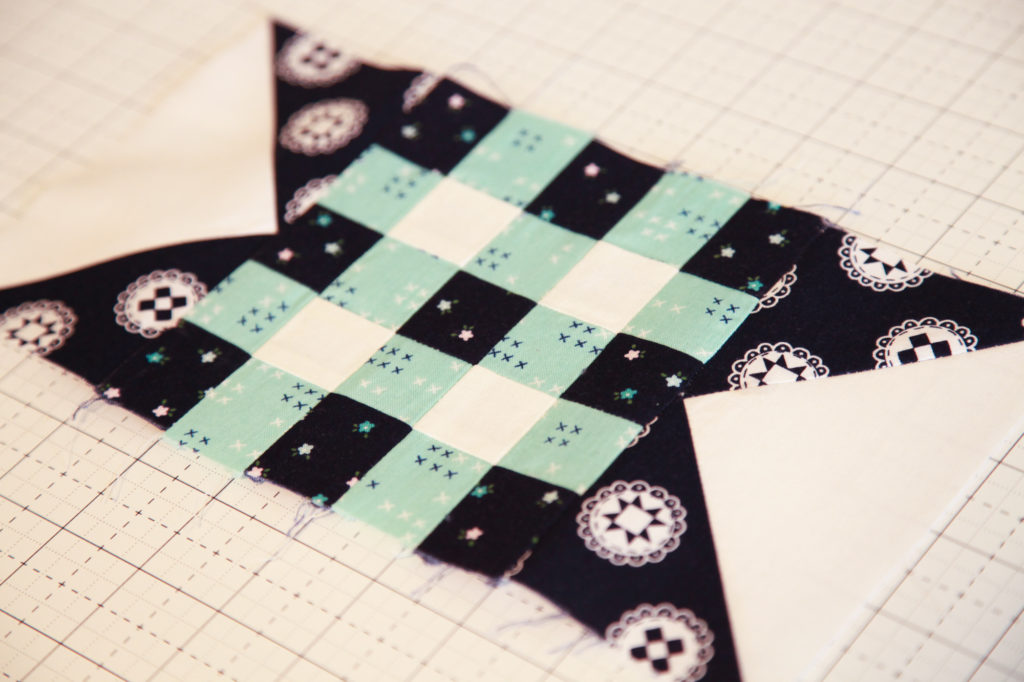
Begin by joining three E pieces and two F pieces into a row, beginning and ending with an E piece, to form the navy row, which should measure 1 1/2″ x 5 1/2″. Make three navy rows.
Join three R pieces and two C pieces into a row, beginning and ending with an F piece, to form the white row, which should measure 1 1/2″ x 5 1/2″. Make two white rows.
Join the navy rows and the white rows, beginning with a navy row, to form the gingham center unit.
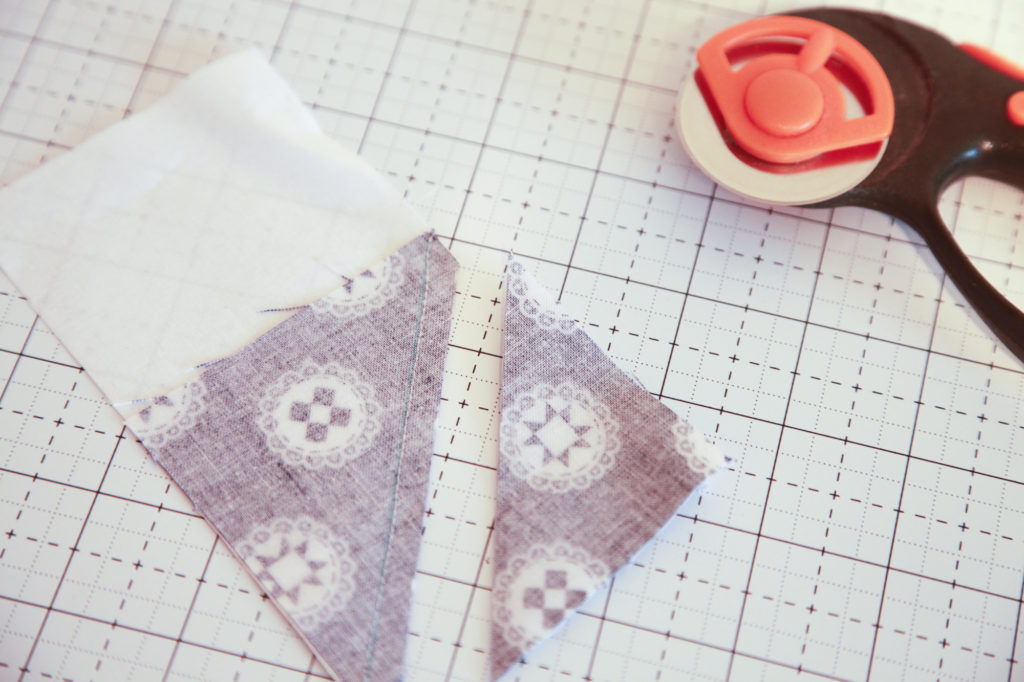
Draw a diagonal line on the wrong side of the D pieces. With the right sides facing, layer a D piece on the bottom left corner of a B piece.
Stitch on the drawn line and trim 1/4″ away from the seam and press.
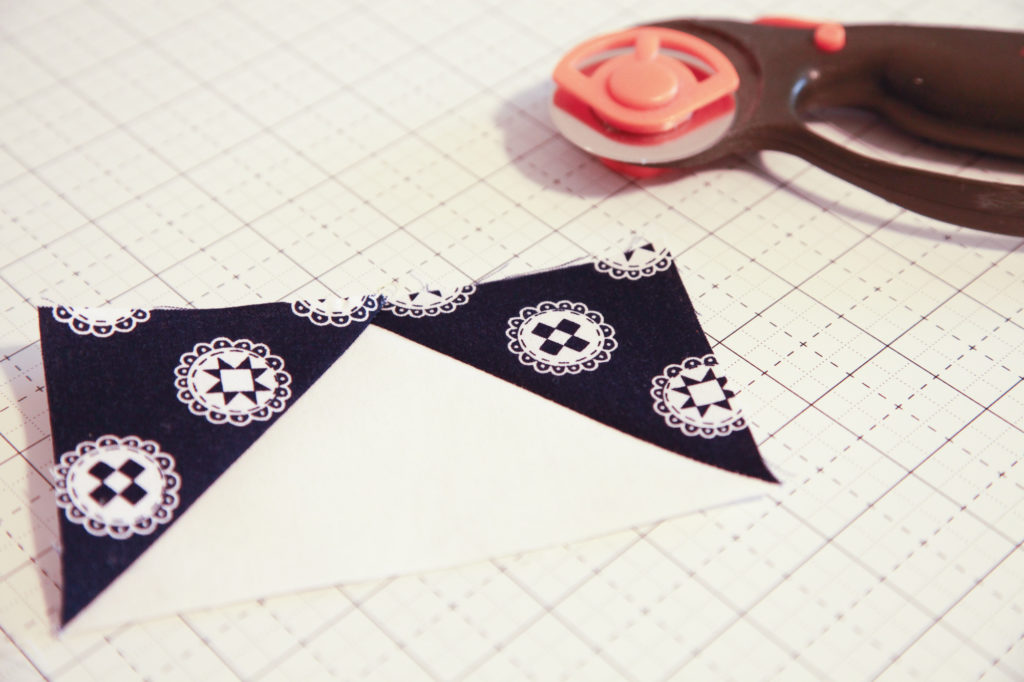
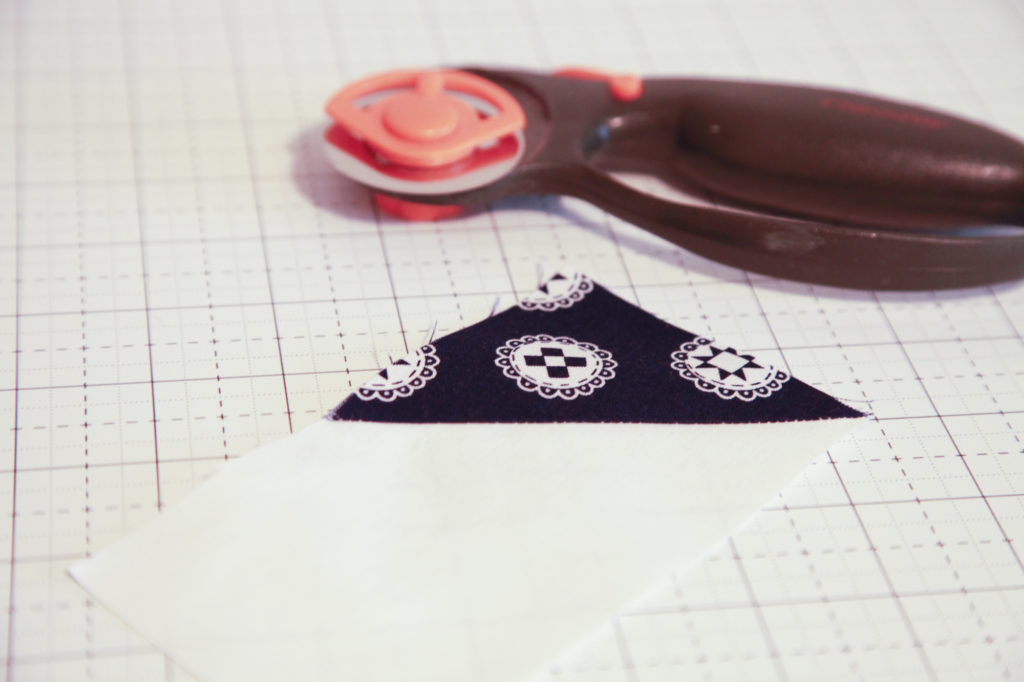
Repeat on the bottom right corner of the B piece. Make 4. Join an A piece (not pictured) to the left and right sides of a B piece to form the side unit. Make 2.
Join a B piece to the left and right sides of the gingham center unit.
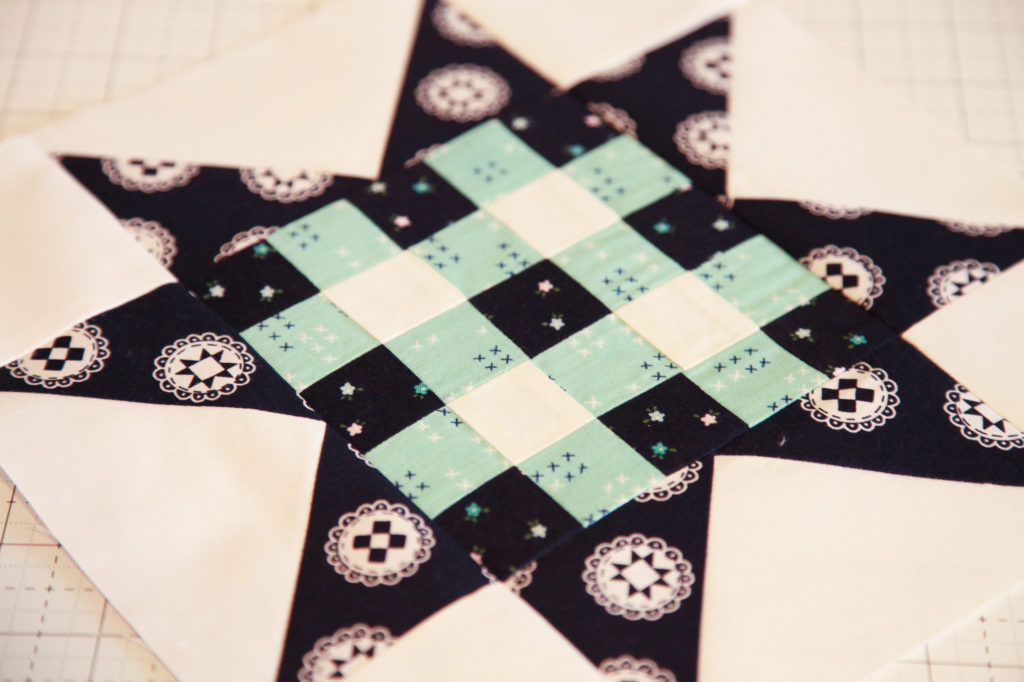
Join a side unit to the top and bottom of the gingham center unit to form the finished block.
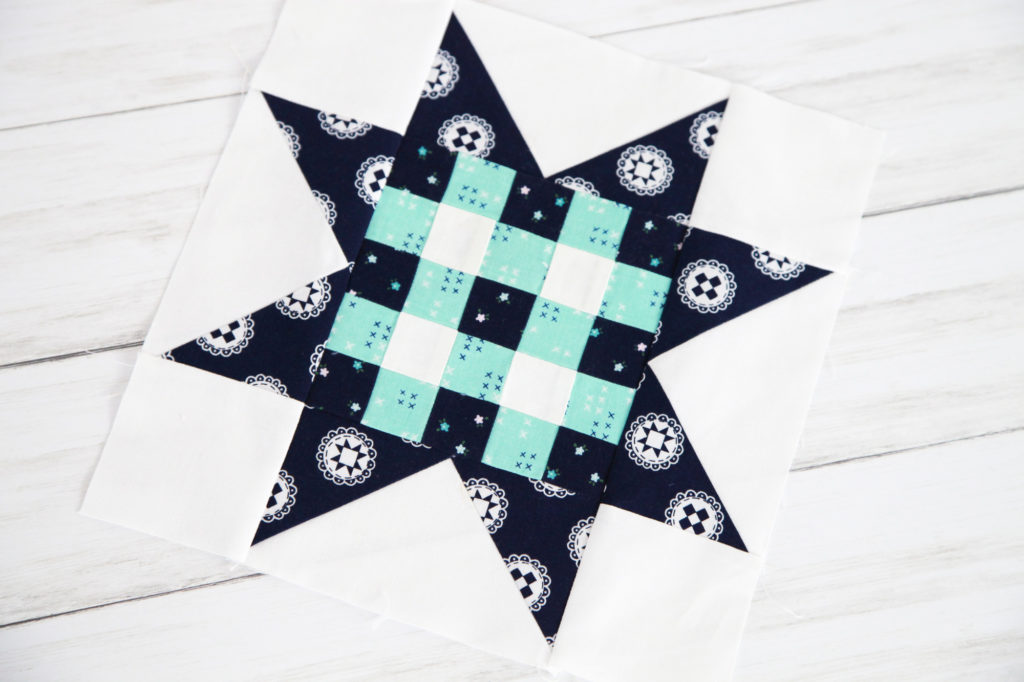
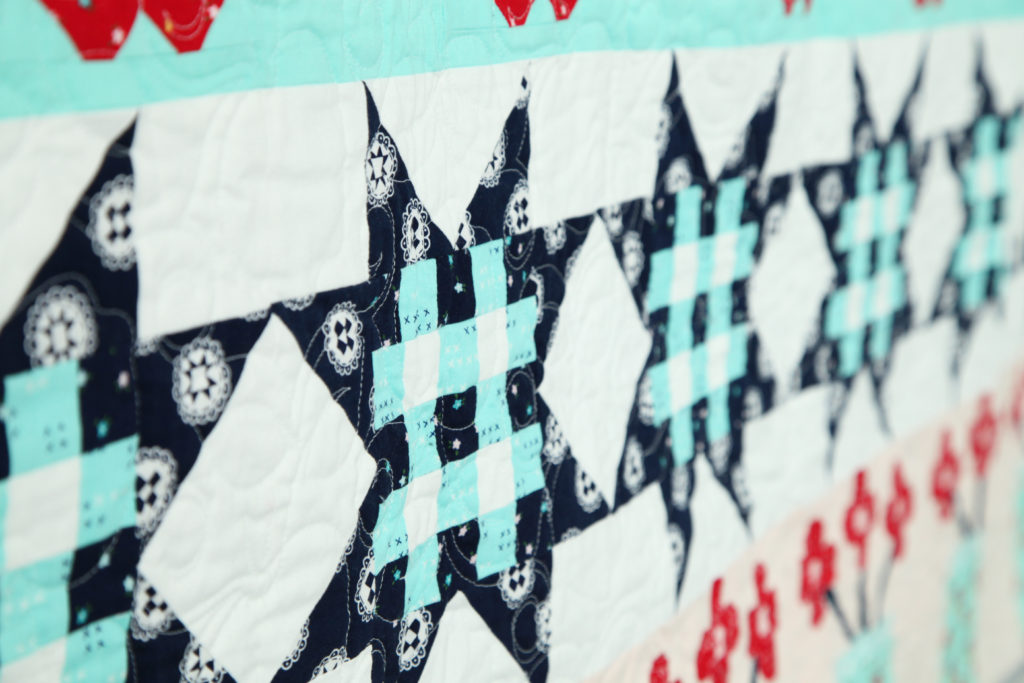
Make 6 gingham star blocks and join them into a row to form the star row (row 5).
Aren’t they cute?! Congratulations! You are well on your way to completing the beautiful Sweet & Simple quilt!
If you are just getting started, click HERE for the free cutting guide. Sweet & Simple kits are available now at participating local and online quilt shops.
Tasha Noel’s Simple Goodness fabric collection is available now at your favorite local and online quilt shops. Pick up yours today and share your progress with us on Instagram #rileyblakedesigns #iloverileyblake #fabricismyfun, and tag us @rileyblakedesigns.
Be sure to also tag Simple Goodness designer, Tasha Noel, and Sweet & Simple quilt designer, Gracie Larson, @burlapandblossompatterns @tashanoel.
Happy Quilting!