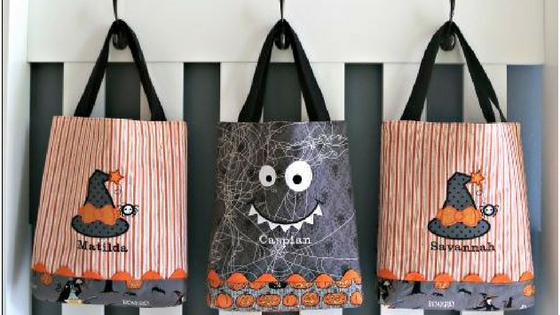
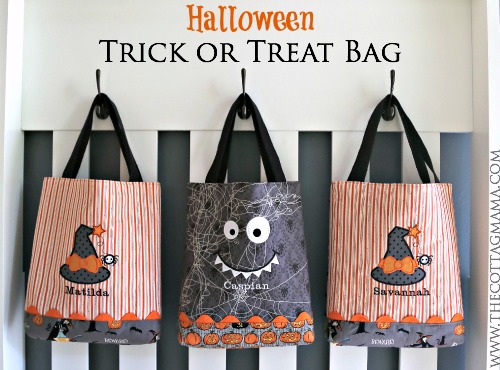
Halloween Trick or Treat Bag Pattern by Lindsay Wilkes from The Cottage Mama
Fabric: Witch Hazel by October Afternoon
Supplies:
- 3/4 Yard Exterior Fabric (Fabric 1)
- 3/4 Yard Lining Fabric (Fabric 2)
- 3/4 Yard Fusible Fleece
- 1 yard cotton webbing
- 14″ trim (such as rick-rack)
- Wash Away Wonder Tape
- Basic Sewing Supplies
Halloween Trick or Treat Bag Cutting Dimensions:
Before you begin, you will need to cut the pieces for your bag. Cut your pattern pieces as follows (dimensions are given in length x width):
Fabric 1:
- Cut 1: 15″ x 14″ (Bag Exterior Back)
- Cut 1: 4″ x 14″ (Bag Lower Contrast Front)
Fabric 2:
- Cut 2: 15″ x 14″ (Bag Lining)
- Cut 1: 12″ 14″ (Bag Top Front)
Cotton Webbing:
- Cut 2 Pieces: 17″ long
Cotton webbing can be found in the trim section or the notions section of your local sewing store. It typically comes in pretty basic colors: black, white, red and navy, but you might luck out and find some fun colors (especially if you order online). If you can’t find webbing, you can make yourself straps out of fabric that are 1″ x 17″ long.
Fusible Fleece:
- Cut 2: 15″ x 14″
Fusible fleece can be found in the notions section of your sewing store. It is fleece that is fusible on one side and will add some padding and body to your trick-or-treat bag. Please do not skip the fusible fleece or you will have a droopy looking bag.
Instructions:
ALL SEAM ALLOWANCES ARE 1/2″, UNLESS OTHERWISE NOTED
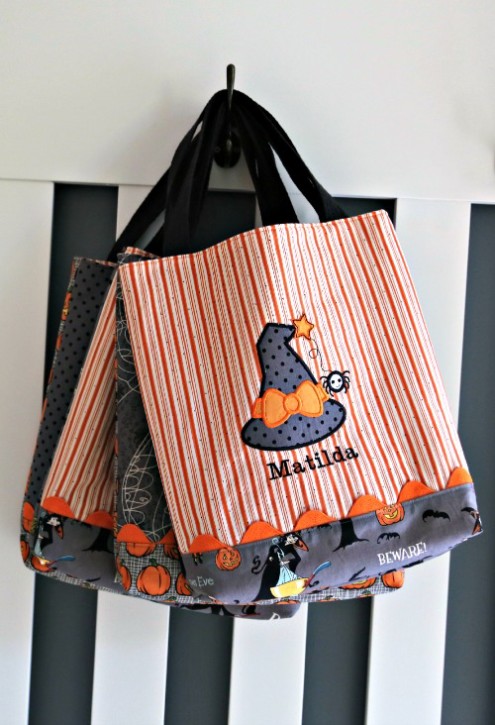
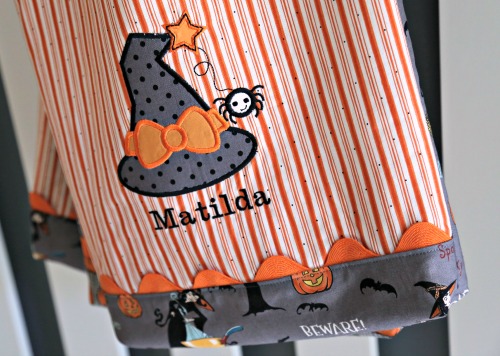
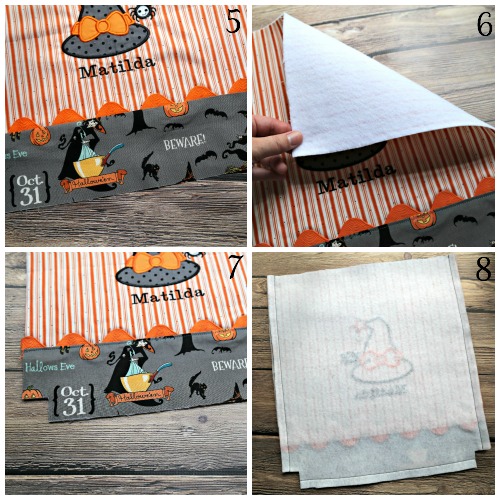
If you would like to add some machine embroidery or applique to your bag, do so before you begin. The appliques seen in this tutorial were from Planet Applique and were very easy to use with my Baby Lock Unity Sewing and Embroidery Machine. If you don’t have machine embroidery capabilities you could do a basic hand cut applique and use your regular stitches to sew it to the bag or skip the embellishing and use another fun patterned fabric for the upper bag front.
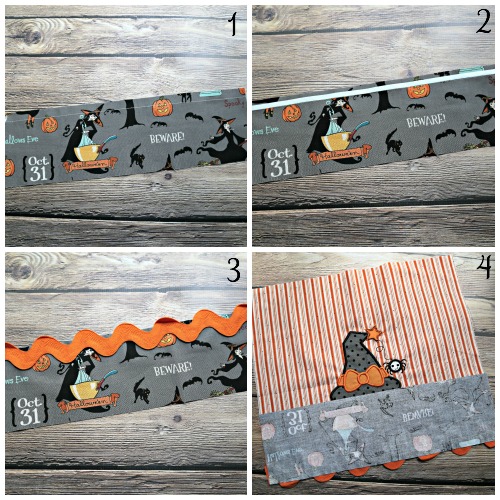
1. Apply Trim: Run a row of basting stitches along the top of the lower front bag contrast band at 1/2″.
2. (Optional) Stick down one row of Wash Away Wonder Tape along the top of your basting stitch line. Peel off paper backing. If you’re not familiar with Wash Away Wonder Tape, it’s my very favorite product. It’s a double-sided tape that you can sew through and it won’t gum up your needle. It disappears after washing. If you don’t have this product (found in the notions section of your sewing store), just skip this step.
3. Stick down your trim along the stitching line. The reason for running the basting row of stitches in step 1 is so that we can use it as a guide to know how much of the jumbo rick-rack we would like poking out on our bag. You can use this trick for many different types of trim in varying sizes. On this bag, consider using trims such as piping, medium rick-track, pom-poms or any other trim you can imagine! Or you can skip the trim altogether. If you aren’t using Wonder Tape, simply pin your trim in place and baste it to the lower front contrast band (those using the tape do not need to baste).
4. Sew the lower contrast bag front to the upper bag front: Line up the raw edge of the lower contrast front (the edges with the trim) with the lower edge of the upper bag front and sew together.
5. Press the lower contrast bag front down away from the upper bag front, pressing the seam allowance down towards the bottom of the bag. Press the trim up towards the top of the bag. Run a row of topstitching long the top of the lower contrast bag front.
6. Apply the fusible fleece to the back side of the bag front and the bag back according to package instructions.
7. Cut a 1″ square out of both lower bottom corners of the bag front, bag back, lining front and lining back.
8. Sew the exterior bag front to the exterior bag back: Place the bag front and back on top of one another with right sides together. Sew down both sides and the bottom edge, leaving the area where you cut the squares open (see image 8).
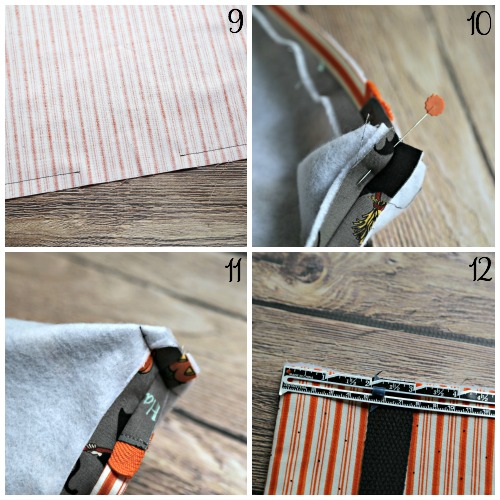
9. Repeat step 8 for the bag lining, however, leave a 3″ opening along the bottom edge of the bag lining.
10. Pinch the corners of the the bag where you left your squares open. Basically you are opening up the squares so that the right sides of the fabric are together.
11. Sew the corners of the bag using a 1/2″ seam allowance. If you would prefer to have a wider bottom on your trick or treat bag, then you can sew a deeper seam allowance as well. Sew the corners for both lower corners of the exterior of the bag and both corners of the bag lining. Cut the seam allowance down to 1/4″, turn right side out and press.
12. Measure in 2″ from each side of the bag for your strap placement. Line up the raw edge of the strap with the raw edge of the top of the bag exterior.
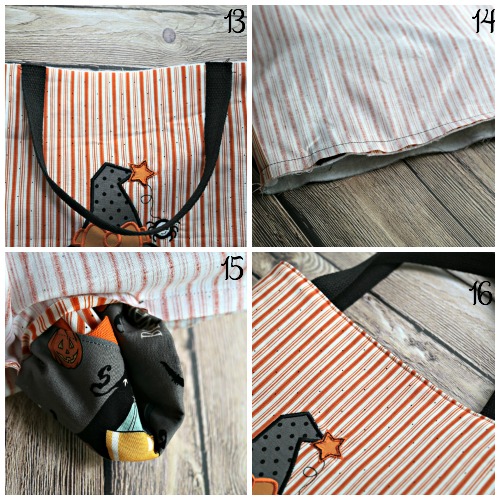
13. Baste stitch the straps to the bag, sewing one to the exterior front and one to the exterior back.
14. Turn the bag lining inside out. Place the exterior bag down inside the bag lining, lining up the top raw edge of the bag and making sure both straps are pointing down towards the bottom of the bag. The right sides of the bag lining and bag exterior will be together. Sew around the entire top of the bag.
15. To turn the bag right side out, pull the bag through the hole that was left in the bottom of the bag lining.
16. Press the seam at the top of the bag open and then tuck the lining back down inside the bag. Press the top seam so that it looks nice and then top stitch all the way around the top of the bag. Hand sew the opening in the lining closed.
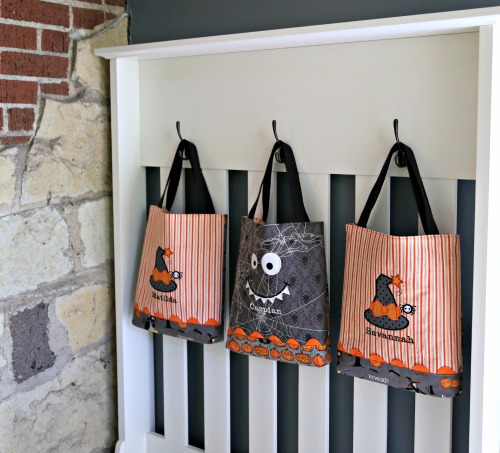
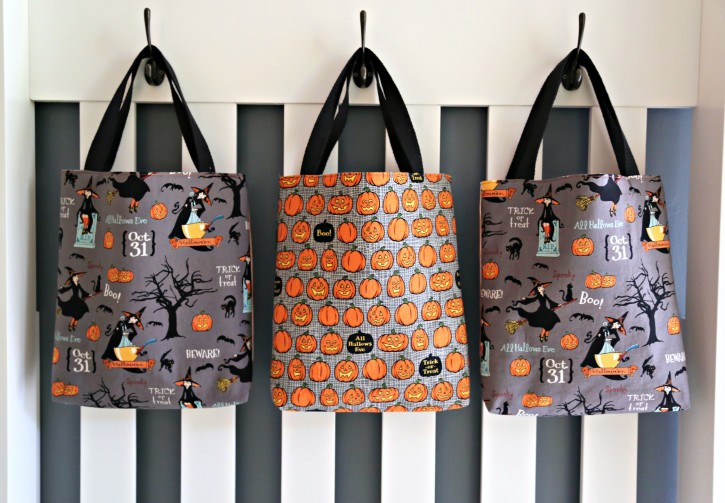
Now you have an adorable Halloween Trick or Treat Bag……..perfect for any little one!
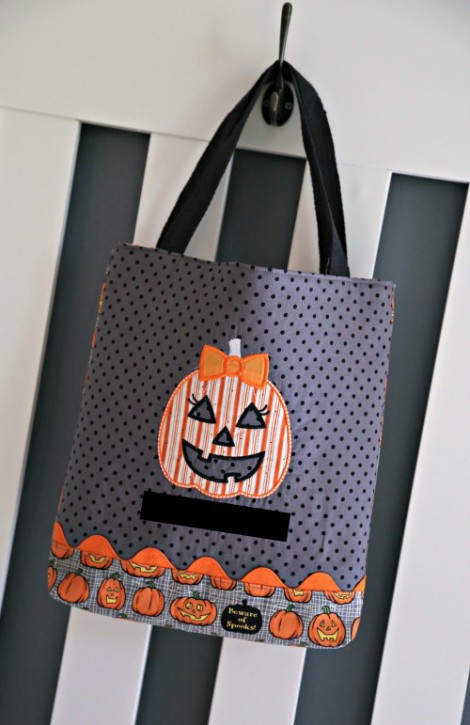
And here’s the Halloween Trick or Treat Bag for our little pumpkin arriving next month. But I can’t share her name with you yet……that’s a surprise! For more free patterns, tutorials, recipes and more, please visit me over at The Cottage Mama, www.thecottagemama.com
Happy Sewing!