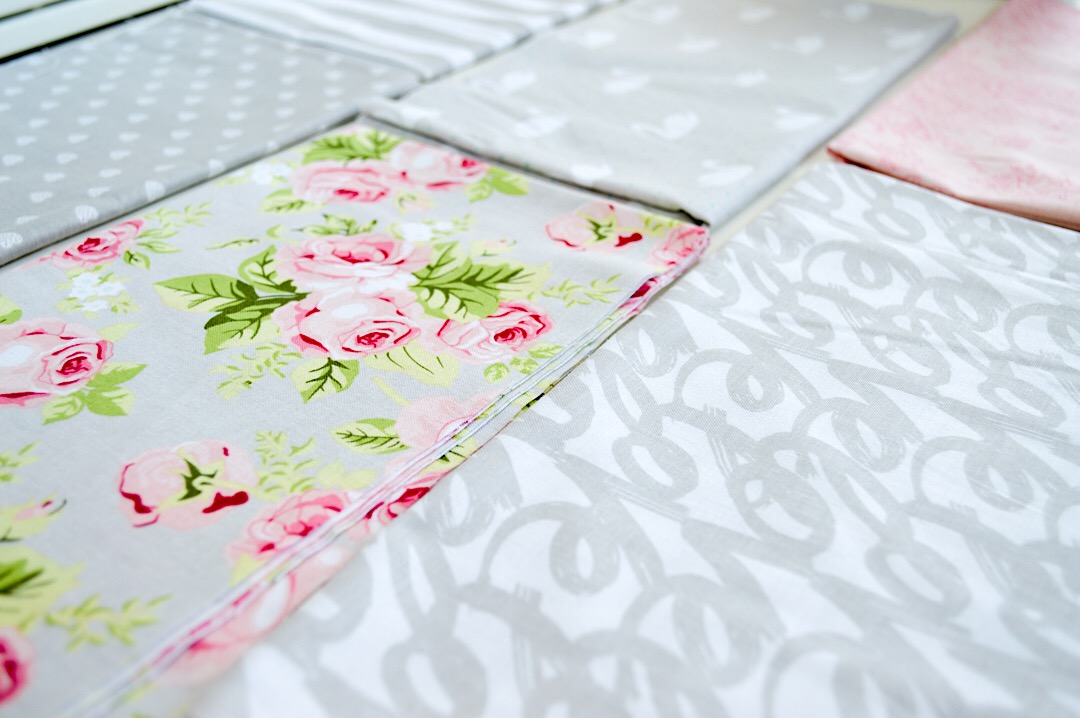
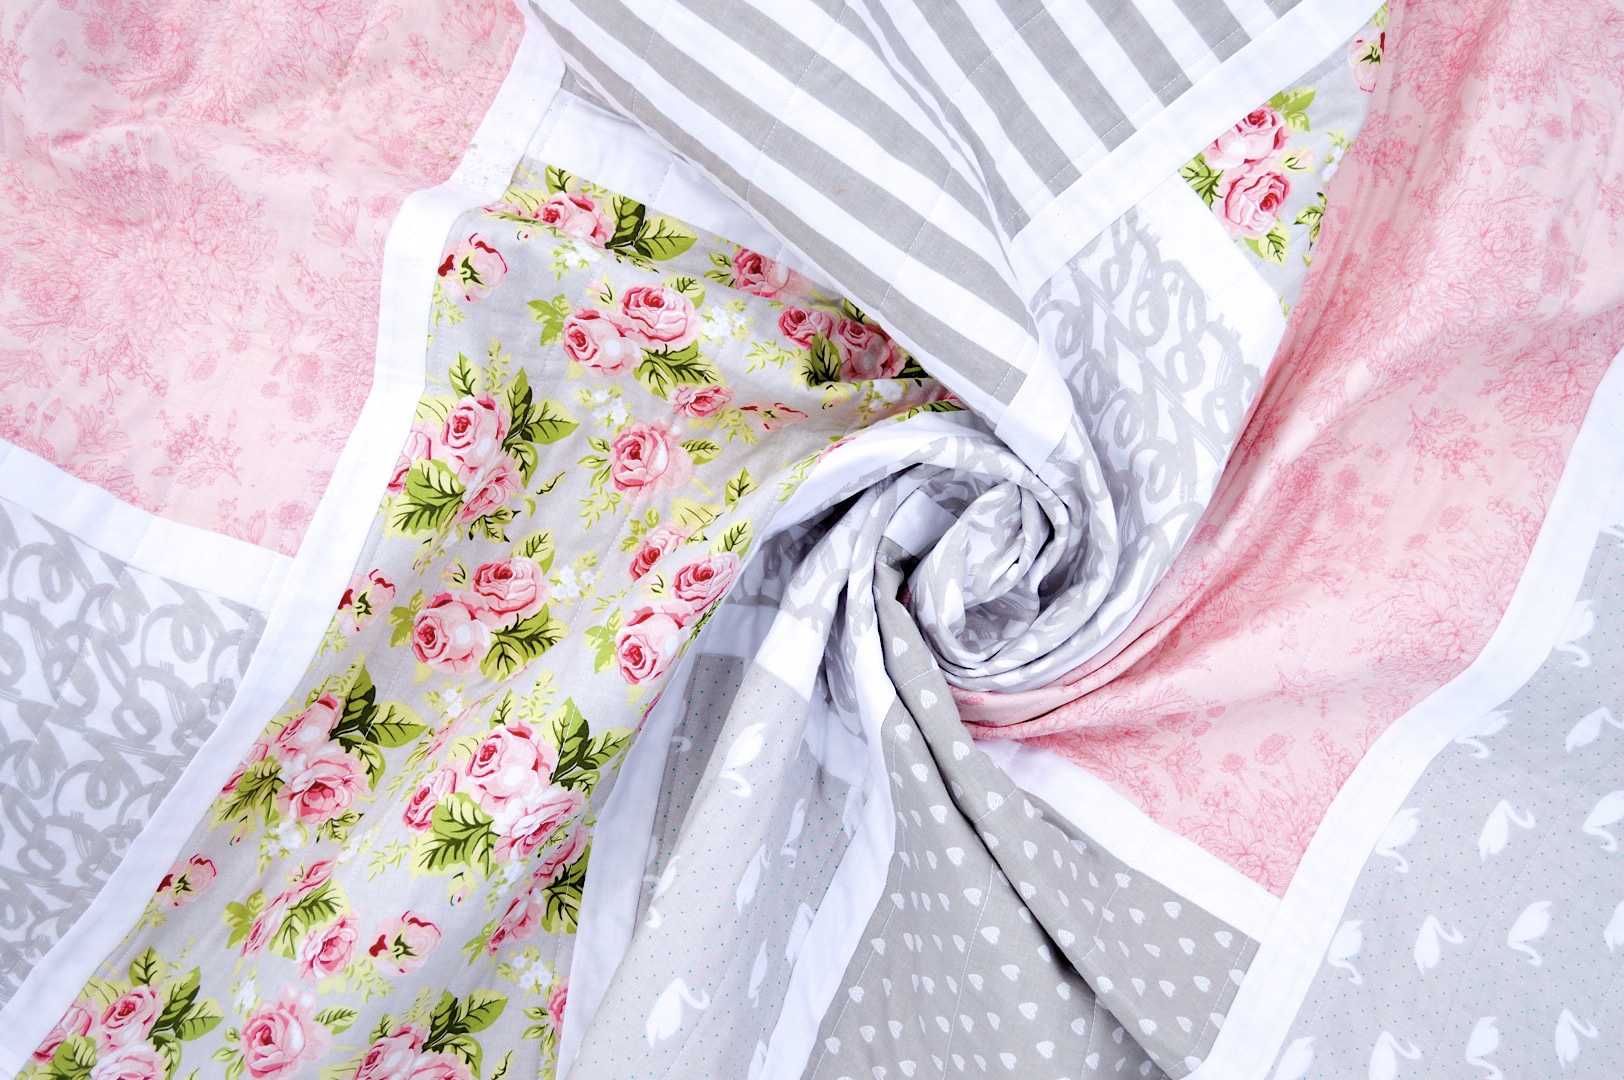
The new Love Story fabric line designed by Webster’s Press is a dreamy, elegant collection of roses, sketched hearts, subtle swans, and the word LOVE….seriously, what more could a person ask for?
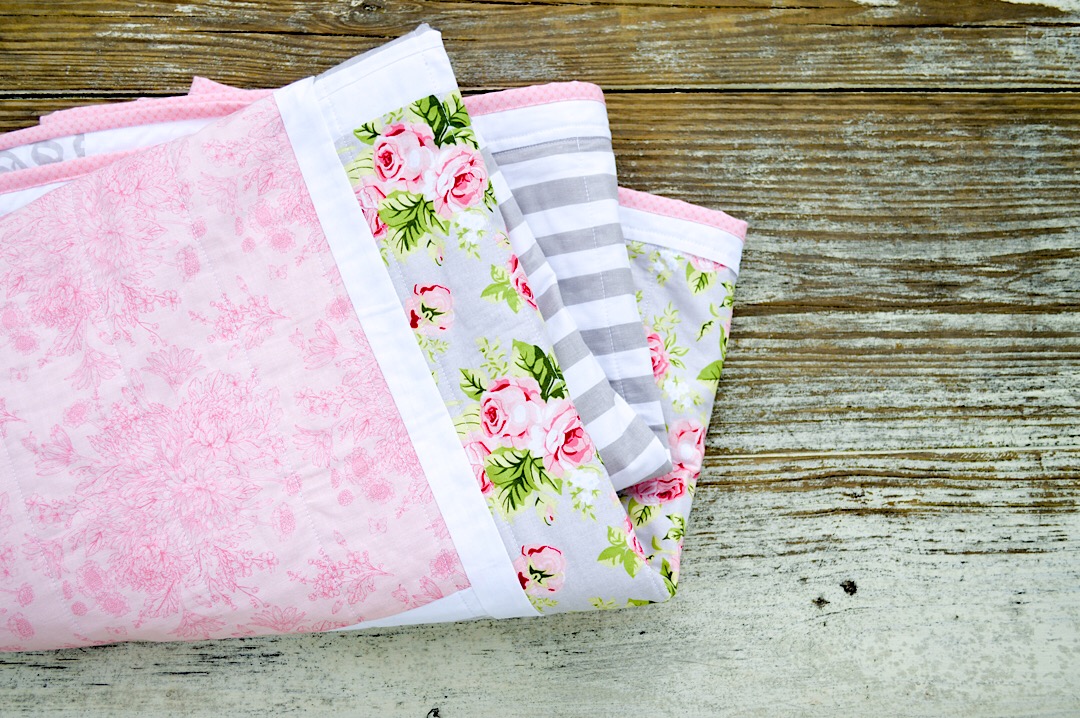
When I saw the pink and gray prints, I have to confess, my heart skipped a beat. I was taken back to middle school in the 80’s when my older sister had the cutest pink and gray drop-waist dress. I wanted that dress. I always got her hand-me-downs, so I counted on the fact that I would have that dress someday. But something happened – I grew several inches that year, while my older sister failed to grow at all, which meant I could no longer fit into her hand-me-downs. Nooooo! I decided to heal that painful part of my past by putting together a pink and gray quilt, totally inspired by the 1984 drop-waist dress.
I settled on this simple group of fabrics: Gray Love Main, Pink Love Floral, Gray Love Swans, Gray Love Words, Gray Love Hearts, and Gray Love Stripes.
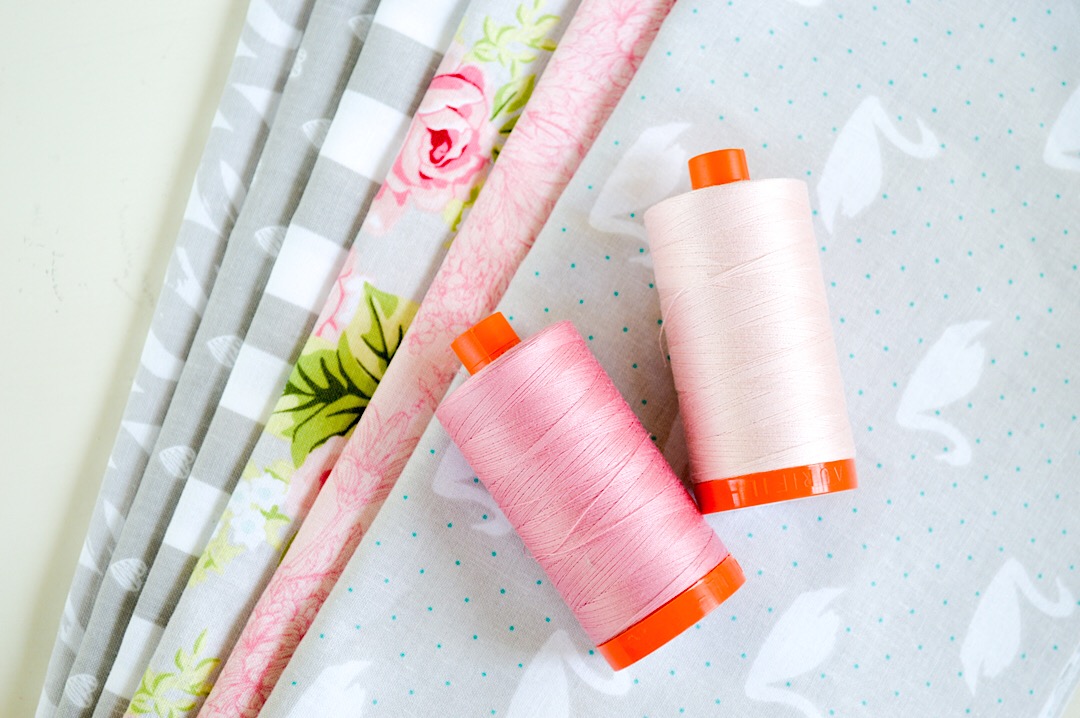
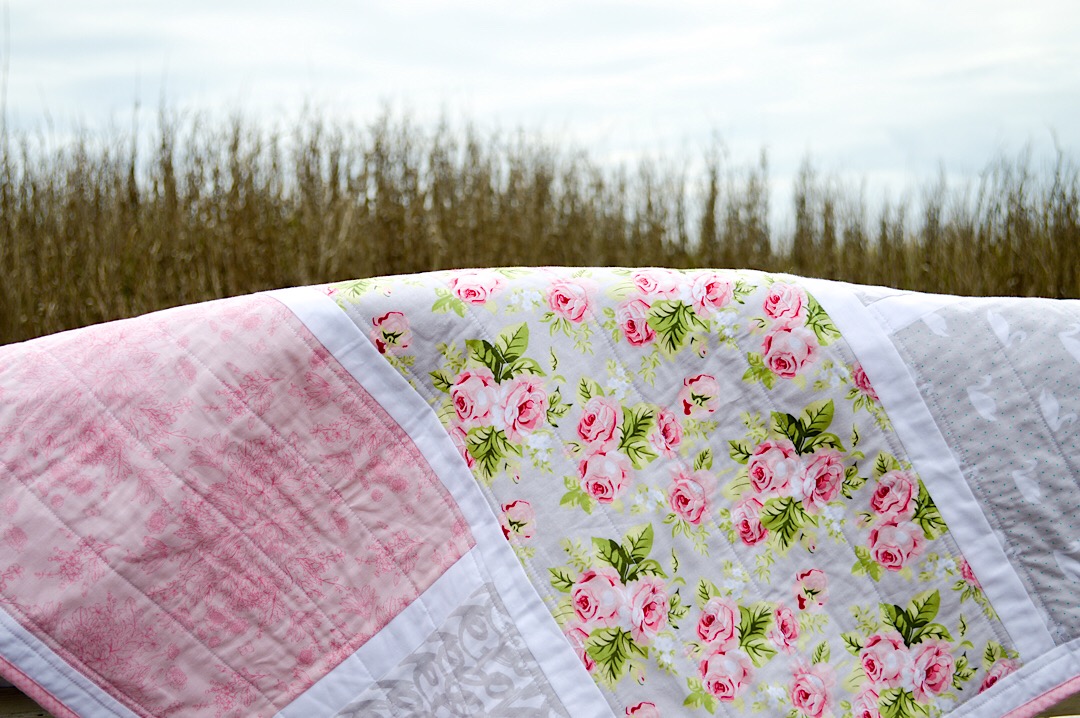
If you follow my posts, you know I love to make quilts that are fast and beginner-friendly. As I looked at these fabrics for a few days, deciding what to do with them, I realized that I wanted to really show them off by framing each print in a solid color. I debated between using a Hot Pink or Gray for the sashing and border to achieve a modern aesthetic, but finally decided on Riley White to really accentuate the soft, romantic feel of the prints.

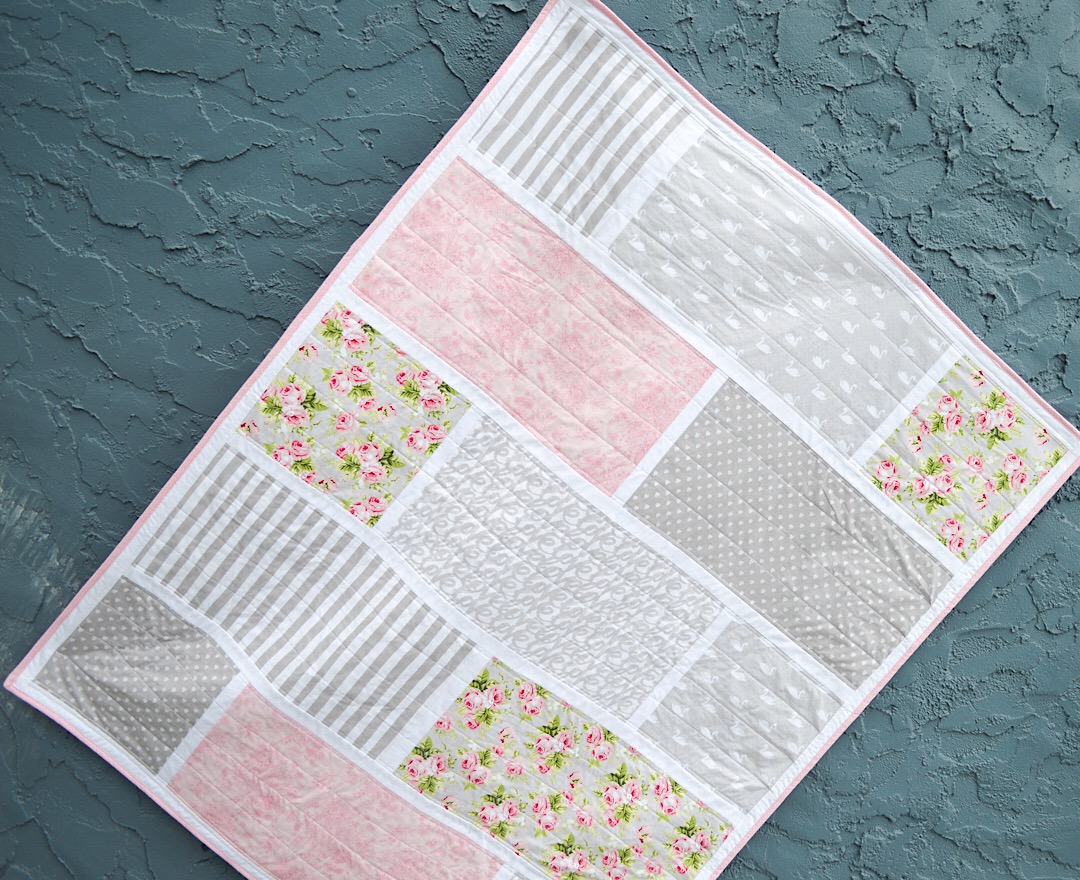
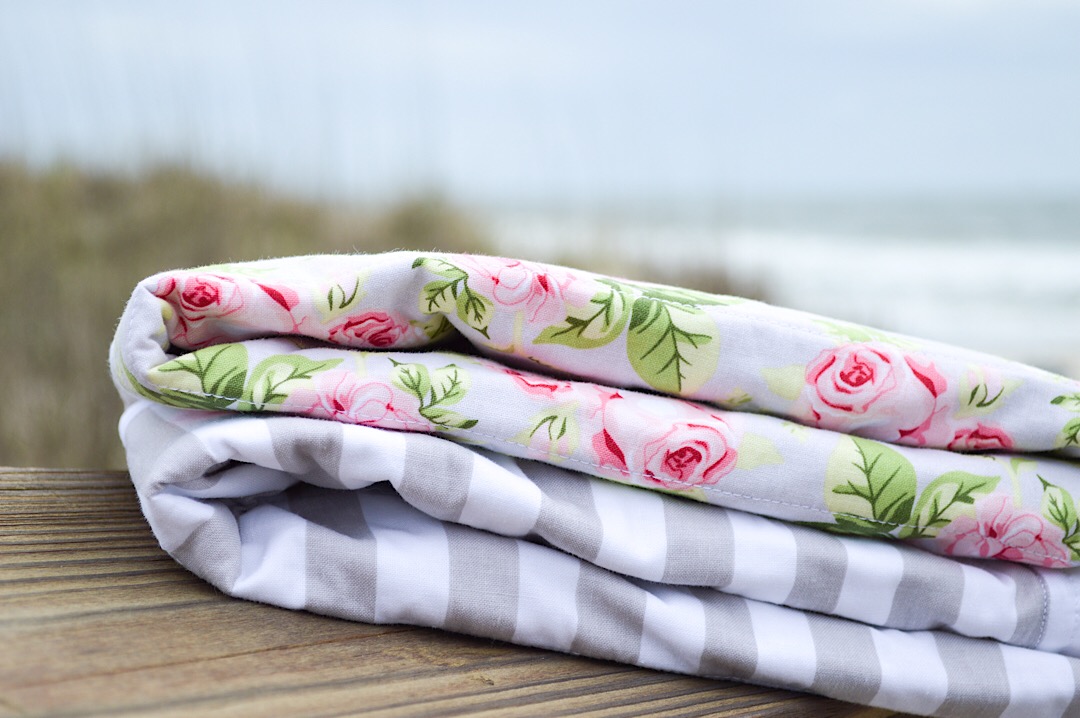
And that’s how this Brick & Mortar Quilt was born! The finished quilt measures approximately 42” x 54”. I would say this could work for a large baby quilt, toddler quilt, or even a small throw.
I loved how simple this quilt was to assemble, which goes to show that even beginner quilts can be eye-catching and beautiful! This quilt takes very little fabric and very little time. I would not hesitate to use this quilt as a beginner teaching tool because it covers quilting basics such as pressing, sashing, borders, and basic straight-line machine quilting.

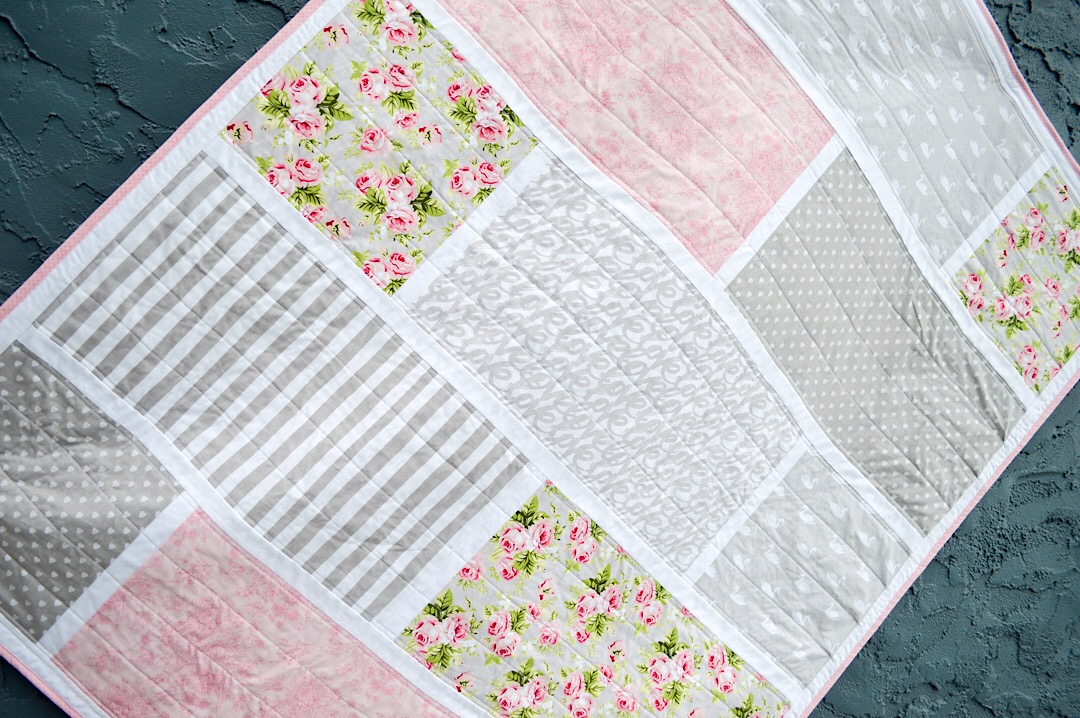
I call this the Brick & Mortar Quilt because it looks like, you guessed it, brick & mortar! You could make the sashing (or mortar) any solid color you want, thereby completely changing the look and feel of the quilt. This is such an easy quilt to personalize to your own taste.
I will say that my teenage daughter doesn’t comment a lot on my work, but this quilt caught her eye and she admitted in her too-cool-to-show-too-much-emotion way that she really liked this one. So, I can say with confidence, this quilt is teen approved!
Let’s get started! All seam allowances are 1/4″.
To make this quilt, you will need:
- 6 pieces of fabric from the Love Story collection, each measuring 12” x WOF.
- 1/2 yard Confetti Cotton Riley White
- 1/2 yard Baby Pink Kisses for binding
- Batting
- Fabric for quilt back
Start by cutting the Riley White fabric into 1.5” x WOF strips. This will become your sashing and borders. I used 11 strips for this project.
Next, trim your Love Story prints so they measure 11” wide x WOF. Trim off the selvage edges.
Now, cut each strip exactly in half. You will have 2 pieces of approximately 21.5” fabric. Repeat this step for each print. Set aside one of the 21.5” rectangles from each print. These are the long “bricks” in the quilt.
Take your remaining rectangles and cut them in half. This will give you 2 squares of each print.
You should now have one 11” x 21.5” rectangle and two 11” x 10.75” squares from each print (If your length measurements are slightly off, it’s okay. This pattern is a bit forgiving.)
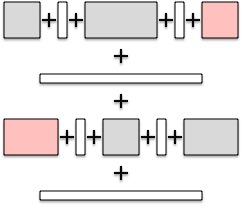
Start laying out your quilt. You want to alternate pieces as shown above. For the first row, you will alternate square + white sashing + rectangle + white sashing + square.
*Tip: you can follow my same fabric layout as shown in the images above, or you can opt to arrange the prints any way you like. I made a point to include a Pink Love Floral or a Gray Love Main print in each row in order to add contrast to all of the gray
For the sashing, you can cut each 10.75” piece ahead of time, or if you are like me, use the lazy method which means you just work from one of the long strips, attaching the sashing to the square from the top of the strip, pressing seams open, and trimming even with edge. This is a time saving step for me and it also covers my tracks if my measurements are a bit off.
Press all seams toward the darker fabric.
Repeat for the 2nd row, this time alternating rectangle + sashing + square + sashing + rectangle. This row will be just a bit longer than your 1st row. This is because you have 2 strips of sashing instead of one. To correct this, simply line your first two rows up against each other, so that they are centered (or off-centered) the way you want them, and trim the edges of your 2nd row to the same length as the 1st row.
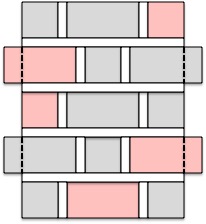
Continue alternating each row as in the same way until you have 5 rows.
Once you have all of your individual rows assembled, it is time to sew them together. Your remaining sashing strips will not be long enough to reach across the entire width of the quilt. Use scraps, if they are long enough, from the sashing you have already sewn, or dip into your remaining sashing strips, to sew an extension piece to one of the full length sashing strips so that your pieced together strip measures at least 54″, or the width of your quilt. Press seams.
Attach 1.5″ sashing strip to the bottom edge of your top row. Press.
Attach remaining raw edge of sashing strip to top edge of the 2nd row. Press.
Repeat until all five rows are completed.

Sew the border by adding the 1.5” strip of Riley White to the top and bottom of your quilt. Press. Trim ends so they are flush with the edges.

Finally, sew th 1.5” strip to each side of the quilt. Press. Trim ends flush with quilt edge.
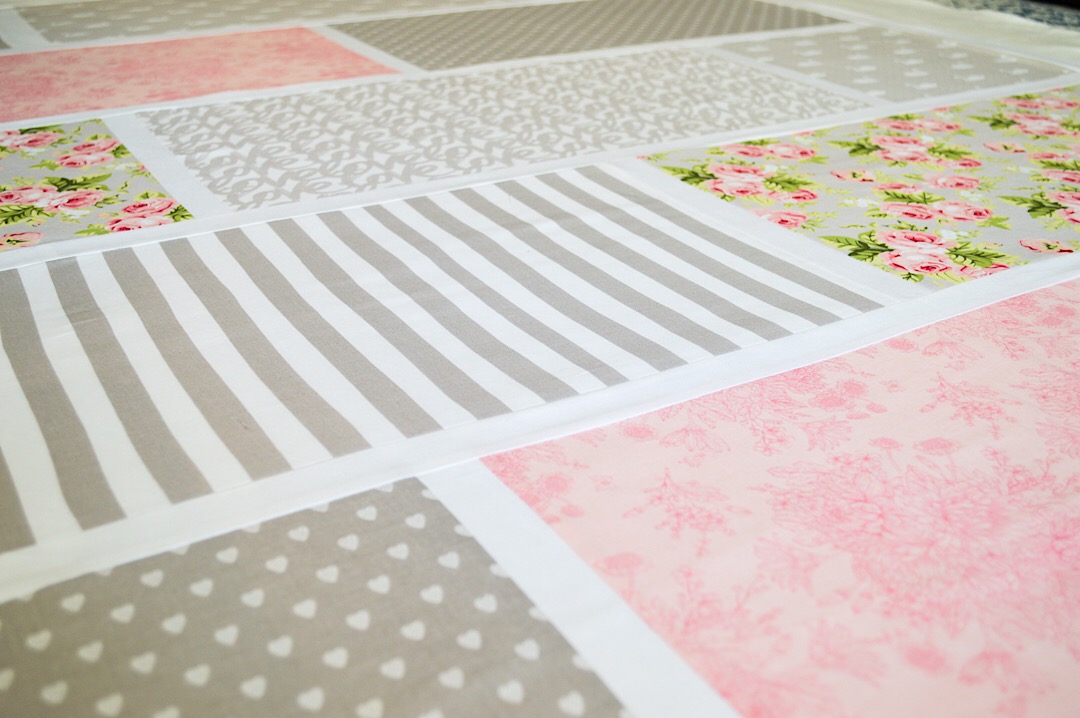
You now have a quilt top that looks like this. Aren’t those colors scrumptious?
Assemble the quilt by making a quilt sandwich (quilt back + batting + quilt top). Baste. You can quilt this on your home sewing machine or quilt by hand, or even have it professionally quilted.

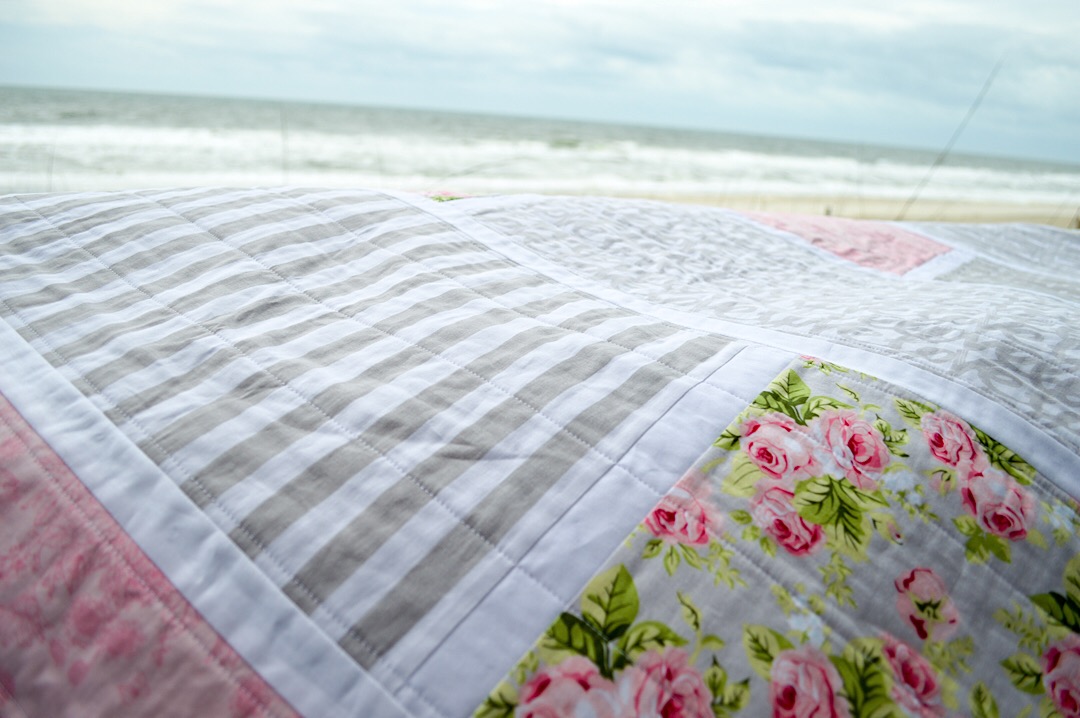
I opted to quilt this in straight, horizontal lines spaced about 3.5” apart.

For the binding, I used this gorgeous Baby Pink Kisses fabric, a Riley Blake Basic.

The quilt back is this fabulous Tone-on-Tone Gray Text designed by Amanda Herring. It is loaded with fun, uplifting text, and the subtle tone-on-tone design lends itself well to quilt backs, when you want the back to compliment, but not overpower the quilt front.
LOVE those roses!
That’s all there is to it! This quilt top can be whipped up in an afternoon, which makes it perfect for a last minute gift. I hope you have fun making your own Brick & Mortar Quilt! We want to see what you are making, so be sure to share your Riley Blake projects with us on Instagram using #rileyblakedesigns.
You can follow Love Story designer, Webster’s Pages on Instagram @websterspages.
Happy Quilting!