It’s Jamie again from Sew Brainy Designs and I’m back with my 2022 Make it Modern Pillows series! This year I’m bringing you some fresh and bold modern quilt blocks that were designed specifically to be 18″ pillows! They are quick and easy, plus they’re a good way to bust your scrap stash or show off that designer RBD fabric that you love!
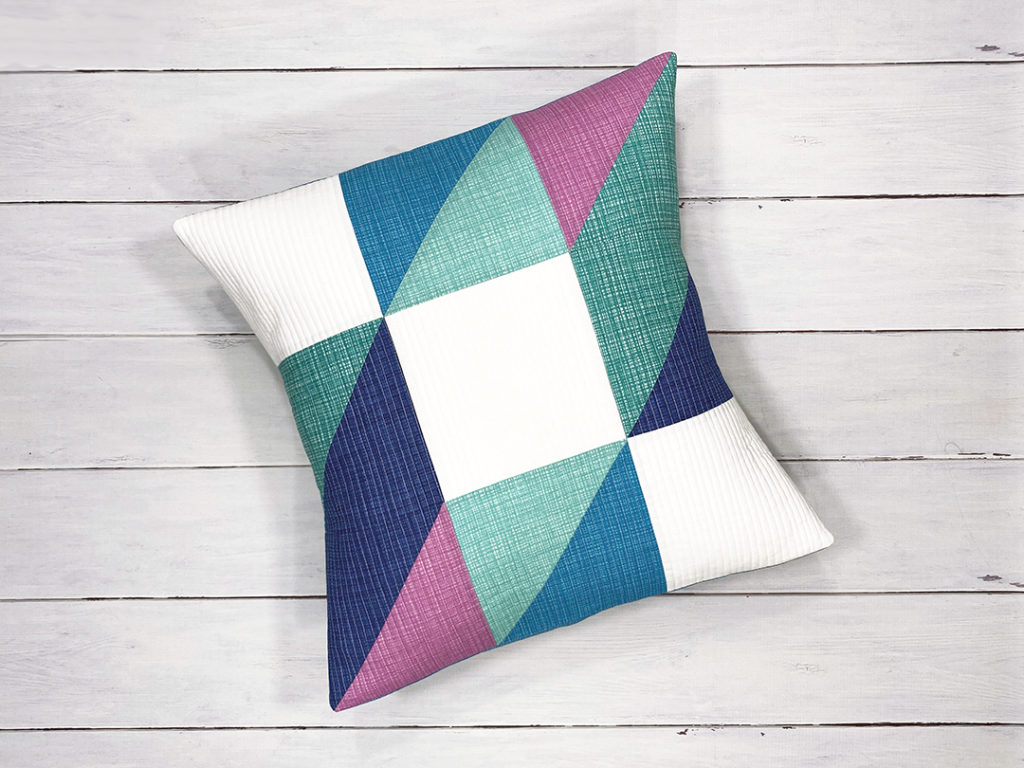
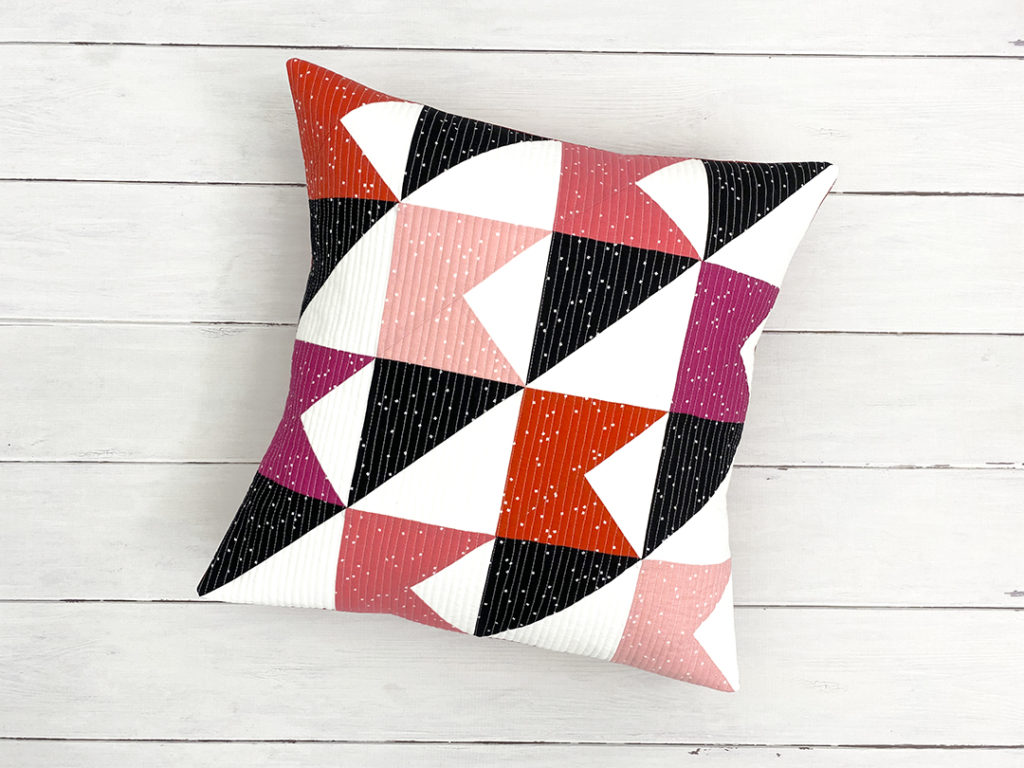
In case you missed our previous pillows from this year, here they are!
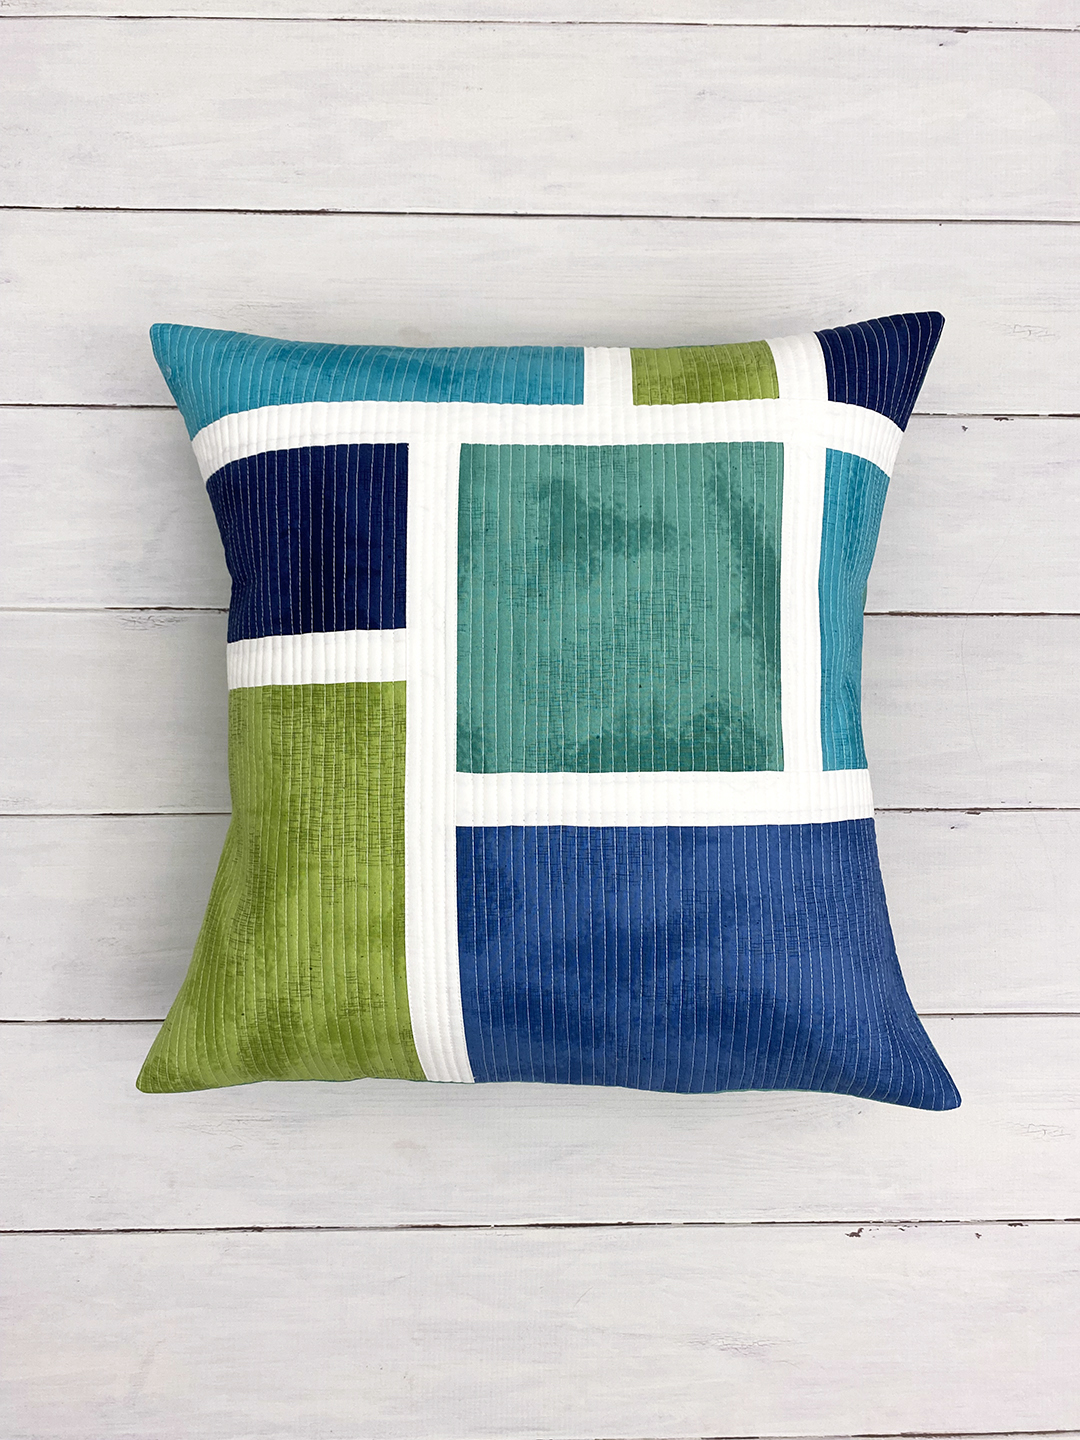
For March, I decided to go with a stained glass-style design for our pillow pattern.

After last month’s fun Valentine’s Day brights, I wanted to play with some calming cools. I’m loving these jewel tones!
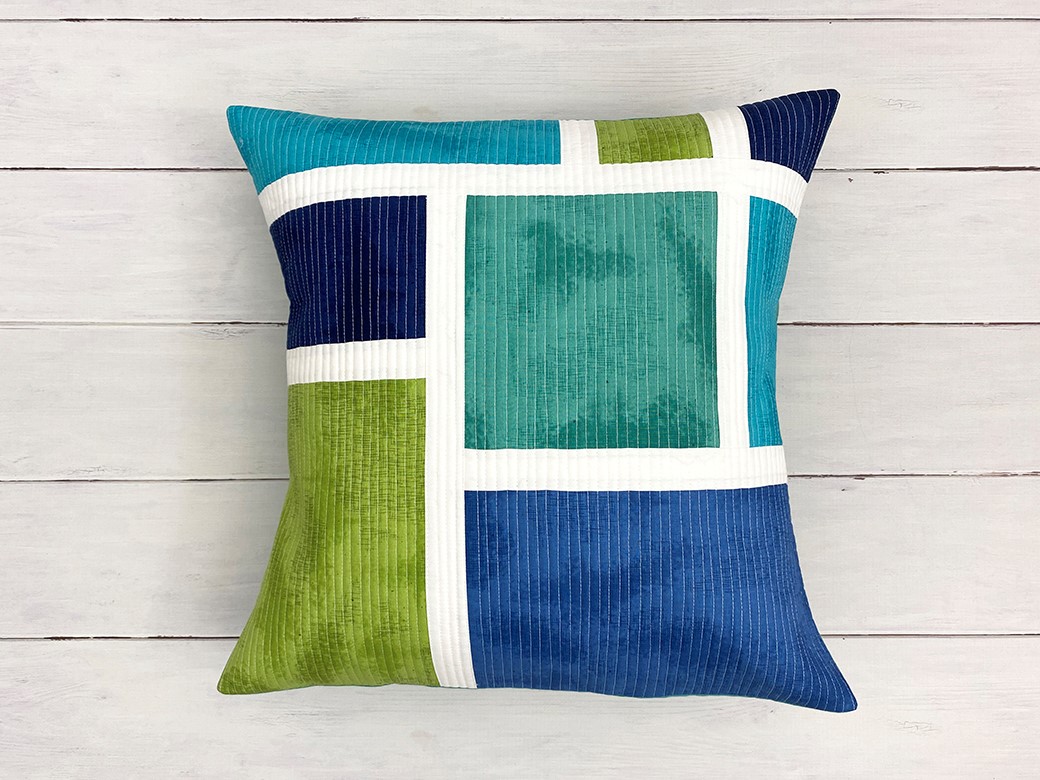
It definitely has a fun mid century modern vibe! And the texture on this Shabby fabric is perfect!
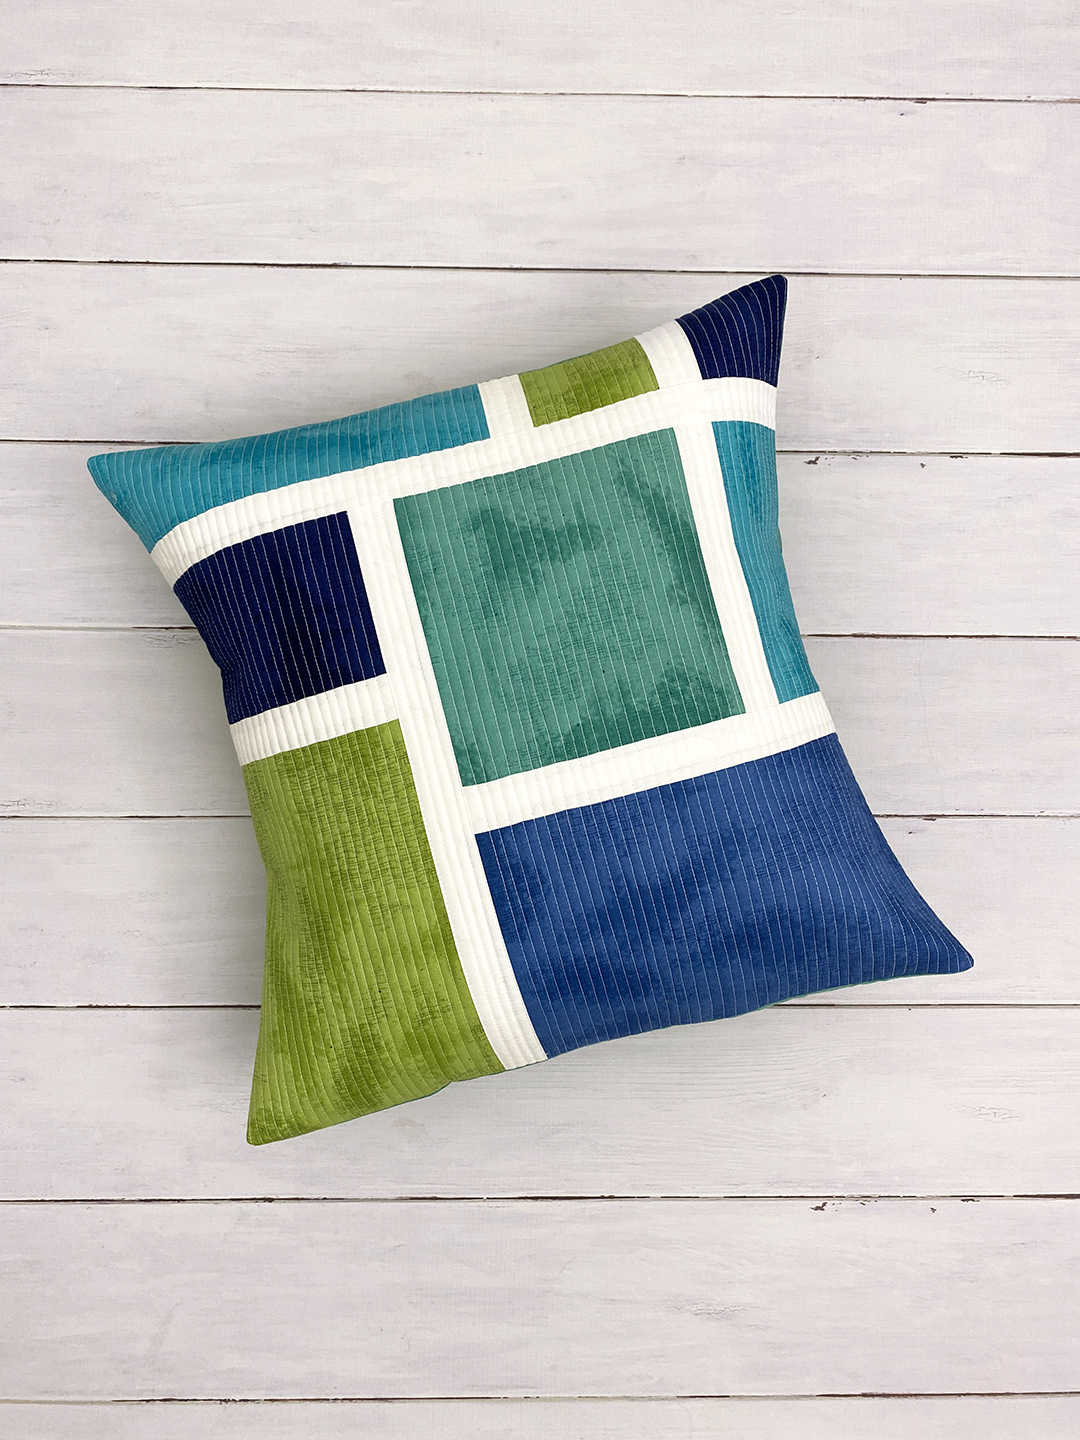
I did my normal matchstick quilting using Aurifil 50wt. white thread because I love the texture these simple lines give!
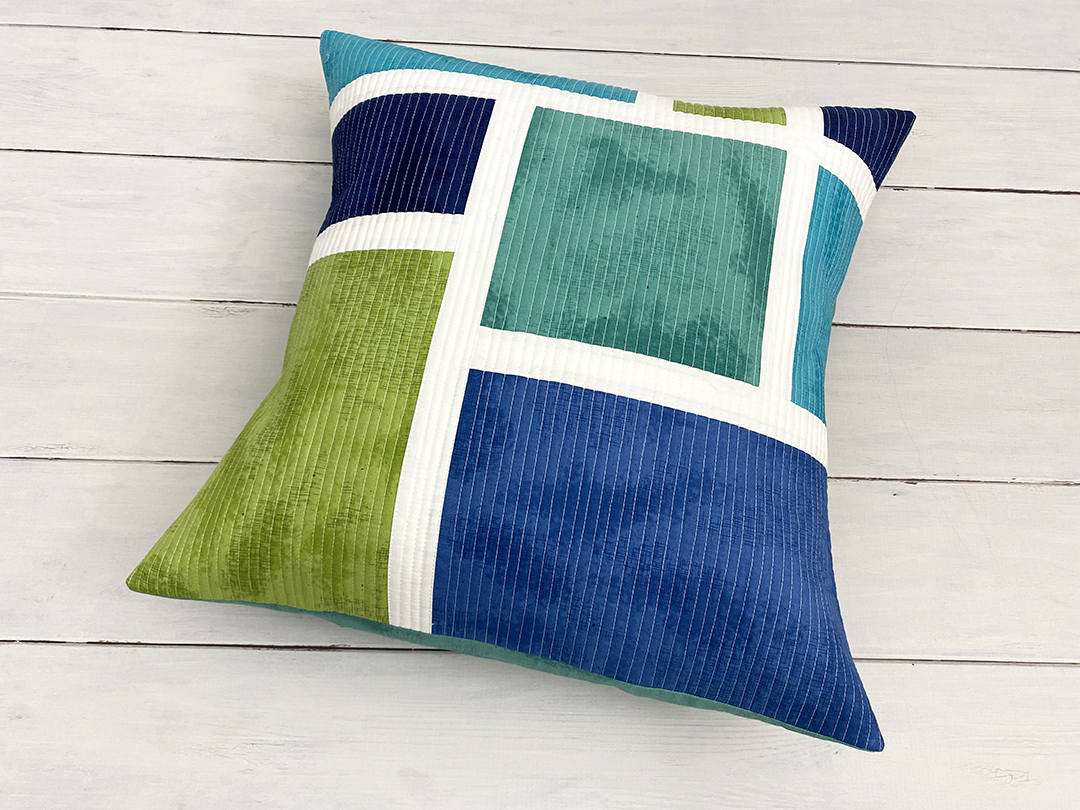
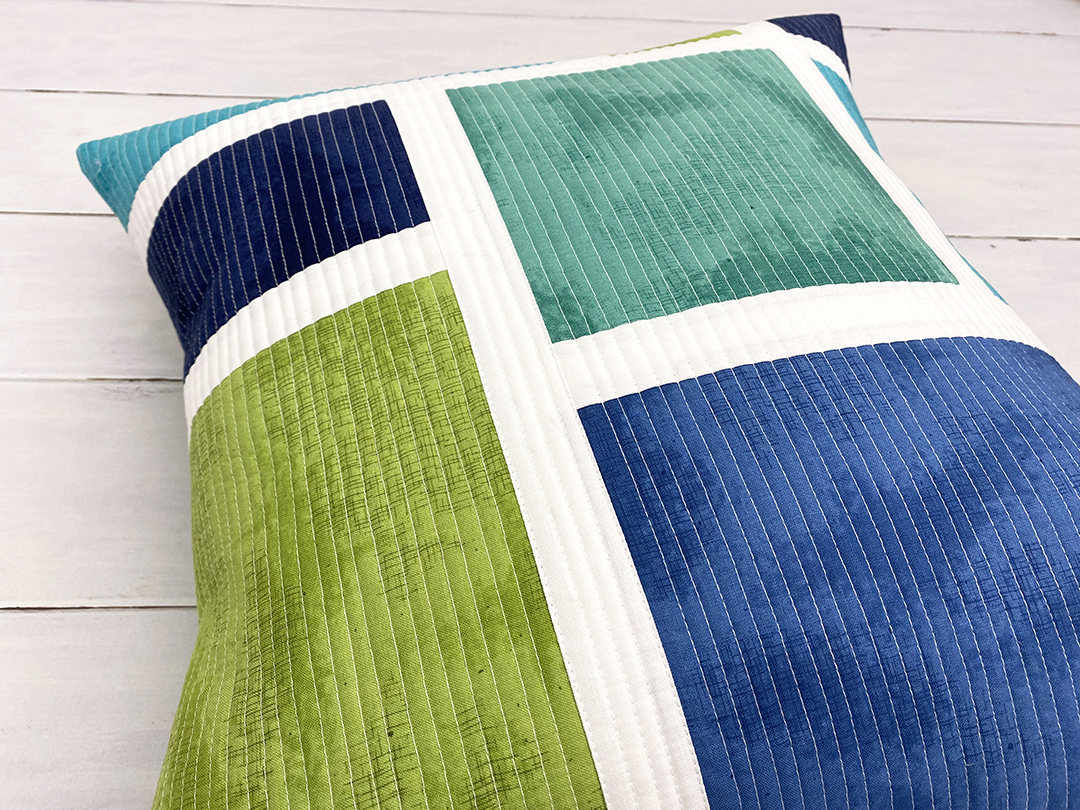
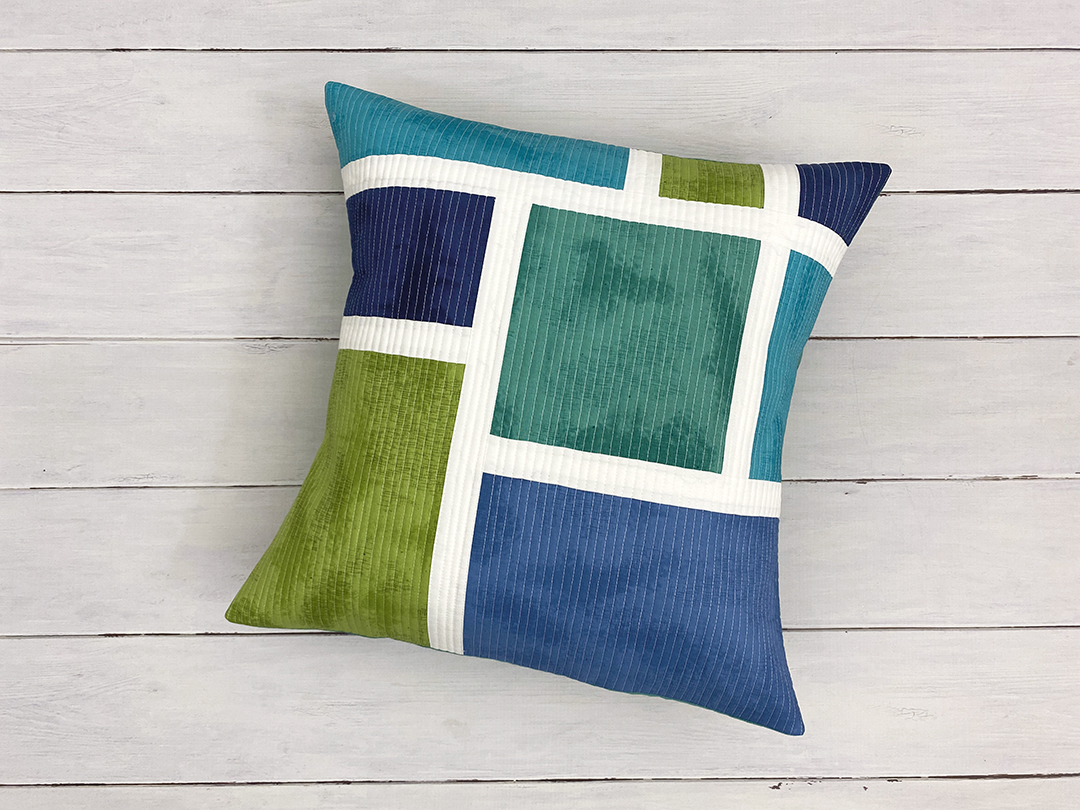
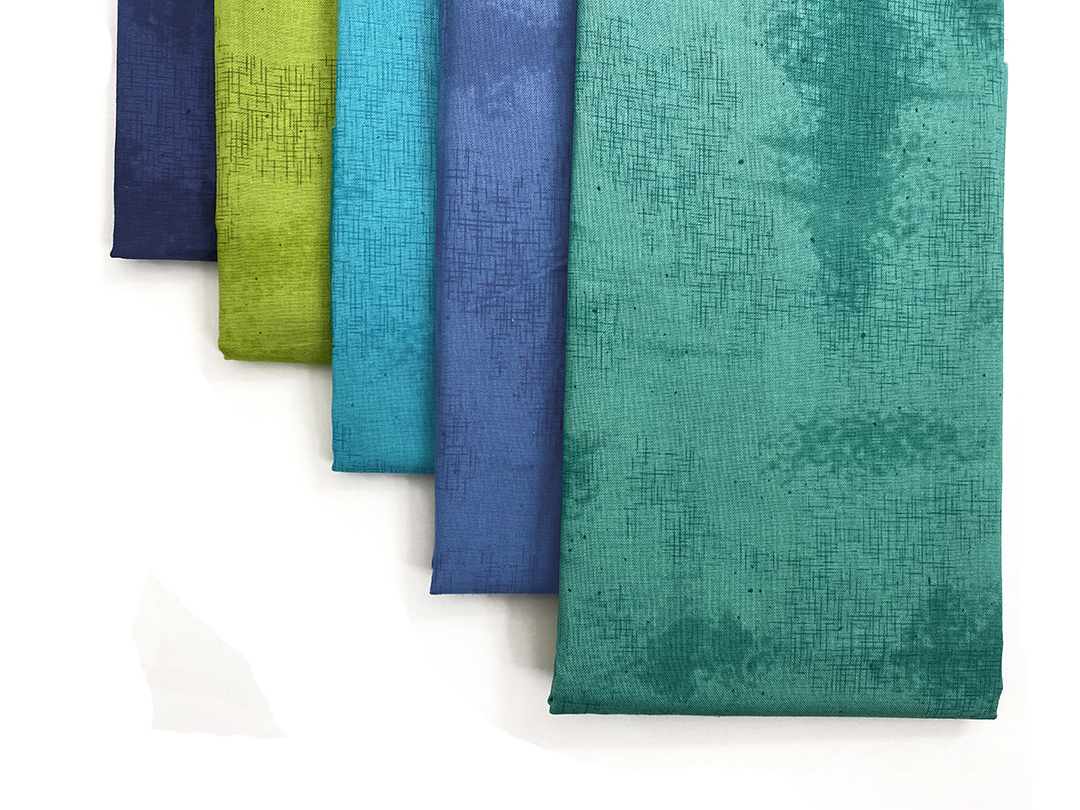
This month’s pillow features Shabby Fabric by Lori Holt. The colors I used (in order from left to right) were Nighttime, Turtle, Peacock, Denim, and Vivid. And of course the borders were all Confetti Cottons Solid in Riley White.
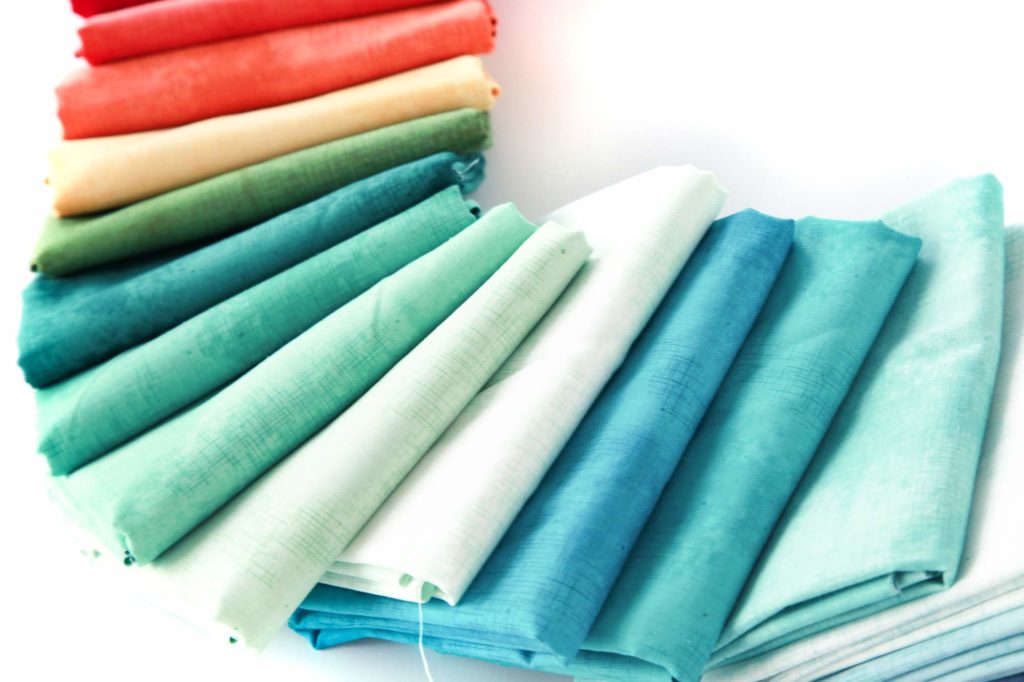
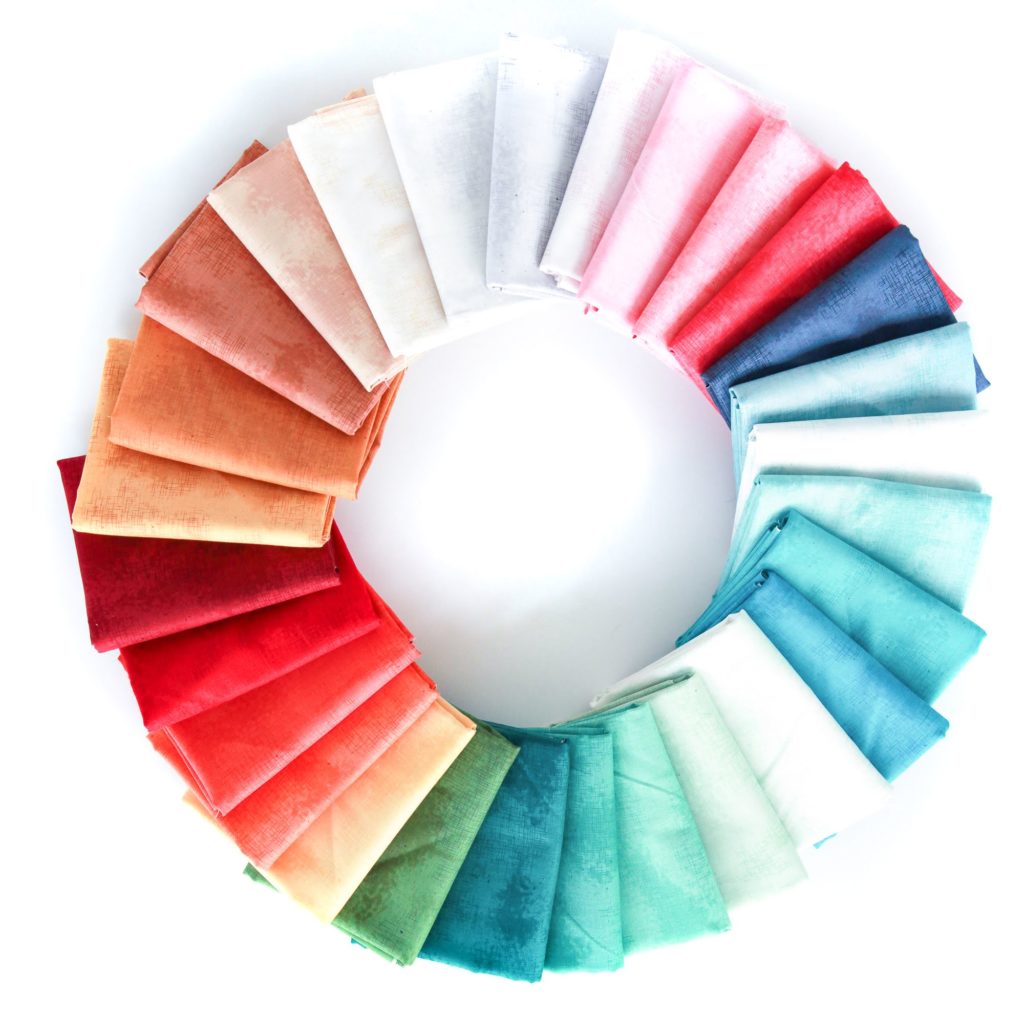
There are lots of great color options in Shabby!
Now let’s make a pillow!
March Pillow Tutorial
Pattern Notes
- Please read through all instructions before beginning.
- Seam allowances are 1/4″ unless specified.
- WOF = Width of Fabric; pattern assumes yardage is a minimum of 42″
- Press all seams open (or in preferred direction) unless specified.
Material Requirements
For the block (pillow top):
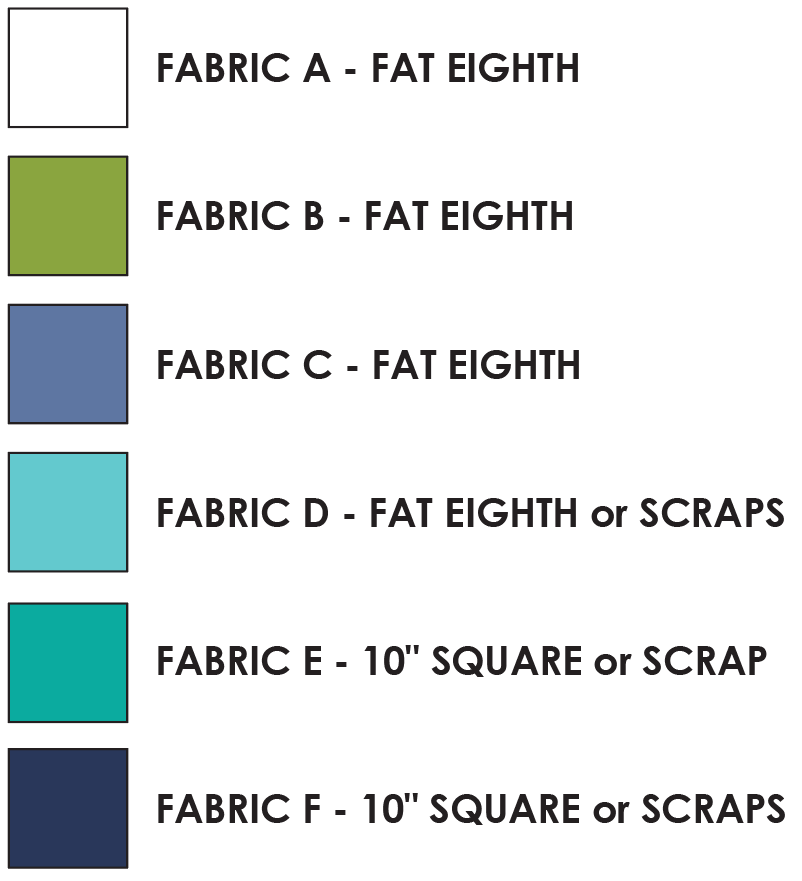
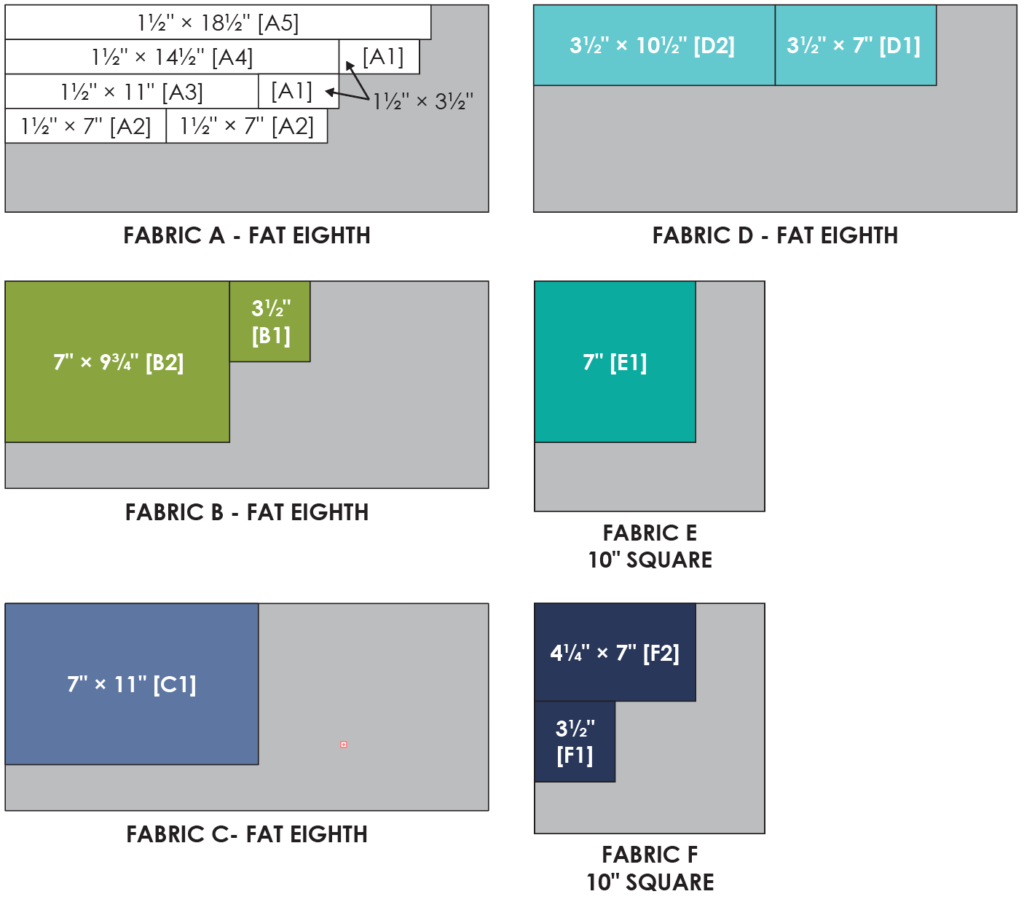
This pattern uses (1) background fabric [FABRIC A] and (5) accent fabrics [FABRICS B-F]. Below are the requirements to make ONE 18″ block.
For the pillow body:
- (1) 22-24″ square piece of muslin or other fabric (for quilting the top)
- (1) 22-24″ square piece of batting (for quilting the top)
- (2) 13″ × 18½” pieces of backing fabric (for the pillow envelope)
- (1) 20″ pillow form (my favorite one to use is the FJÄDRAR from IKEA!)
Cutting Directions
Cut the fabric below in the specified order and label each cut with the letter/number in the [bracket].
From FABRIC A, cut:
- (1) 1½” × 18½” [A5]
- (1) 1½” × 14½” [A4]
- (1) 1½” × 11″ [A3]
- (2) 1½” × 3½” [A1]
- (2) 1½” × 7″ [A2]
From FABRIC B, cut:
- (1) 7″ × 9¾” [B2]
- (1) 3½” square [B1]
From FABRIC C, cut:
- (1) 7″ × 11″ [C1]
From FABRIC D, cut:
- (1) 3½” × 10½” [D2]
- (1) 3½” × 7″ [D1]
From FABRIC E, cut:
- (1) 7″ square [E1]
From FABRIC F, cut:
- (1) 4¼” × 7″ [F2]
- (1) 3½” square [F1]
Piecing Directions
1. Lay out the D2, B1, F1, and the (2) A1 pieces in between them as shown below. Sew together in a horizontal strip. Press seams.

2. Sew the A5 strip to the bottom of the unit from STEP 1. Press seams. Set aside until STEP 8.

3. Lay out the F2, A2, and B2 pieces as shown below. Sew together in a vertical strip. Press seams.
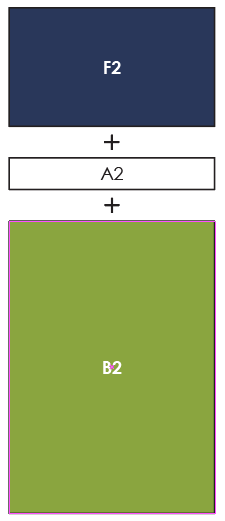
4. Sew the A4 strip to the right side of the unit from STEP 3. Press seams. Set aside until STEP 7.

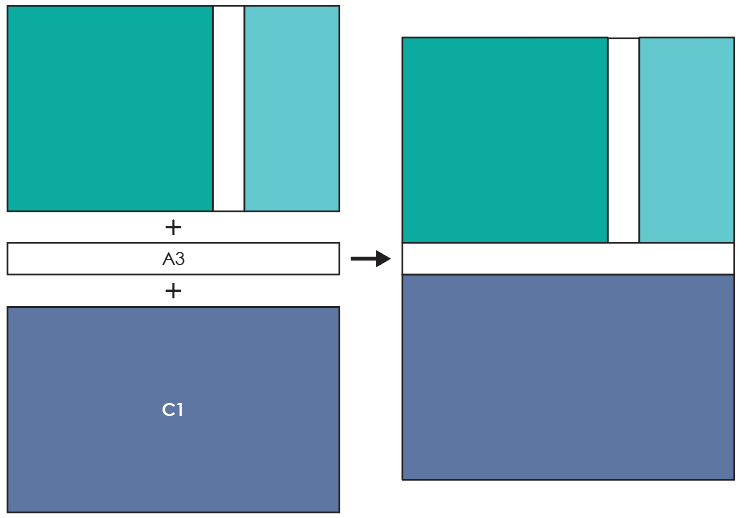
5. Lay out the E1, A2, and D1 pieces as shown below. Sew together in a horizontal strip. Press seams.

6. Lay out the unit from STEP 5 along with the A3 and C1 pieces as shown below. Sew all pieces together and press seams.
7. Now we’ll start assembling the THREE large sections together. Lay out the units from STEPS 4 and 6 as shown below. Sew together and press seams.
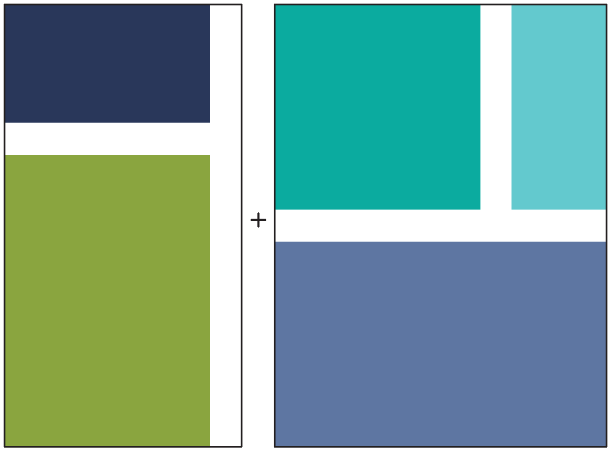
8. Sew the unit from STEP 2 on top of the unit from STEP 7. Press seams.
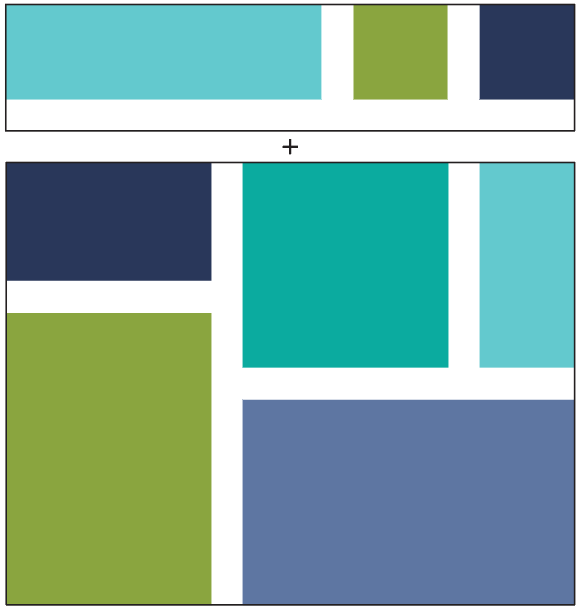
Your block is now complete!

9. Layer the completed block on top of the 22-24″ batting and muslin squares and quilt the pillow top as desired. When you are done, trim the block to 18½”.
Note – if you add dense quilting like I did, your top may shrink a bit in size. Just trim it to the largest square that you can. You can trim the width of envelope backing fabric a bit in the next step if needed in order to match your actual top size.
10. Create a finished edge on the long side of each of the (2) 13″ × 18½” pieces of envelope backing by folding 1/2″ of fabric over the wrong side TWICE. Stitch a seam near the edge to secure it.
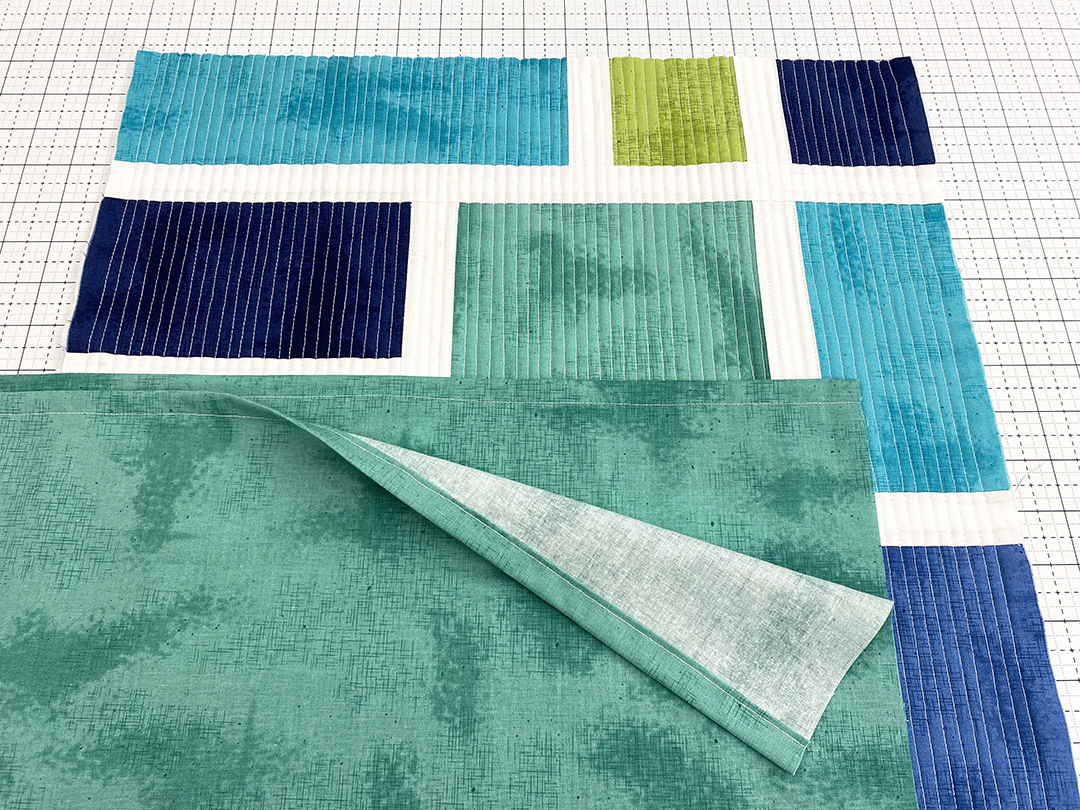
12. With the square top facing up, layer the envelope pieces RST on top of it as shown below and sew a 3/8″ seam around the edge of the pillow top.
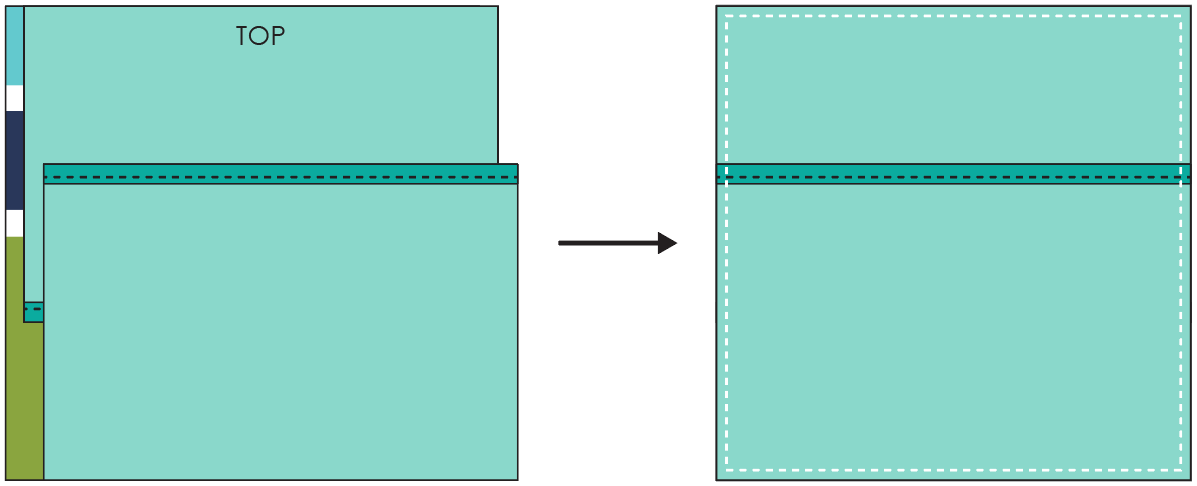
13. Trim the edges of the corners a bit to reduce bulk. Turn the pillow case inside out and insert your pillow form. Your pillow is now done! Enjoy your fun modern make!
I can’t wait to see all the beautiful pillows everyone makes! They can be very addicting! Be sure to share them on social media! #makeitmodernpillows #iloverileyblake #sewbrainydesigns.
I’m also working on a 5-color version of all my blocks to make a sampler quilt. You can check out that post HERE on my blog. I’ll see you in April with some Sparkler fabric and flying geese!
Until later, happy quilting!
Jamie

