I’m always a sucker for a beautiful quilt that is easy to make and lets the fabric do all of the talking.
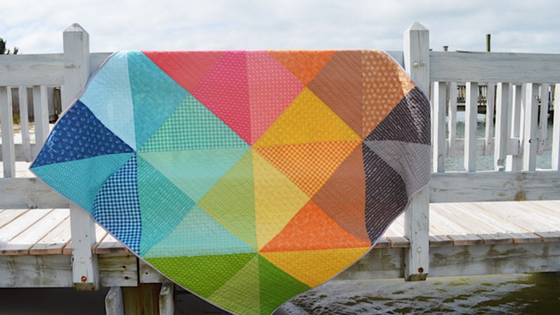
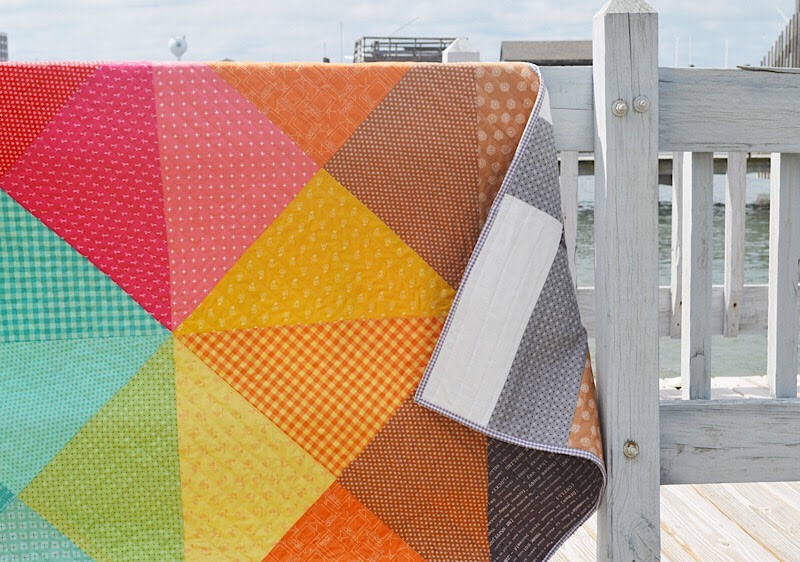
This dramatic Multi-Faceted Half Square Triangle Quilt is just that. The idea for this quilt came about as I was staring at a gorgeous stack of Lori Holt’s Bee Basics fabrics, and realized that each print was equally balanced in scale and importance. There wasn’t a “leading actor,” so to speak.
While basics, by definition, are to quilting like supporting characters are to a movie, they can stand on their own merit and really shine in a quilt such as this one, where all are given equal weight.
A simple quilt design with no single dramatic overpowering feature in it means suddenly these basics prints all take on leading roles, and the effect is quite dramatic!
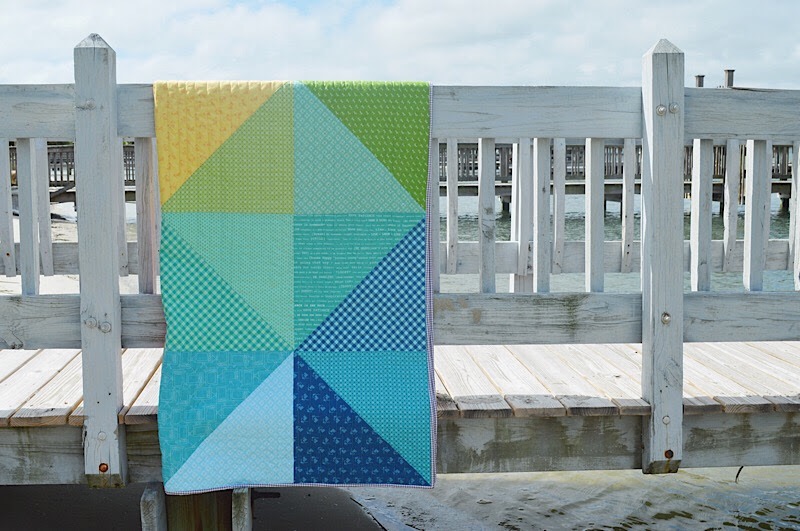
I used all of the colors in Lori’s Bee Basics collection for this quilt, but as I was folding the quilt, I noticed how beautiful the same quilt design would look with a more monochromatic color scheme. This blue/green combination is lovely. There is lots of room to play around with color here.
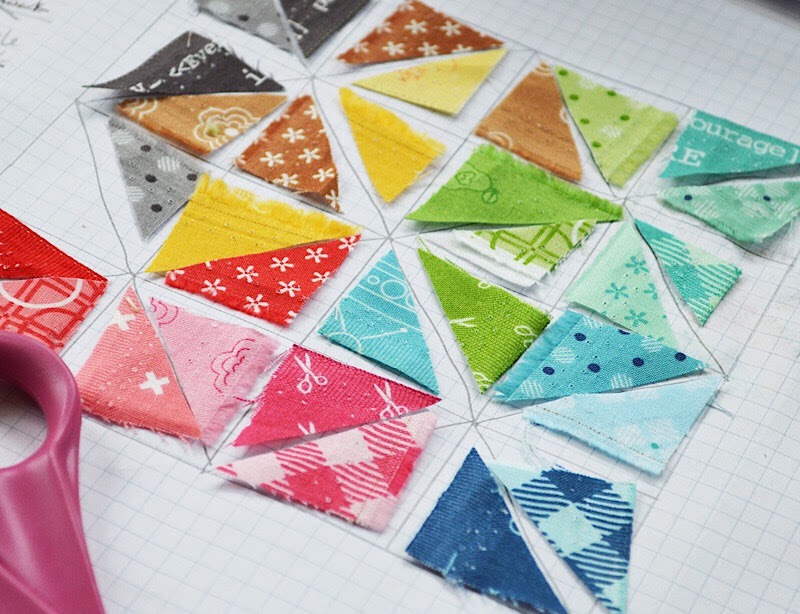
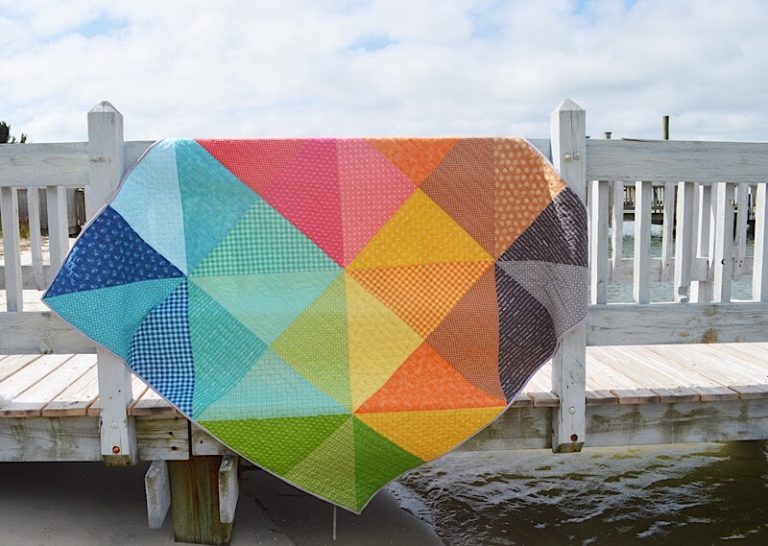
To make this quilt, I first decided I wanted to make a 60” x 60” throw quilt. Next, I drew up a little sketch of my quilt and began arranging little snips of fabric until I was happy with the design. I used a glue stick to glue them in place, and this became my pattern. As you can see, I ended up with four rows made up of four blocks each. Simple!
The easiest next step is to cut a 16” square of each fabric, paired them up using my little chart above, and started making my half square triangles. HERE is a great little tutorial for making half square triangles.
Most of these triangles will only be used once, which means that after my half square triangles are sewn and pressed, I will have extra quilt blocks. This is great for making 2 quilts. One to keep, one to share!
I had limited fabric on hand, so instead, I cut out individual triangles with perpendicular lines measuring 16”, then made my half-square triangles each individually.
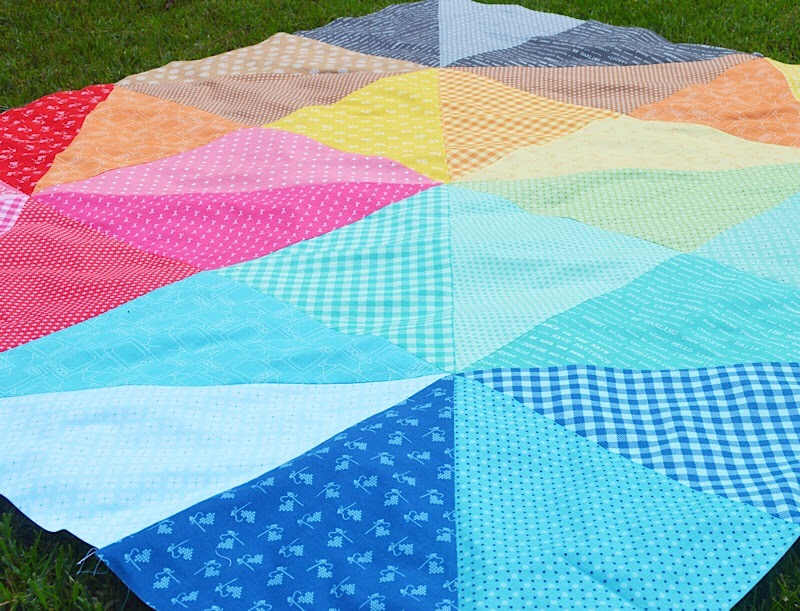
Once all of the blocks are made, I squared them off, trimming to measure 15.5” square. Now, simply lay them out according to your diagram, sew them together into rows, then sew the rows together into a quilt. That’s it! Seriously!
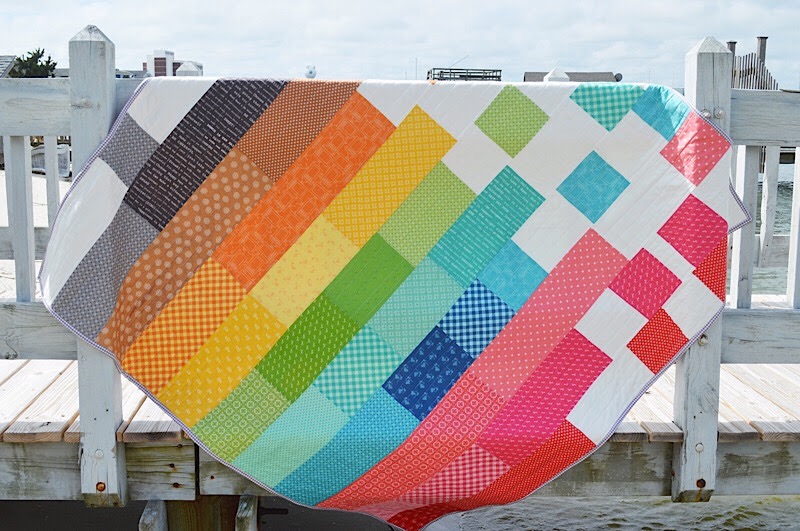
For the quilt back, I wanted to use up my scraps, so I decided to sew them into strips. The strips are 5.5” wide and staggered in length. This was done randomly — I sewed a row, laid it out on the floor, then laid the strips for the next row beside it, marking the strips where I wanted to cut them so they would be staggered in length. Toward the top of the quilt, I added strips of white and some 5.5” squares.
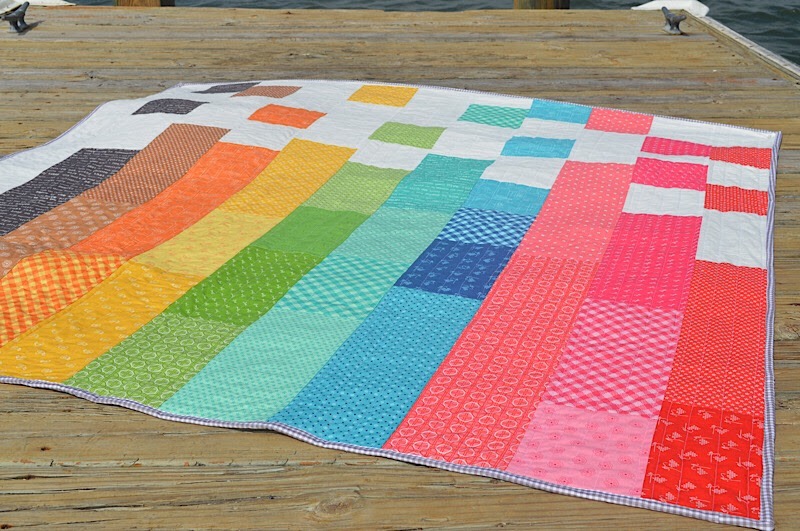
It turned out so cute, it’s hard to tell which is the quilt front and which is the back! I used Riley Blake Designs 1/8” Gray Gingham for the binding.
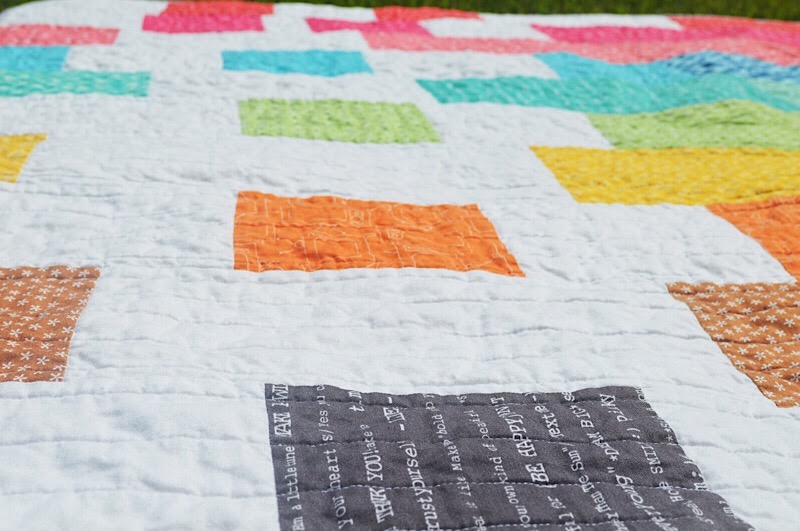
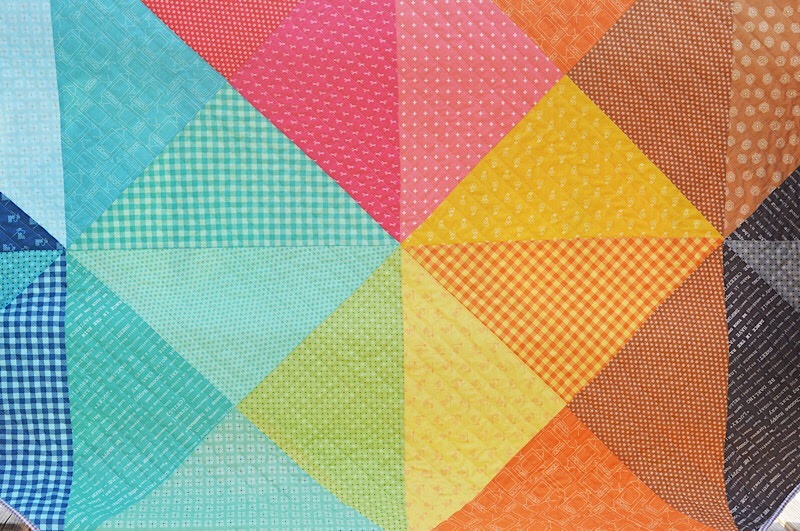
It’s neat to see how the white really makes each color POP!
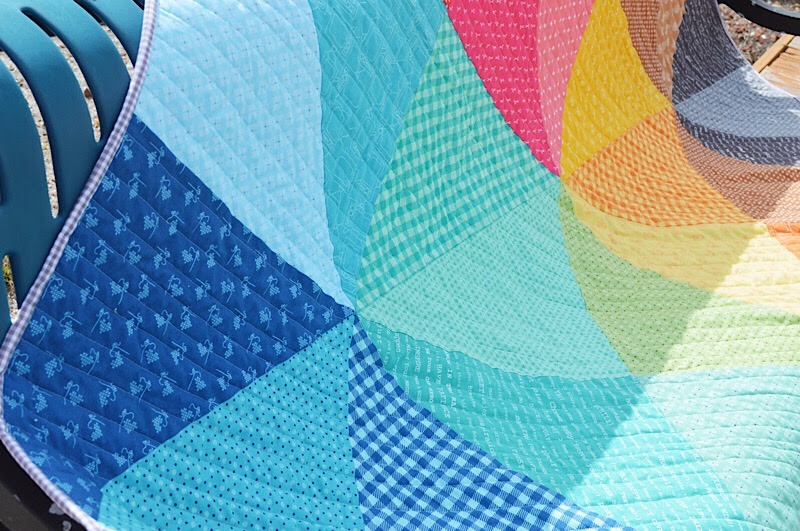
Here is a close up of the itty bitty scissors and cute little plus signs. LOVE!
The combination of blues is fabulous. Don’t you just love those teeny cross-stitch hearts?
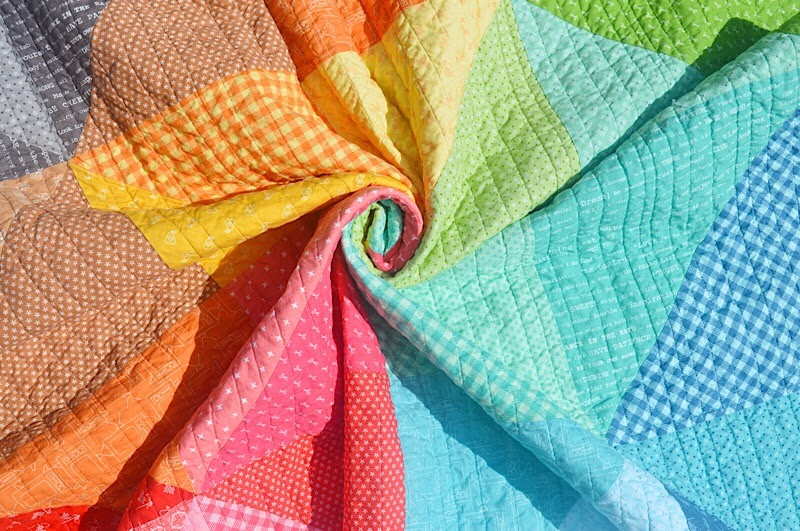
My favorite parts of making a quilt is washing it because it starts to “crinkle.” To best achieve this crinkled look, do NOT pre-wash your fabric. When you pre-wash, the cotton will shrink a little. Instead, you want it to shrink AFTER it has been quilted. As it shrinks, it will pull a little on the quilting stitches, causing the fabric to crinkle up. This, in my opinion, is what makes quilts so cozy and snugly.
I hope you have enjoyed reading about this simple, dramatic, Multi-Faceted quilt journey with Lori Holt’s Bee Basics!
Bee Basics, designed by Lori Holt, area available now at your favorite local and online quilt shops. Pick up yours today and share your makes with us on Instagram using #beebasicsfabric, #rileyblakedesigns, #iloverileyblake, and tag us @rileyblakedesigns.
Happy Quilting!
One Comment
Pingback:
August 23, 2021 at 9:03 pm