Hello fibre friends!
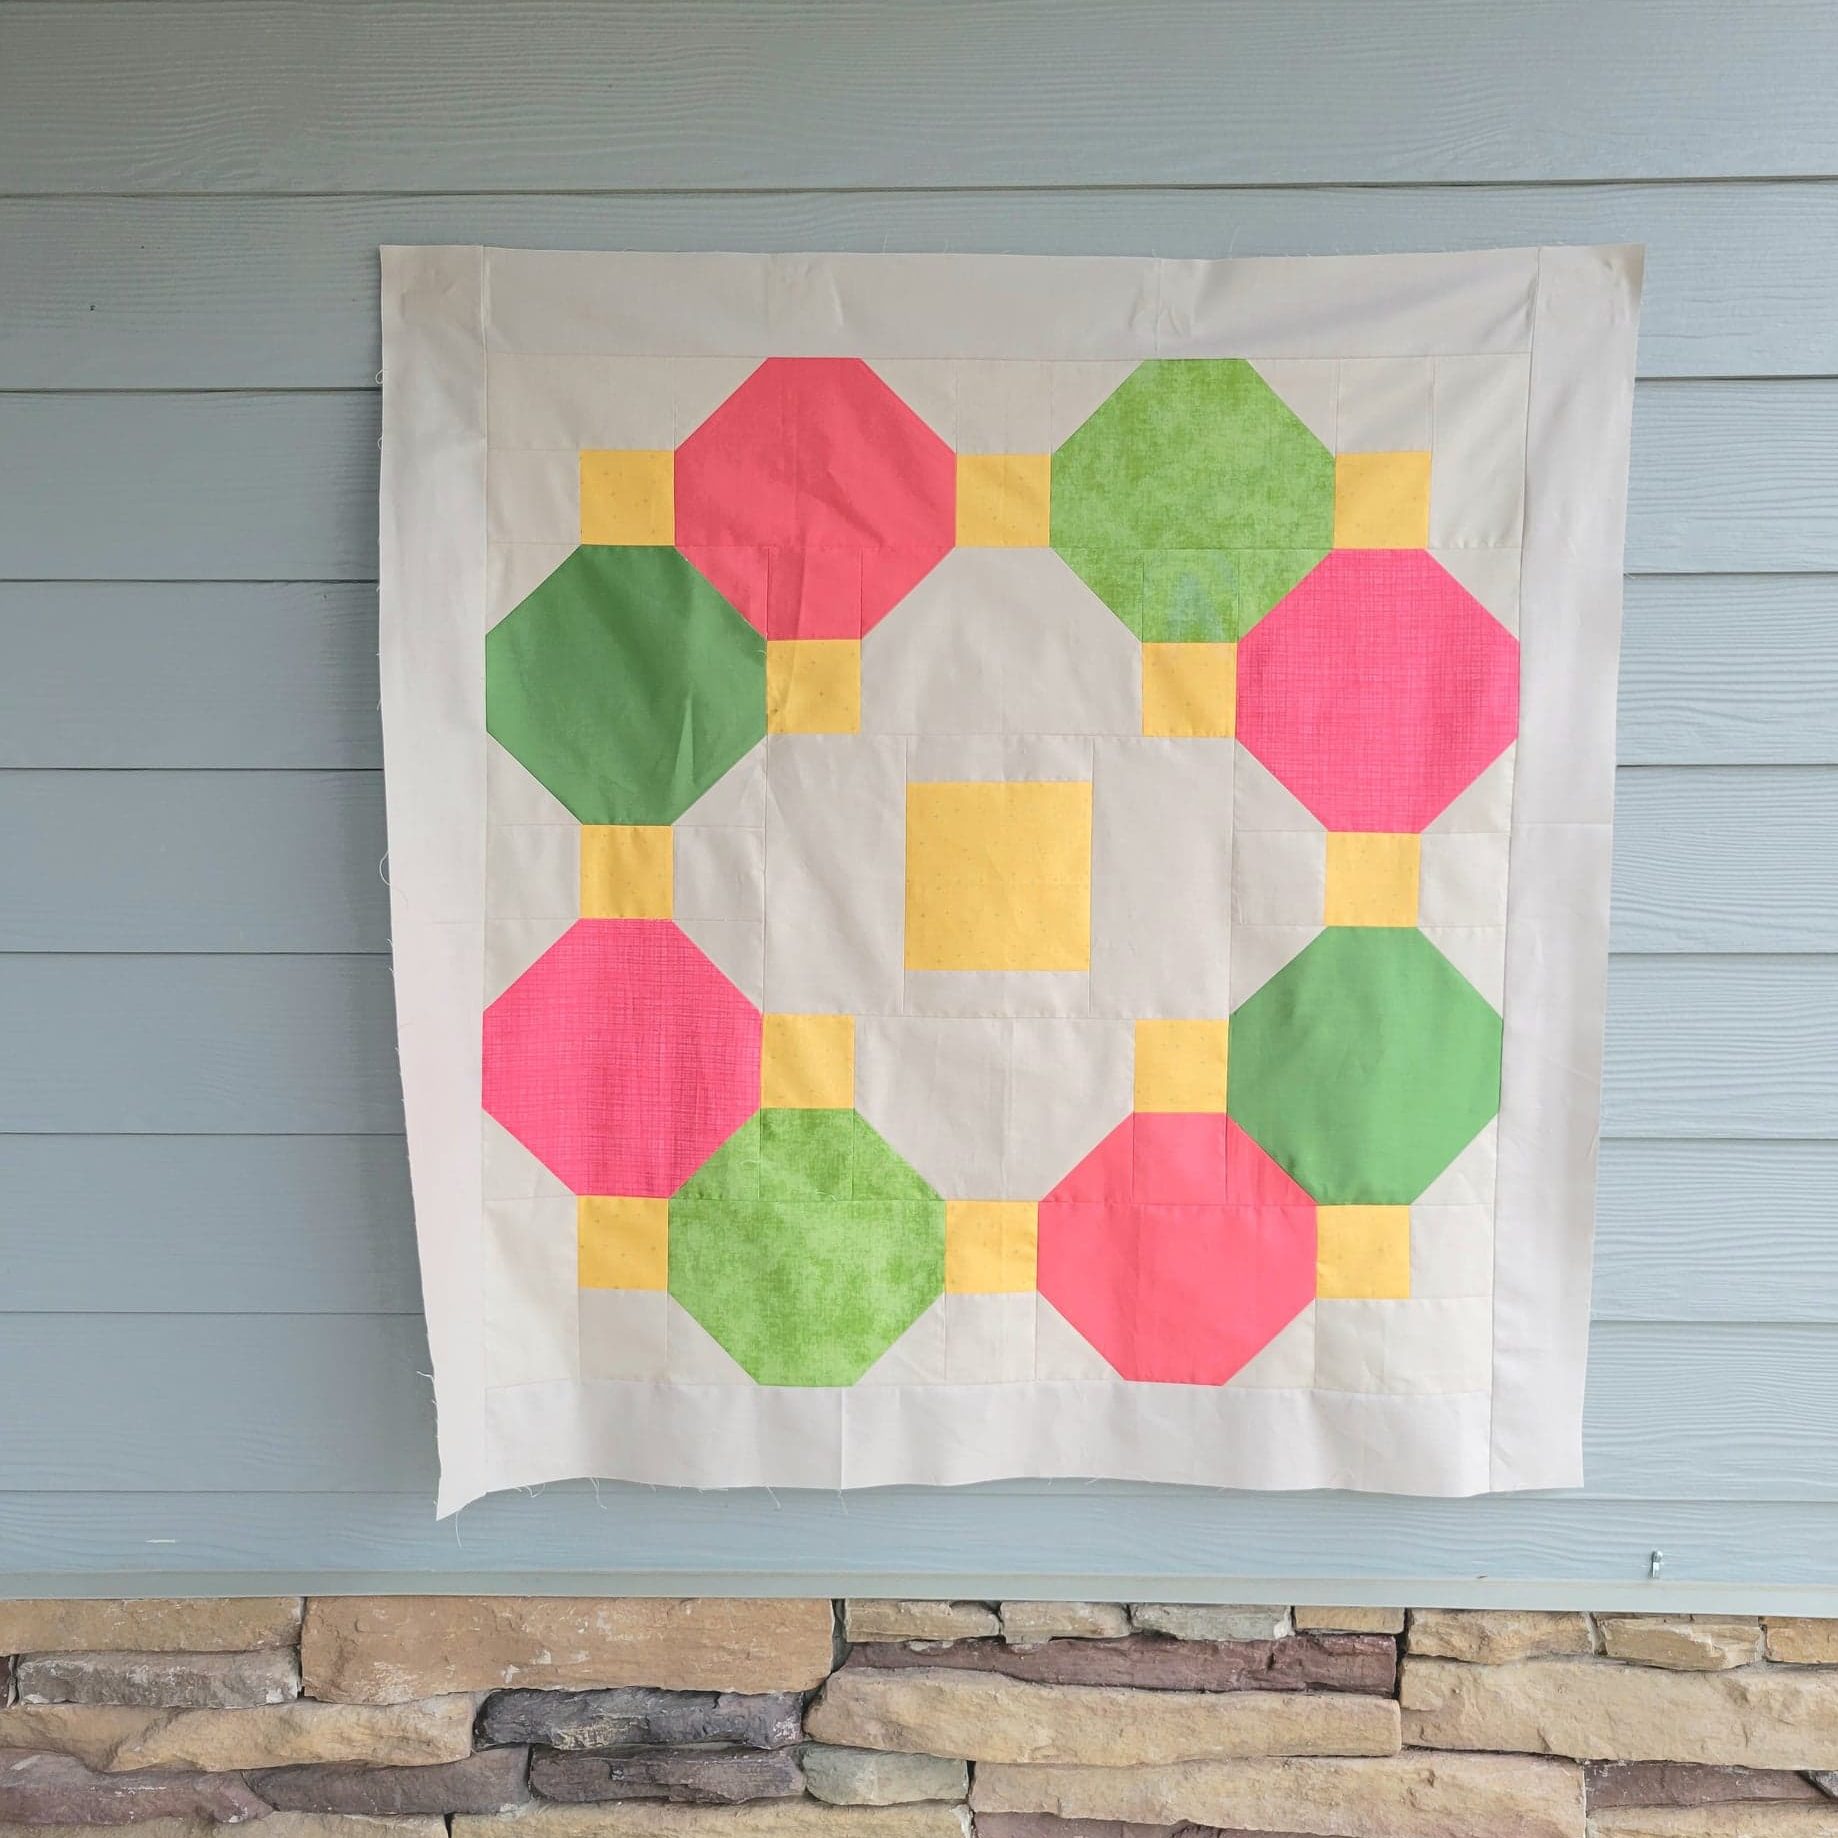
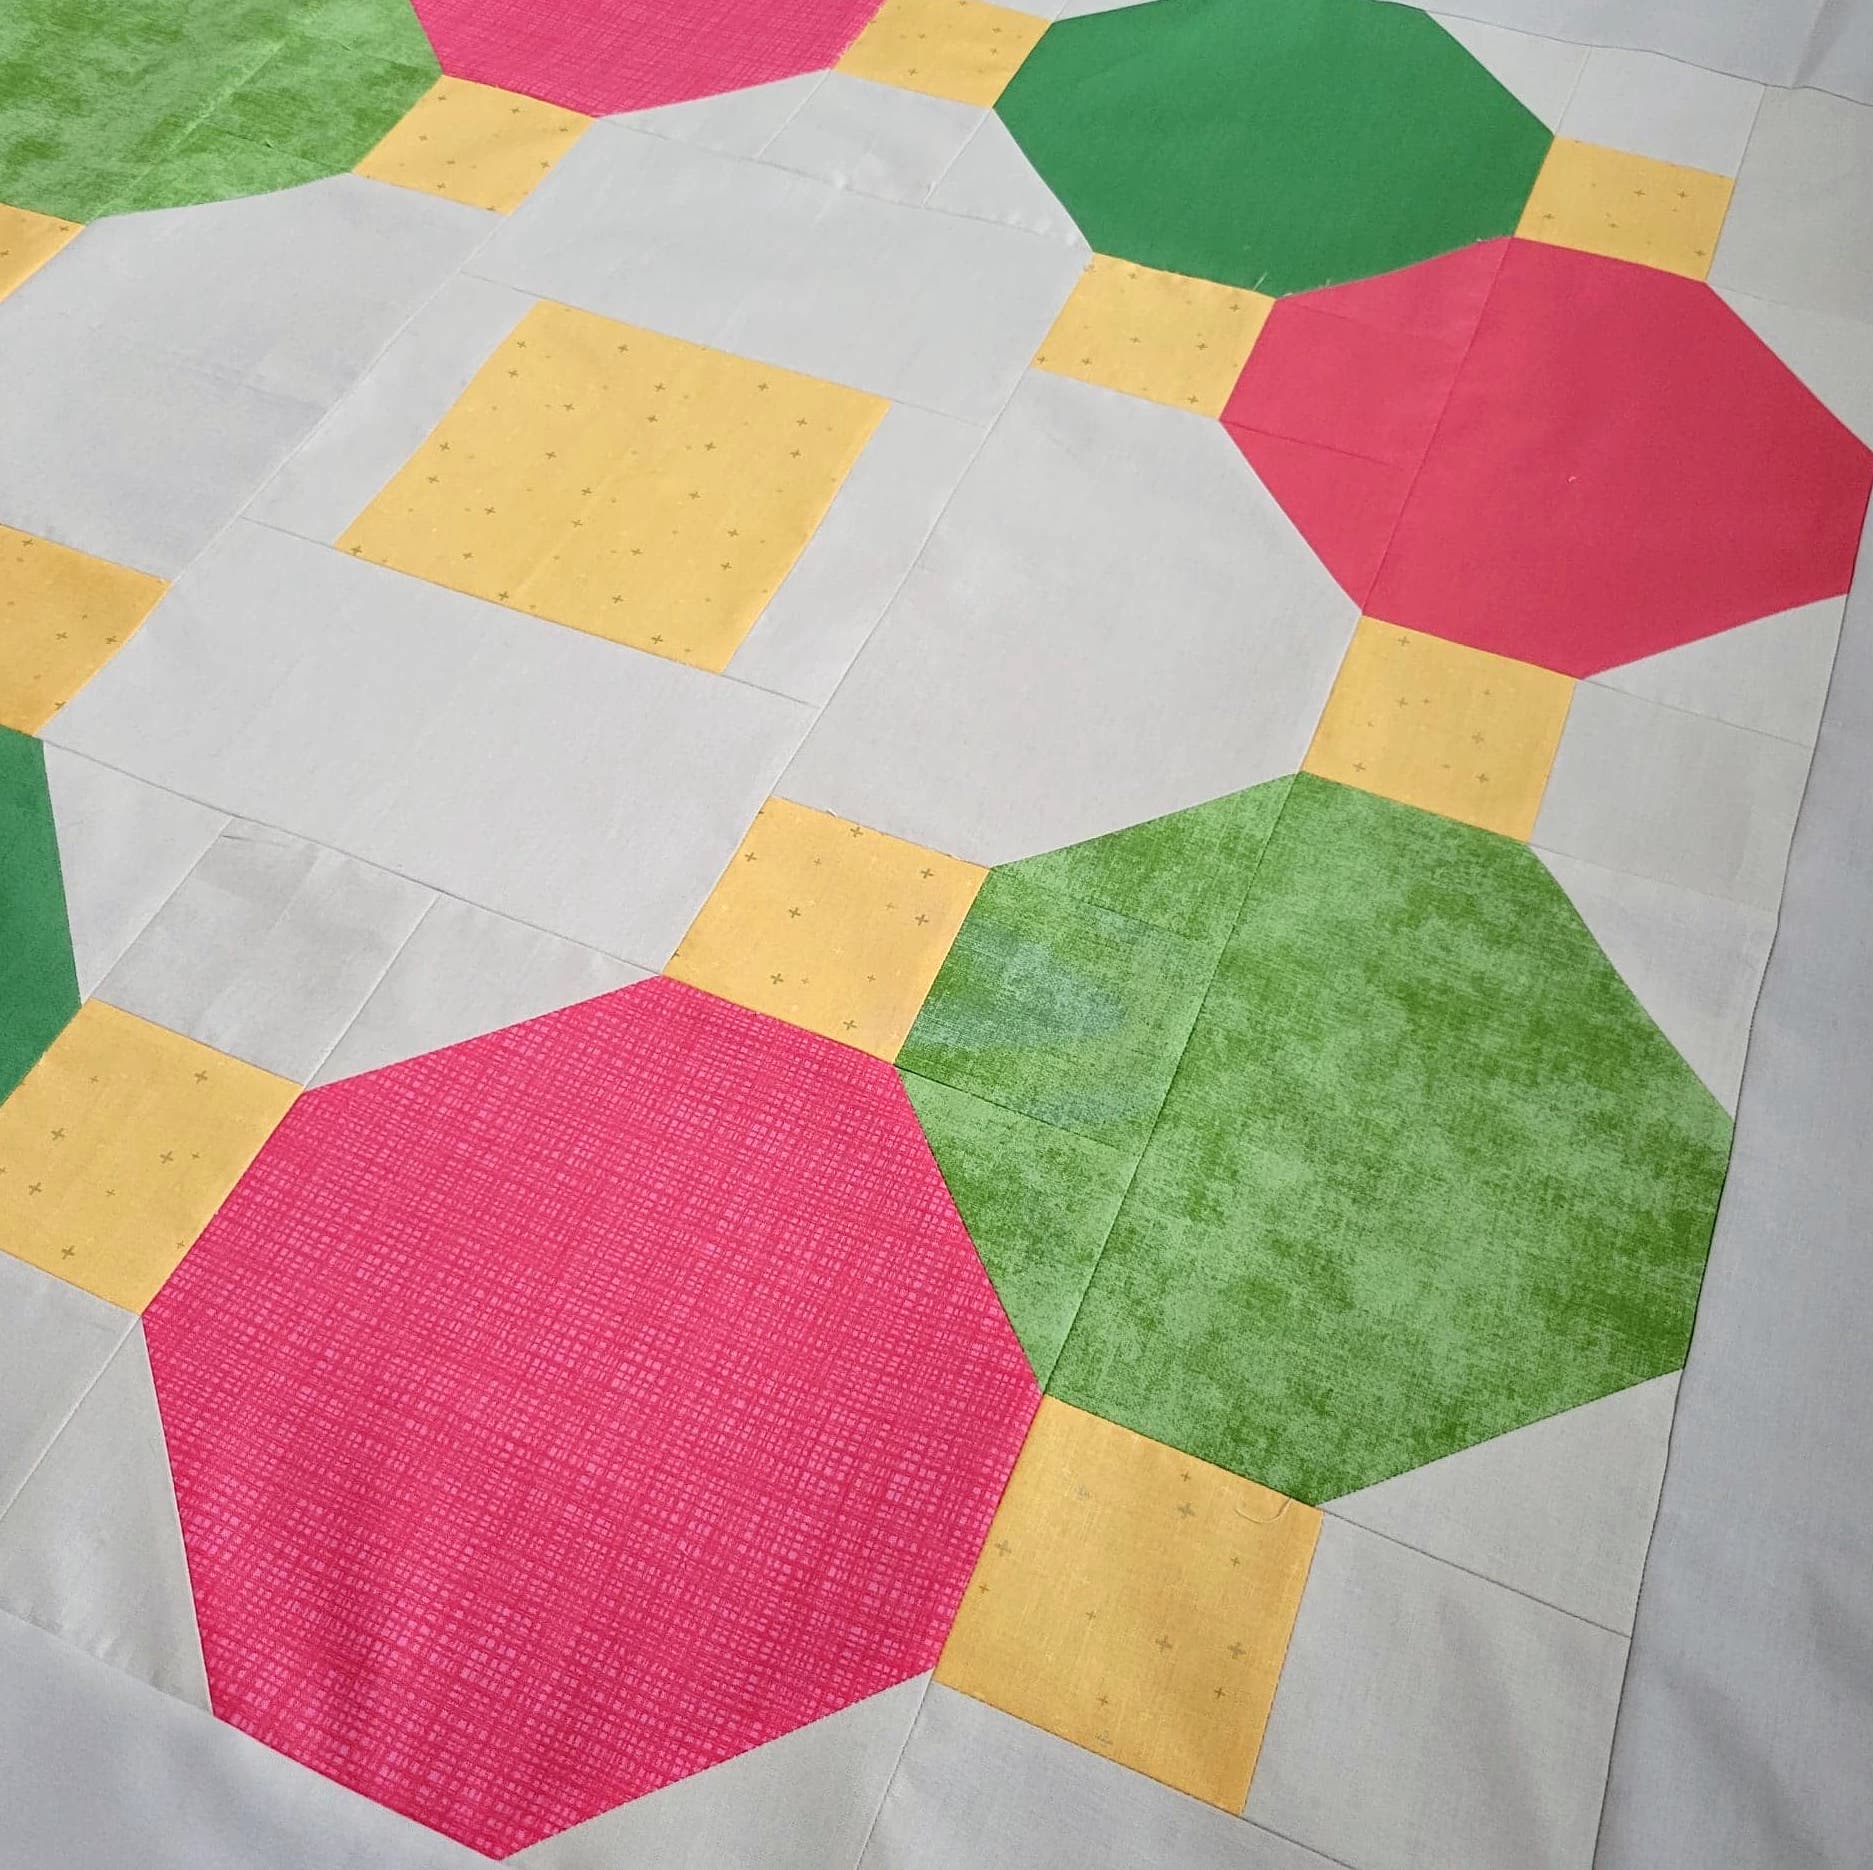
I’m Shereece of Sew Hooked on Treasures. I’m so excited to share a new pattern I’ve designed, “Tavern Window.” It’s a lovely beginner level, baby or wall hanging quilt. The top came together so quickly, I decided to make another! In this version, I’ve used some of my favorite Riley Blake Designs Basics – Confetti Cotton, Shades, Texture and the all new Sparkler.
Since this pattern uses the Sew and Flip technique, I thought I’d walk you through how to do that. Here we go!
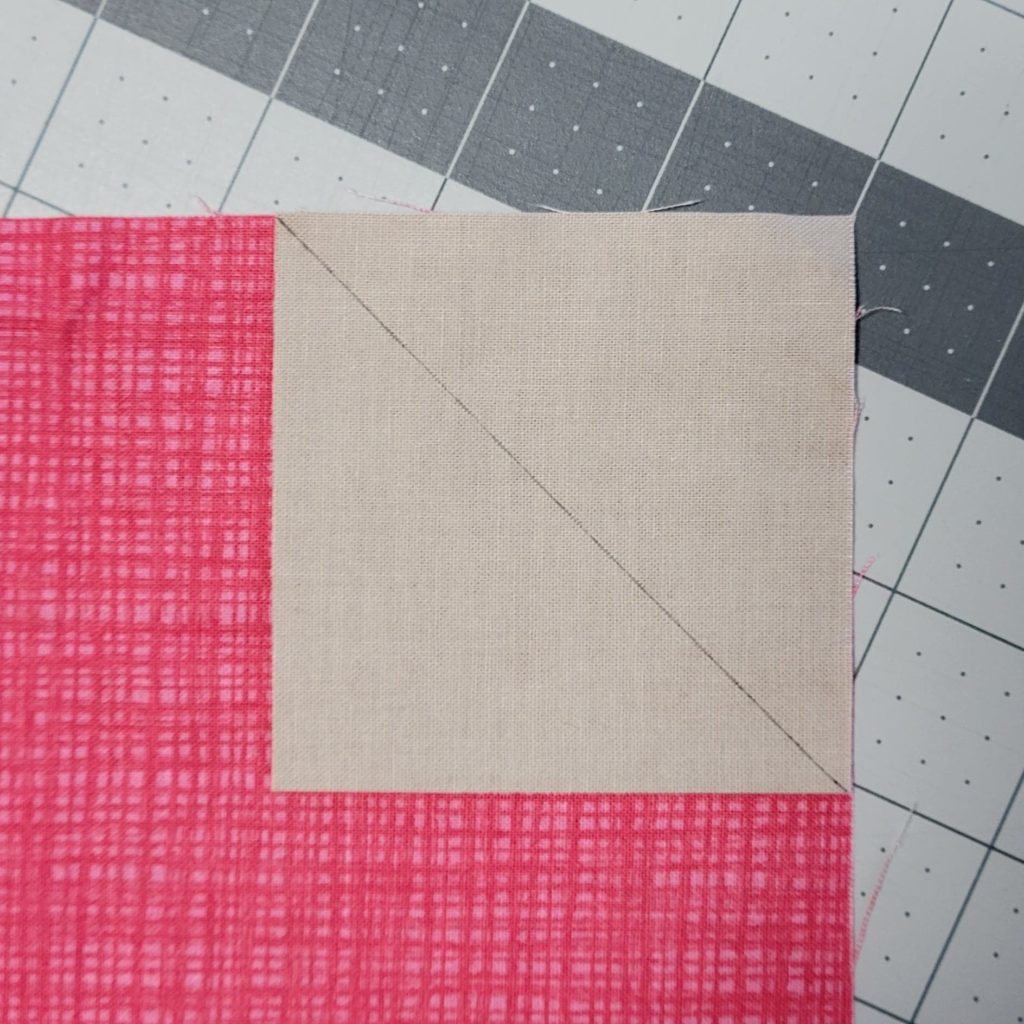
1. Draw a diagonal line from corner to corner on all the smaller squares on the wrong side of the fabric.
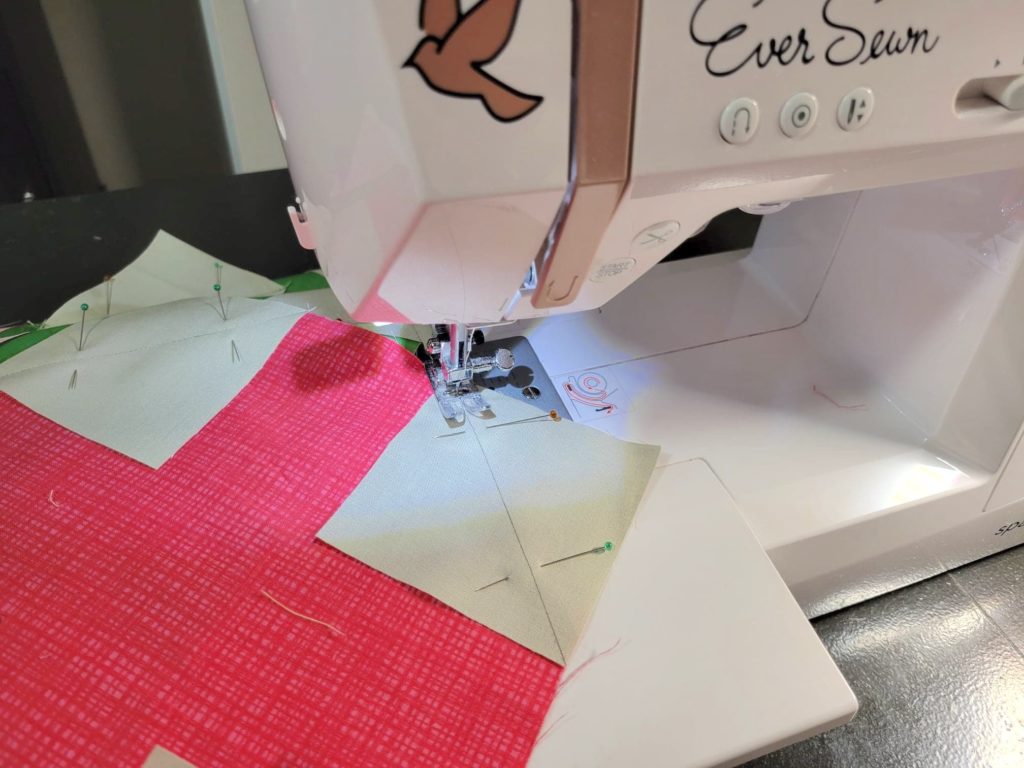
2. Line up the smaller square on top of the larger square with right sides together. Sew along drawn line.
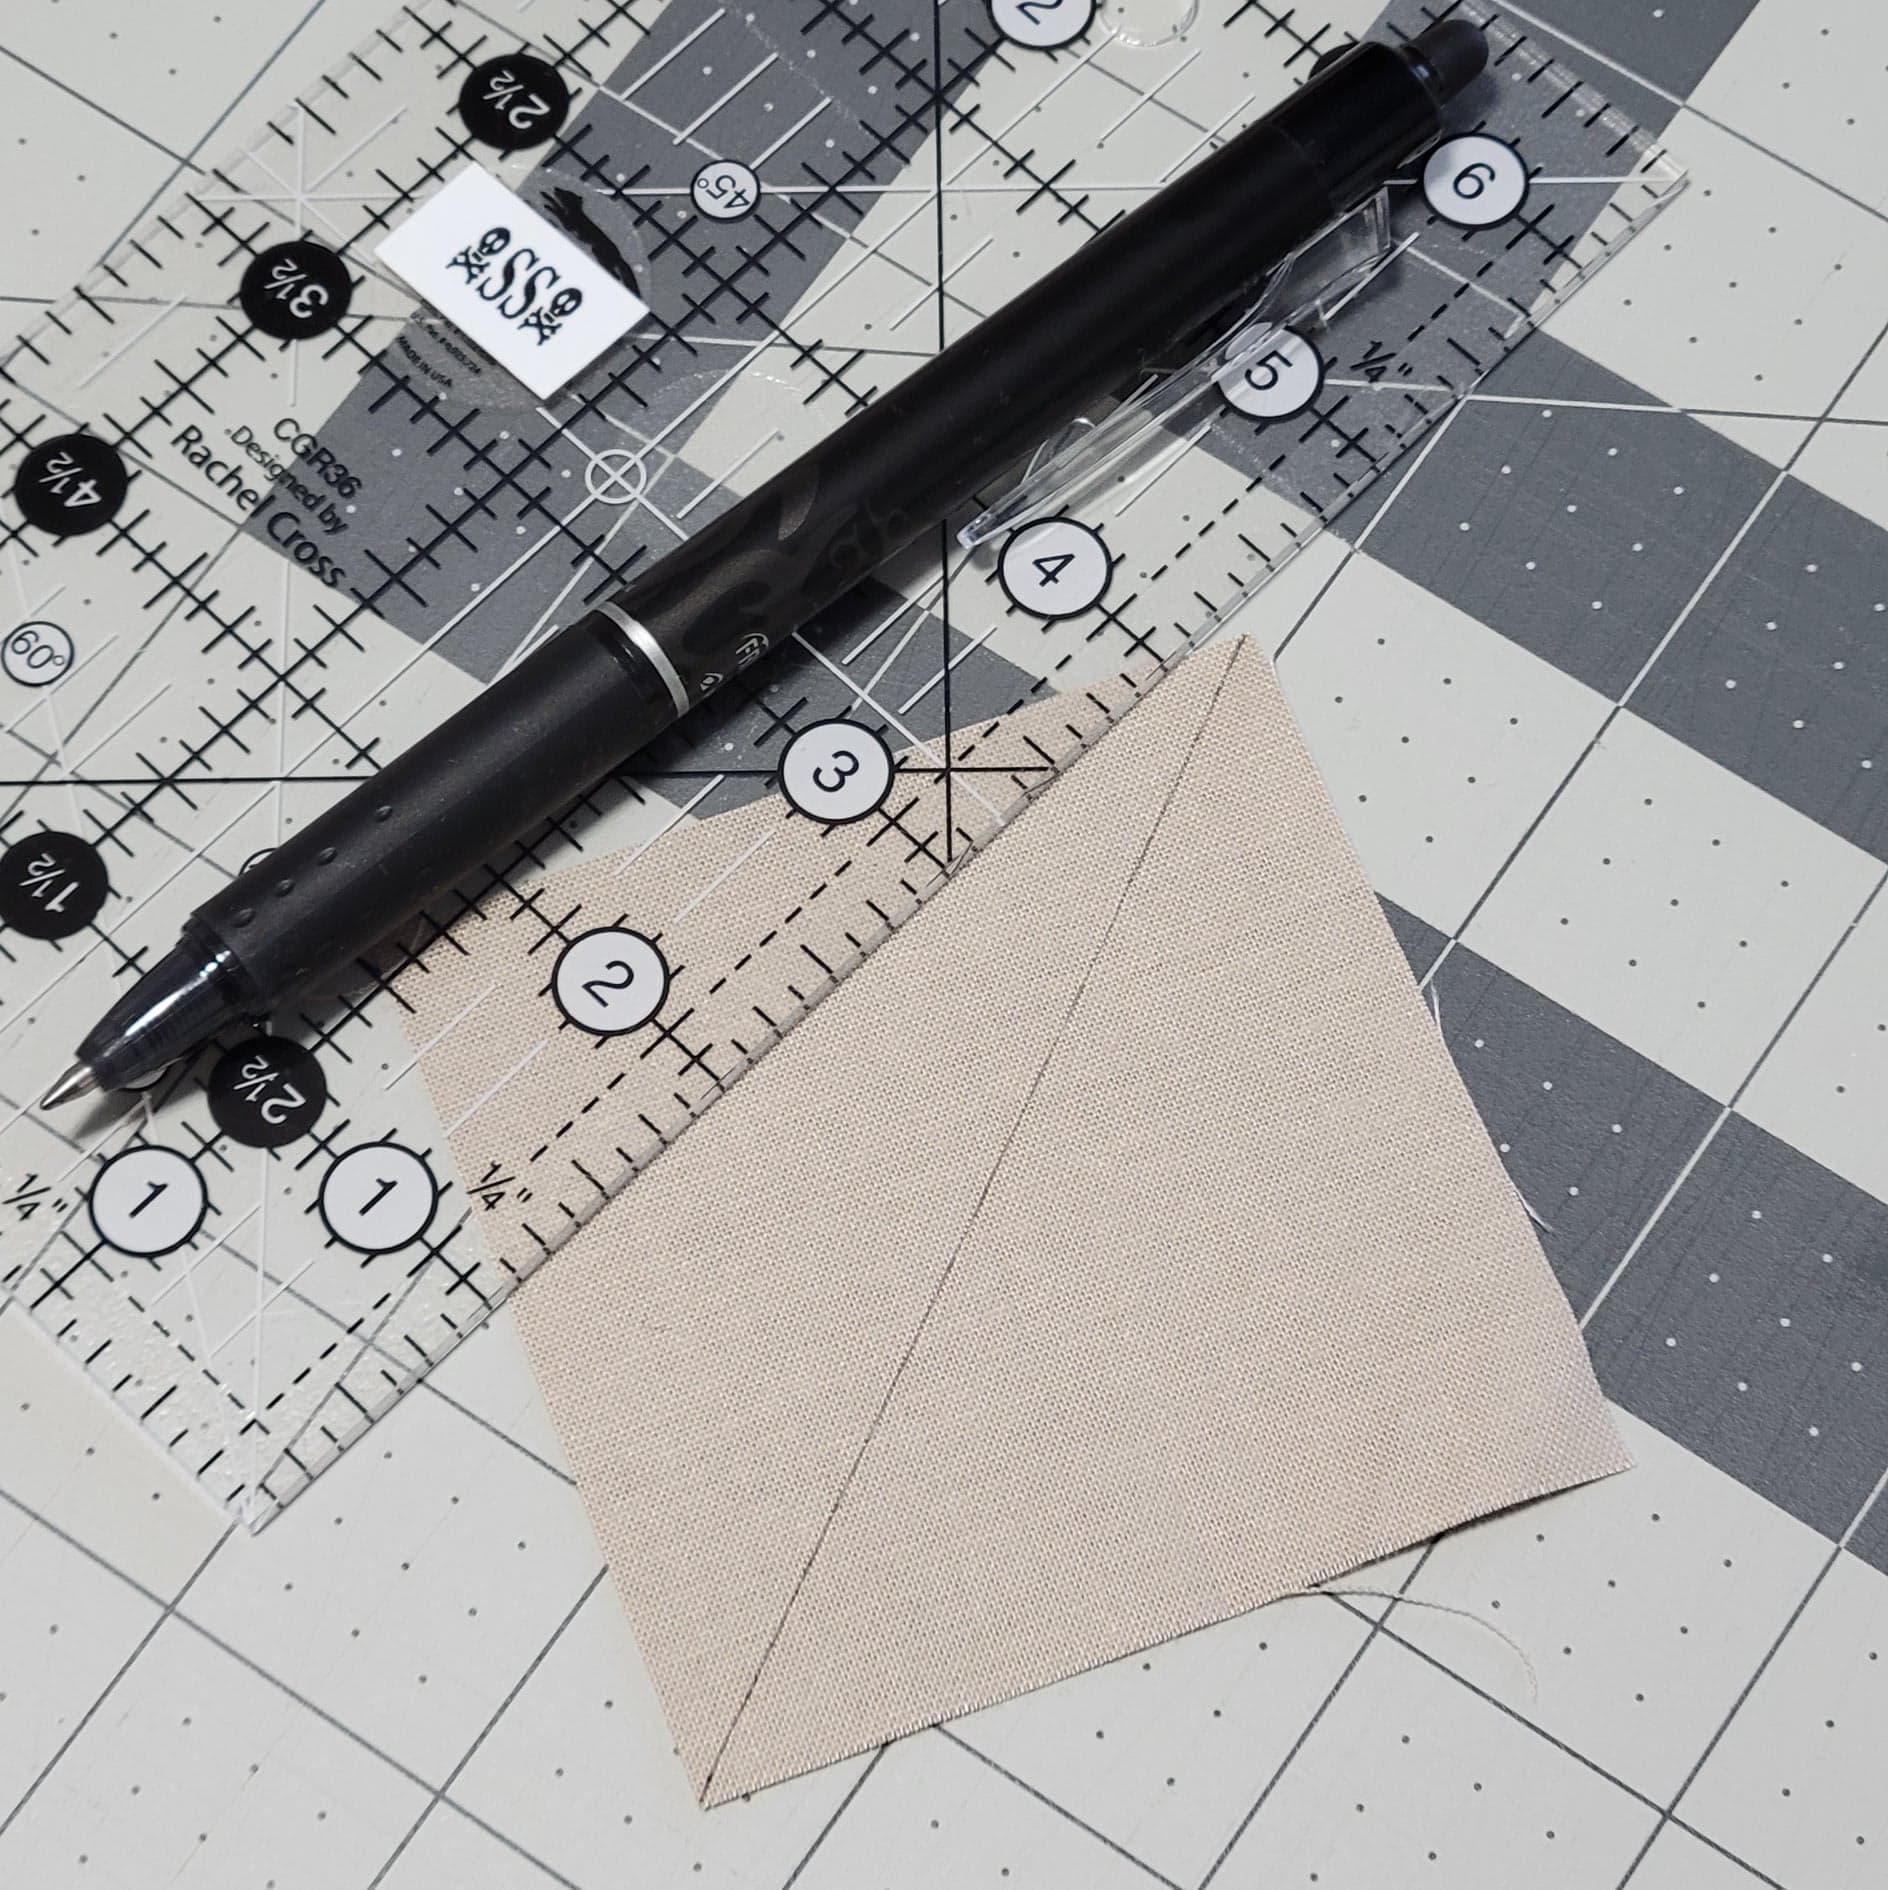
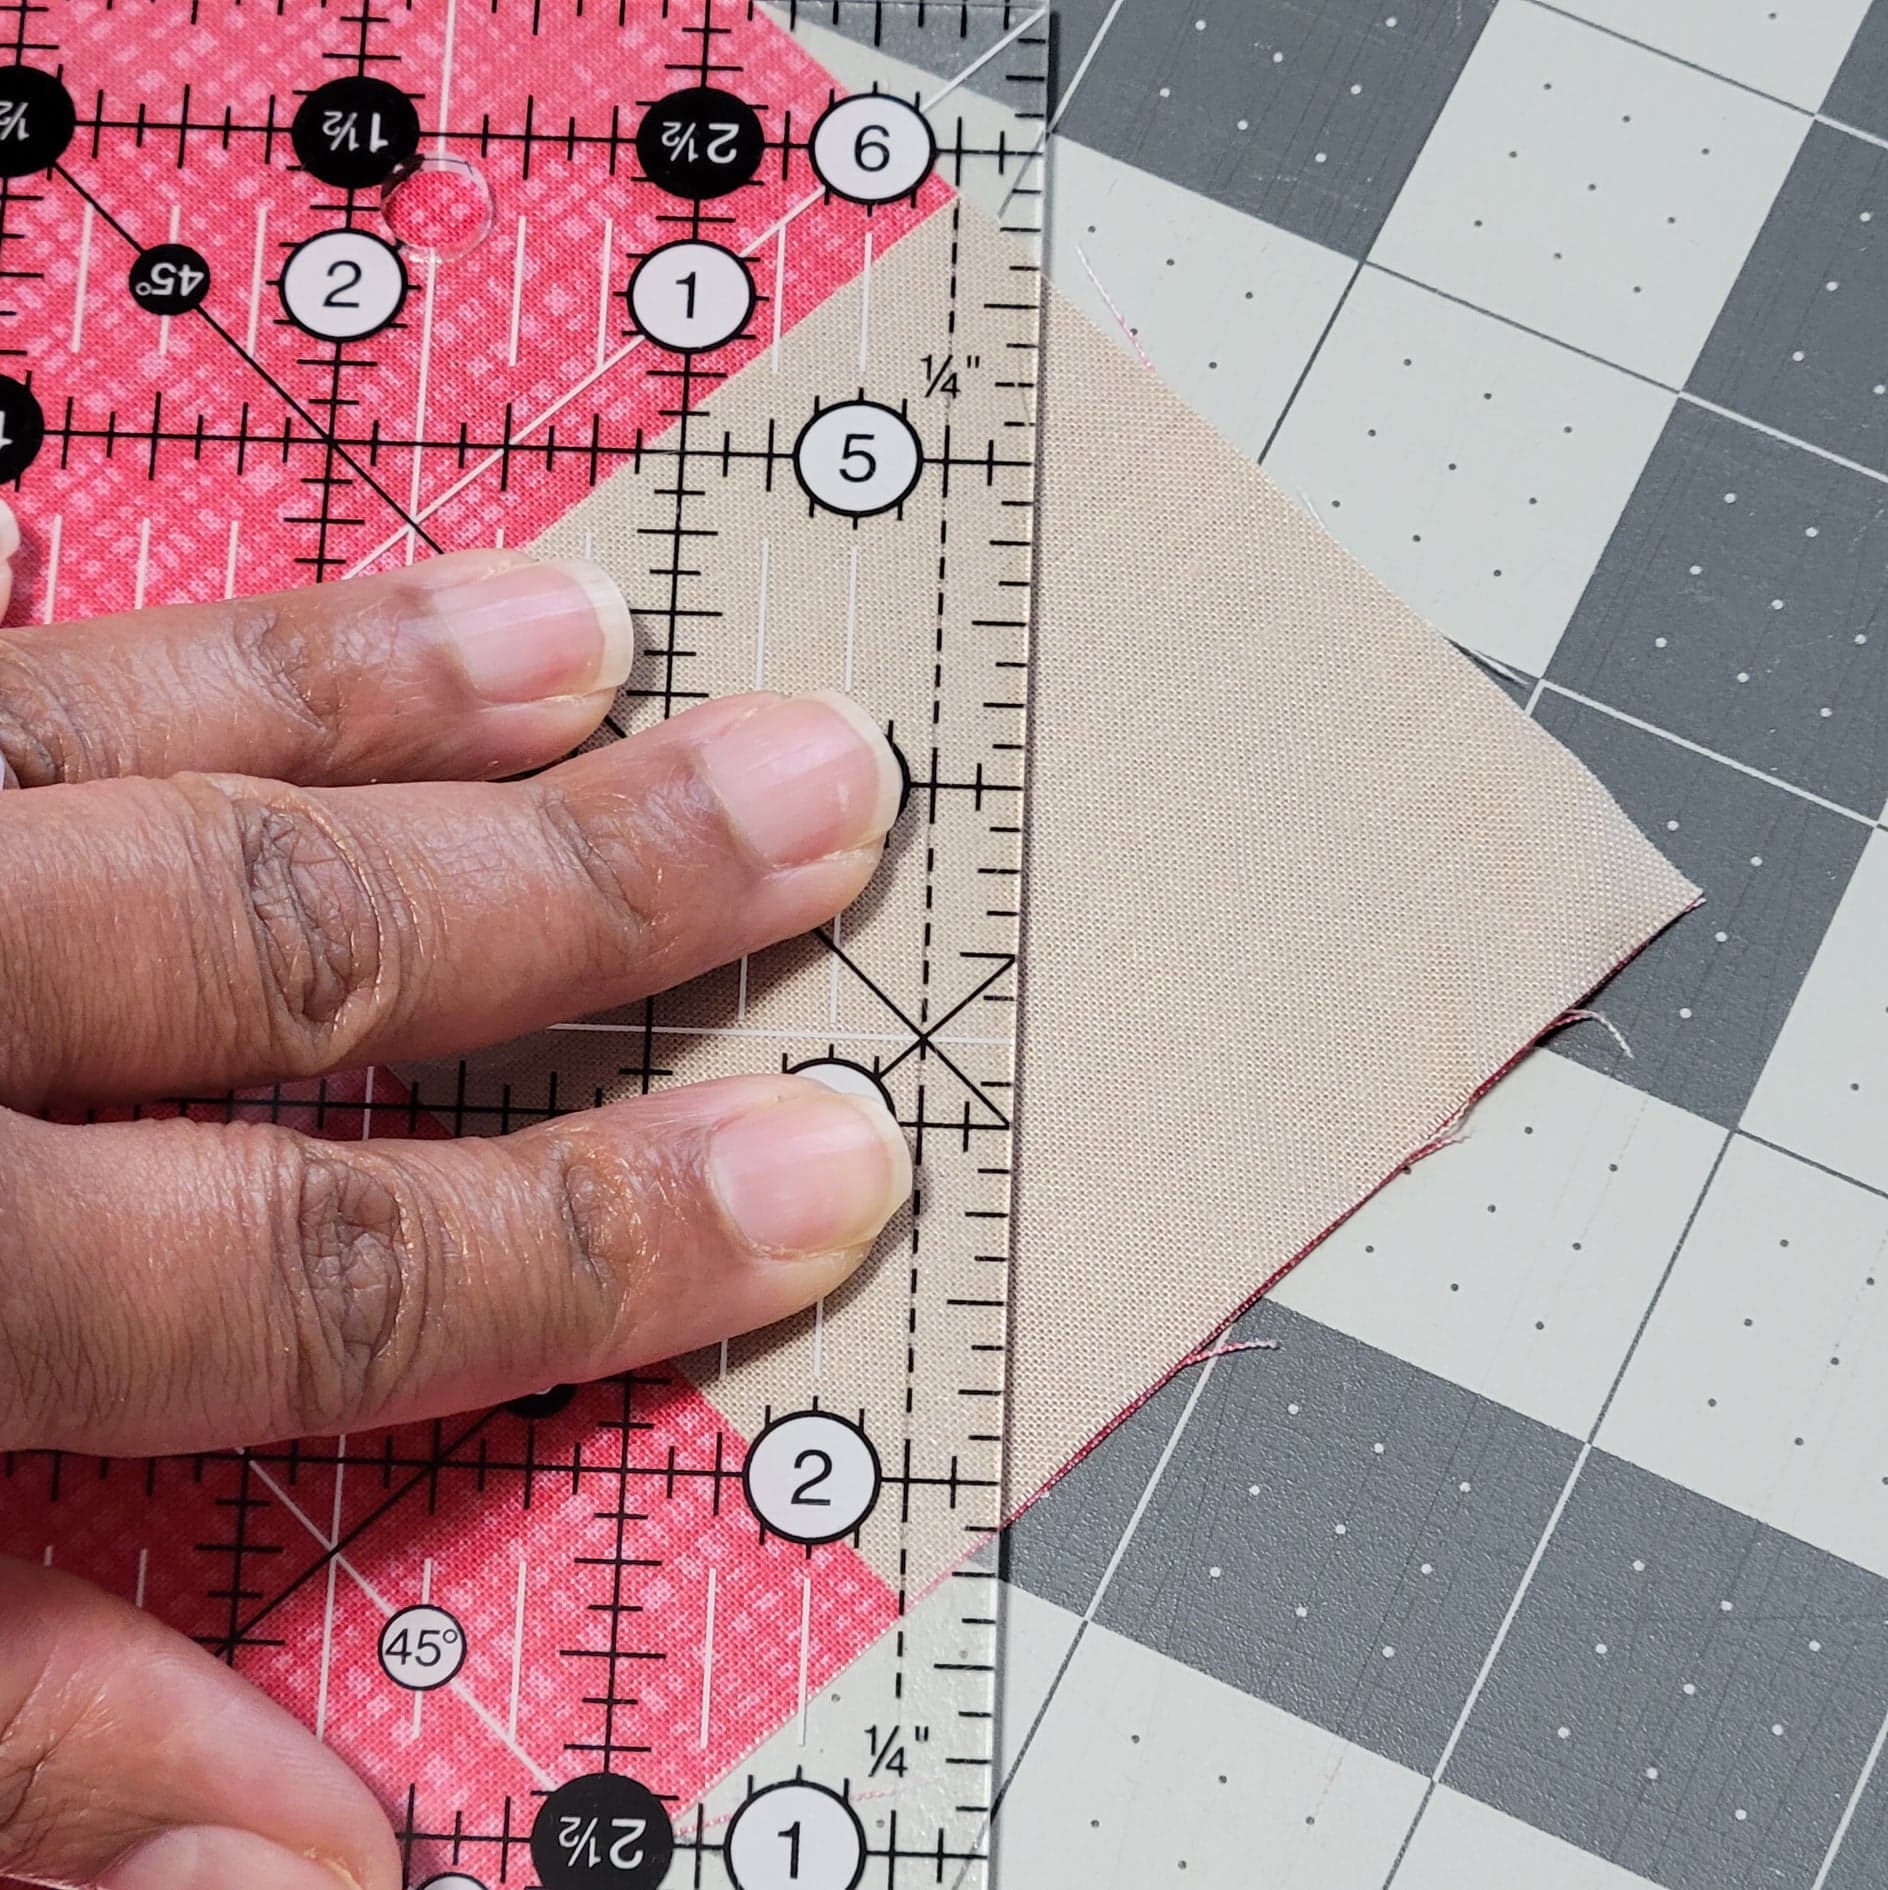
3. To trim, place the quarter inch line of your ruler along the sewn line. Cut to remove the extra fabric. Press seam according to your preference (I prefer open in this case). You’re done!
Skill Booster Tip: You can trim multiple blocks at a time!
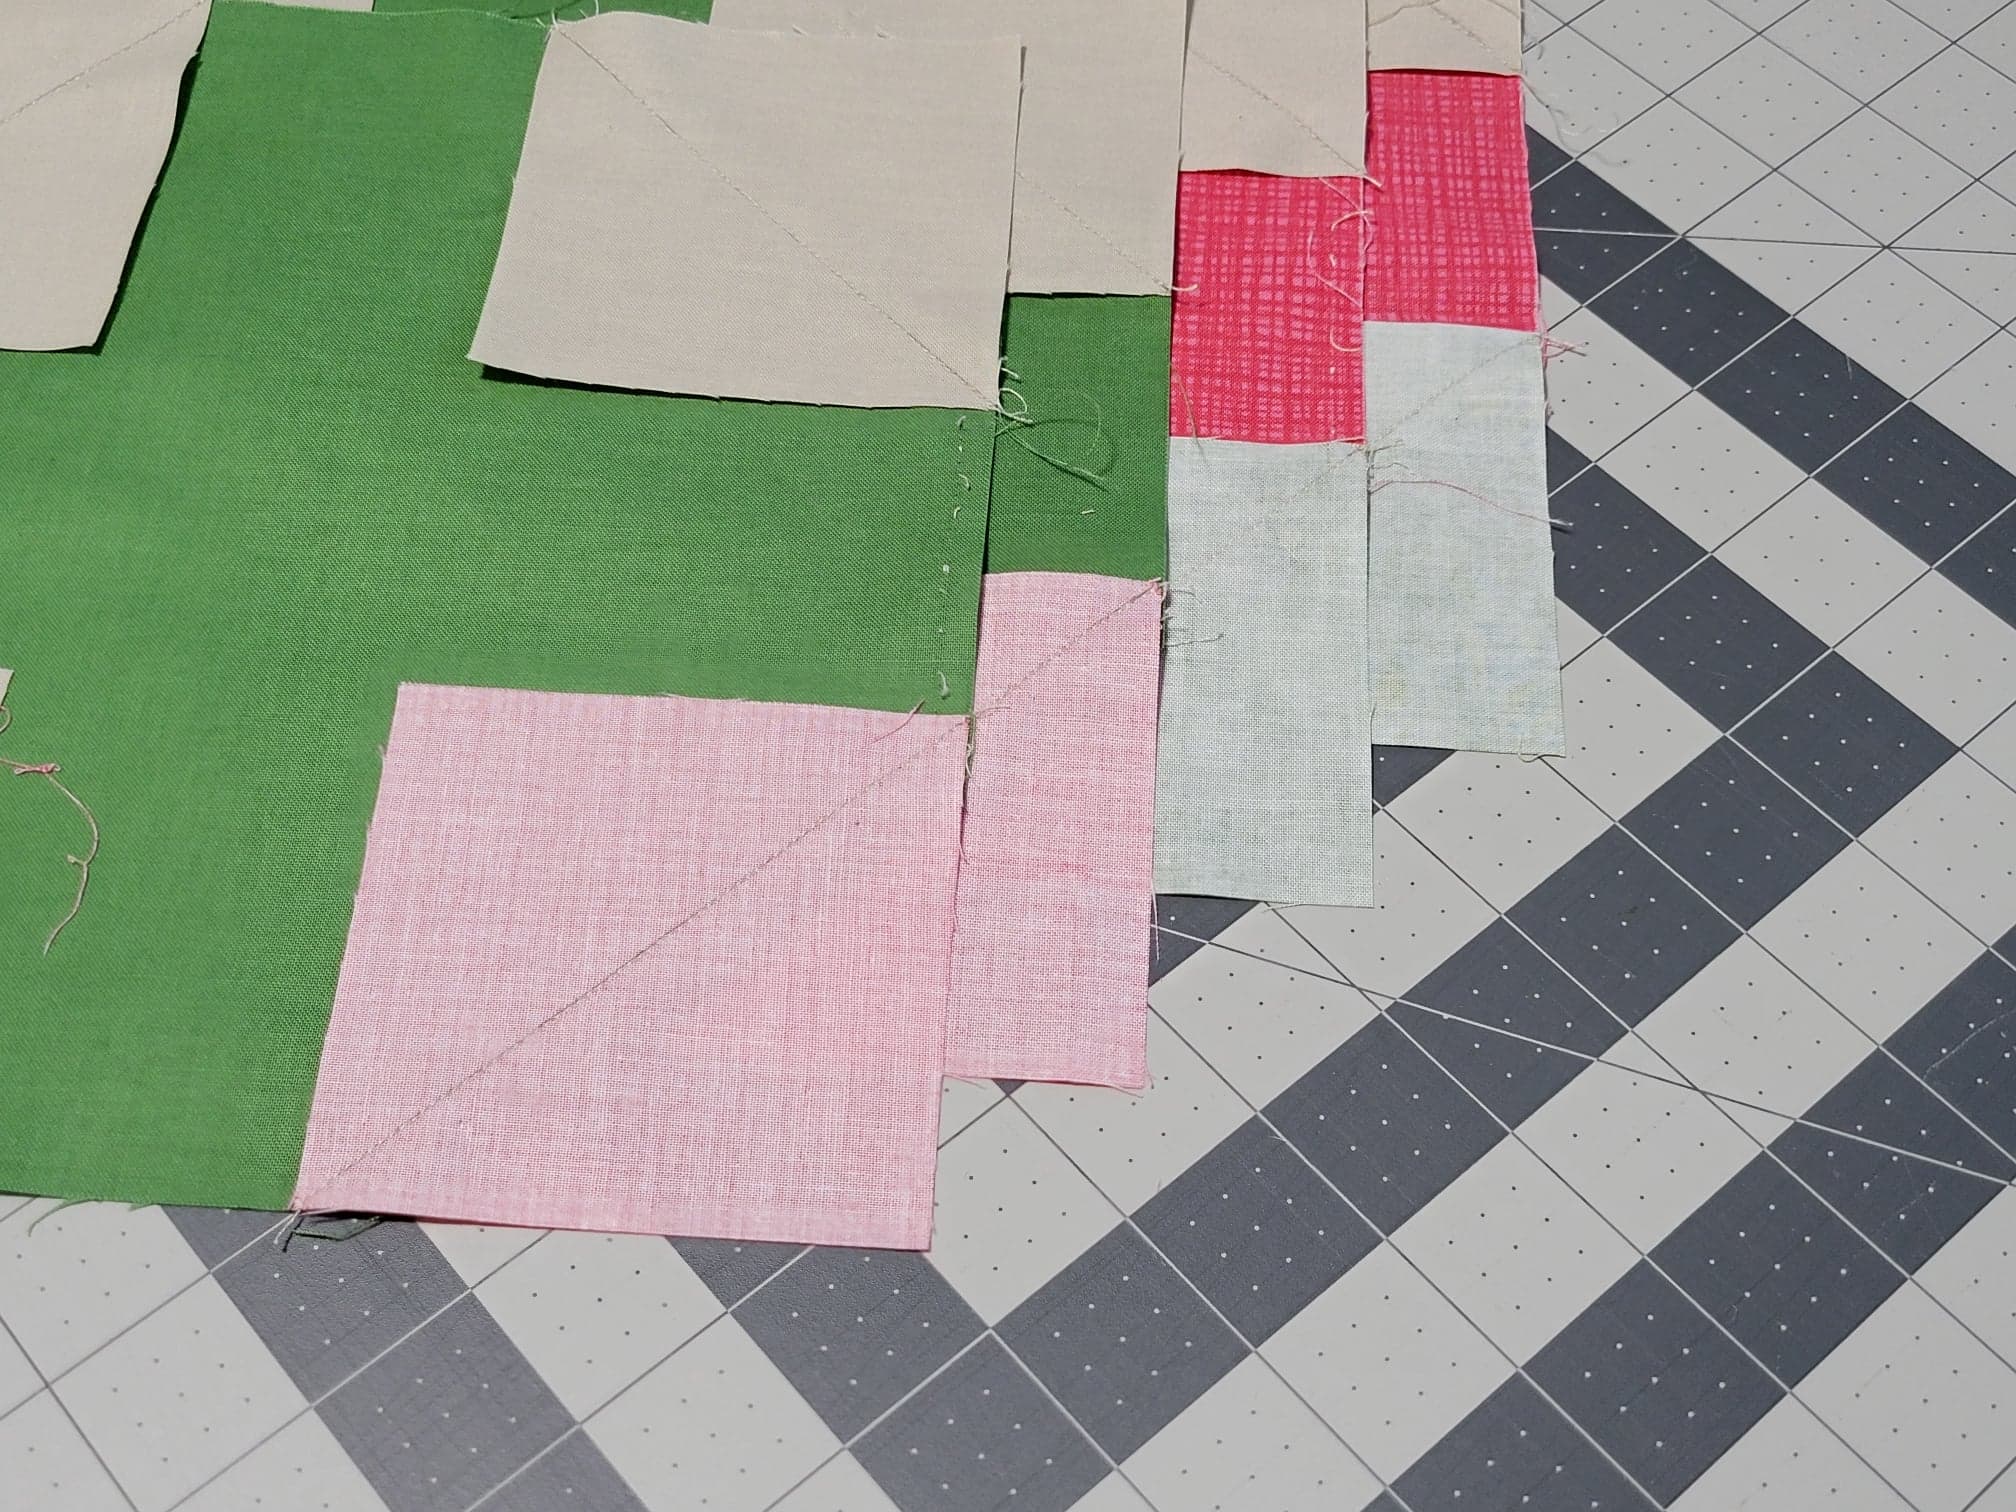
1. Place your first block on your cutting mat with the sewn line on top of a mat line.
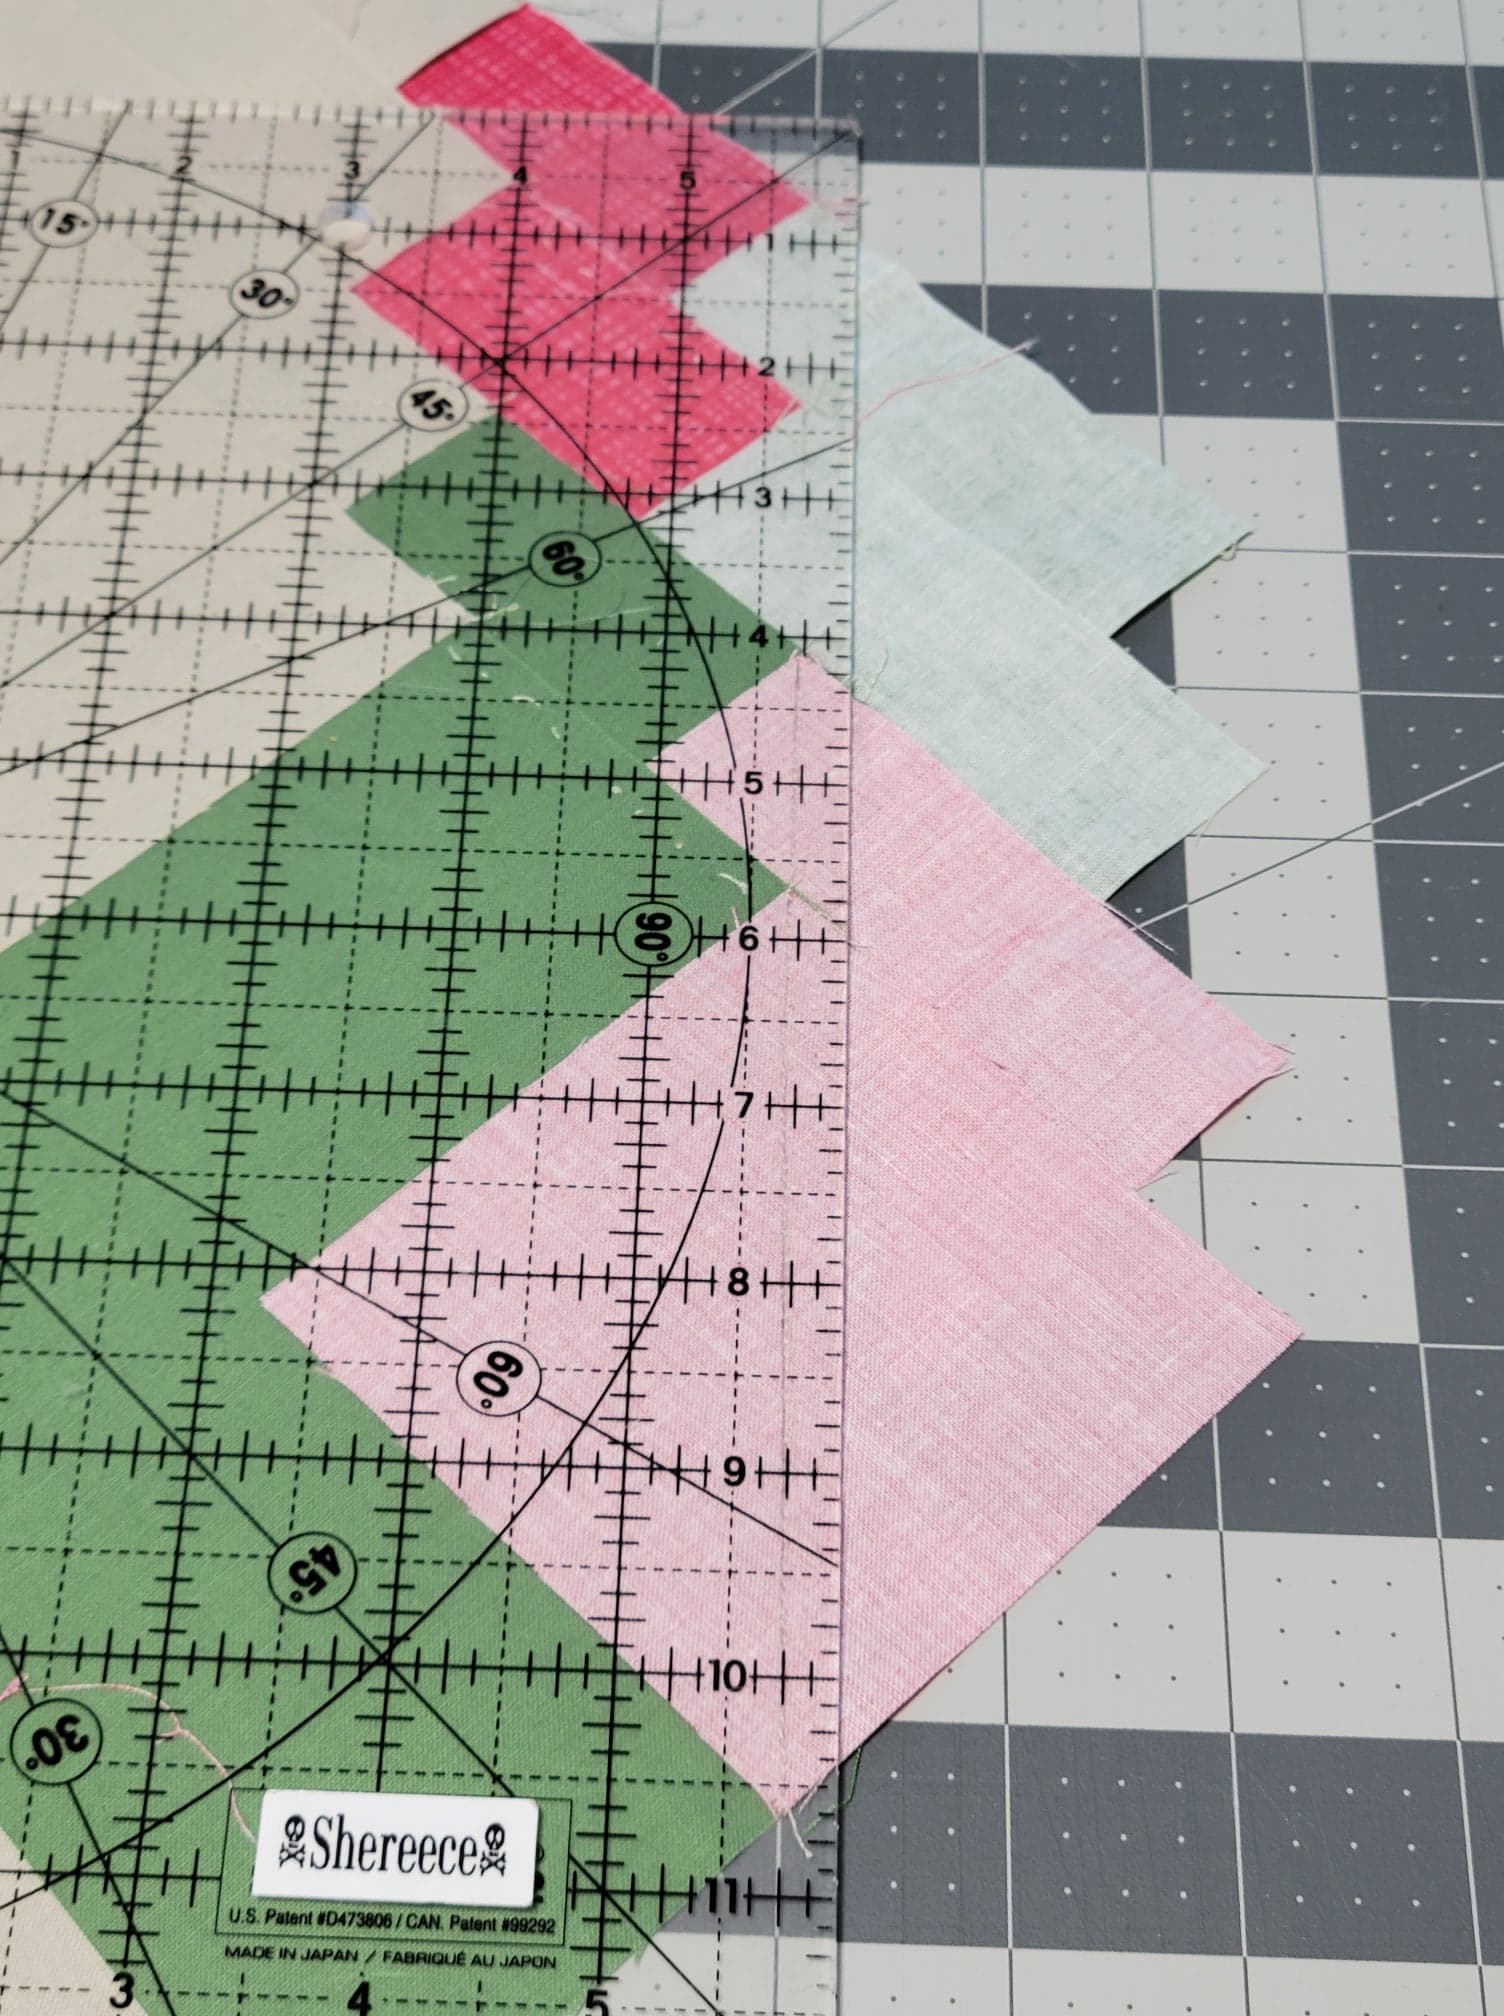
2. Place the next block on top approximately 1″ below the previous block. Match the top of the sewn line with the first block and the bottom with the line on your cutting mat. Continue to add as many blocks as the length of your ruler will allow.
3. Place the quarter inch line of your ruler along the thread line and trim. Press as desired. Voila! Four (or however many you’ve lined up) blocks done at the same time.
I hope you have found this tutorial helpful for you when creating your own Tavern Window quilt! You can find the pattern and many others on my website.
You can find more creative inspiration and tips on my blog, the Pink Notebook, Instagram and Pinterest.
Stitch on me hearties 💕


