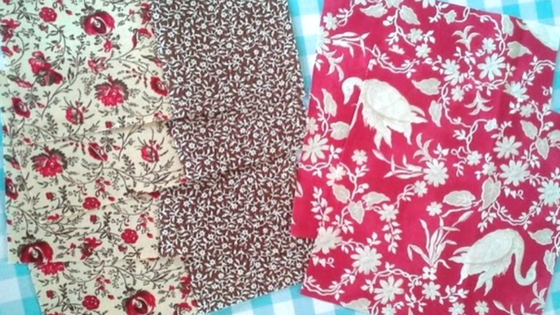
This week for our Traditional Block Thursday tutorial, we will be continuing our love of strip-piecing by making a double 4-patch block. We will first make a 4-patch block and then we will make a larger 4-patch with the small 4-patches – thus the name of the block.


Take your strip set to the cutting table. This is a good time to check your 1/4″ seam and make sure that it’s not too big or too small. Place your ruler with a line on the middle seam and check that the width of the two strips sewn together measures 6.5″. Square up the end of the strip by trimming off the selvedge edges.
Cut four 3.5″ pieces from the strip set.
Now you should have four 3.5″ strip set pieces and two 6.5″x6.5″ squares.
Arrange two of your 3.5″ strip set pieces to make a 4-patch.
Place the two strip set pieces together with right sides facing and butt up the seams to make a perfect corner.
Stitch down the side using a 1/4″ seam.
Press to one side. Repeat to make two 4-patch units.
Now comes the DOUBLE part of the block. We’re going to make the 4-patches into another 4-patch block. Arrange the two 4-patch units and the two 6.5″x6.5″ squares as shown.
Arrange the top two blocks right sides together and stitch down the side using a 1/4″ seam. Repeat for the bottom blocks.
Press seams toward the 6.5″x6.5″ pieces.
Place the top unit together with the bottom unit right sides together and butt up the center seam. Stitch using a 1/4″ seam allowance.
Press to one side.
Ta-da! So simple! Are you getting the hang of this strip piecing magic?
Here is an example of what a quilt would look like if I made all of the double 4-patch blocks the same way as my example.
Here is an idea that uses just two colors in mirror image blocks. A much more interesting design, don’t you think?
How about this scrappy version that has only two colors in each block, but keeps the center small blocks consistent. Cute!


